1. Step Types You'll See and How to Complete Each
Multiple Choice (Yes/No, Pass/Fail, custom options) Appears as labeled buttons — green for Yes/Pass, red for No/Fail in most configurations. Tap the button that matches your answer. Only one selection is allowed per step. If you selected the wrong answer, tap the correct one — it deselects the previous selection automatically.

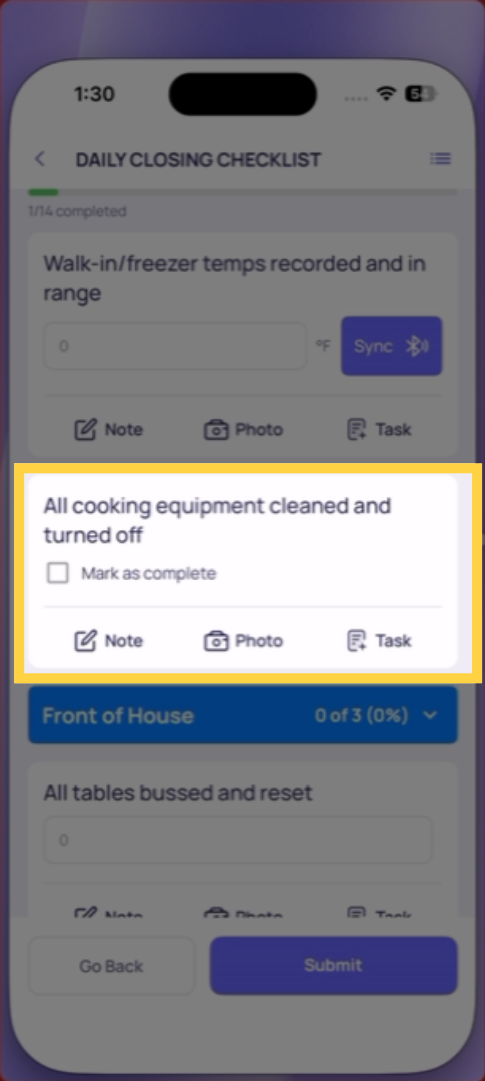
Procedure (Checkbox) A simple checkbox or tap-to-confirm step. Tap it to mark the item complete. No text, no photo, just a confirmation that you did it.
Temperature A numeric input field with the unit (°F or °C) displayed. Tap the field — a numeric keypad opens. Type the reading from your thermometer. Tap done or continue. If the value is out of range, a prompt may appear immediately requiring a photo or follow-up.
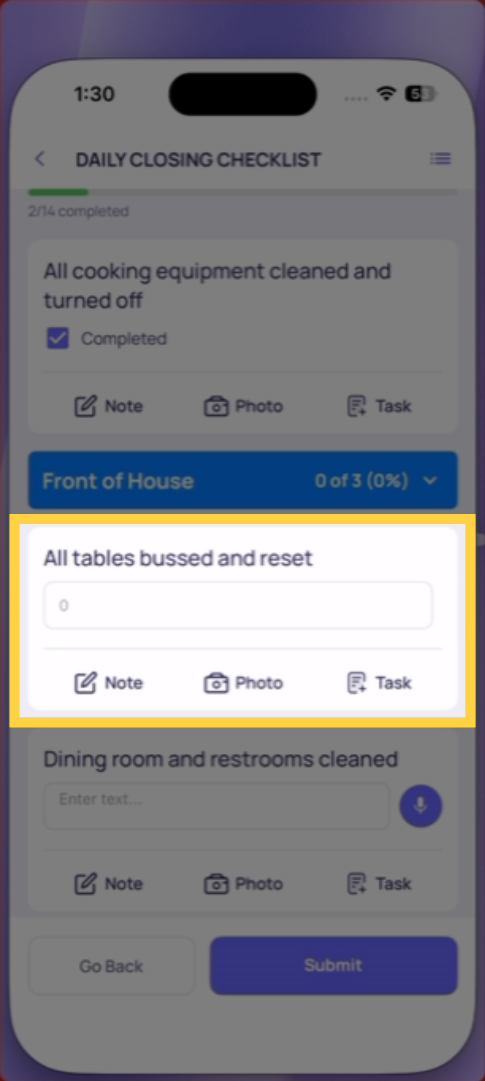
Number Answer Same as temperature — tap the field, numeric keypad, type your value, continue. Used for counts, quantities, pressures, and other numeric readings.
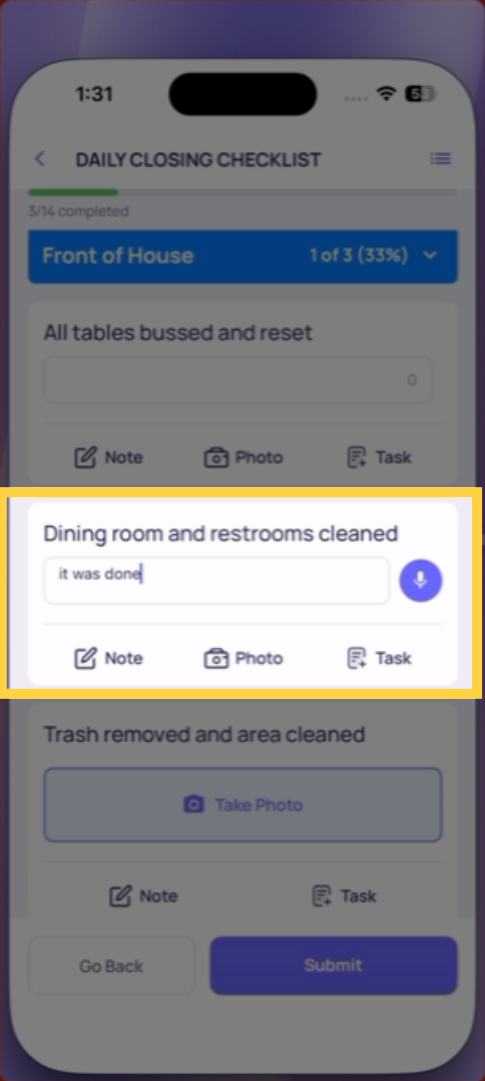
Text Field A free-text input. Tap the field — a keyboard opens. Type your response. Be specific — "Cooler at 36°F, within range" is more useful than "fine." Tap done or the next step to continue.
Take Photo The camera opens automatically when you reach this step. Take a live photo of whatever the step is asking you to document. Tap confirm. The photo attaches and you continue. Cannot use camera roll.
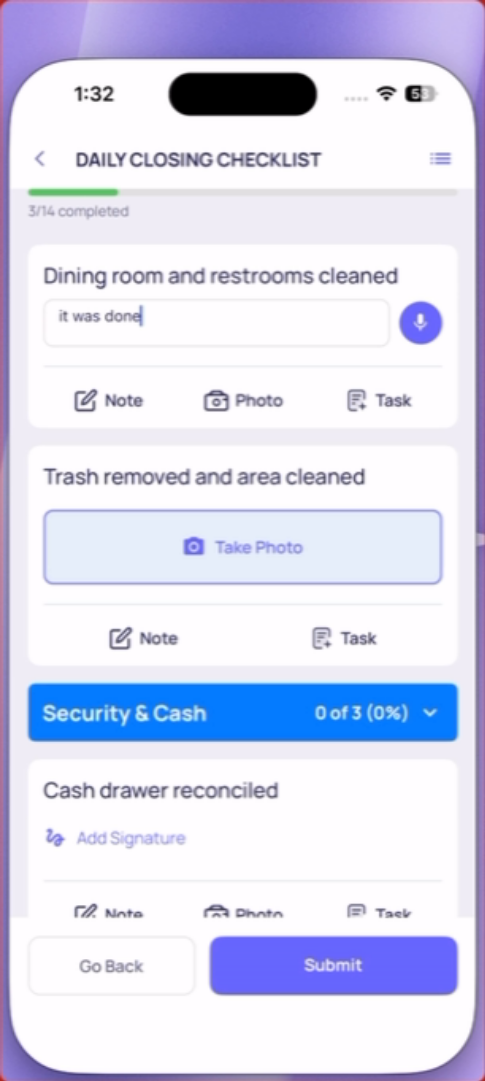
Photo Annotation Camera opens, you take a photo, then you get annotation tools — circles, arrows, text. Use these to mark up the photo and point to the specific area of concern. Common for damage reports or defect identification.
Signature A signature pad appears. Draw your signature on screen with your finger. Tap confirm when done.
Date/Time A date picker or time picker opens. Scroll to the correct value and select. Used for recording when something happened or when equipment was last serviced.
Cost A numeric input formatted for currency. Tap, type the dollar amount, continue.
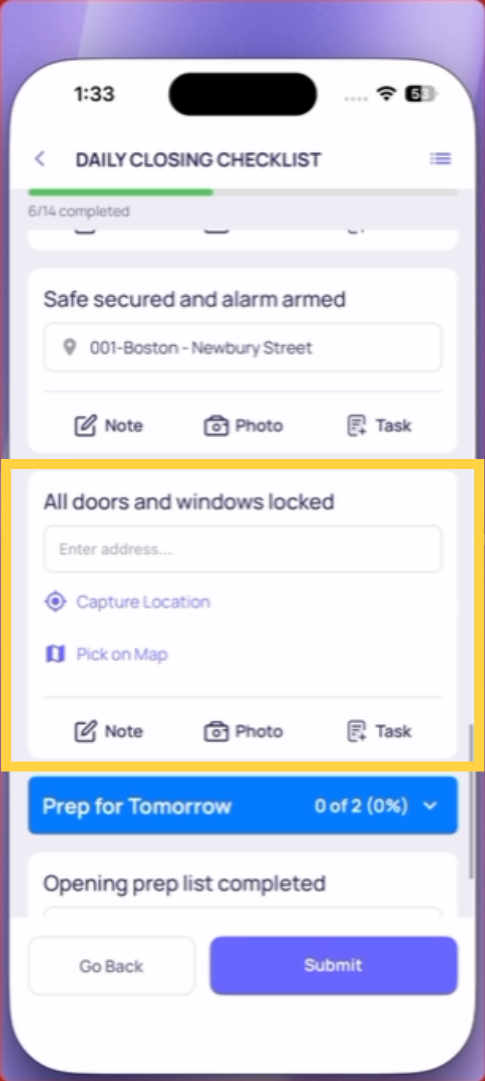
Location (Select) A dropdown of locations from your workspace. If you're completing this checklist from a project task, it's already pre-filled with your store — don't change it. If you're doing an ad hoc submission, tap and select your location from the list.
Dropdown A list of predefined options, sometimes with multi-select enabled. Tap to open the list, tap your selection(s), confirm.
Geostamp No interaction required from you — the app captures your GPS coordinates automatically in the background. You'll see a confirmation when it's captured.
Need Help?
Reach out to our Support Team at Support@xenia.team
Comments
0 comments
Please sign in to leave a comment.