
Who Can Create a Board
Only Admin and Owner roles can create and publish boards. Full Users can create and manage cards on boards they have access to. Basic Users can only update cards assigned to them. See the Permissions section for the full breakdown.
Step 1 — Start with a Template
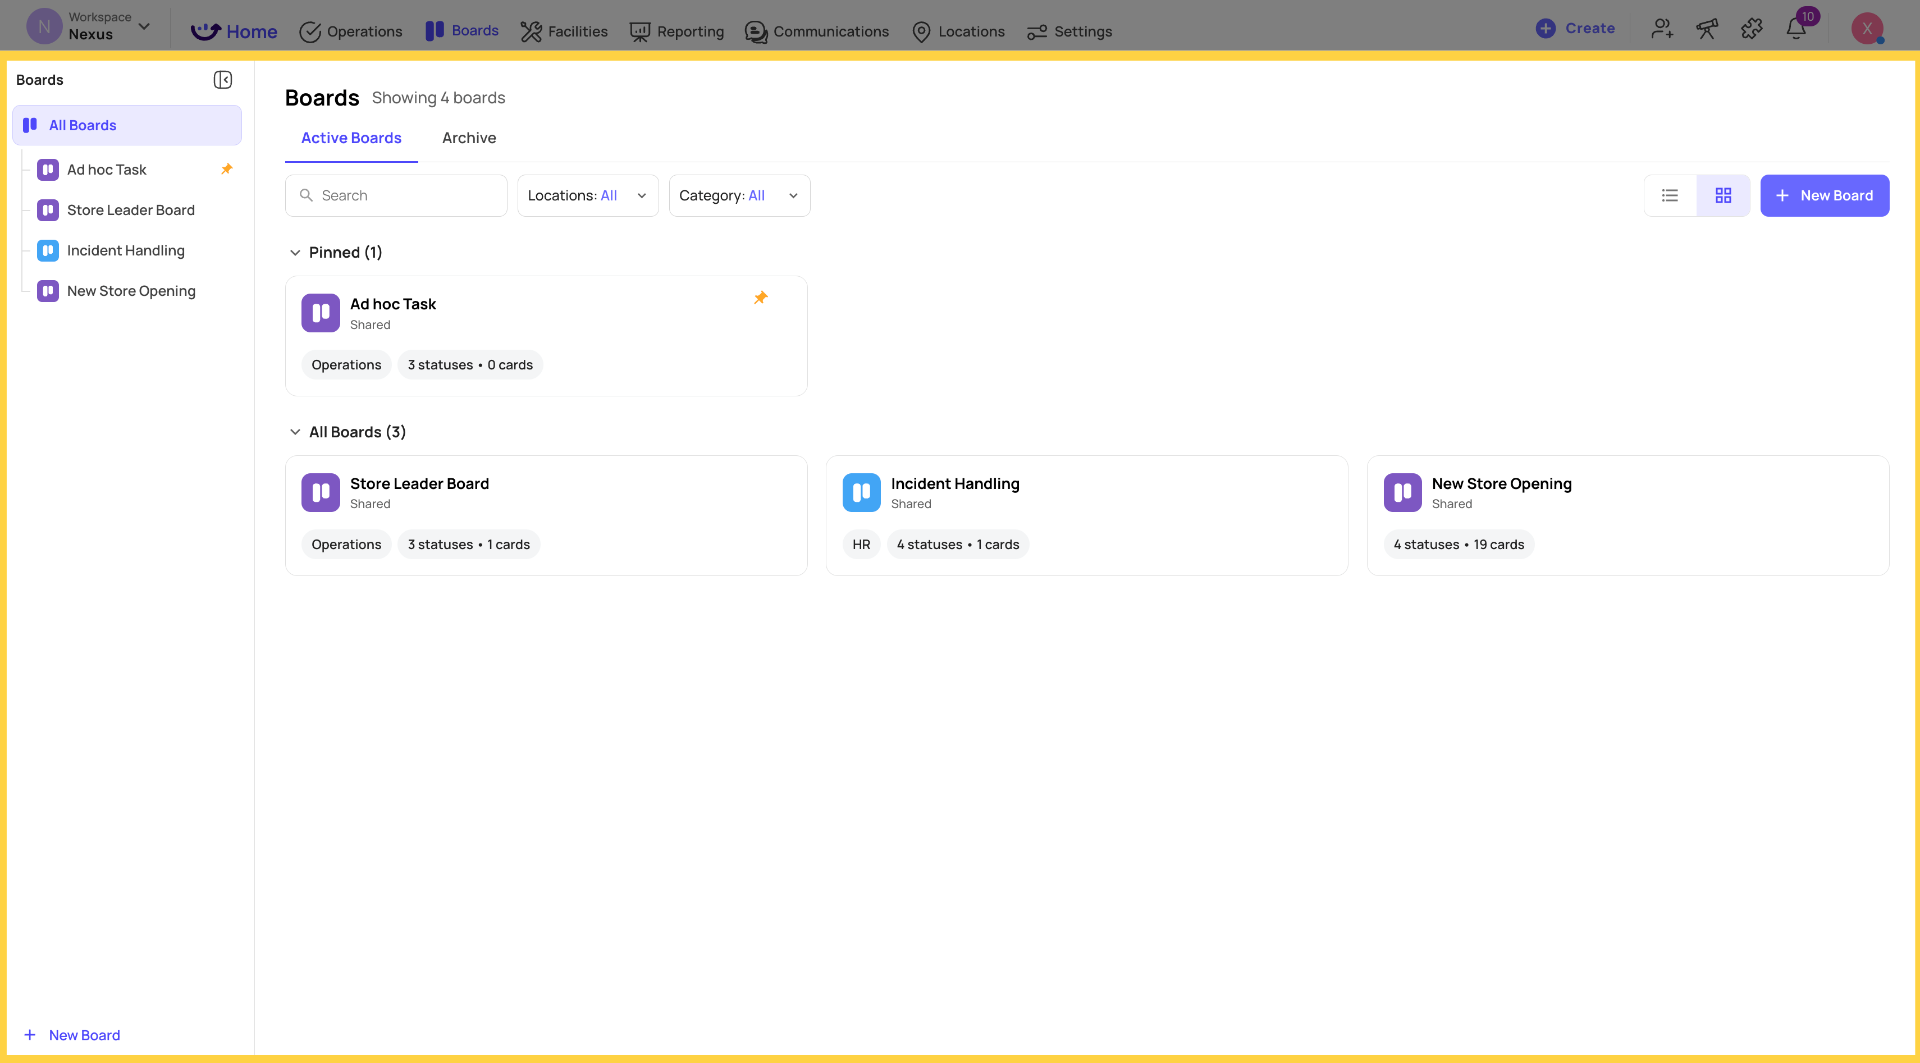
- In the left navigation under Operations, find the Boards section
- Click + New Board at the bottom of the Boards section
- A board creation flow opens — the first step is template selection
The default starter template gives you four ready-to-use statuses: Start Here / To-Do / In Progress / Done. All status names are fully editable — these are just defaults.
Select the starter template (or any workspace-defined template that's been created) and click Next.
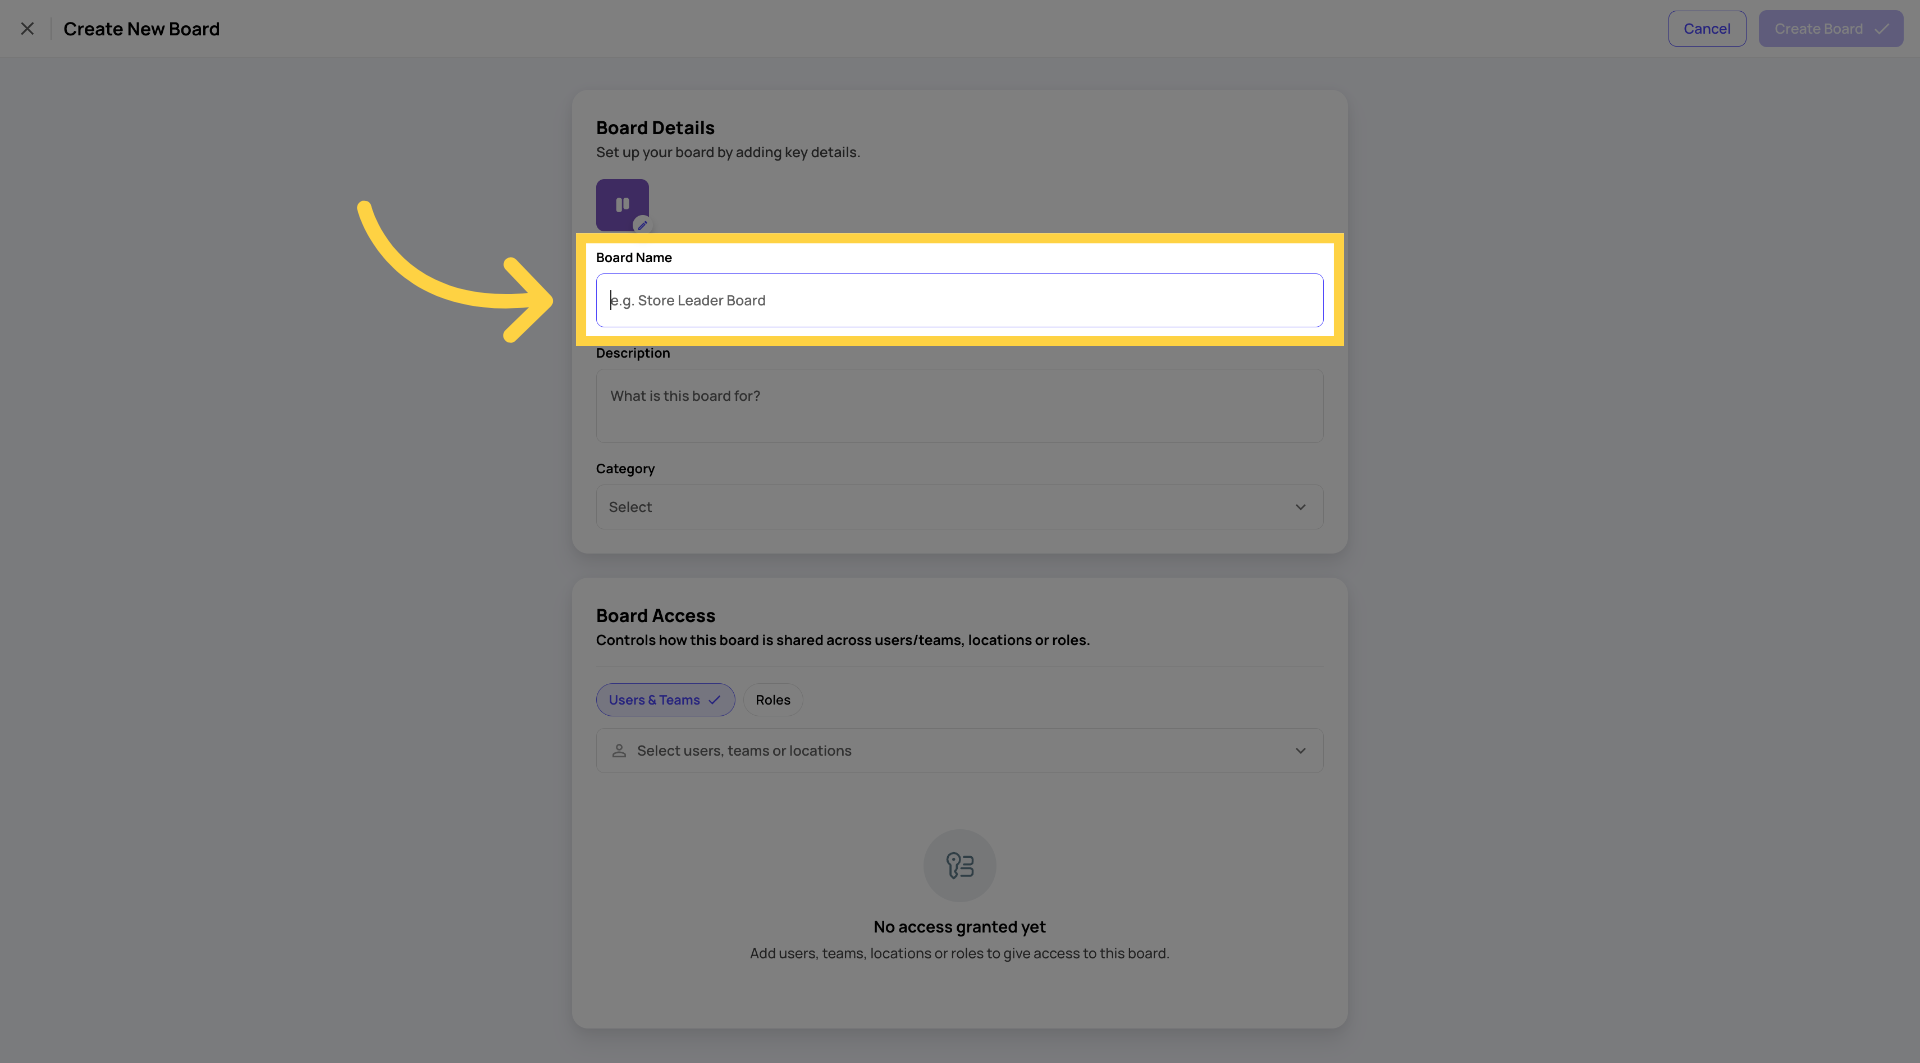
Step 2 — Name Your Board
Type a clear, descriptive name for the board. The name appears in the left nav, on the board card in list view, and in the board's topbar on the canvas. It's editable inline on the canvas at any time.
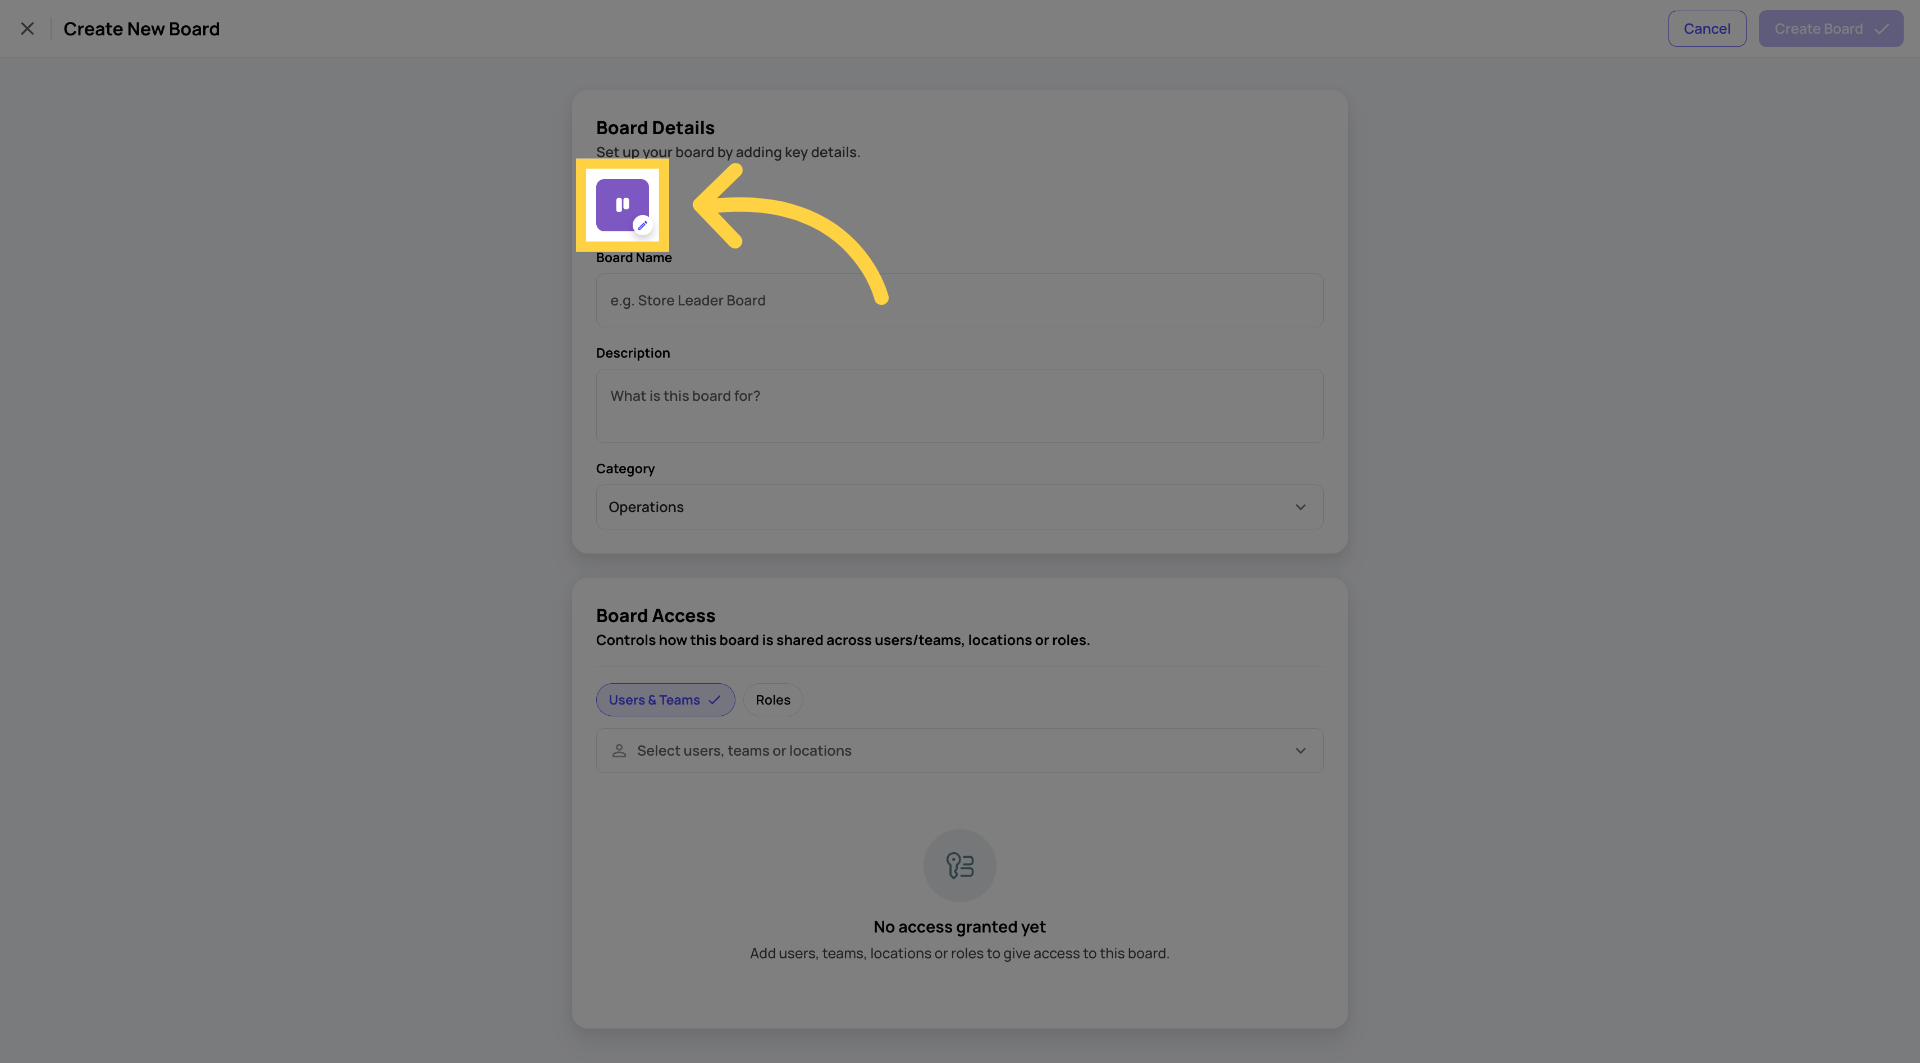
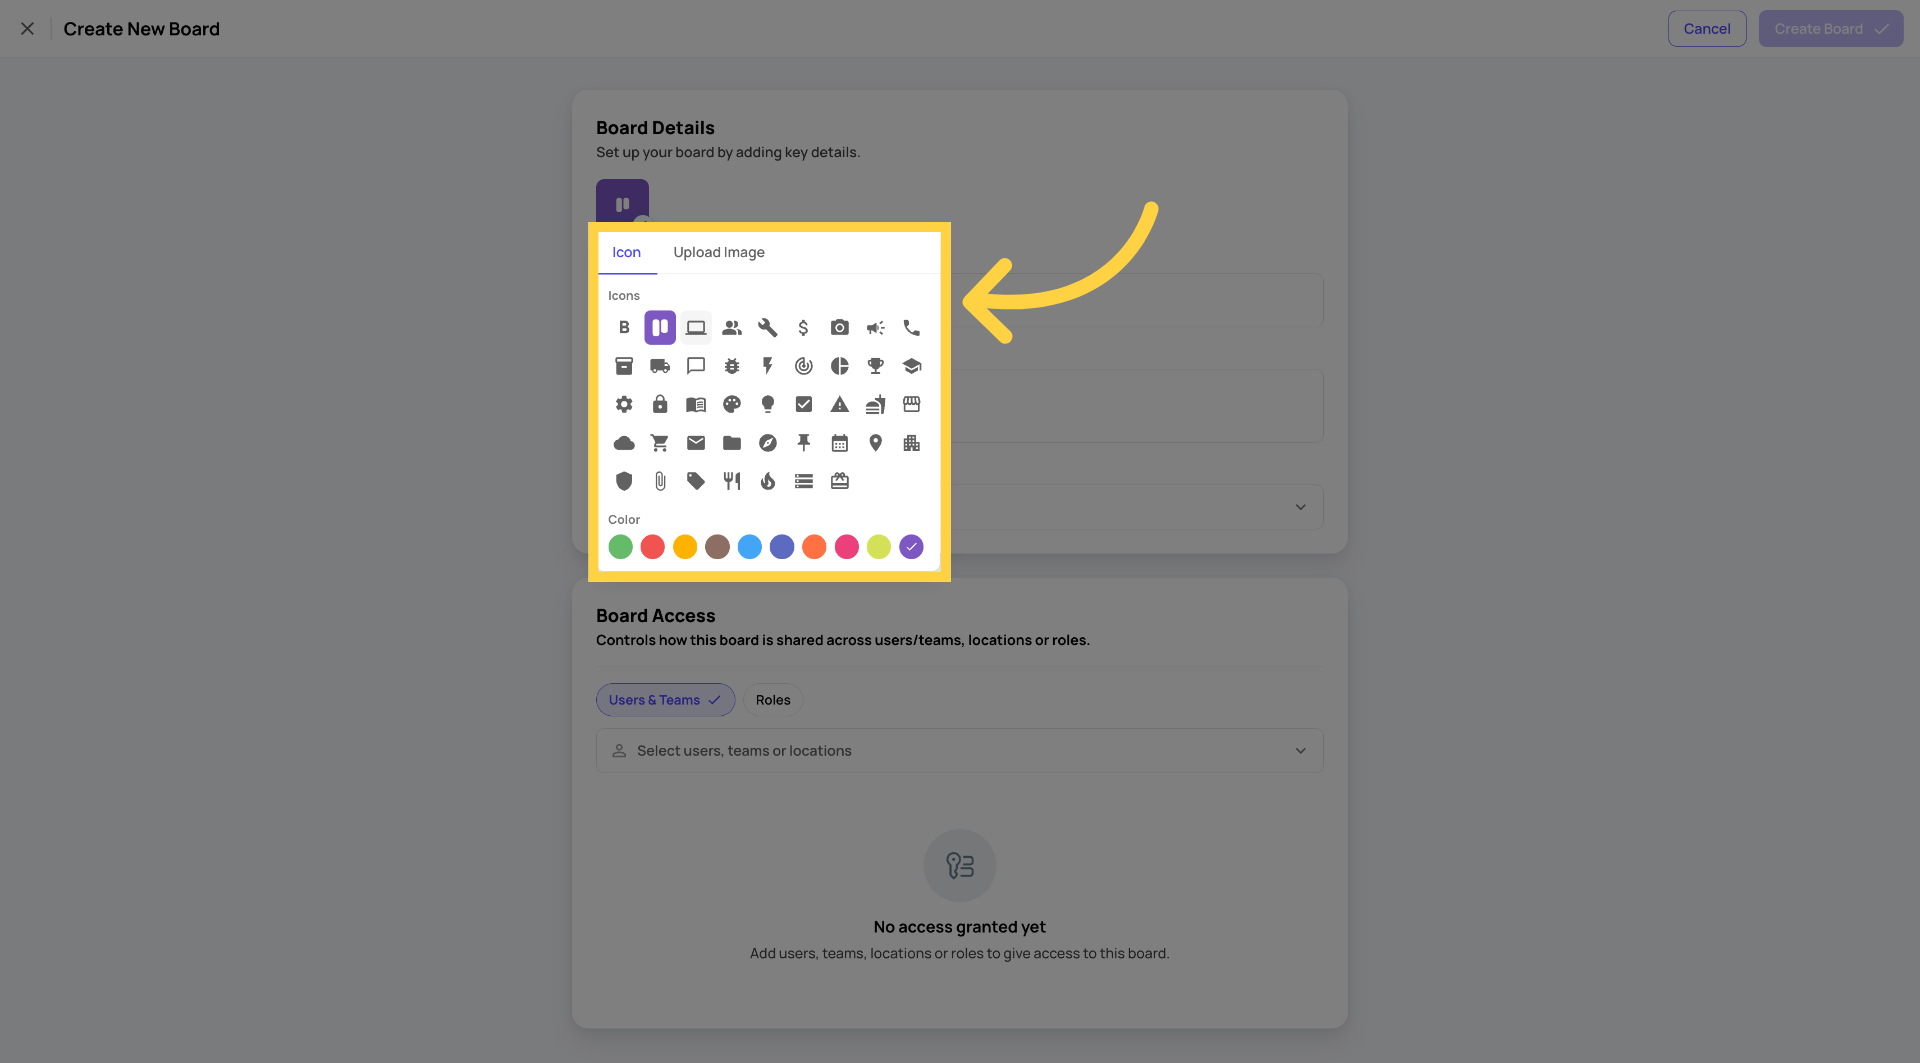
Step 3 — Choose a Color Scheme and Logo/Icon
Select a color scheme and logo or icon for the board. These appear on the board card in list view and in the canvas topbar — useful for visually distinguishing boards at a glance.
Both are editable later in the Customize panel.
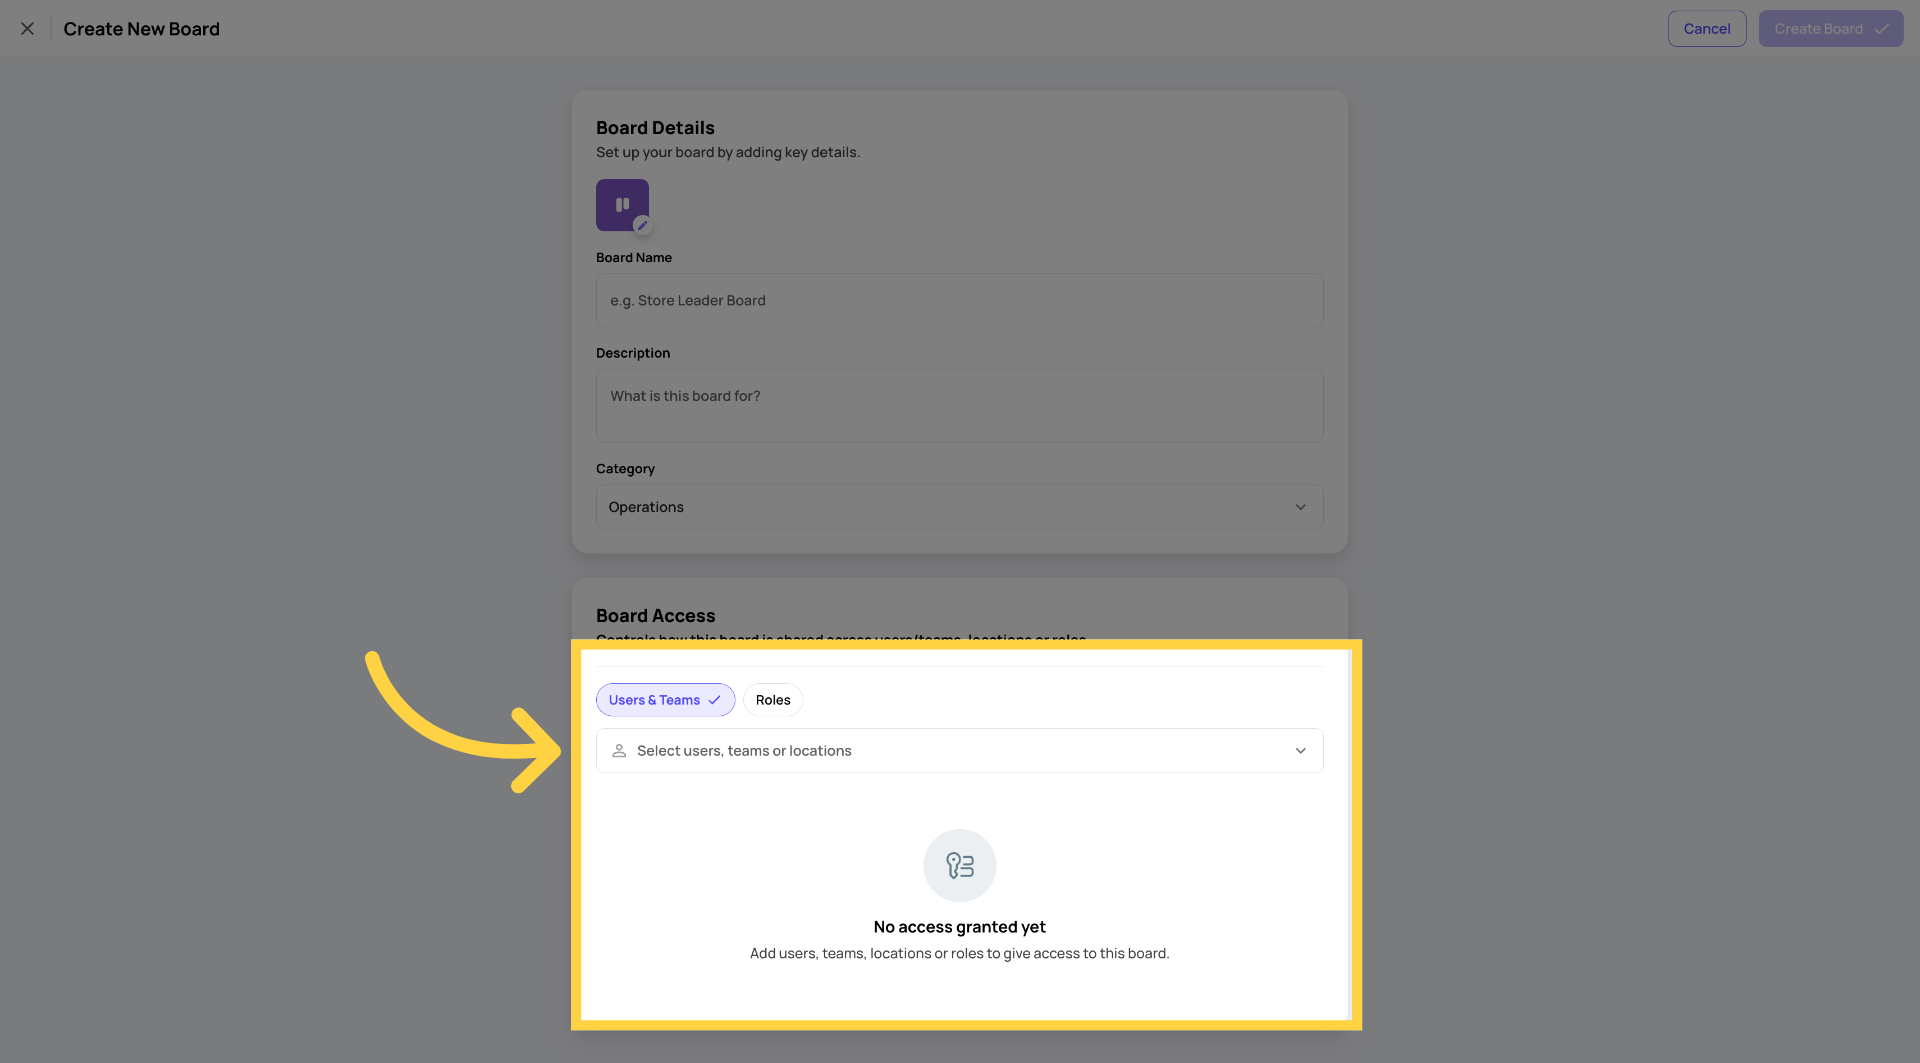
Step 4 — Access Mode
Only Shared Board mode is available. A shared board means all participants see and collaborate on one live board — everyone's cards, everyone's status moves, in real time.
Distributed Board mode — where each location gets its own independent copy — is coming in a fast follow immediately after V1.
Step 5 — The Canvas
After setting access mode, the board canvas opens. This is the live board — your statuses appear as columns and you can begin adding cards immediately.
The board is in Draft state until you save and share it. A "Draft" pill in the topbar indicates it hasn't been published yet.
Step 6 — Share the Board
After saving, the Access/Share flow is immediately presented — you'll be prompted to add the locations, teams, roles, or users who should have access. See Article 4: Sharing a Board for the full walkthrough.
Once you confirm access, the board publishes and becomes visible to all granted participants immediately.
Managing Statuses
Statuses are fully flexible. There's no system-enforced concept of "done" or "completion."
From the canvas (inline):
- Click a status name to rename it
- Click the ⋯ menu on any status to: Add card, Lock status, Copy status, Archive status, Delete status
- Drag statuses left or right to reorder them
From the Customize panel:
- Open the Customize panel (right-side panel) → find the Status Manager section
- Add, rename, reorder (drag-and-drop), and delete statuses
- Changes sync to the board canvas in real time
The Customize Panel
The Customize panel is where all board-level settings live. Open it from the board canvas (look for the Customize or settings icon in the topbar).
What's in the Customize panel:
| Setting | What It Does |
| Board name & description | Rename or describe the board |
| Color scheme & logo/icon | Change the board's visual identity |
| Category | Organize the board into a nested category in the left nav |
| Status Manager | Add, rename, reorder (drag-and-drop), delete statuses |
| Priority levels | Configure which priority levels exist on this board — per board, not global |
| Label management | Add, rename, and color-code labels for this board |
| Auto-archive settings | Set the inactivity window (default: 7 days) for automatic card archiving |
| Access/Share | Update who has access to the board |
| Export CSV | Export all cards as a CSV |
| Activity log | View board-level activity history |
| Duplicate board | Create a copy of this board |
| Archive board | Archive the board (cards preserved) |
| Delete board | Permanently delete the board |
Priority Levels
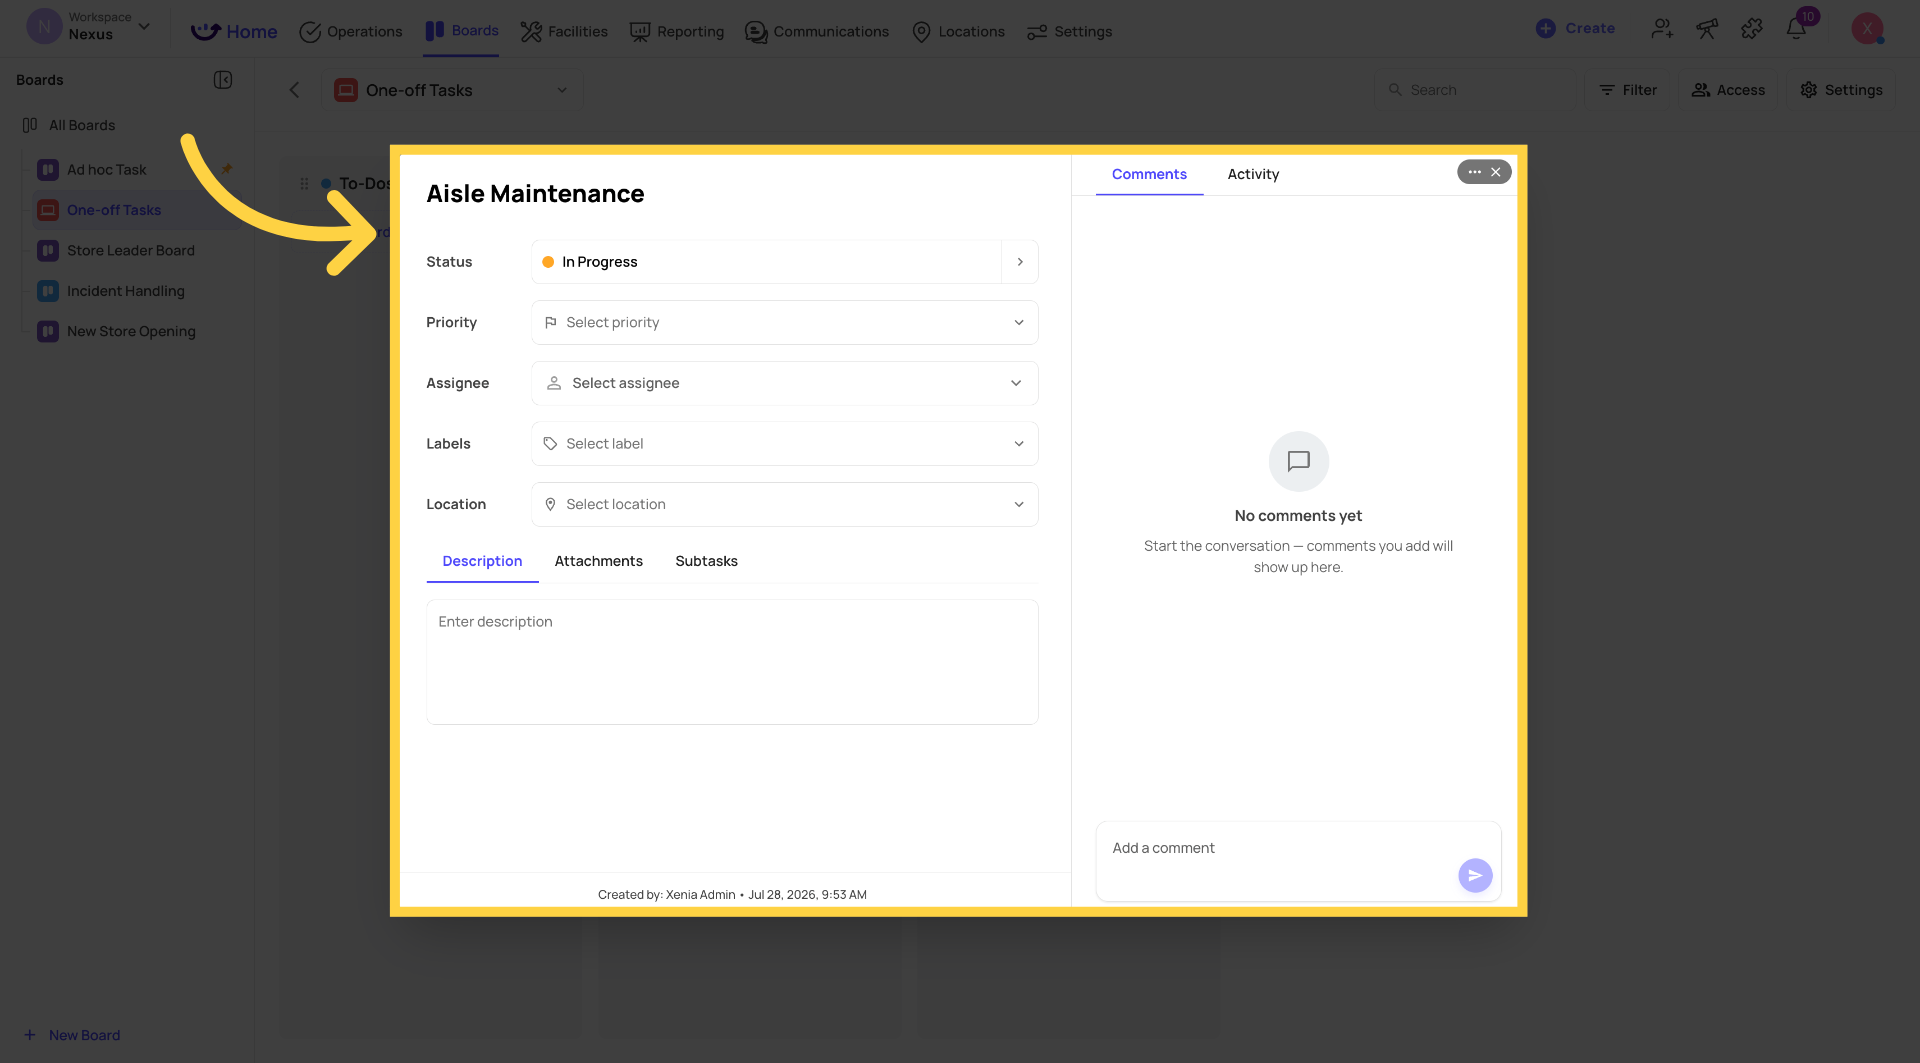
Priority levels are configured per board — there's no fixed global priority system. One board might have Urgent / High / Medium / Low. Another might have Critical / Normal. Or none at all.
Configure priority levels in the Customize panel. Priority appears on card faces in the kanban view.
Labels
Labels are board-scoped tags for flexible classification. Add as many as you need. Examples: Merchandising, Safety, Inventory, Training, Personal Injury.
Labels are configured in the Customize panel (name + color). Multiple labels can be applied to a single card. Labels appear on card faces in the kanban view.
Auto-Archive
Cards that haven't been updated within the configured inactivity window are automatically archived. The default is 7 days, configurable per board in the Customize panel.
Auto-archive is not tied to any specific status — it applies board-wide based on inactivity. Archived cards are recoverable via the Show archived cards toggle in the Filter panel.
Reach out to our Support Team at Support@xenia.team
Comments
0 comments
Please sign in to leave a comment.