What you can Edit on a Project
Once a project is created and running, you can edit most of its settings at any time. Changes are forward-looking — they apply to the next task generation cycle, not to tasks that have already been created.
Fields you can edit:
- Project name
- Attached template (the checklist deployed by the project)
- Assignment type — role, user, or location-based
- Cadence — daily, weekly, monthly, range-based, specific dates, one-time
- Start and due time — the window in which tasks are active
- Start date and end date (for range-based projects)
- Mark as Missed toggle — whether tasks lock at the due time
- Overdue/Missed notifier — which role receives alerts when tasks go overdue
- Locations — add or remove locations from the project (each has its own schedule)
How to Open a Project for Editing
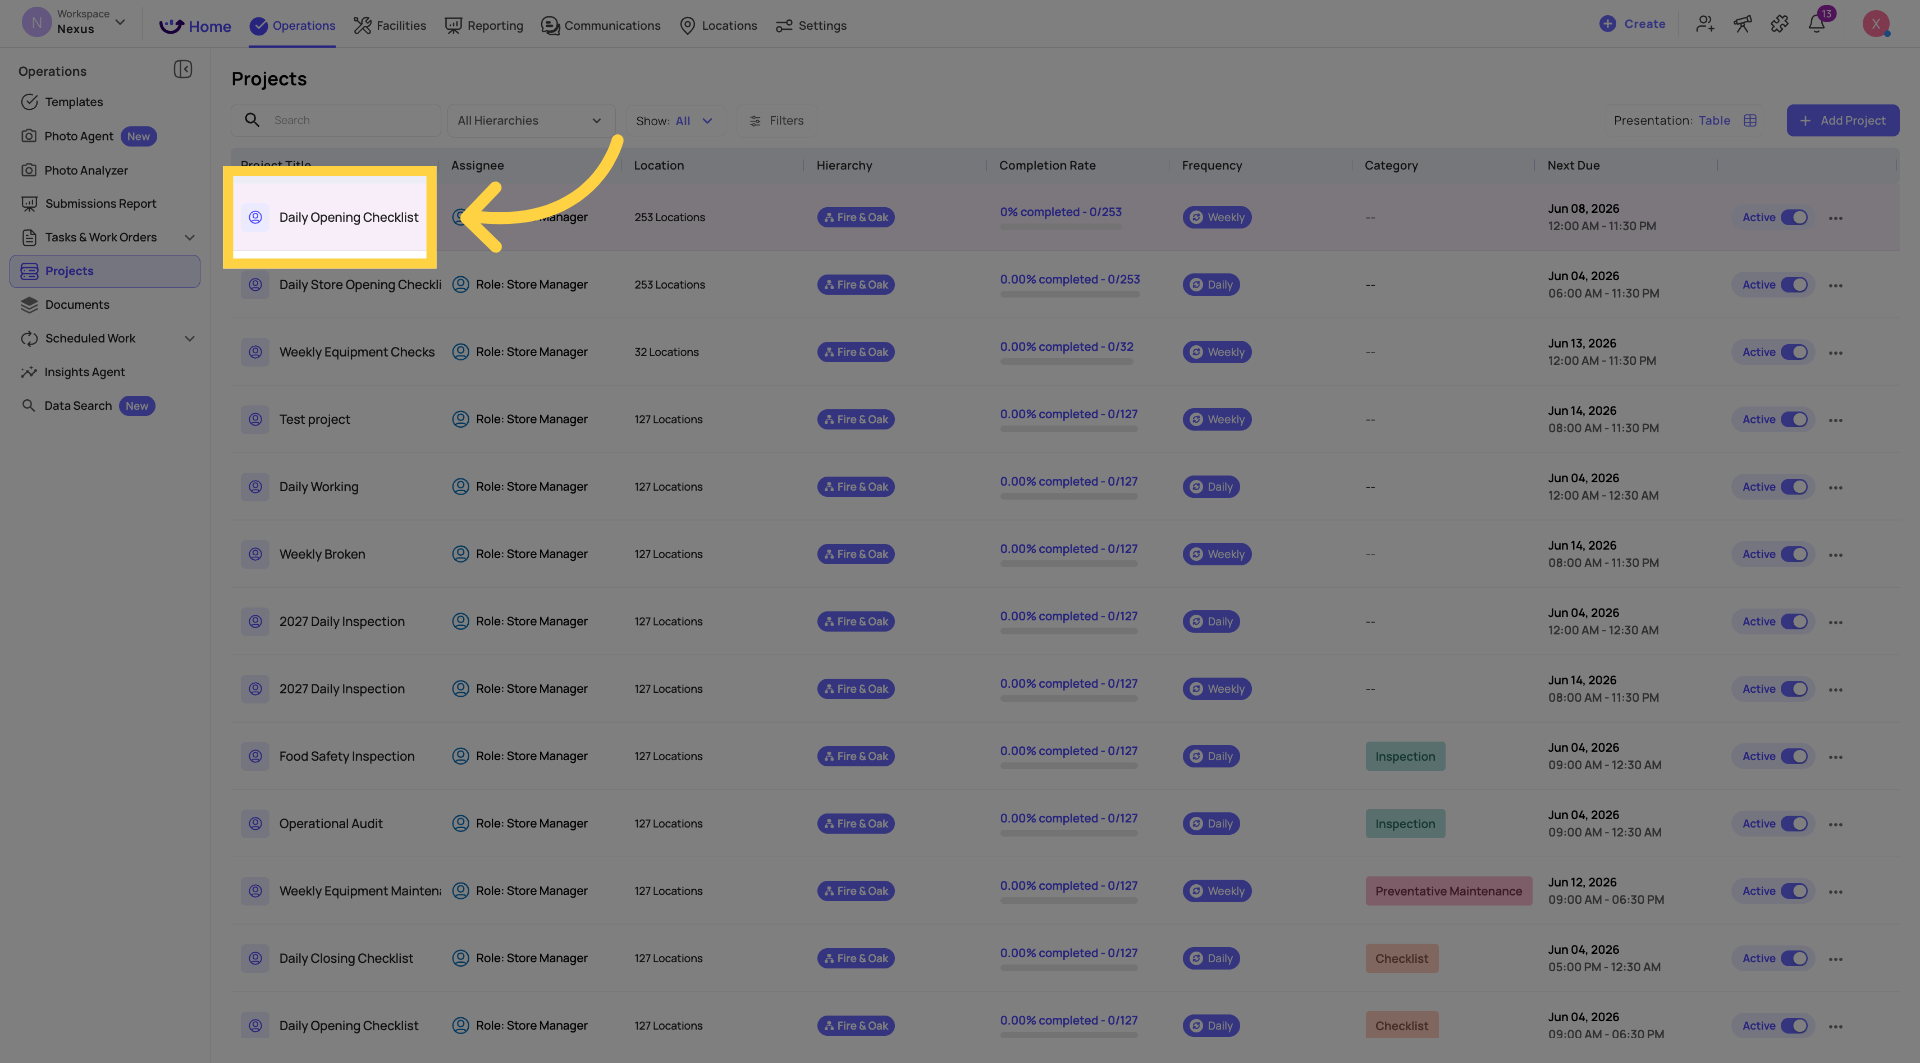
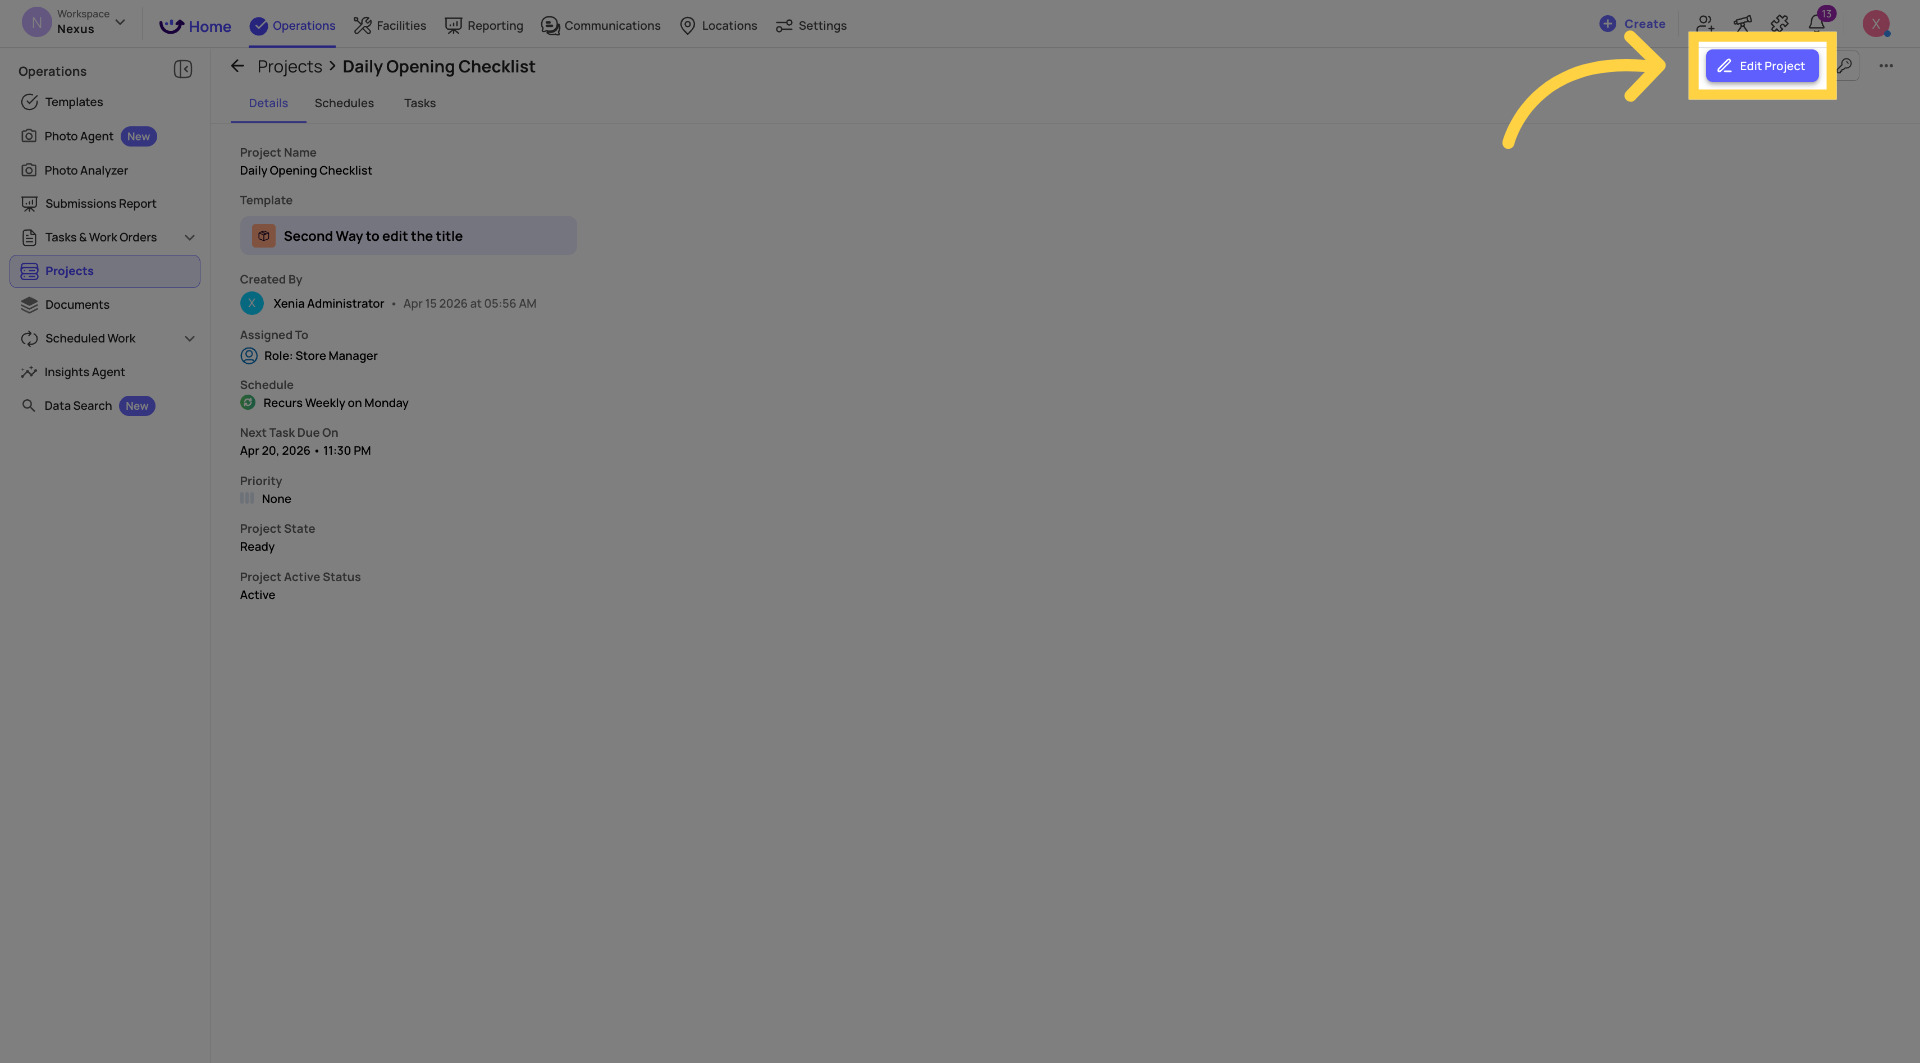
The project opens in edit mode. The settings are organized across several sections.
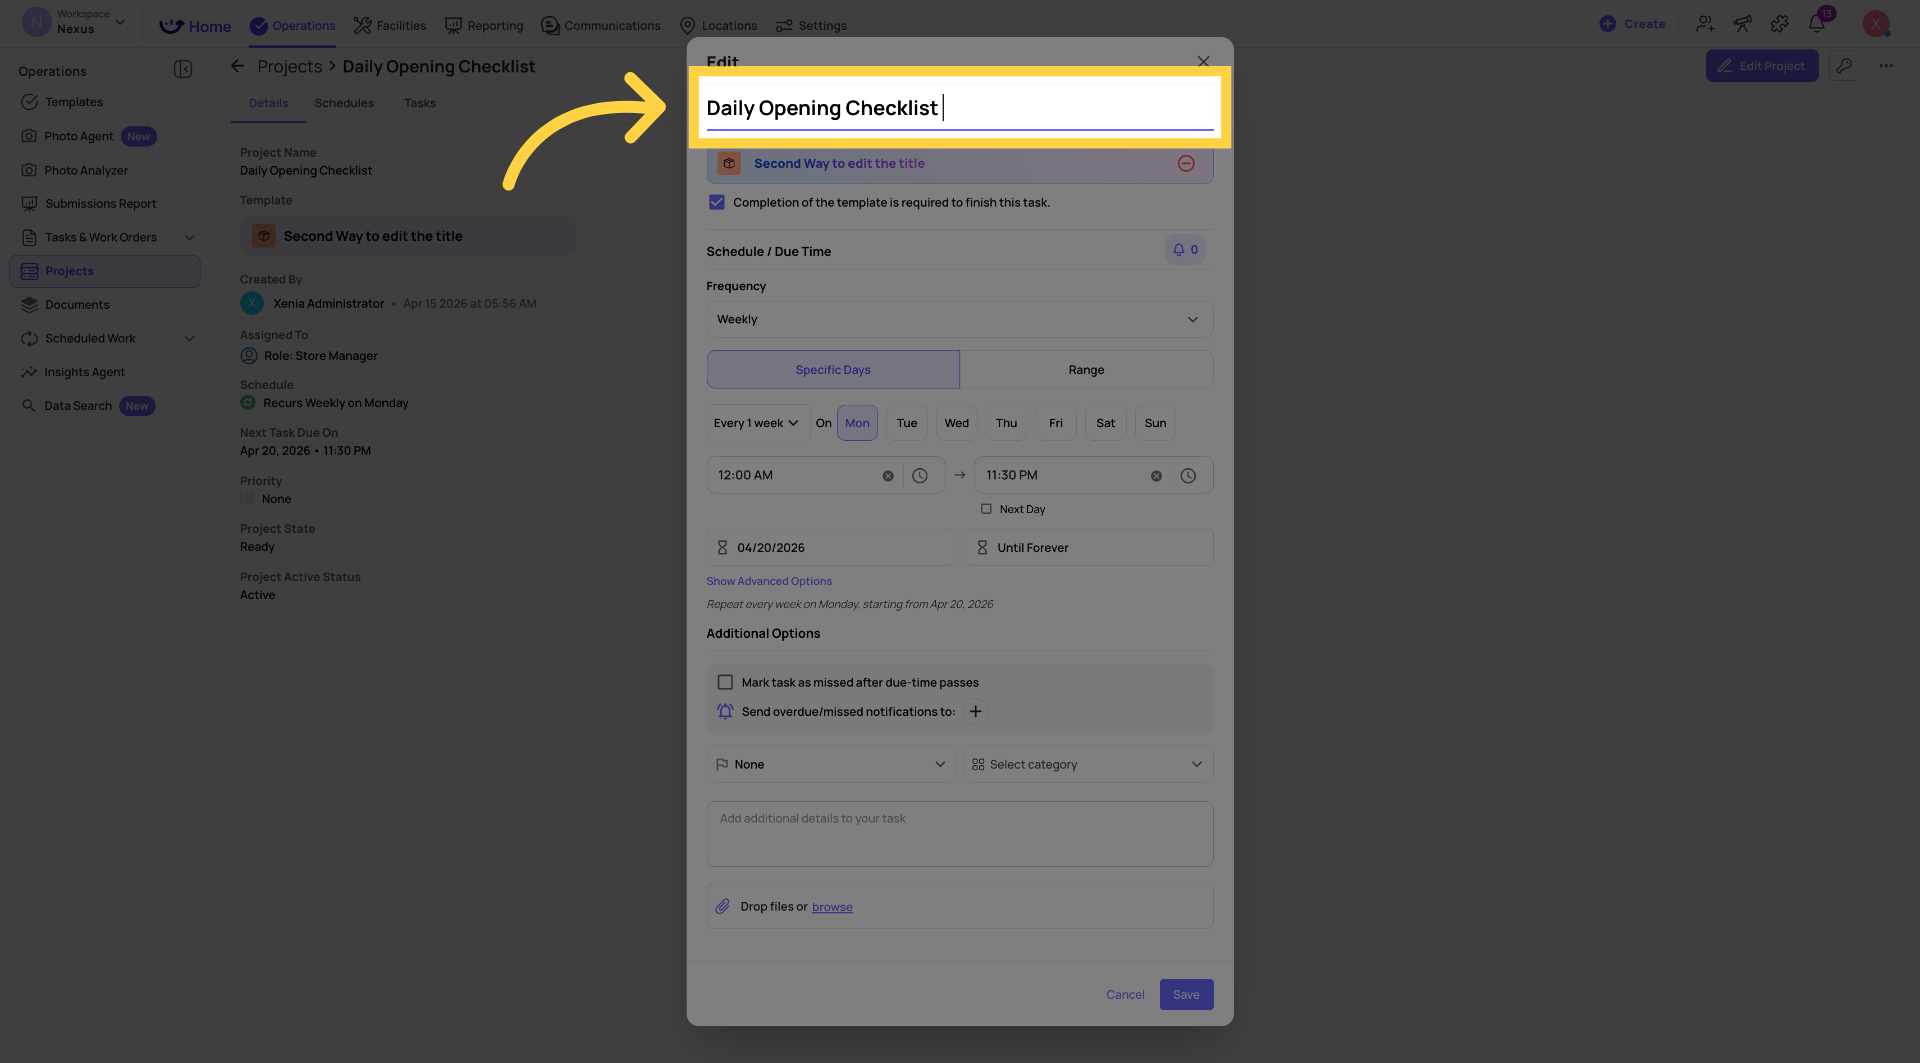
Editing the Project Name
Click into the Project Name field at the top of the edit view. Type the new name. Save.
The updated name appears across all views — the project list, task boards, dashboards, and reporting filters. Historical tasks already generated under the old name are updated to reflect the new name.
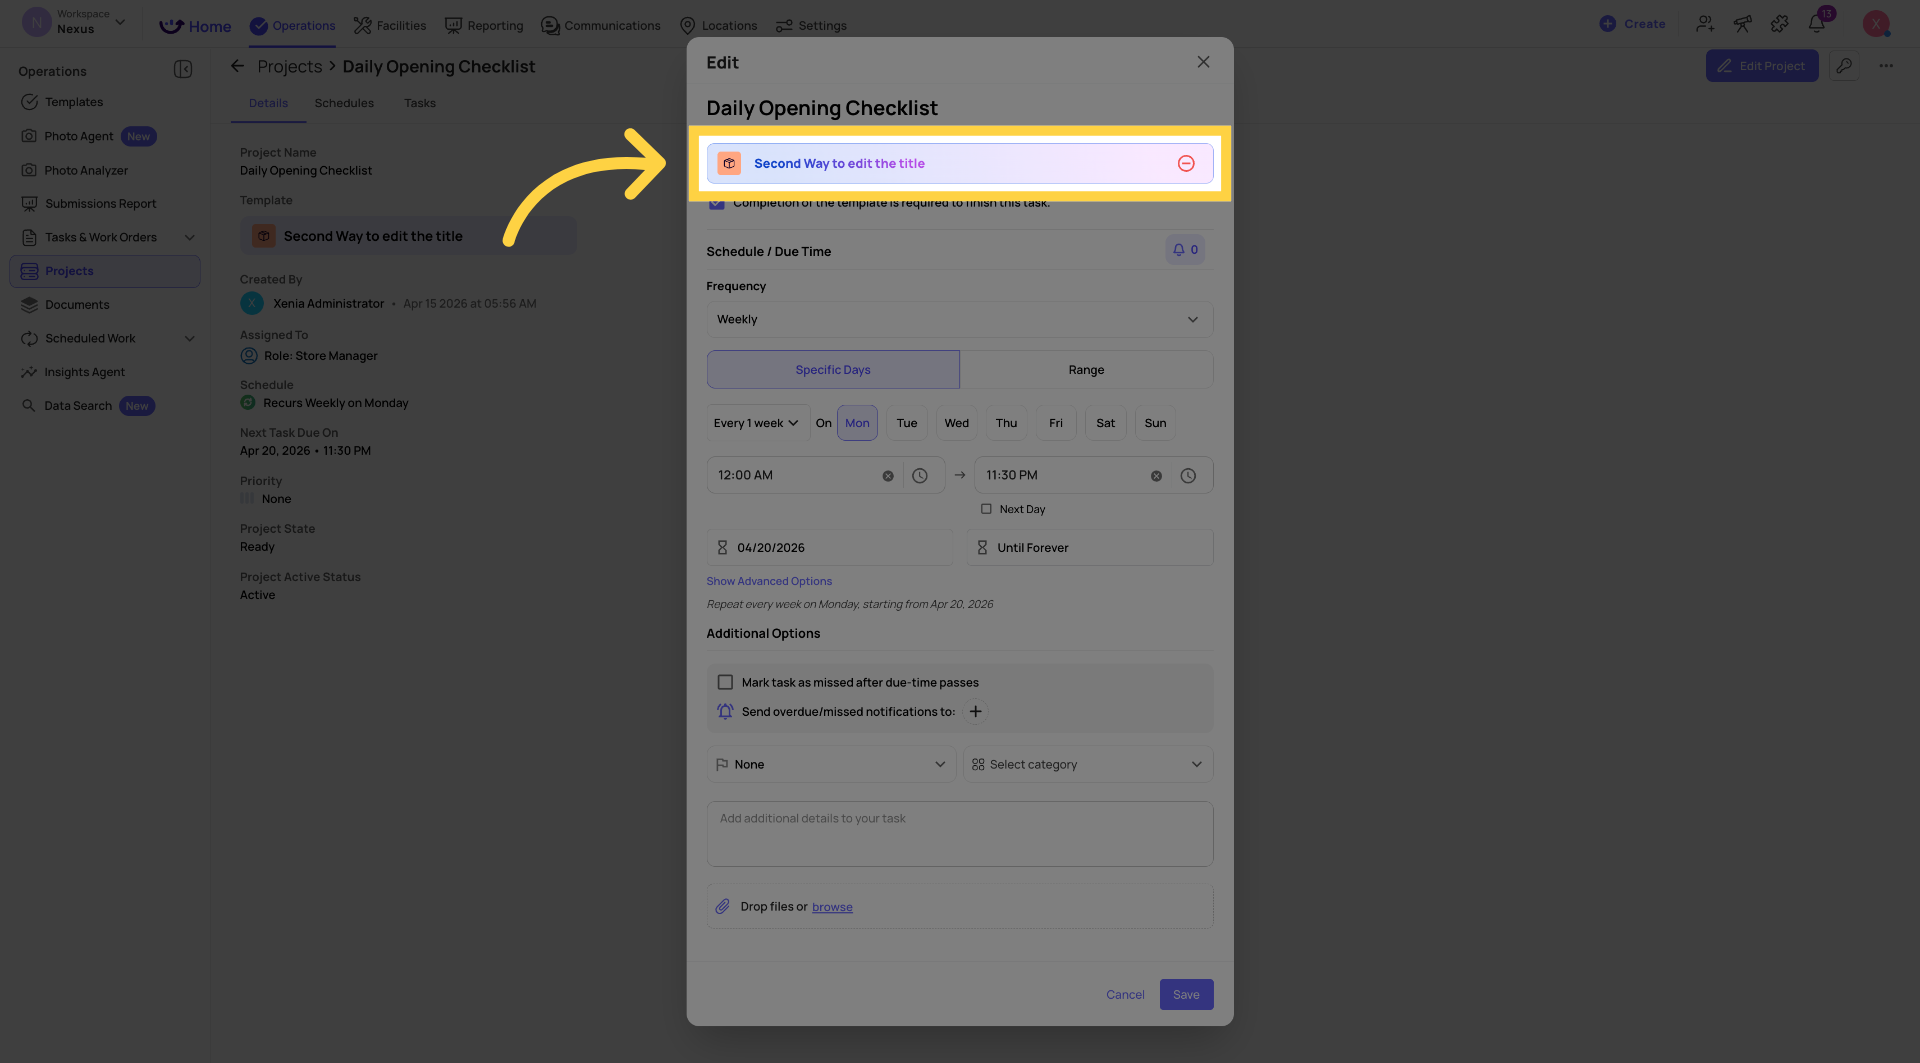
Editing the Template
Click the Template field to change which checklist is attached to the project.
Important: Changing the template affects future task generations only. Tasks already generated and currently open continue to use the previous template version. Tasks generated after you save use the new template.
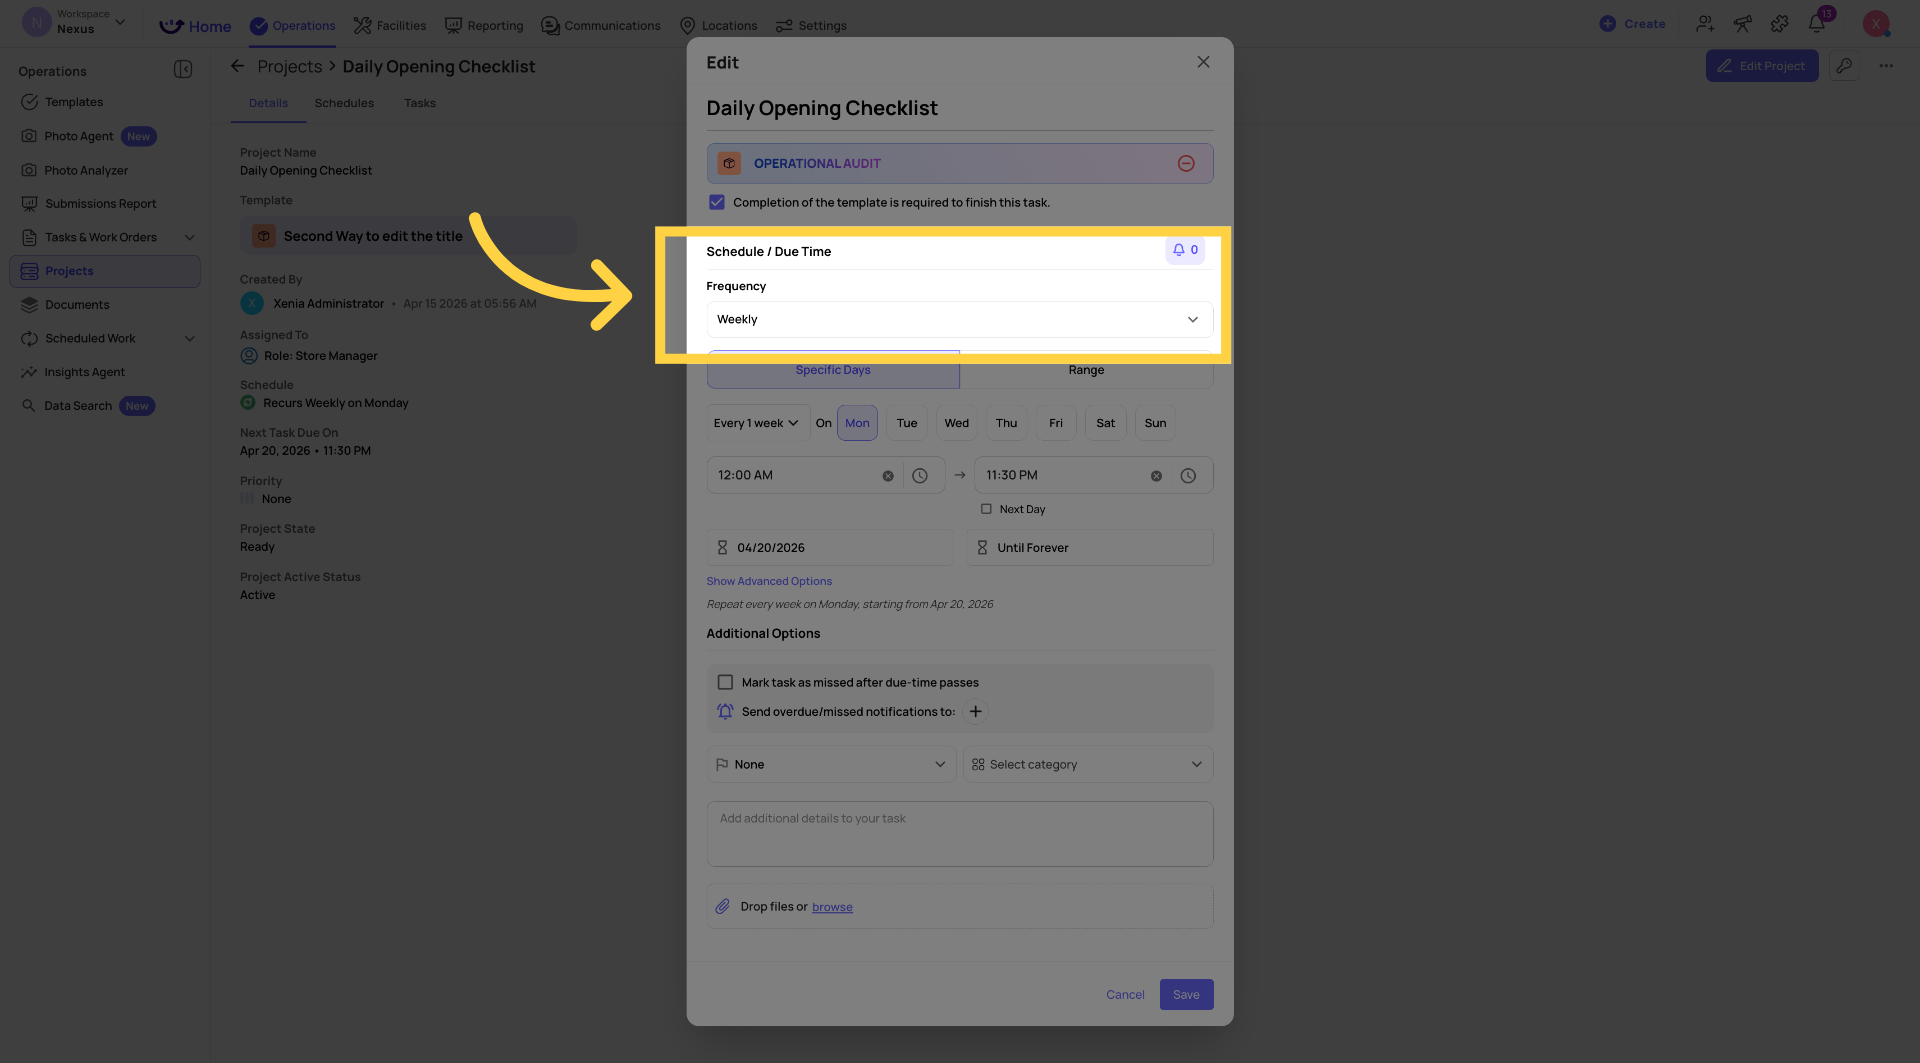
Editing the Cadence and Schedule
Click into the Cadence section to change how often the project generates tasks:
- Daily — select days of the week
- Weekly — select specific days
- Monthly — select day of month
- Range-Based — set a start date and end date
- Specific Dates — pick individual calendar dates
- One-Time — single occurrence
After changing the cadence, update the Start Time and Due Time to define the task window.
When changes take effect: The new cadence and times apply from the next generation cycle after you save. Tasks already generated are not changed.
A note on time changes: After saving a project edit, always verify that your start and due times saved correctly. There is a known behavior in some configurations where editing certain project fields can cause time values to shift unexpectedly. If you notice tasks appearing at unexpected times after an edit, re-open the project, check the start and due time fields, correct them if needed, and save again.
Editing the Overdue/Missed Notifier
Scroll to the Overdue/Missed Notifier field. This is the role that receives an alert when a task passes its due time without a submission.
Always use a role, never an individual. A role-based notifier is location-scoped — only the role member at the store where the task went overdue receives the notification. An individual gets notified for every location in the project.
Adding or Removing Locations
Each location in a project has its own schedule. You can add and remove locations at any time without rebuilding the project.
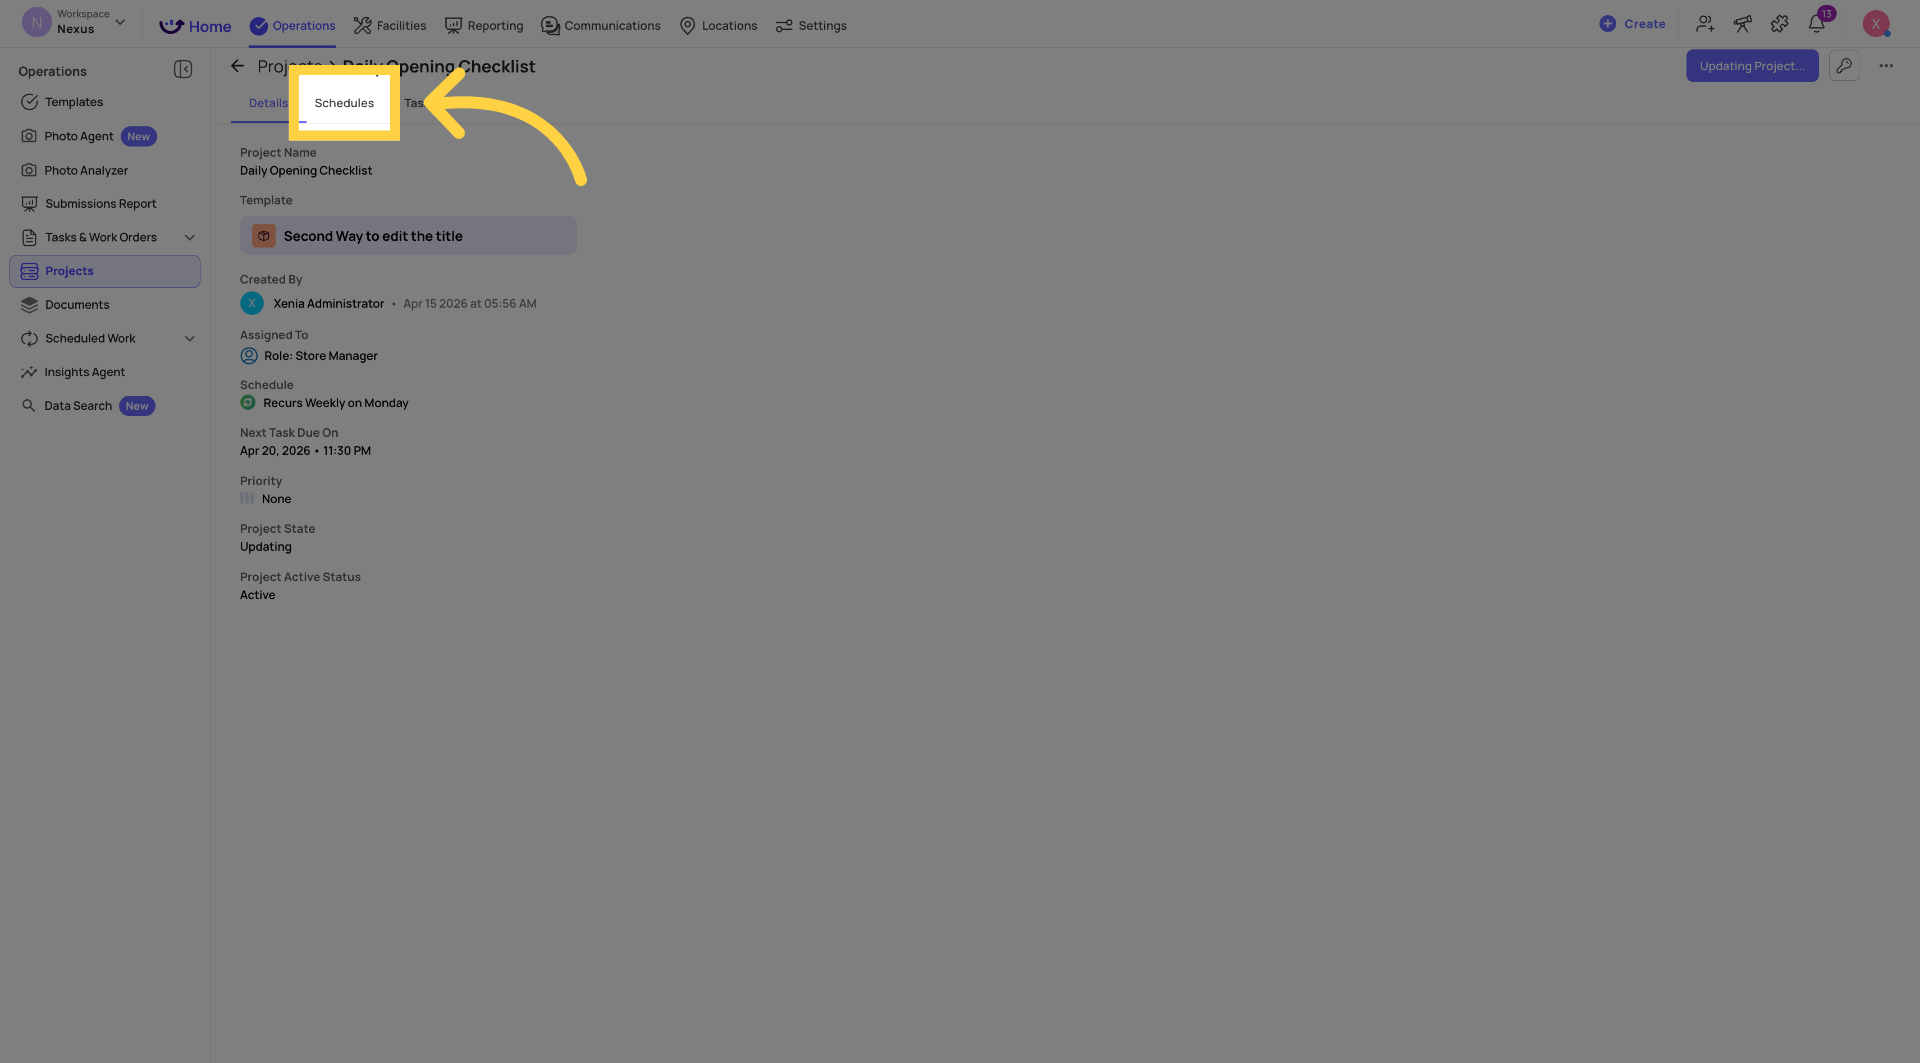
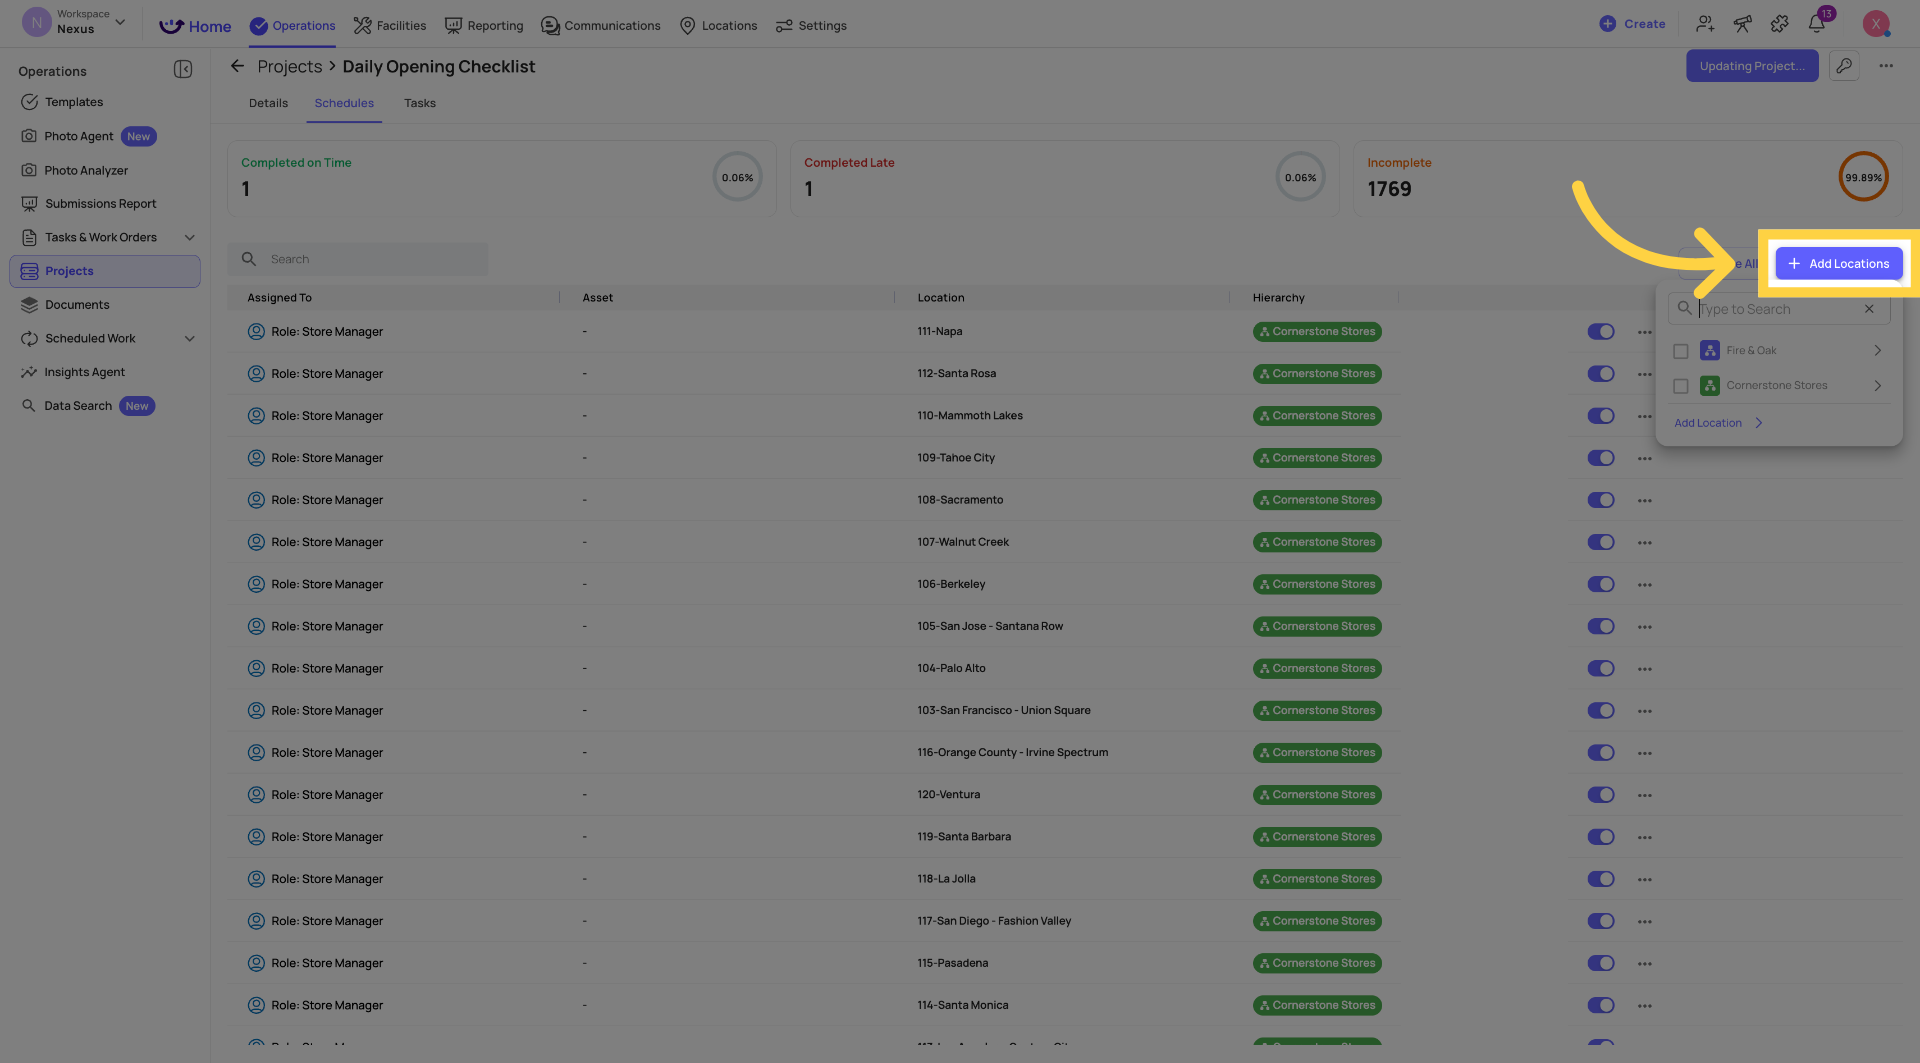
To add a location:
- In the project detail view, go to the Schedules tab
- Click + Add Location or + Add Assignee
- Search for and select the location
- Save
A new schedule is created for that location starting from the current date. Tasks begin generating at the next scheduled start time. There is no backfilling of past dates.
To remove a location:
- Schedules tab → find the location's schedule row
- Click the three-dot menu on that schedule → Pause or Remove
- Confirm
When a location is removed, future task generation for that location stops. Tasks already generated for that location remain in the task board and reporting — they are not deleted.
Pausing and Reactivating Individual Location Schedules
Rather than removing a location entirely, you can pause a specific location's schedule within the project. This stops task generation for that location while keeping all others active.
- Schedules tab → find the location
- Click the Active/Paused toggle on that schedule row
Paused locations can be reactivated at any time. Generation resumes from the current date — no backfilling.
Saving Your Changes
Click Save or Save Changes in the upper right. Changes take effect immediately on the server. The next task generation cycle will use the updated settings.
After saving — always verify:
- Confirm start and due times are correct in the saved project
- Check the Schedules tab to confirm locations are as expected
- If tasks are time-sensitive, consider making edits during a low-traffic perio
What Editing a Project Does NOT Change
Quick Reference — What Changes When
| Change Made | When It Takes Effect |
|---|---|
| Project name | Immediately, including historical view |
| Template | Next task generated after saving |
| Cadence (daily → weekly, etc.) | Next generation cycle |
| Start / Due time | Next task generated after saving |
| Adding a location | Next scheduled start time for that location |
| Removing a location | Future tasks stop; existing tasks remain |
| Overdue/Missed notifier | Next overdue event |
| Mark as Missed toggle | Next task that reaches its due time |
Reach out to our Support Team at Support@xenia.team
Comments
0 comments
Please sign in to leave a comment.