What is a Location Group
A Location Group is a named collection of locations that share a common attribute — a region, a store type, a concept, a vendor relationship, or any characteristic that makes those locations behave the same way operationally.
Examples of Location Groups:
- "Has Drive-Thru" — only locations with a drive-through window
- "Region — Southeast" — all stores in the Southeast territory
- "Deli Locations" — stores that have a deli department
- "Fuel Sites" — locations that sell fuel
- "Pepsi Vendor Locations" — stores served by Pepsi as a beverage vendor
Groups are created once and then referenced in three places:
- Conditional Visibility — show or hide checklist sections based on the location completing the form
- Workflow Rules — apply automation logic only to specific types of locations
- Project Deployment — assign a project to an entire group at once instead of selecting individual locations
Where Location Groups Lived
Locations → Groups tab
In the top navigation. Click Locations in the top sidebar. At the top of the Locations page, you'll see tabs — click Groups. This is where all your location groups are listed and managed.
Creating a New Location Group
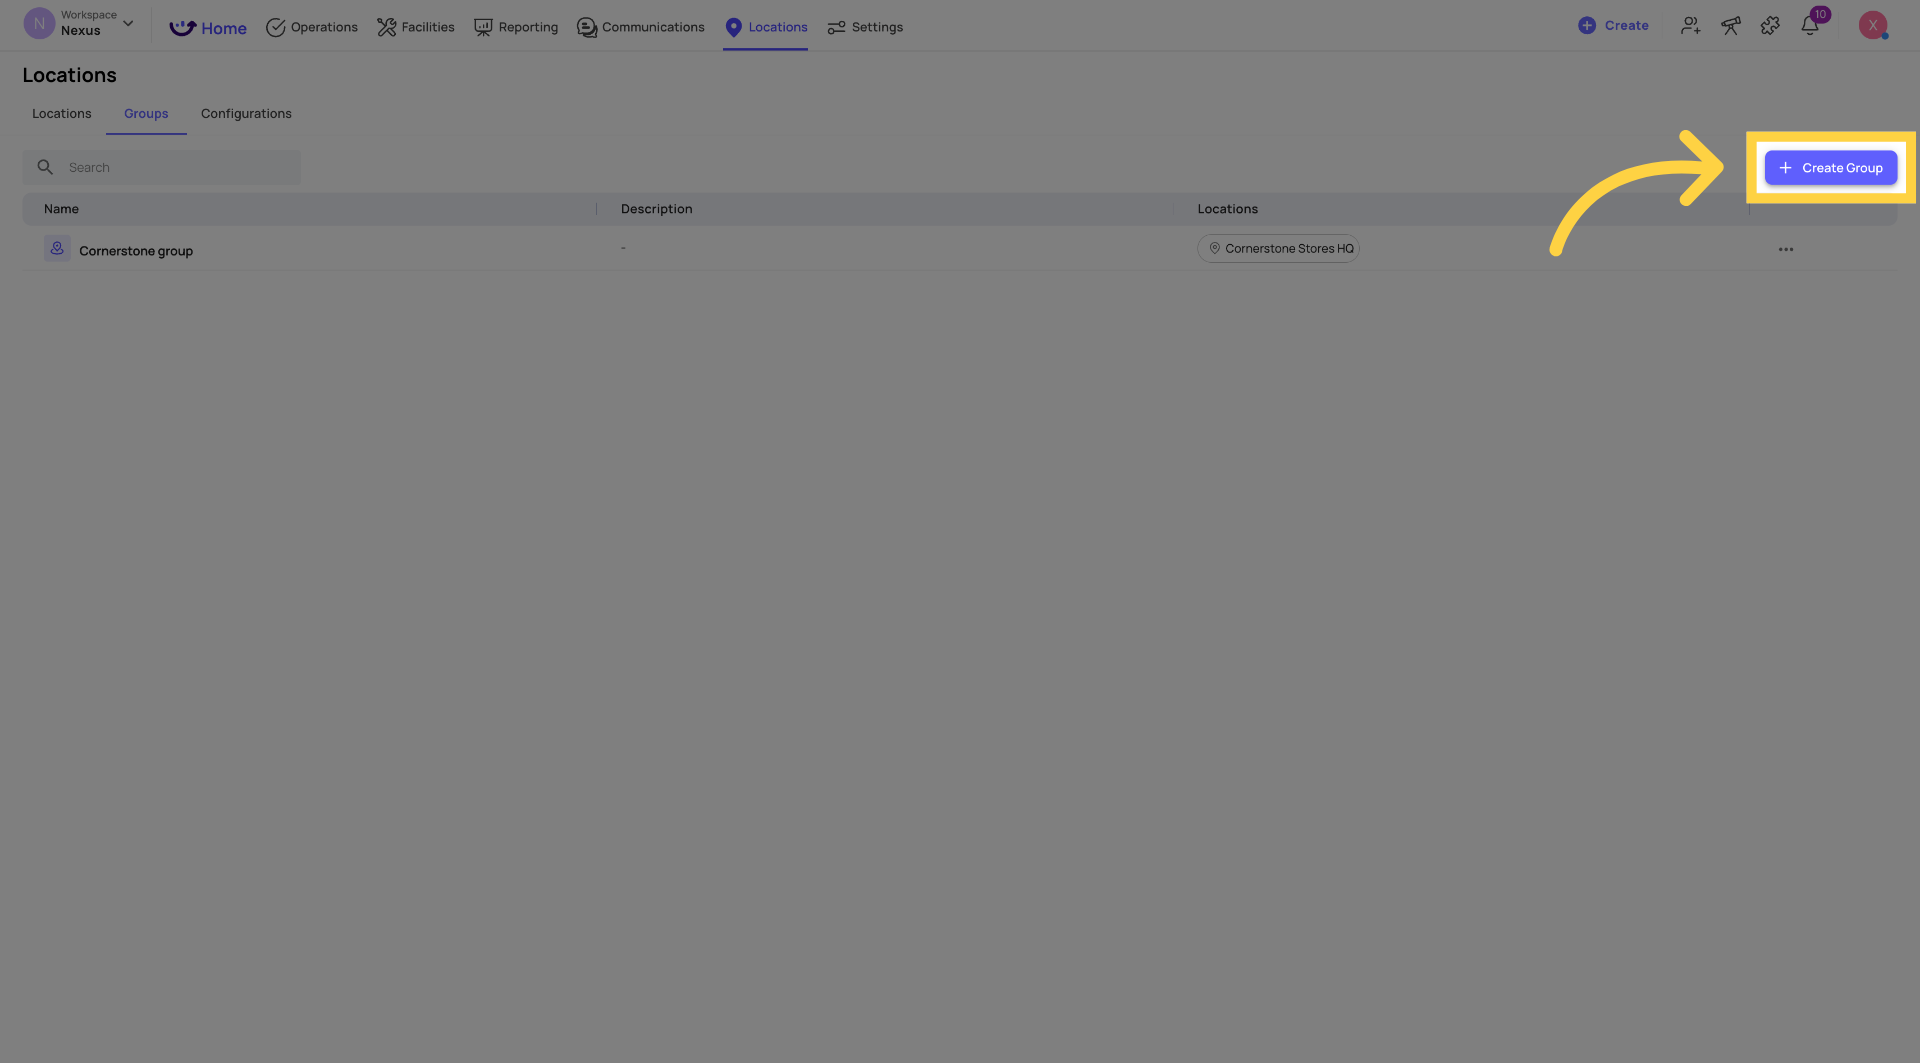
- Go to Locations → Groups
- Click + Create Group in the top right corner
- A creation dialog or form opens
-
Name the group — use a descriptive name that clearly identifies what these locations have in common:
- ✅ "Has Drive-Thru"
- ✅ "Region — West"
- ✅ "Full-Service Kitchen"
- ❌ "Group 1" (not useful when you have 20 groups)
- Add a detailed Description
- Add locations to the group — search for locations by name or scroll through your location list. Select each location that belongs in this group.
- Click Save or Create
The group is now created and immediately available for use in conditional visibility, workflows, and project deployment.
Adding Locations to an Existing Group
When a new store opens that belongs in an existing group, or when a store's characteristics change:
- Go to Locations → Groups
- Find the group in the list
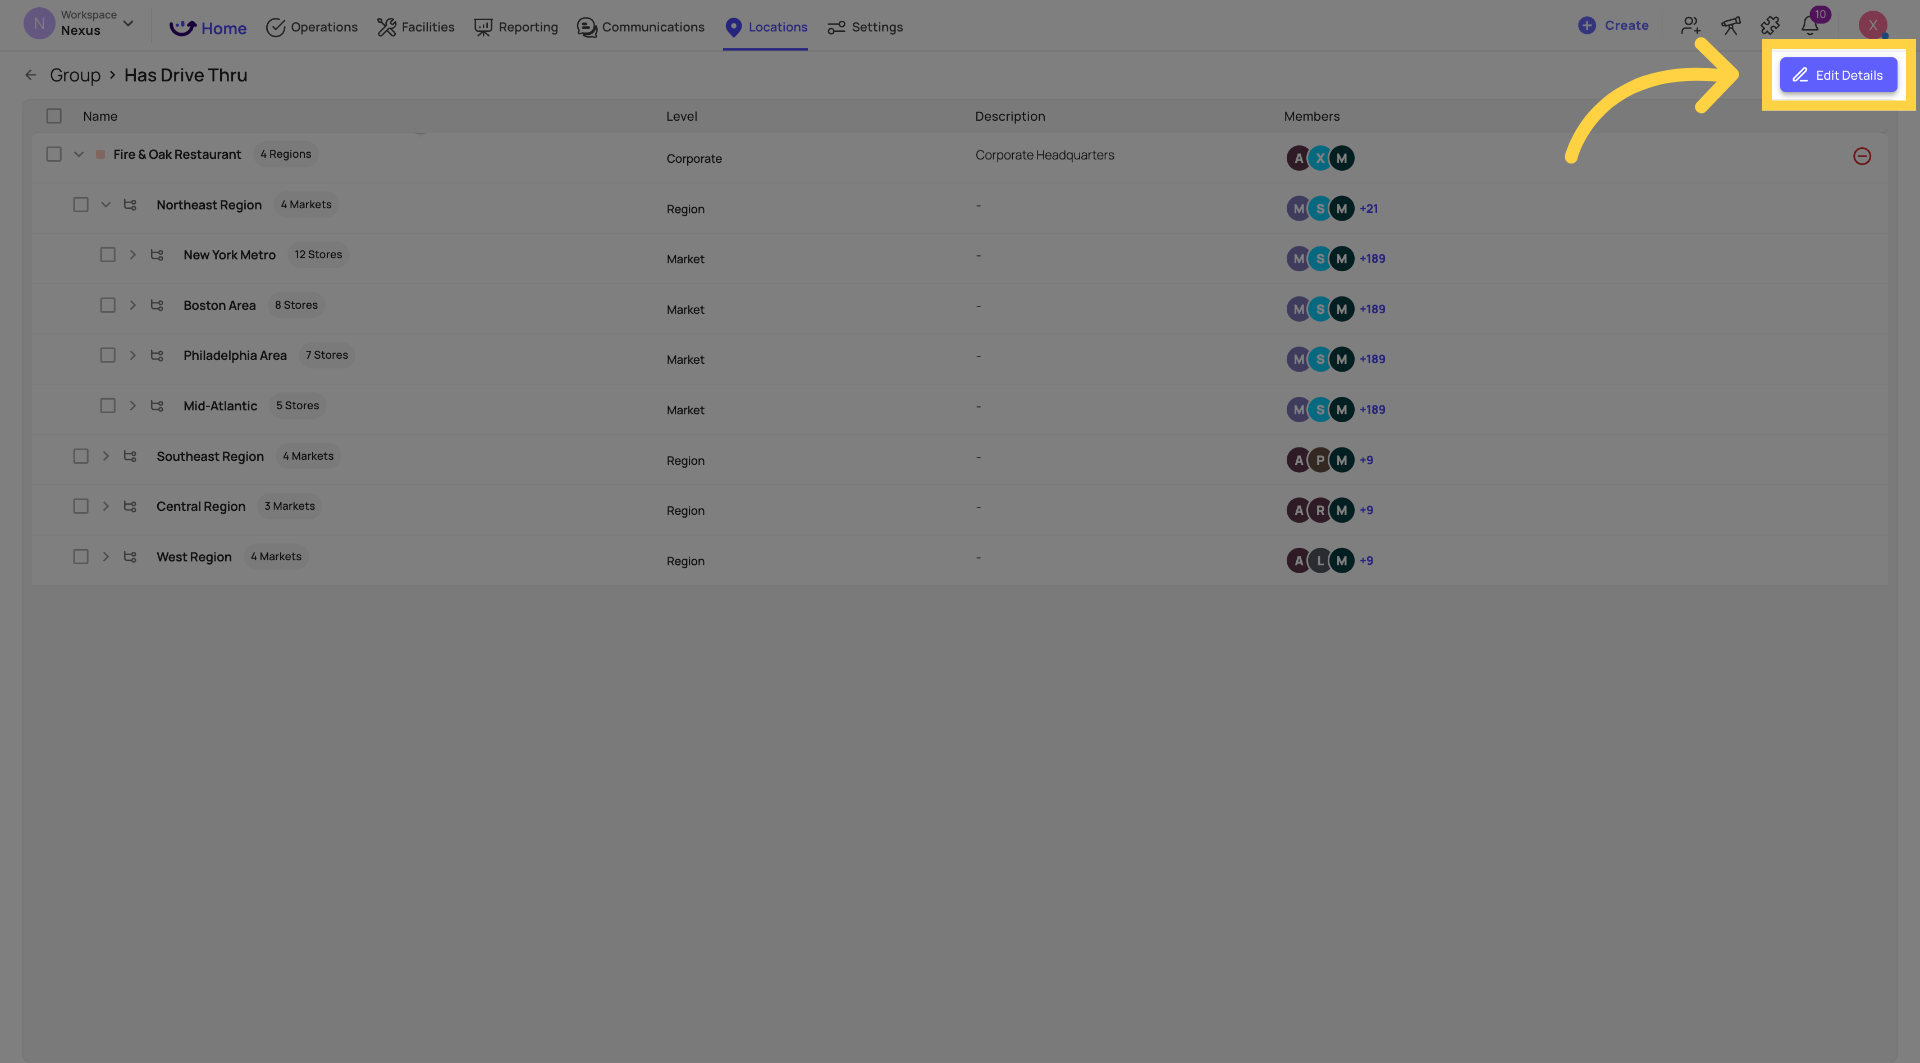
- Click the group name or the Edit option (pencil icon or three-dot menu)
- In the group edit view, use the search bar to find the location you want to add
- Select it — it's added to the group
- Save

The benefit: Any workflow, conditional visibility rule, or project that references this group automatically includes the new location from the moment it's added. No need to update individual rules — just update the group.
Removing a Location from a Group
- Open the group (Settings → Locations → Groups → click the group)
- Find the location in the group's member list
- Tap the X or deselect it
- Save
The location is removed from the group immediately. Any rules referencing this group no longer apply to that location on future actions.
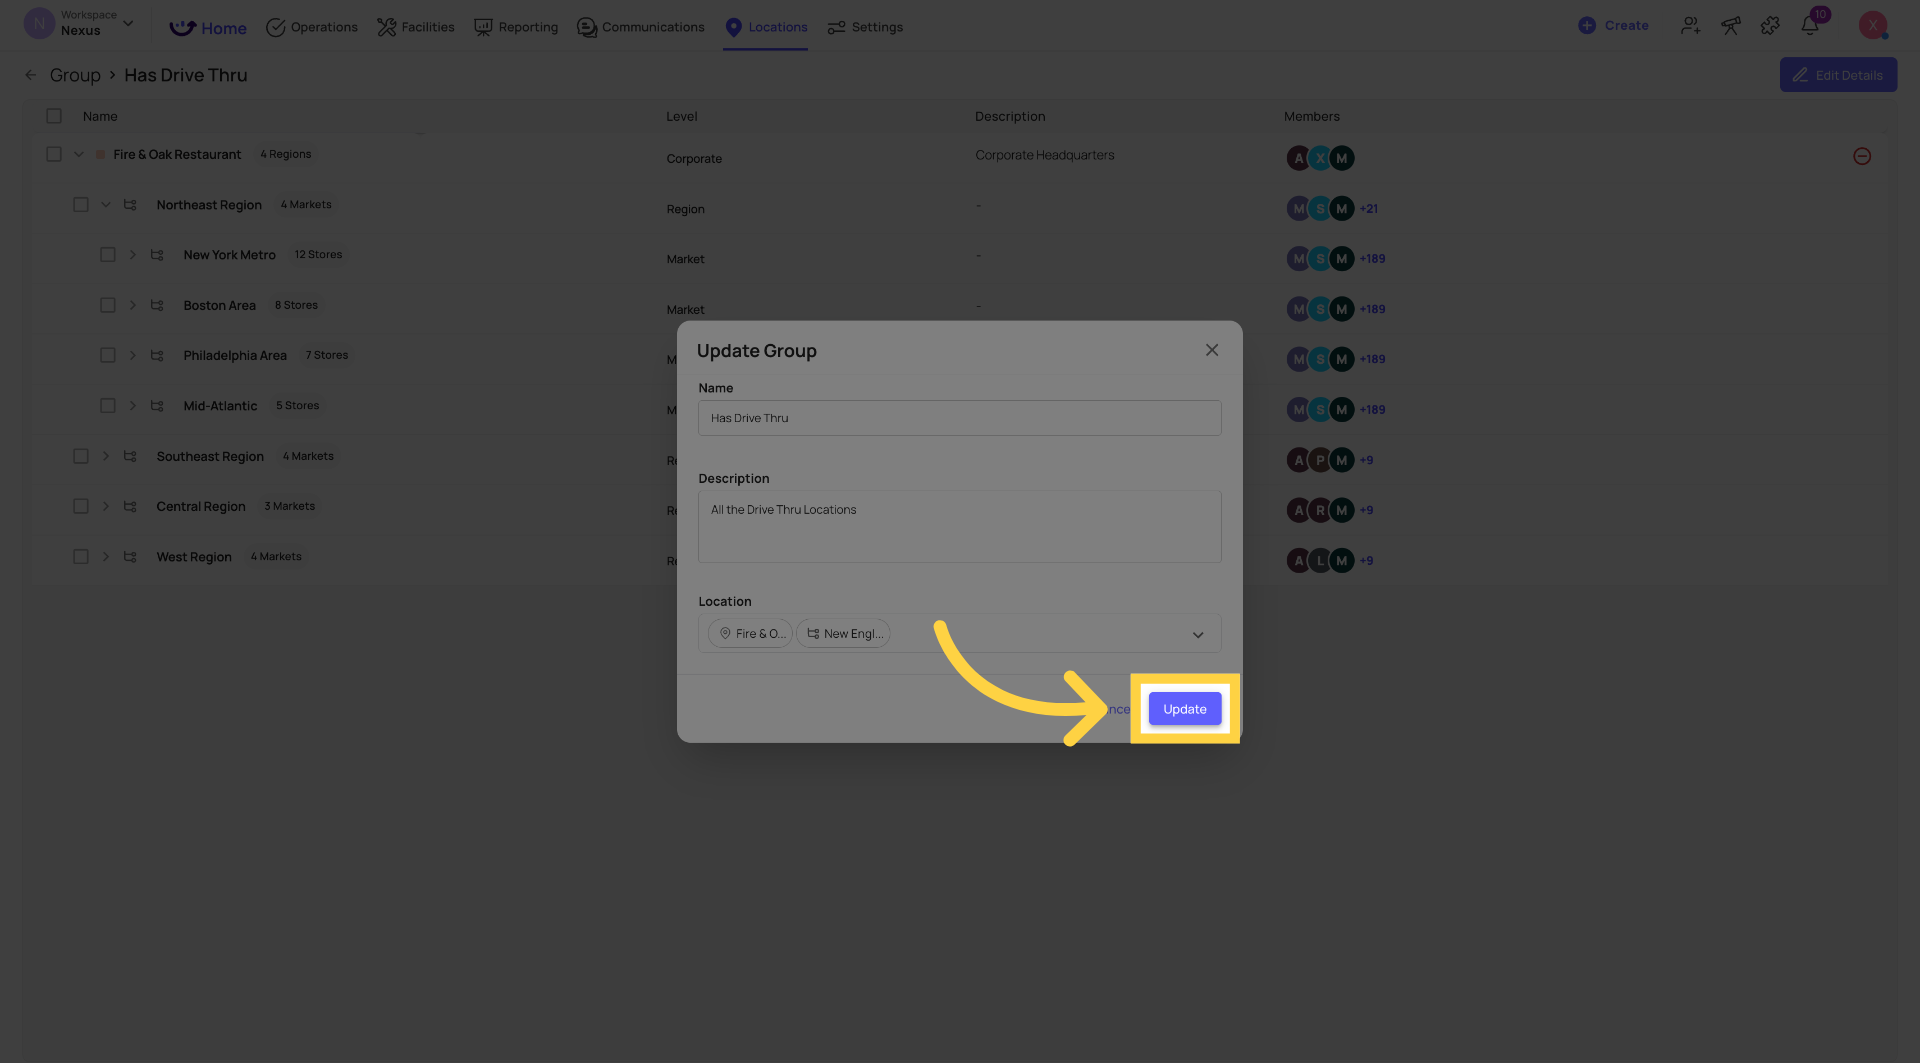
Editing a Group Name
- Open the group
- Click the group name field at the top
- Edit the name
- Save
Note: Renaming a group doesn't break any existing rules that reference it — the group is referenced by its ID, not its name. The new name appears everywhere the group is used.
Deleting a Group
- Open the group or find it in the Groups list
- Three-dot menu → Delete
- Confirm
Before deleting: check whether the group is being used in any workflow rules or conditional visibility settings. Deleting a group removes it from those rules — the rules may no longer fire correctly for the locations that were in it. Review your workflows and visibility settings after deleting any group.
Where Location Groups Are Used — The Three Connections
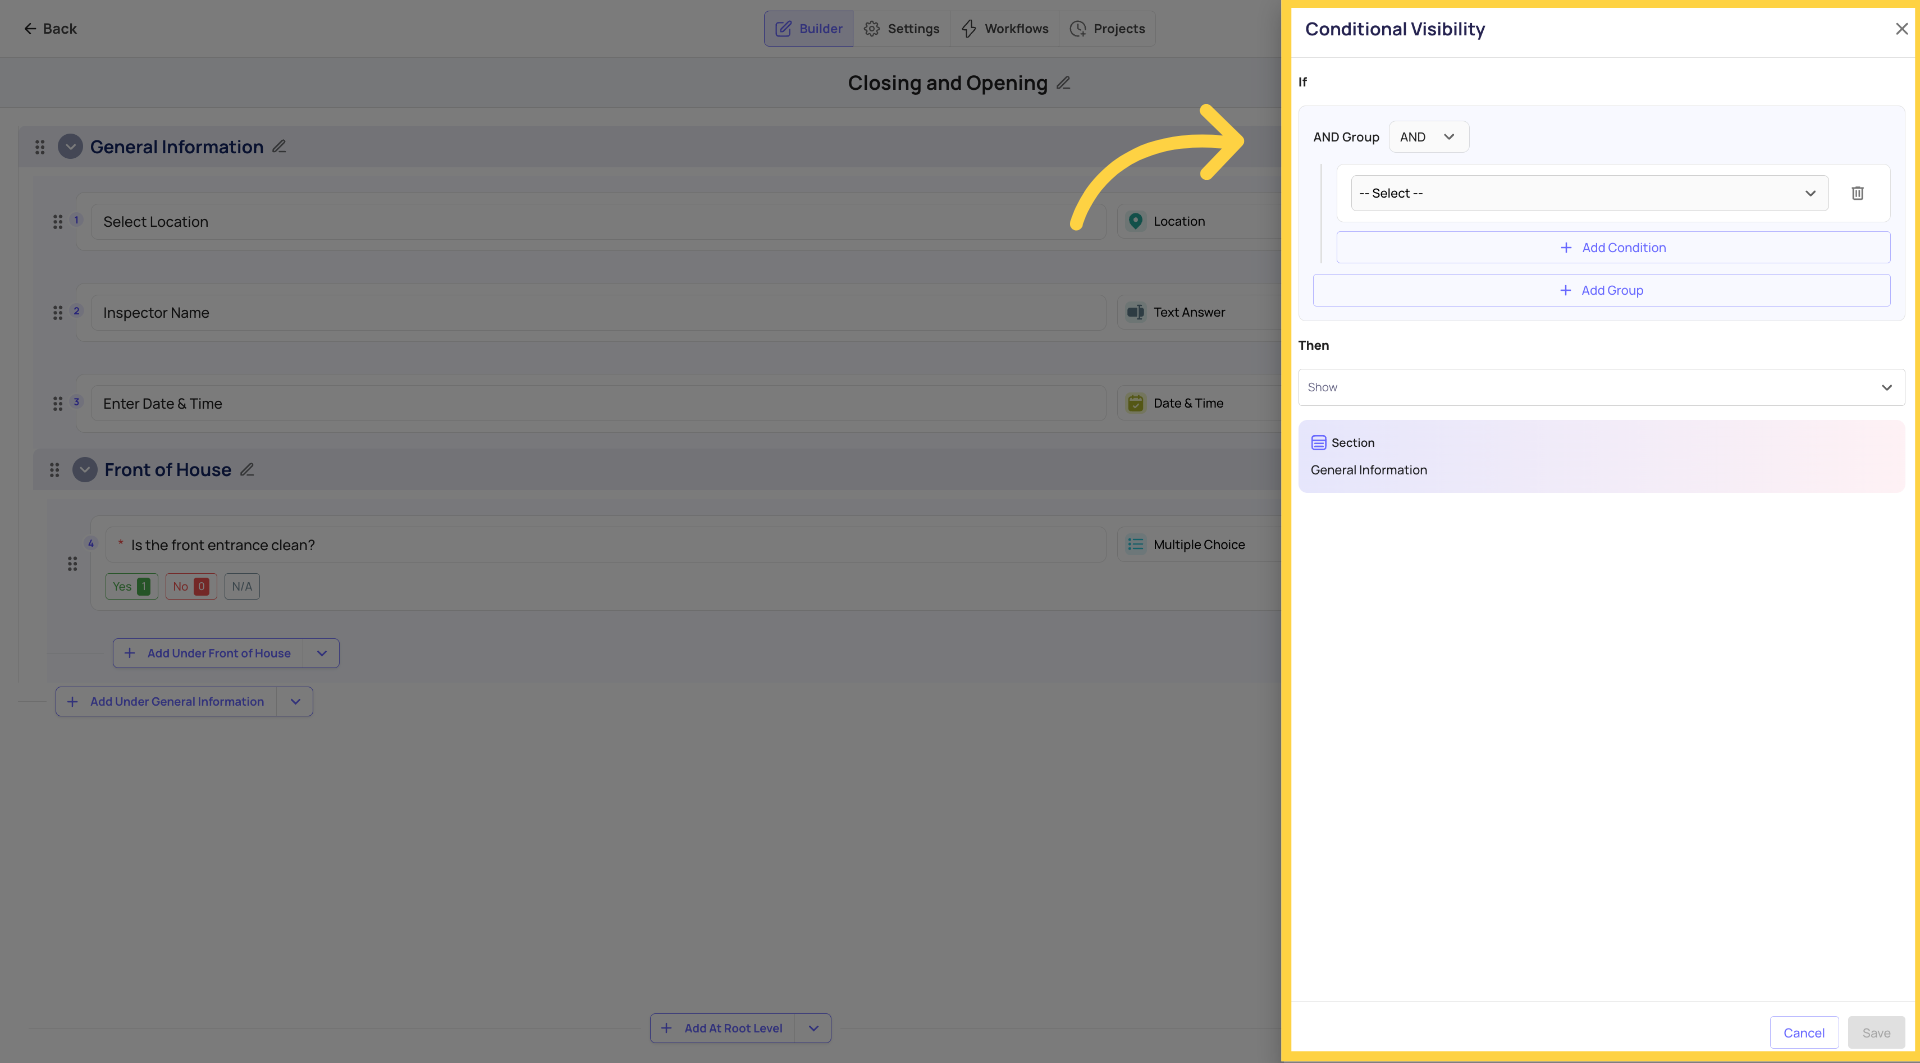
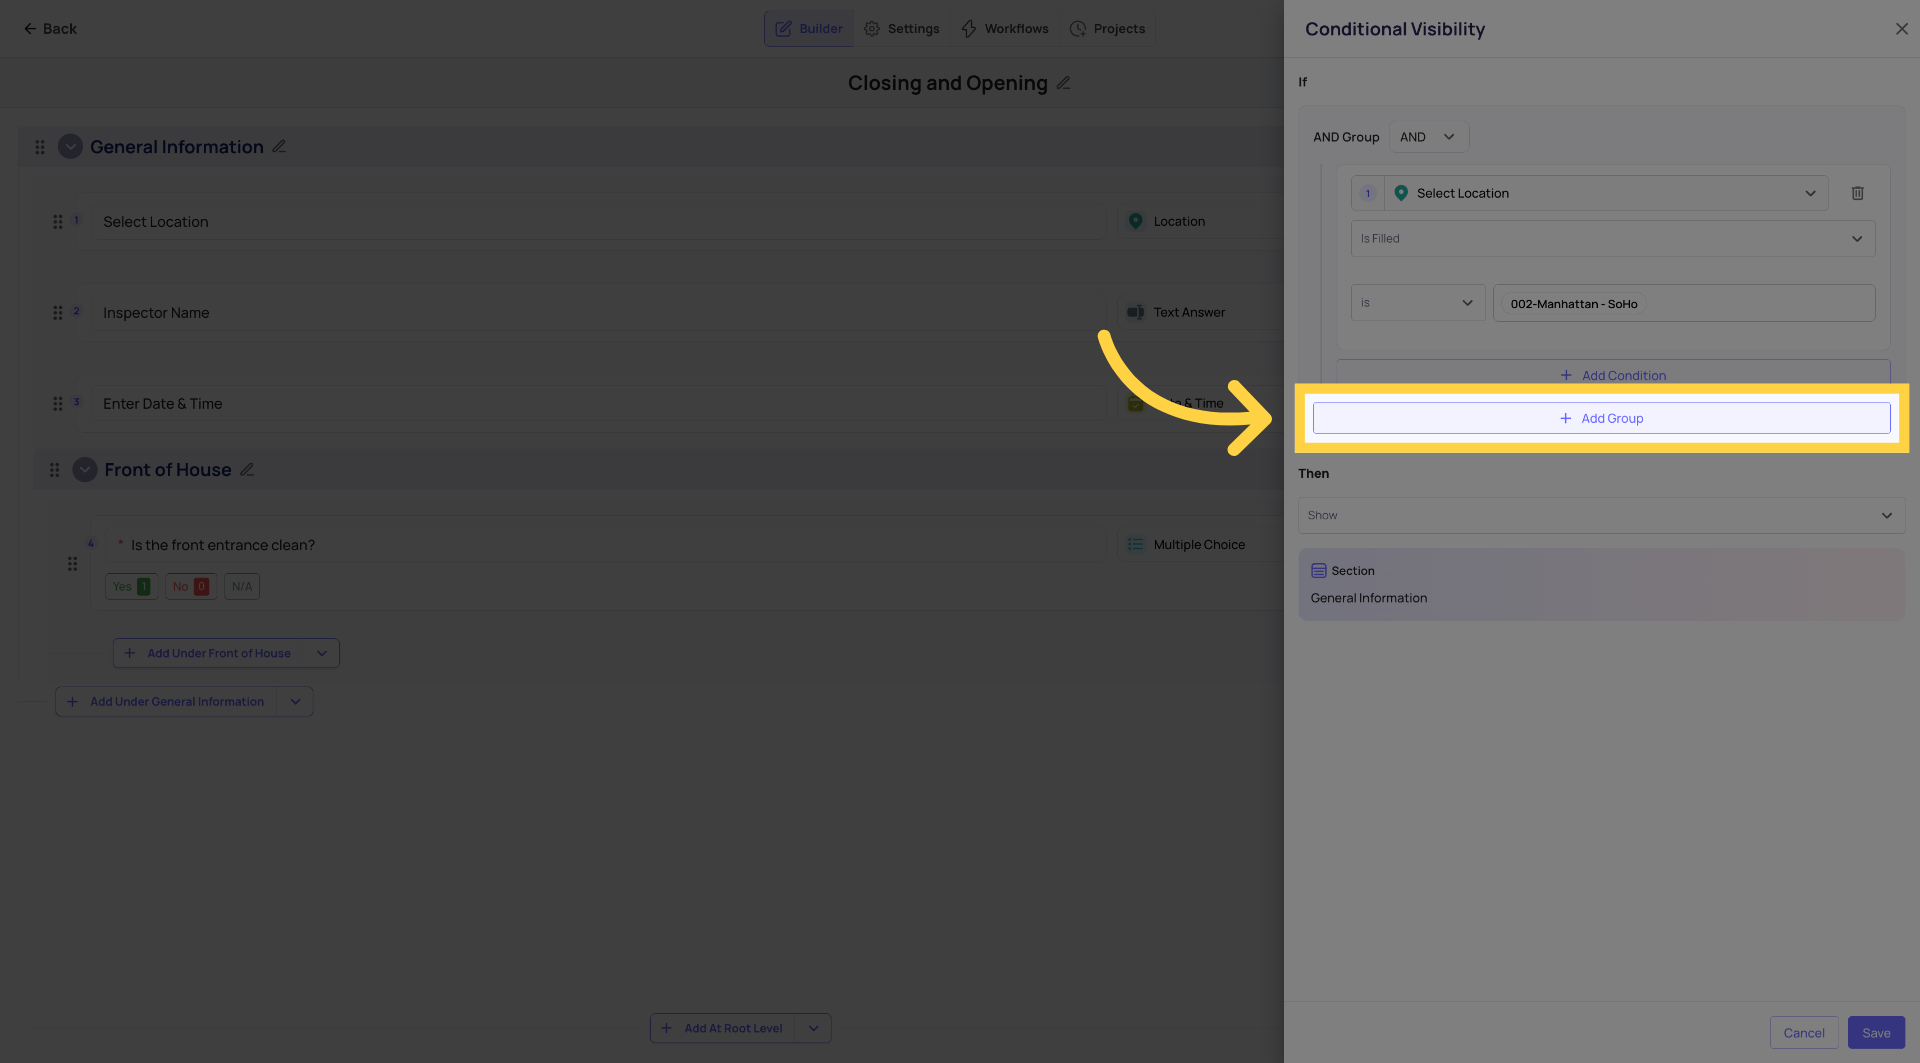
1. Conditional Visibility on Templates
Show or hide entire checklist sections based on whether the submitting location is in a specific group.
Example: A "Drive-Thru Opening" section only appears for locations in the "Has Drive-Thru" group. Locations without a drive-through never see it — and don't have their scores affected by it.
Where to configure: Template builder → Build tab → click a section header → Set Visibility → "If location is in group" → select the group.
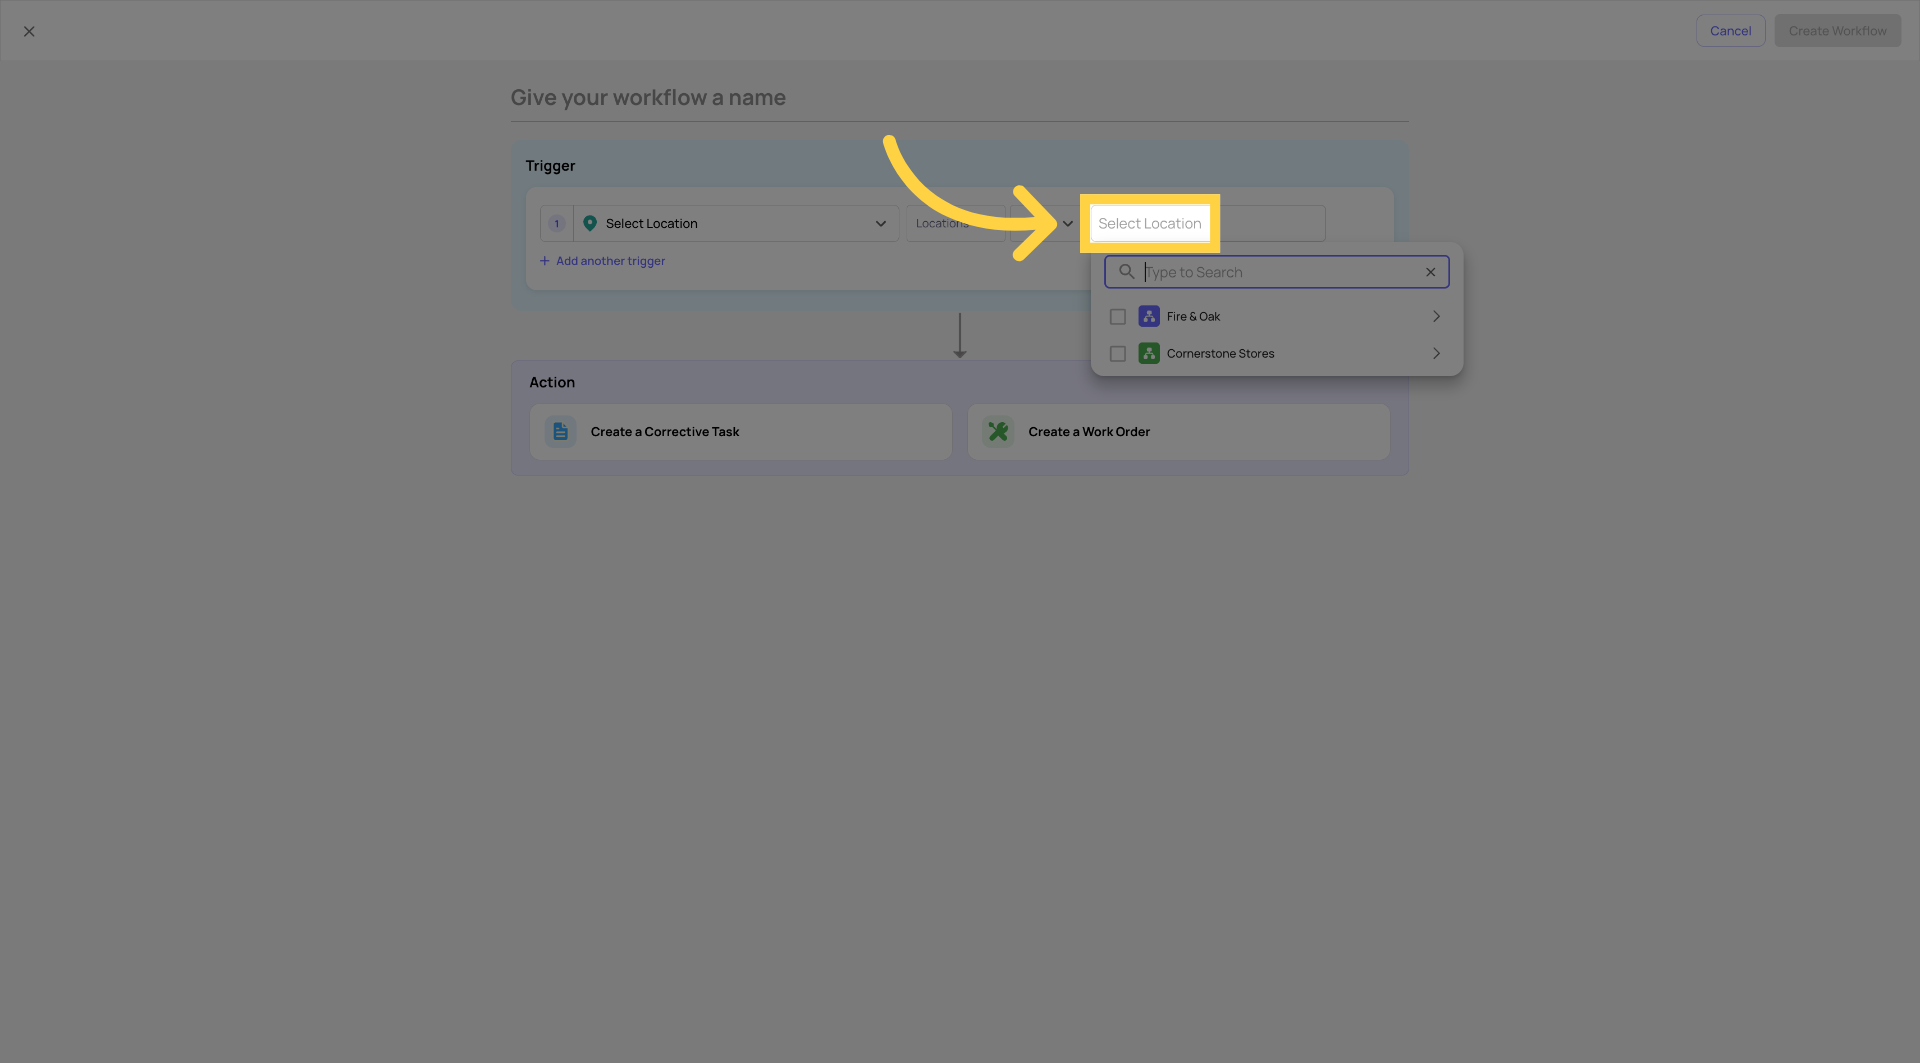
2. Workflow Rules
Apply automation logic — corrective task creation, notifications, routing — only to locations in a specific group.
Example: A routing rule fires when Category = HVAC AND Location is in group "Full-Service Properties" — so locations that don't have central HVAC don't get HVAC corrective tasks.
Where to configure: Workflows tab inside a template → Add Condition → Location Group condition → select the group.
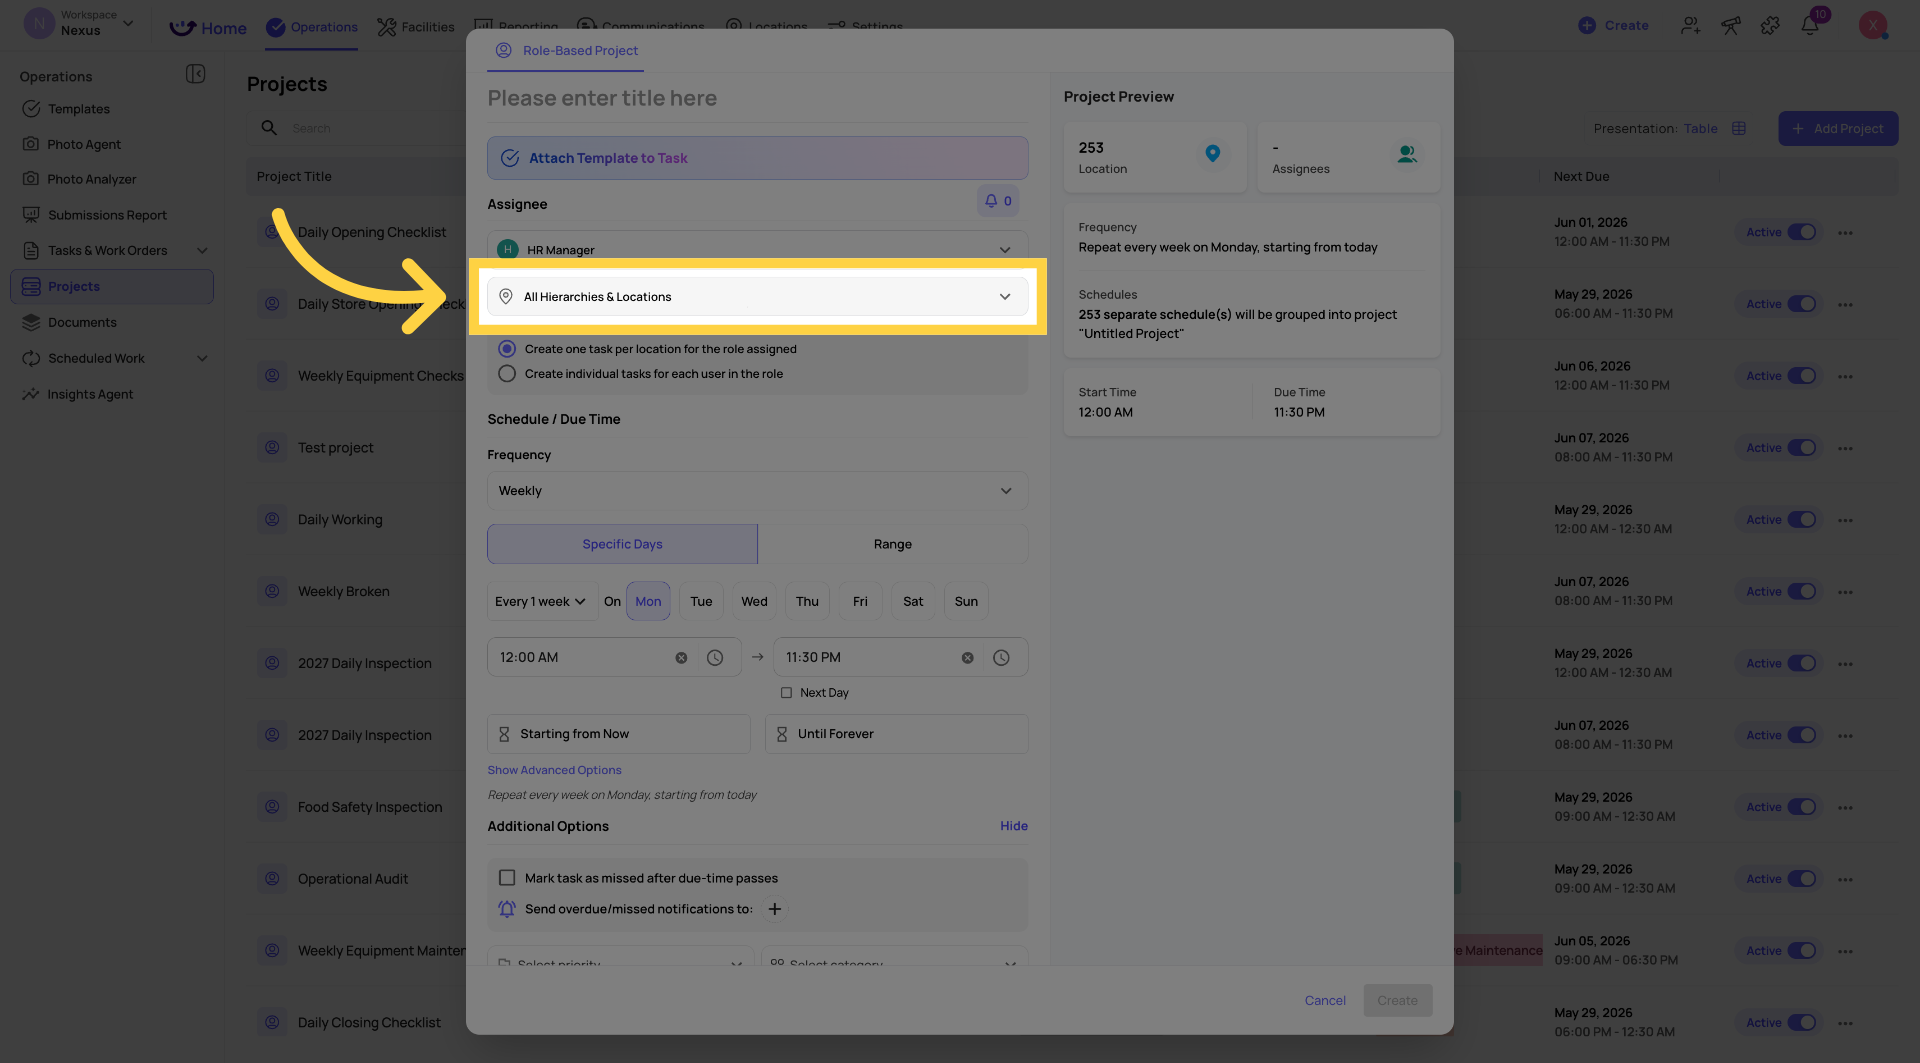
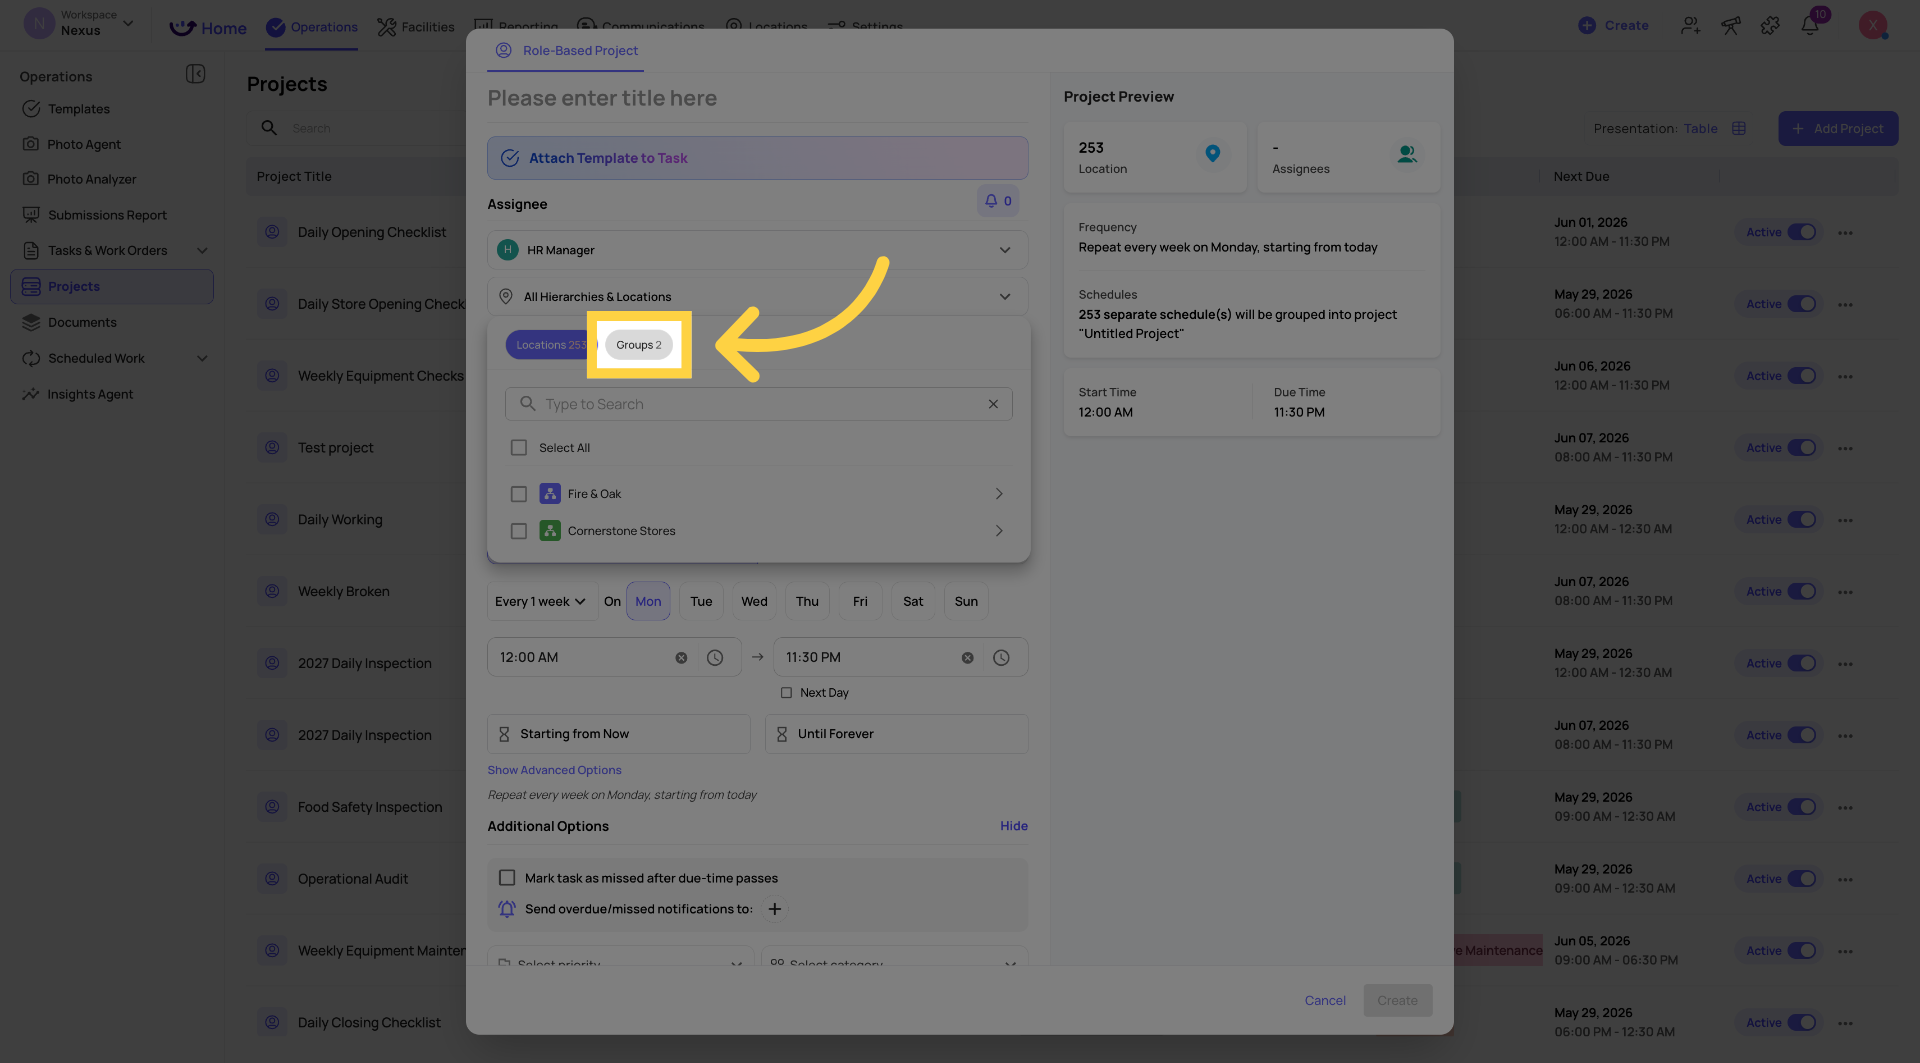
3. Project Deployment
Assign a project to an entire group at once — instead of selecting individual locations one by one.
Example: A new seasonal project needs to deploy to all "Southeast Region" locations. Select the group when adding locations to the project — all current and future members of that group receive the project.
Where to configure: Operations → Projects → [Project] → Edit → Add Locations → select by group.
Best Practices for Managing Groups
Name groups by attribute, not by current members. "Has Drive-Thru" is better than "Atlanta + Dallas + Denver" — the attribute name stays accurate as locations are added or removed.
Keep groups focused. One group per distinct attribute. Don't create an "All Southeast Franchise Locations With Drive-Thrus" mega-group — create "Southeast Region" and "Has Drive-Thru" separately and combine them using AND conditions in your workflow rules.
Review groups when locations change. When a store changes concept, opens, or closes — update its group memberships immediately. All rules update automatically.
Audit quarterly. As your location footprint grows, review your groups list to keep it clean and current.
Need Help?
Reach out to our Support Team at Support@xenia.team
Comments
0 comments
Please sign in to leave a comment.