SSO Setup Guide
Before You Begin
SSO is a paid add-on. Please contact your Xenia Customer Success representative to have SSO enabled on your account before following the steps below.
Once enabled, only users with the “Configure SSO” permission (Admin and Owner roles by default, found under Workspace permissions) can complete this setup.
Xenia uses WorkOS to power SSO, which supports all major identity providers including Azure AD / Entra ID, Okta, and Google Workspace.
Step 1: Add Your Domain
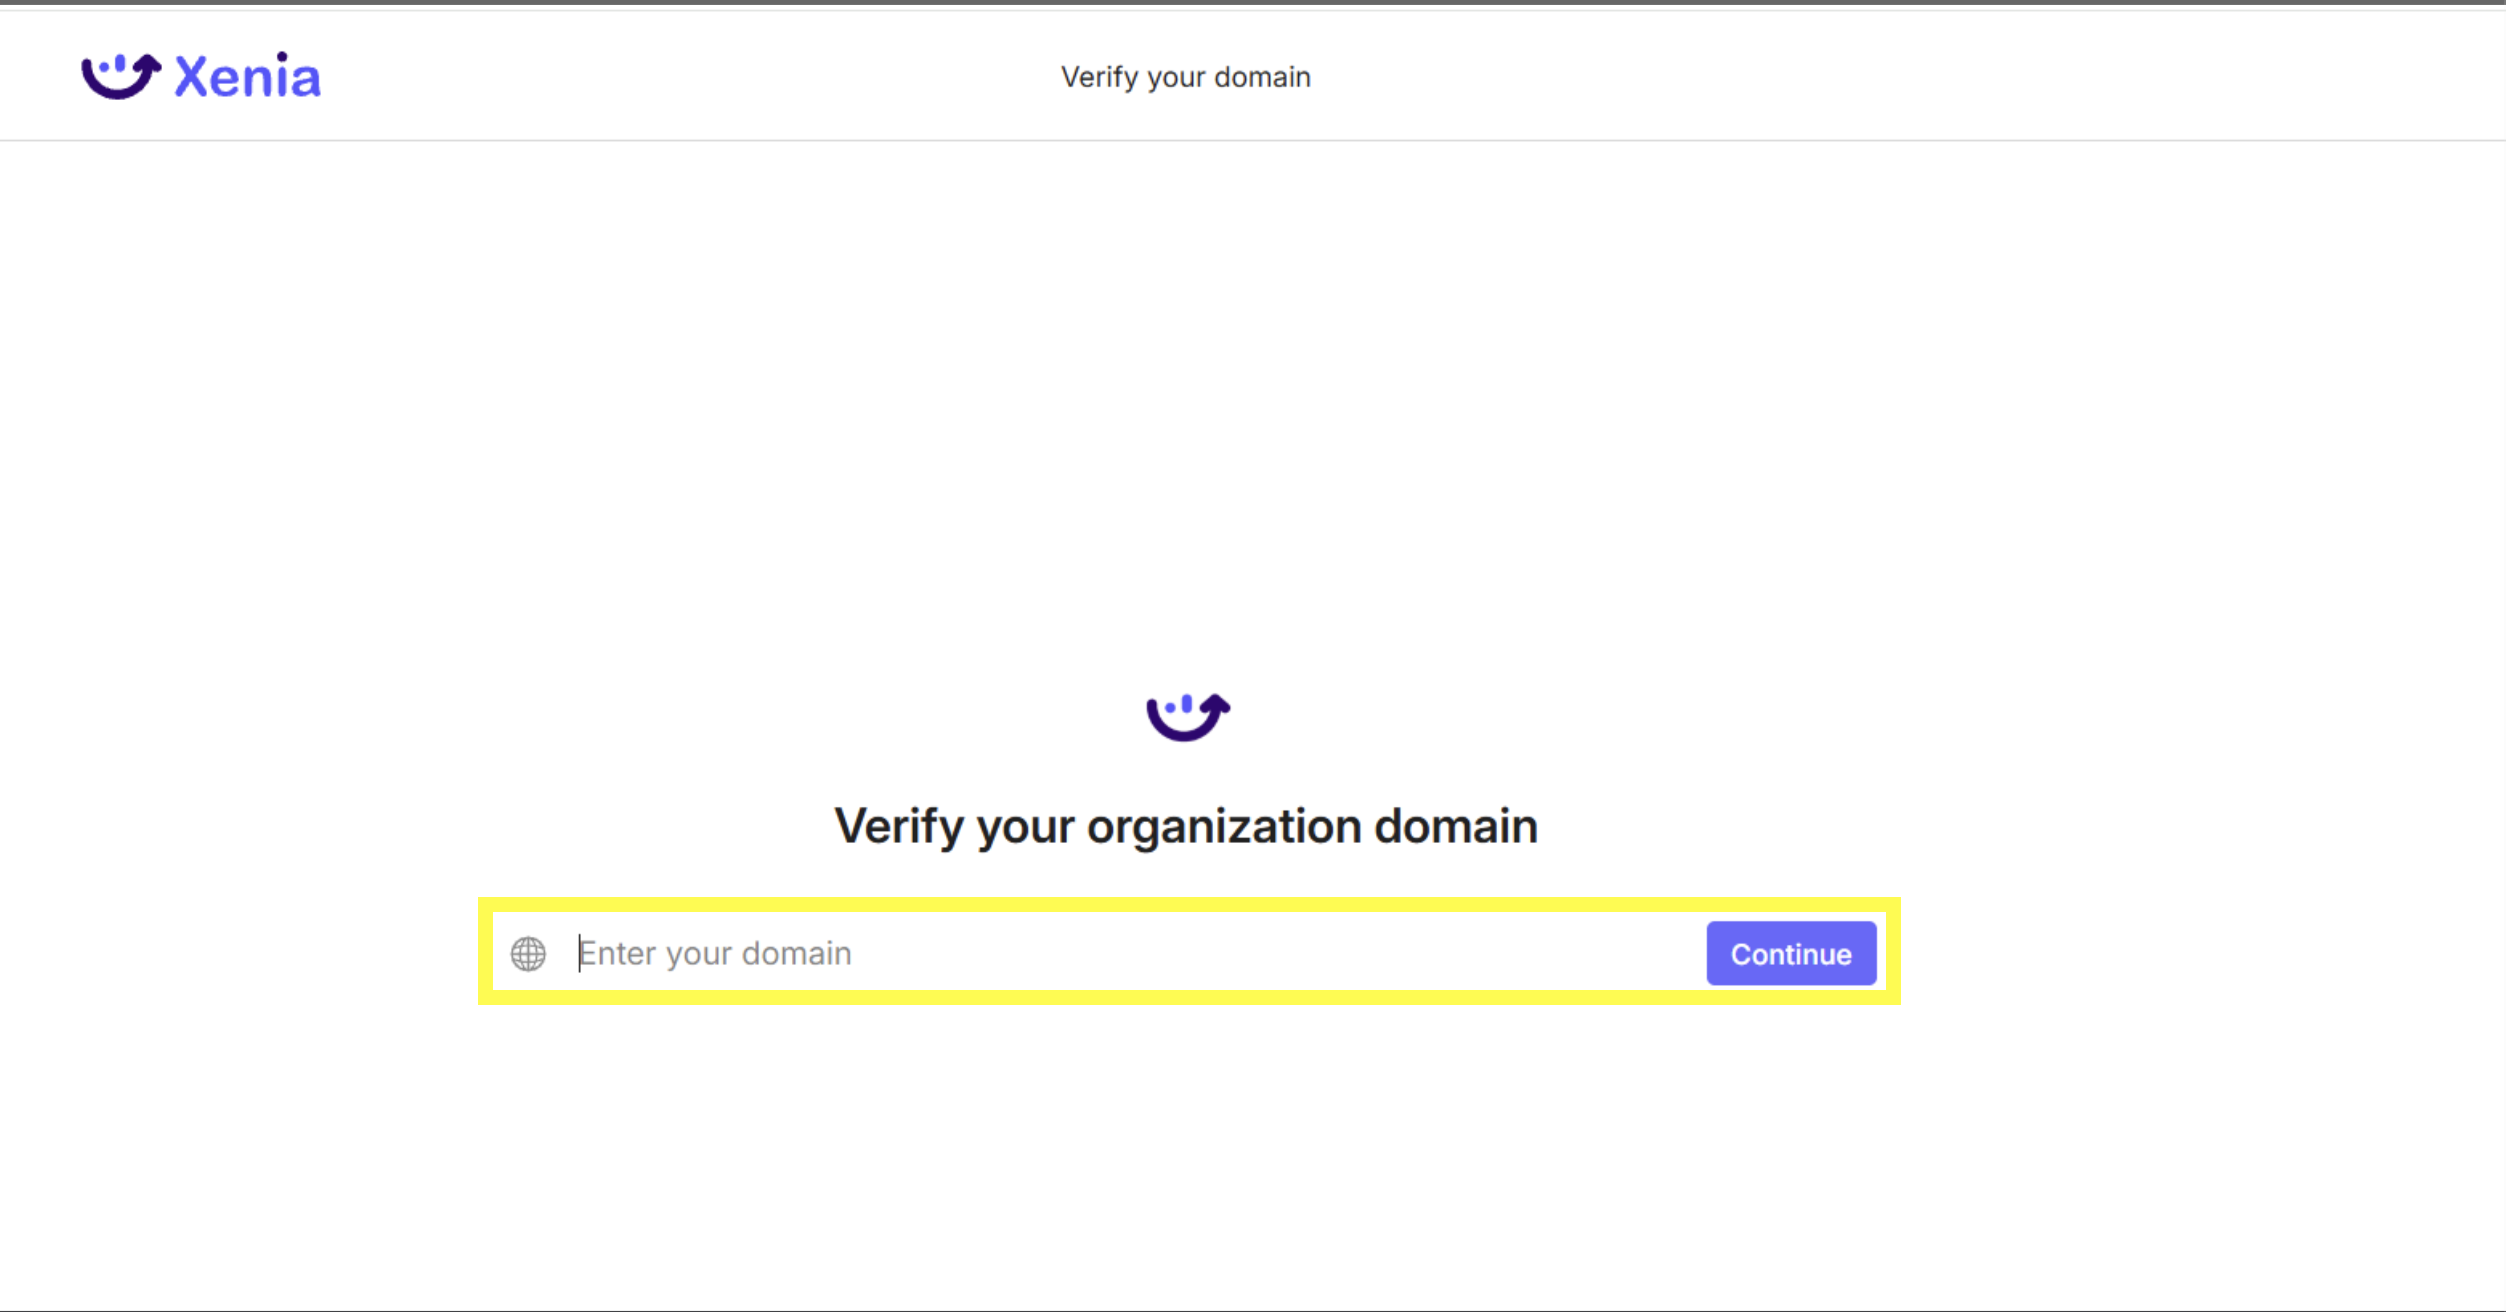
Navigate to Settings → SSO Panel and add your company domain (e.g., yourcompany.com). Each workspace can only have one domain configured.
Note
Once a domain is verified, any user logging in with that email domain will be automatically directed to your SSO login flow.
Step 2: Verify Your Domain
To prove ownership of your domain, add a DNS TXT record at your domain registrar (e.g., GoDaddy, Namecheap, Cloudflare). Xenia will provide the specific TXT record values you need to add.
Step 3: Configure Your Identity Provider
This step varies depending on your Identity Provider. Xenia uses WorkOS to power the SSO integration, which supports all major identity providers including Azure AD / Entra ID, Okta, and Google Workspace.
Detailed configuration guides for each supported IdP are available through WorkOS. See the Custom SAML Setup section below for step-by-step instructions.
Step 4: Set a Default Role
Choose the role that new users will be assigned when they first sign in via SSO. We recommend setting this to Basic User to ensure new members do not receive elevated permissions by default. Roles can be adjusted individually after a user has been added.
Important: default role vs. location
The default role applies to all new SSO users who have not been pre-provisioned via the API. There is no default location — location assignment must be done separately.
How the SSO Login Flow Works
Once SSO is fully configured, here is what happens when a user signs into Xenia:
1. The user navigates to https://app.xenia.team/sign-in and enters their email address. 2. Xenia reads the domain of the email (e.g., yourcompany.com from
john@yourcompany.com).
3. Xenia checks whether any workspace has SSO configured with that verified domain. 4. If a match is found, the user is redirected to your Identity Provider’s login page. If no match is found, the user proceeds to the standard password entry screen. 5. After successfully authenticating with the IdP, the user is taken directly into the Xenia workspace. On repeat visits, WorkOS remembers the session, so the user may be logged in automatically.
Custom SAML Configuration
If your organisation uses a custom SAML Identity Provider (e.g., Azure AD configured as Custom SAML), follow the steps below to complete the SSO connection inside Xenia.
Step 1: Provide IdP Information
In the Xenia SSO configuration screen (Settings → SSO Panel), select or enter the name of your Identity Provider in the field provided (e.g., “Azure Custom”). Click Continue to Next Step once your IdP name is entered.
Step 2: Create a Generic SAML Application
In your Identity Provider’s admin console, create a new generic SAML application. You will be prompted to provide the Assertion Consumer Service (ACS) URL — this is the URL where your IdP sends its authentication response after a user signs in.
Copy the ACS URL displayed in Xenia and paste it into the appropriate field in your IdP. Once done, check the confirmation box and click Continue to Next Step.
Step 3: Provide the SP Entity ID
The Service Provider (SP) Entity ID is a unique identifier that represents Xenia within your Identity Provider. Copy the SP Entity ID shown in Xenia (e.g., https://auth.xeniaplatform.io/…) and enter it in the corresponding field in your IdP’s SAML application settings. Confirm and click Continue to Next Step.
Step 4: Upload Your Identity Provider Metadata
Retrieve the IdP Metadata URL from your SAML application settings in your Identity Provider, then paste it into the IdP Metadata URL field in Xenia.
If your IdP does not provide a metadata URL, click Configure Manually and enter the required values (SSO URL, Certificate, etc.) by hand.
Step 5: Configure SAML Attributes
Your Identity Provider must send an attribute statement with the following user attributes mapped to the standard SAML attribute names below. Configure these mappings in your IdP’s SAML application settings:
| User Attribute | Attribute Name (in Xenia) |
|---|---|
| A unique identifier representing a user | id |
| A user’s email address | |
| A user’s first name | firstName |
| A user’s last name | lastName |
Next steps
SSO setup is complete. For next steps on assigning users to Locations and Roles, managing deprovisioning, and using the provisioning API, see the Xenia SSO Provisioning Guide.
Need Help?
Reach out to our Support Team at Support@xenia.team
Comments
0 comments
Please sign in to leave a comment.