1. What Is a Workflow-Triggered Corrective Task?
A corrective task is created automatically when something fails in a checklist — a safety check answered No, an equipment step marked failed, a vendor issue flagged. Instead of the submitter having to create and assign the task themselves, Xenia's workflow automation does it instantly at the moment the form is submitted.
You receive a push notification and/or email telling you a corrective task has been assigned to you. The task contains a direct link back to the original submission so you can see exactly what triggered it — the question, the response, any photo taken, and any follow-up notes the submitter added.
2. Finding Your Corrective Task
On Web:
Corrective tasks appear in the main Tasks & Work Orders board.
- Go to Tasks & Work Orders in the top navigation
- Look for the Corrective view or filter — the task board has dedicated sub-views:
- All — every task type together
- Tasks — only regular operational tasks
- Work Orders — only facilities/maintenance items
- Corrective — only corrective action items triggered from workflows
- Tap Corrective to see only workflow-triggered corrective tasks
- Filter by Assignee = Me if needed to narrow to your assignments
- You can also use Saved Views — your admin may have pre-built a view called "My Open Corrective Actions" or similar
You can also find it from the email notification you received — it contains a direct link that opens the task immediately.
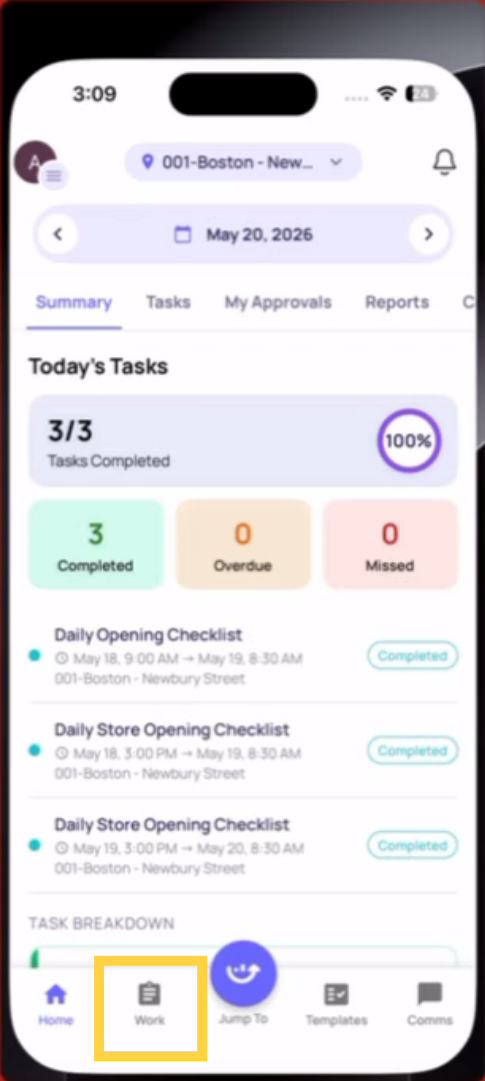
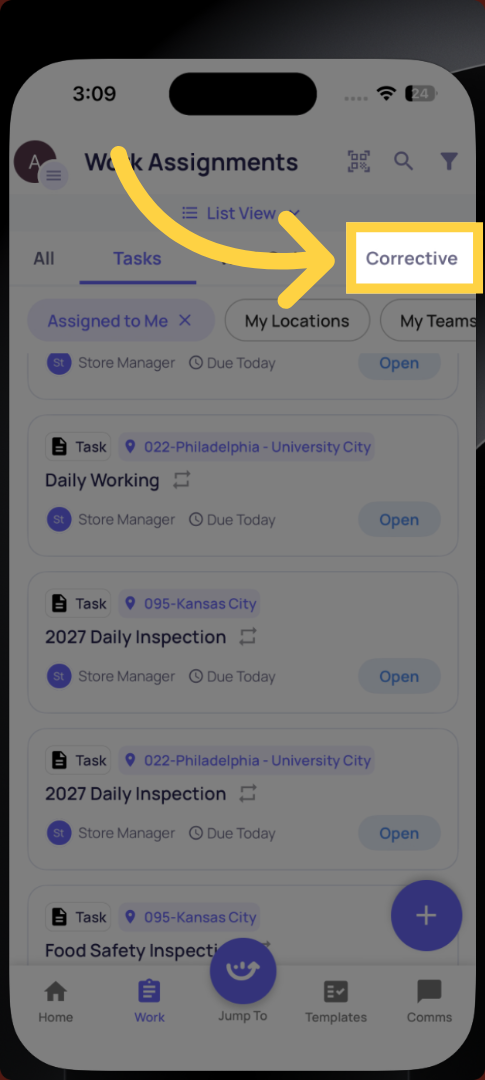
On Mobile:
- Tap the Work tab at the bottom of the screen
- You'll see four sub-tabs at the top:
- All — everything
- Tasks — regular tasks only
- Work Orders — facilities items
- Corrective — workflow-triggered corrective actions only
- Tap Corrective
- Your assigned corrective tasks are listed here with their status, location, and due date
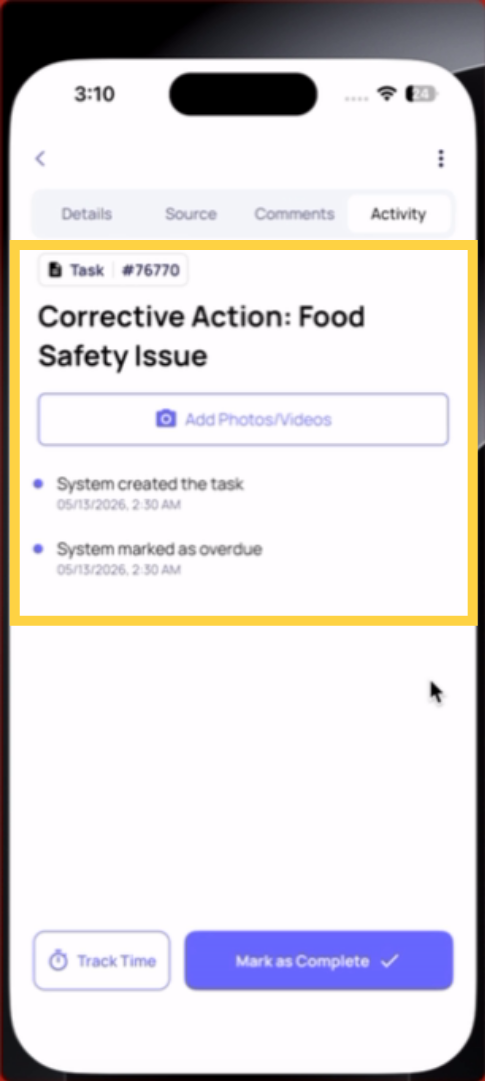
3. What You'll See When You Open the Task
Whether on web or mobile, the corrective task detail view shows:
The task header:
- Task name (e.g., "Walk-in Cooler Temperature Out of Range — Kitchen")
- Type tag: Corrective (distinguishes it from a regular Task or Work Order)
- Status: Open, In Progress, On Hold, or Completed
- Assignee (you), location, priority, due date
On Web App:
The source submission link: A "View Original Submission" button or link that takes you directly to the checklist submission that triggered this task. Tap it to see:
- Which template was submitted
- Which step failed and what answer was given
- The photo the submitter took of the issue
- Any follow-up description the submitter provided
- The submitter's name, location, and submission time
On Mobile App
This context is what you need to understand the issue before you go fix it.
If a template is attached: Some corrective tasks have a resolution checklist attached — a separate form you complete as part of resolving the issue. This confirms the fix was done and documented. If a template is attached, you'll see it in the task detail.
4. Starting the Task — Updating Status
When you begin working on the issue, update the task status to In Progress:
On web: Open the task → find the Status field in the task detail panel → click it → select In Progress
On mobile: Open the task from the Corrective sub-tab → tap the Status field → select In Progress
This tells your manager and the reporting system that the issue is being actively worked on.
If you need to pause — waiting on a part, waiting on a vendor — change status to On Hold and add a comment explaining why.
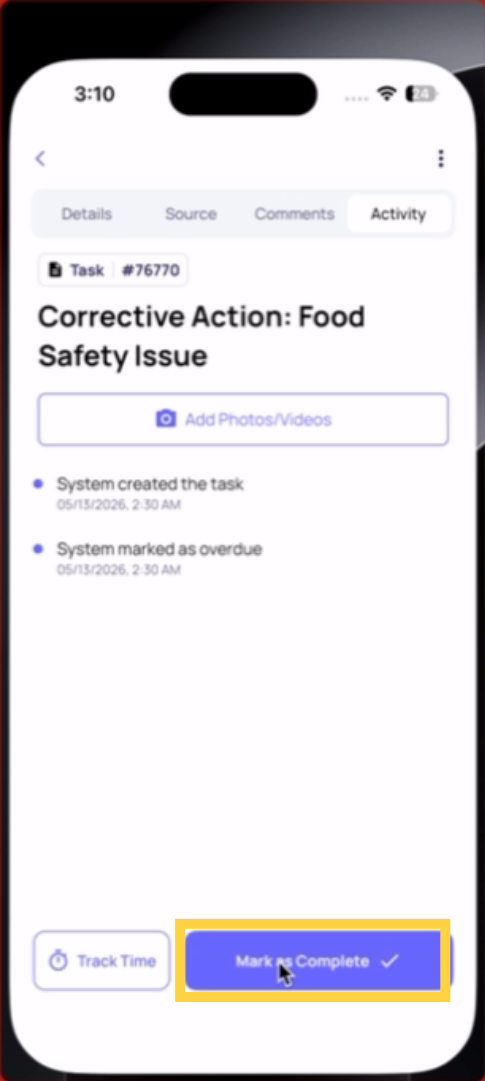
5. Completing the Task
When the issue is resolved:
- Add a comment describing what you did:
- What was the problem?
- What did you do to fix it?
- What parts were used or what action was taken?
- Was the issue fully resolved or is follow-up needed?
- Attach a photo of the resolved condition:
- A clear photo showing the issue is fixed (the temperature is back in range, the equipment is repaired, the area is clean)
- On mobile: tap the photo icon in the task detail → camera opens → take the photo → attach
- On web: find the photo/attachment field → upload
- If a resolution template is attached: complete the checklist attached to the task before marking complete
- Change status to Completed:
- Web: Status field → Completed
- Mobile: tap Status → Completed
The task is now closed. The completion timestamp is recorded. Anyone watching this task receives a notification. The corrective task appears in reporting as resolved.
Need Help:
Reach out to our Support Team at Support@xenia.team
Comments
0 comments
Please sign in to leave a comment.