1. Two Ways a Photo Gets Attached
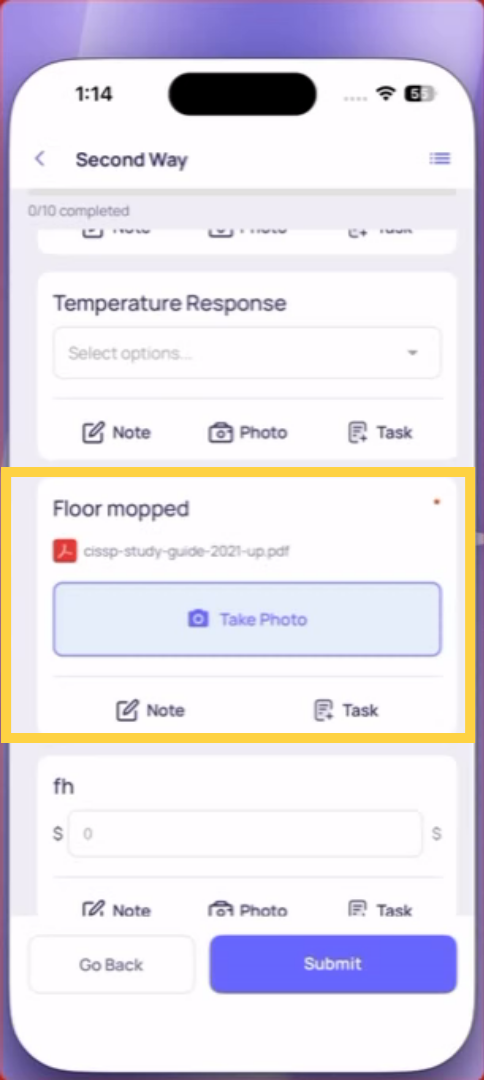
Method 1 — Take Photo Step (always required) Some steps in your checklist are dedicated photo steps. When you reach one, the camera opens automatically. You don't tap any button to trigger it — the step itself is the photo. Take your photo, confirm it, and it attaches to that step before you can continue.
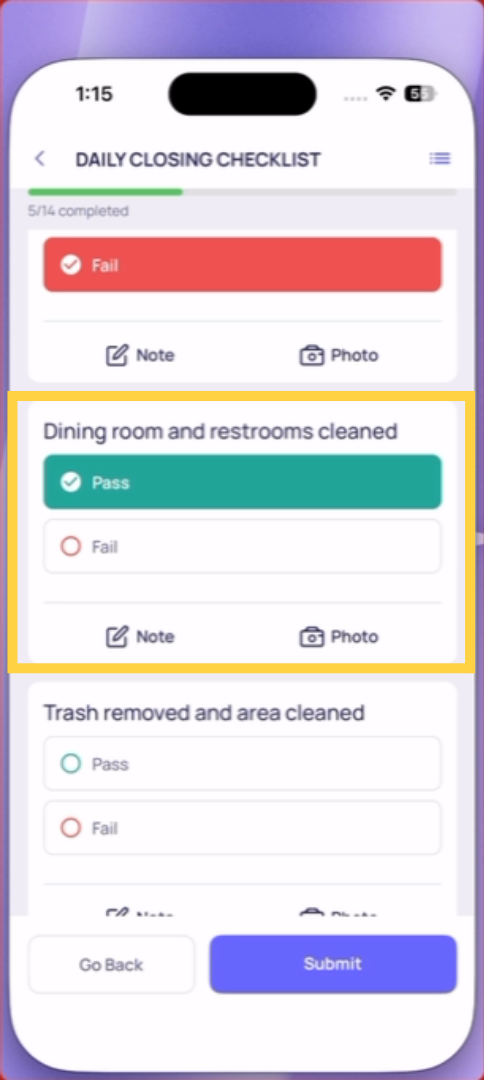
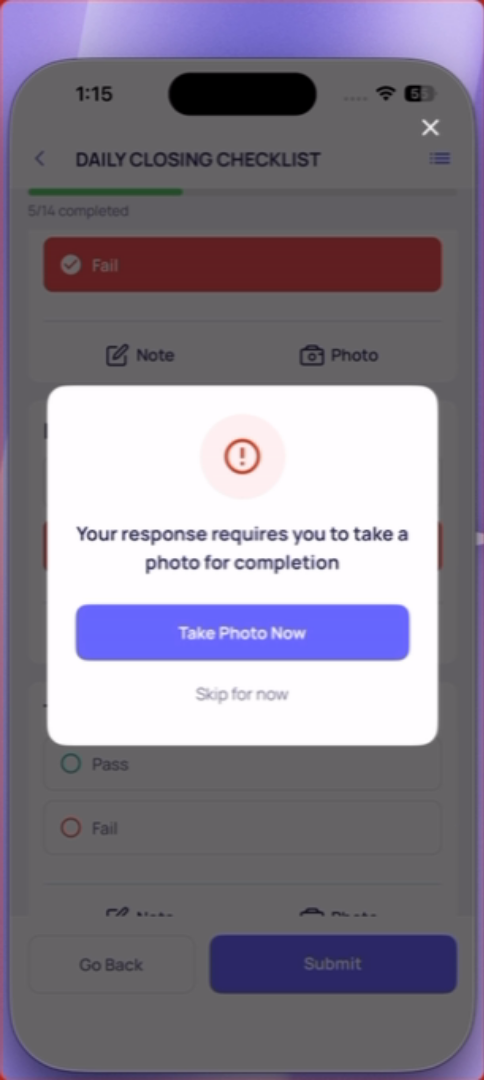
Method 2 — Conditional Photo Requirement (triggered by your answer) Other steps are yes/no or pass/fail questions that trigger a photo if you give a specific answer. For example: "Is the bathroom clean?" — if you answer No, the camera opens immediately and you must take a photo before moving to the next step.
In both cases: the camera opens, you take the photo, it attaches. You cannot skip it.
2. How to Take the Photo
- When the camera opens, point your device at whatever needs to be documented
- Get close enough that the subject is clear and fills the frame
- Tap the capture button (circle/shutter)
- Review the photo in the preview
- Tap Use Photo (or Confirm) to attach it — or Retake if it's blurry or unclear
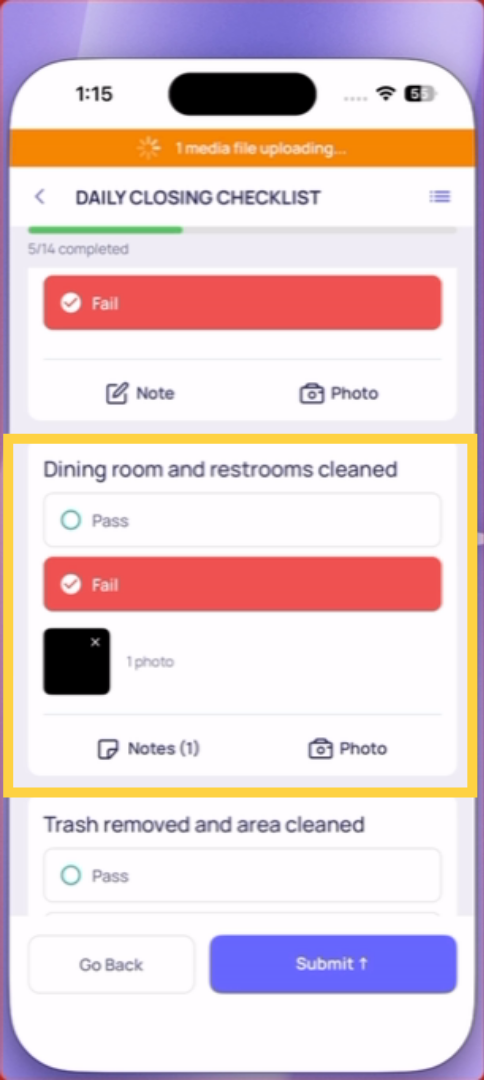
- The photo is now attached to that step and visible in the submission record
Take the photo right now, in the moment. This is not optional — you cannot upload from your camera roll (see the next article for why).
3. What a Good Photo Looks Like
A useful photo clearly shows what's being documented. Anyone reviewing the submission later should be able to tell exactly what was captured without asking questions.
- Clean enough framing to see the subject
- Close enough that details are visible
- Showing the actual condition being documented — not a generic overview of the room
A blurry photo from across the room is not useful. A clear, close photo of the specific area, equipment, or condition is what makes the submission record actionable.
Need Help?
Reach out to our Support Team at Support@xenia.team
Comments
0 comments
Please sign in to leave a comment.