
1. What Announcements Are
Announcements is a dedicated communications channel in Xenia for pushing important information to your team — store updates, new standard operating procedures, policy changes, limited-time offer instructions, safety alerts, or anything your team needs to read and acknowledge.
Unlike task notifications (which fire automatically based on system events) or email (which lives outside Xenia), Announcements are broadcast from within the platform, appear on the recipient's home screen or Announcements tab, and can require acknowledgment — giving you a record of who has read and confirmed receipt.
When to use Announcements:
- A new SOP that all store managers must read and sign off on
- A limited-time offer launching next week with instructions for all stores
- A safety alert that every employee at every location needs to see
- A policy change that requires documented acknowledgment for compliance
- A corporate update that needs to reach all locations simultaneously
When NOT to use Announcements:
- Operational task assignments → use Projects and Tasks
- One-on-one messages or team chats → use the Chat module
- Automated workflow notifications → use template and project notification settings
2. Where Announcements Live
Web app: Communications tab in the top navigation (or Announcements depending on your navigation configuration). From here, admins can create, view, and manage all announcements.
Mobile/Tablet app: Recipients see announcements as a notification and can view them in the Announcements section of the app. If acknowledgment is required, they confirm directly from their device.
3. Creating an Announcement — Step by Step
- Go to Communications → Announcements
- Click + Create Announcement or + New
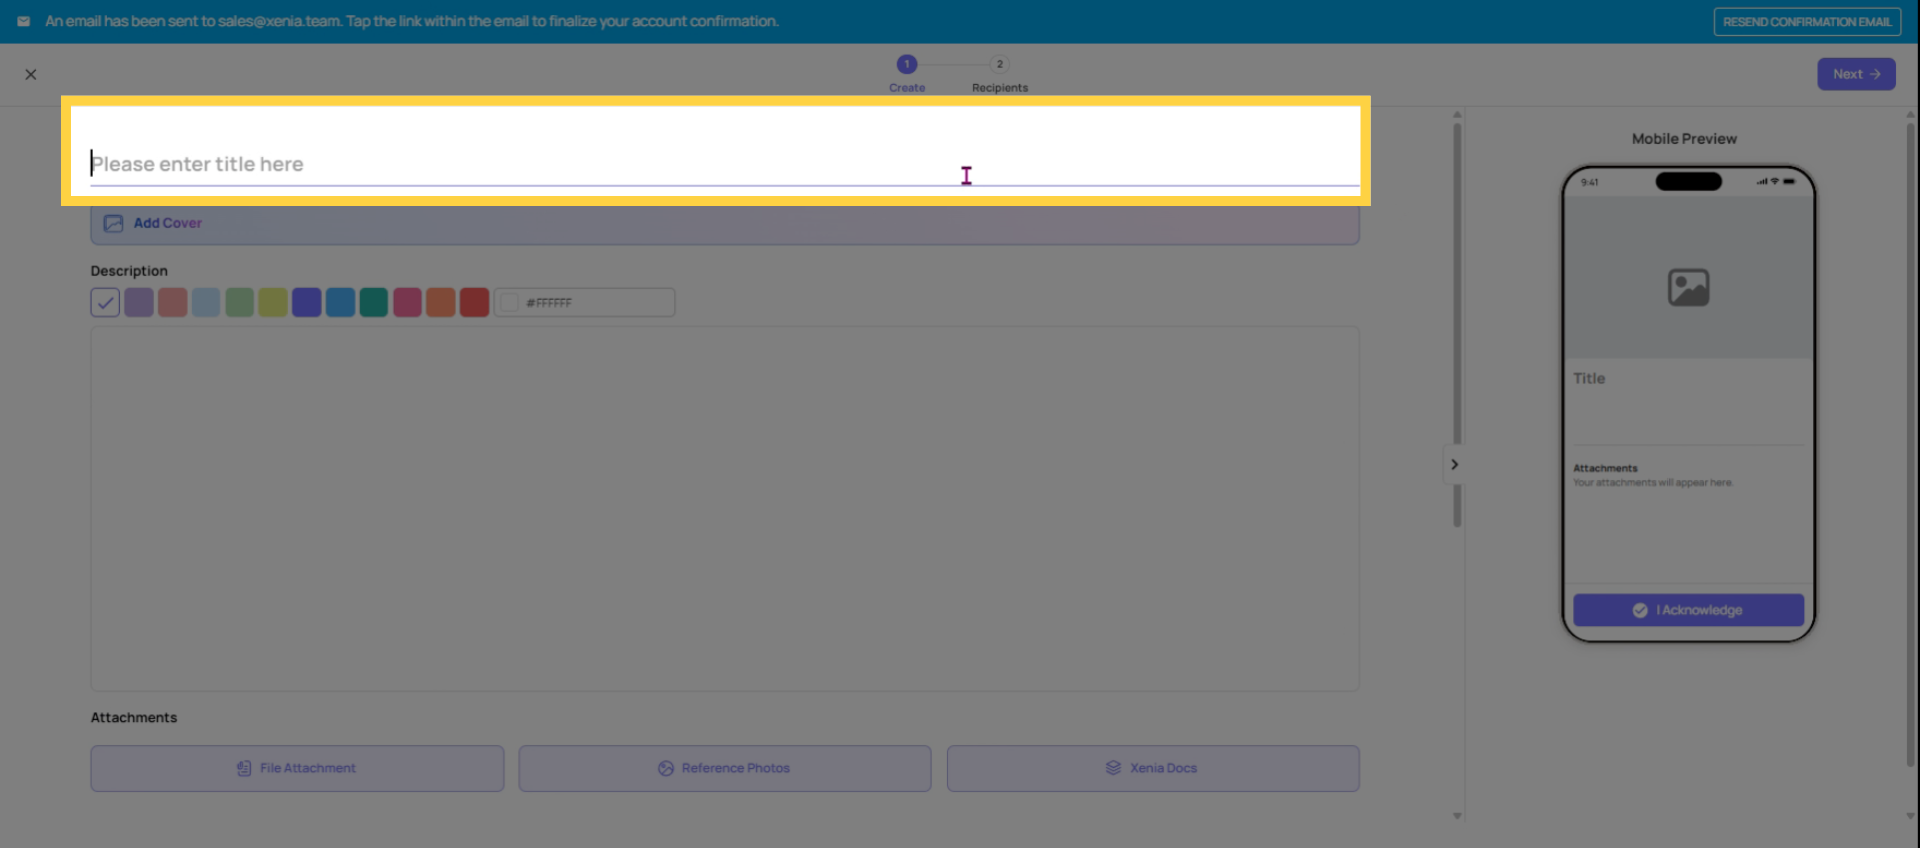
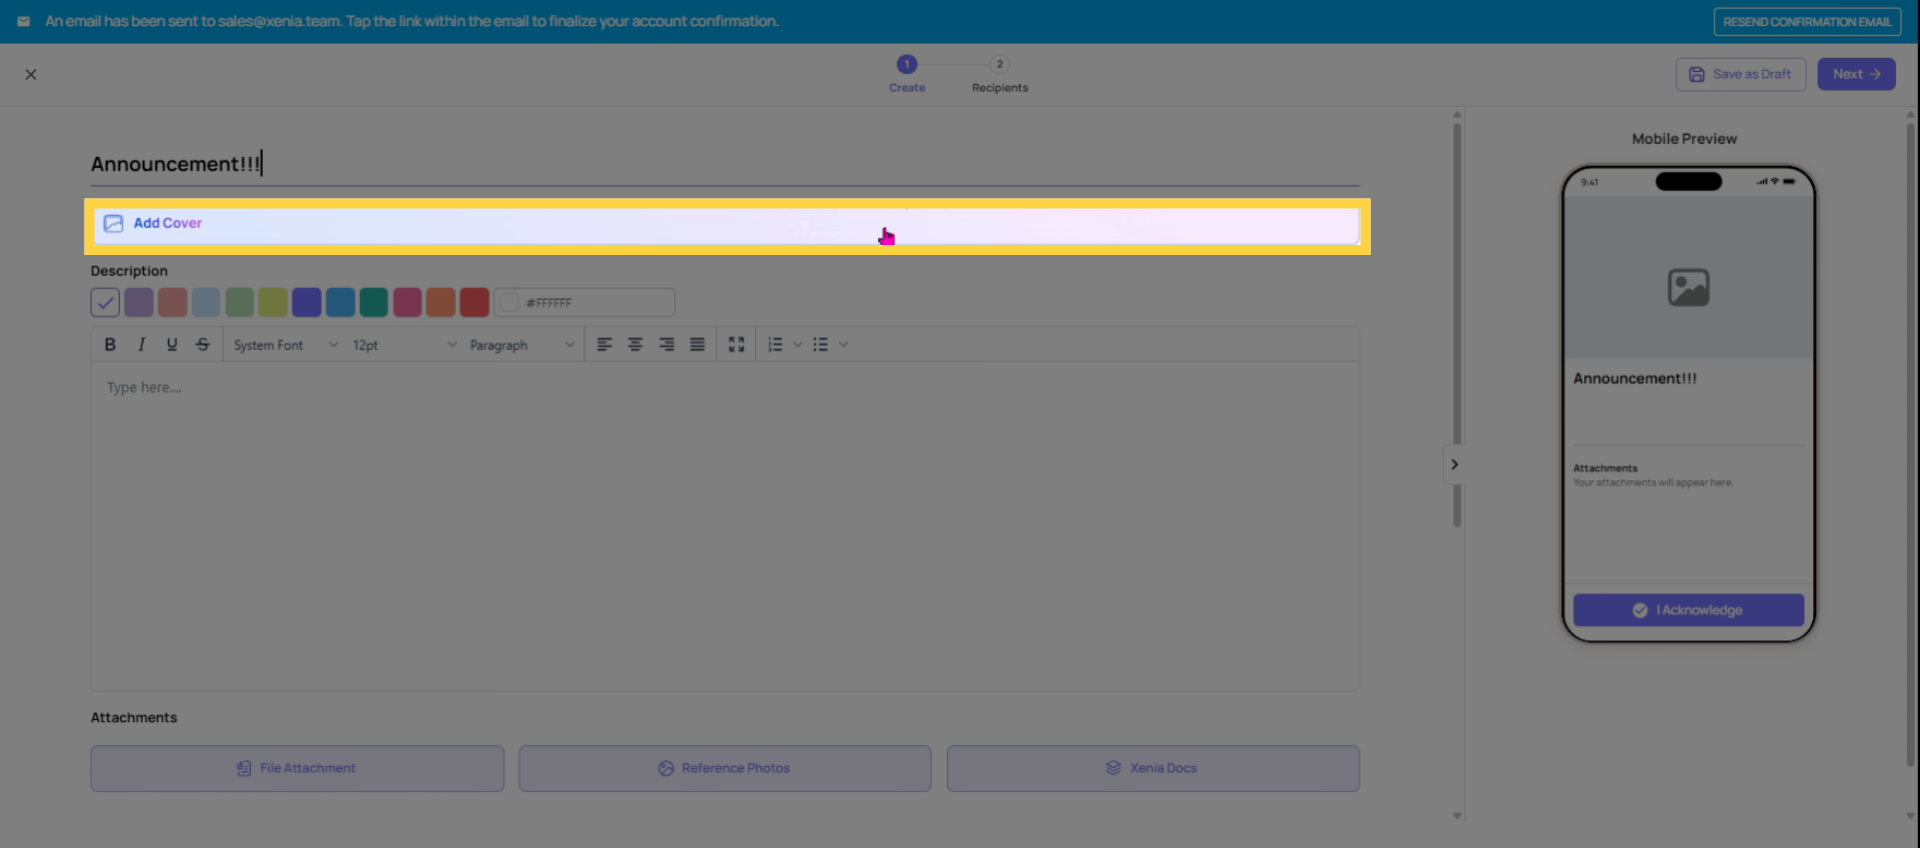
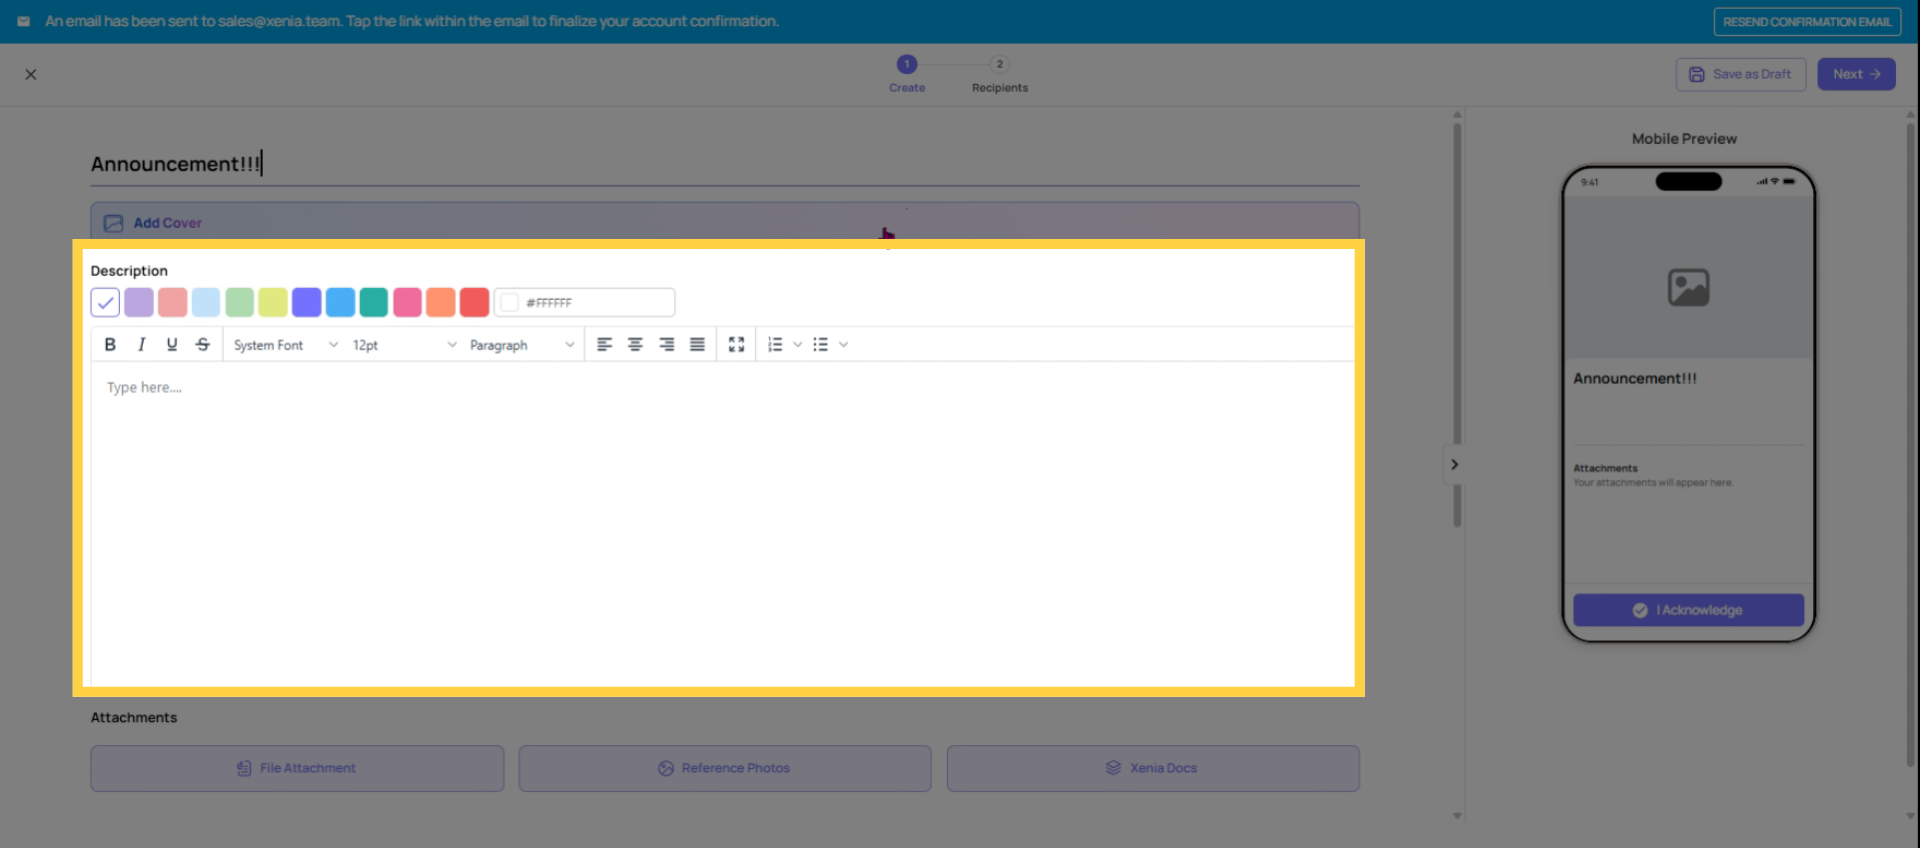
- Fill in the announcement:
- Title: A clear, specific headline. "New Closing Procedure — Effective Monday" is better than "Update." Recipients see the title in their notifications and announcement list.
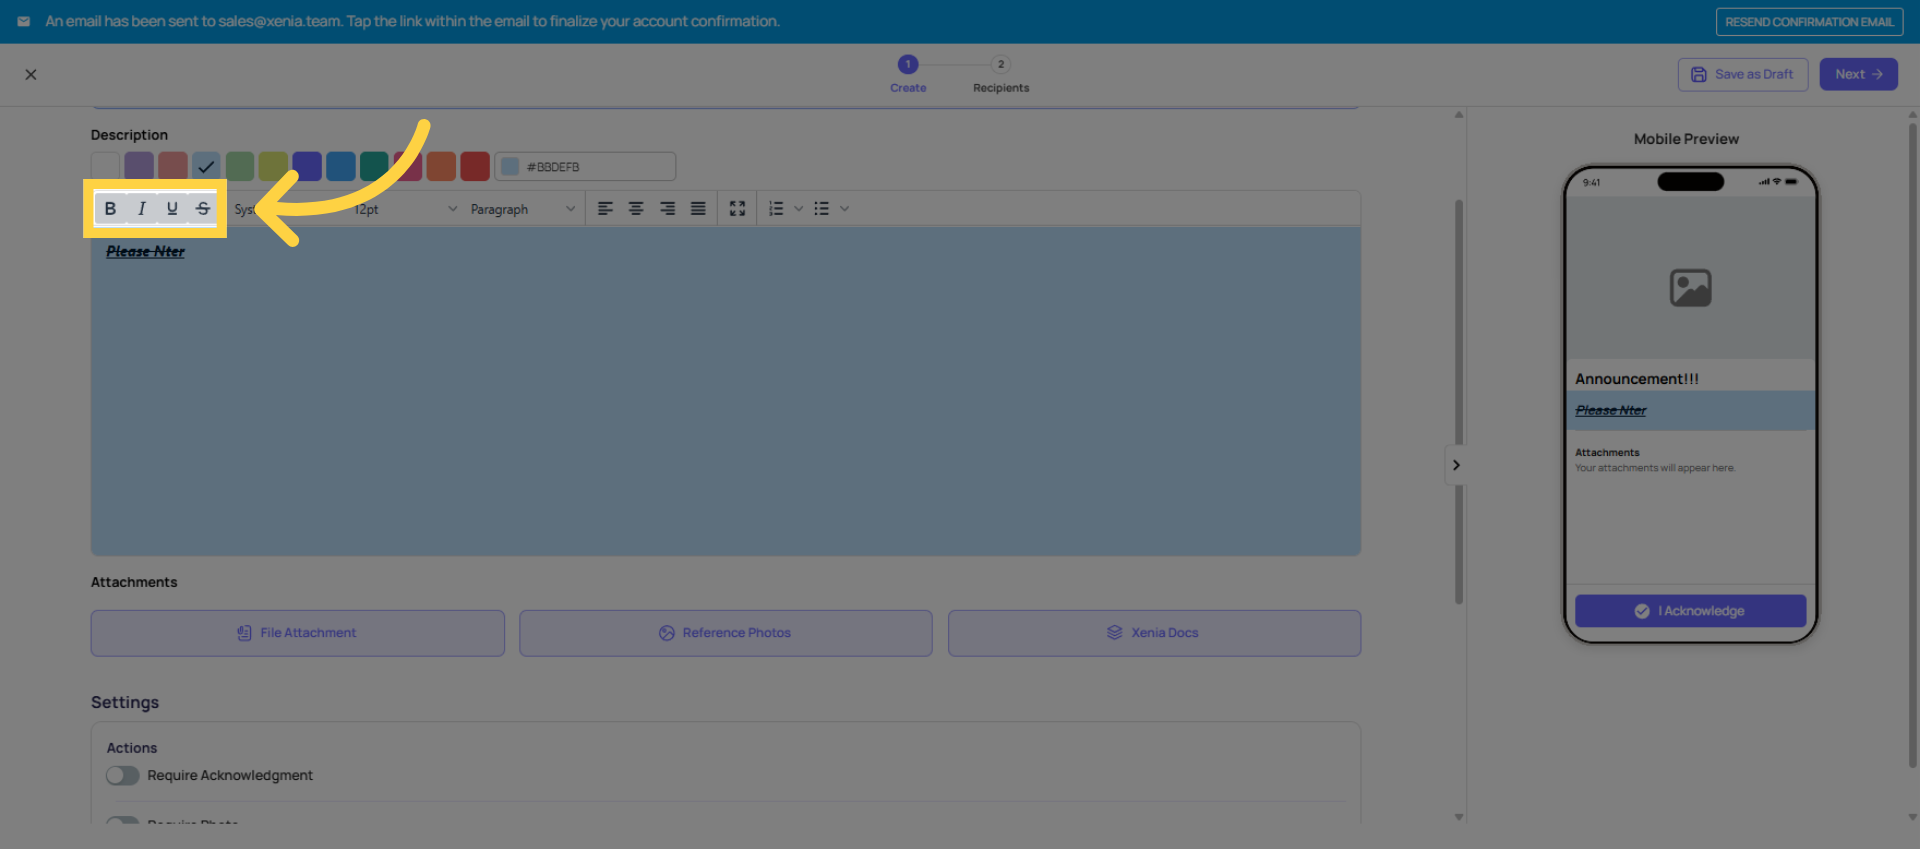
- Body / Content: The full announcement text. Use this to explain what the update is, why it matters, and what recipients need to do. Keep it scannable — use short paragraphs or bullet points for complex announcements.
- Attachments (optional): Upload PDFs, images, or documents the recipient needs to reference. An SOP document, a procedure update PDF, a photo of the new display standards.
- Cover Image (optional): A visual header image for the announcement. Used for branded or high-importance communications.
- Configure the targeting and acknowledgment settings (see the dedicated articles for full detail):
- Who should receive this announcement (roles, locations, specific users)
- Whether acknowledgment is required
- Click Publish or Send
- The announcement is delivered immediately to all configured recipients. A notification appears on their device.
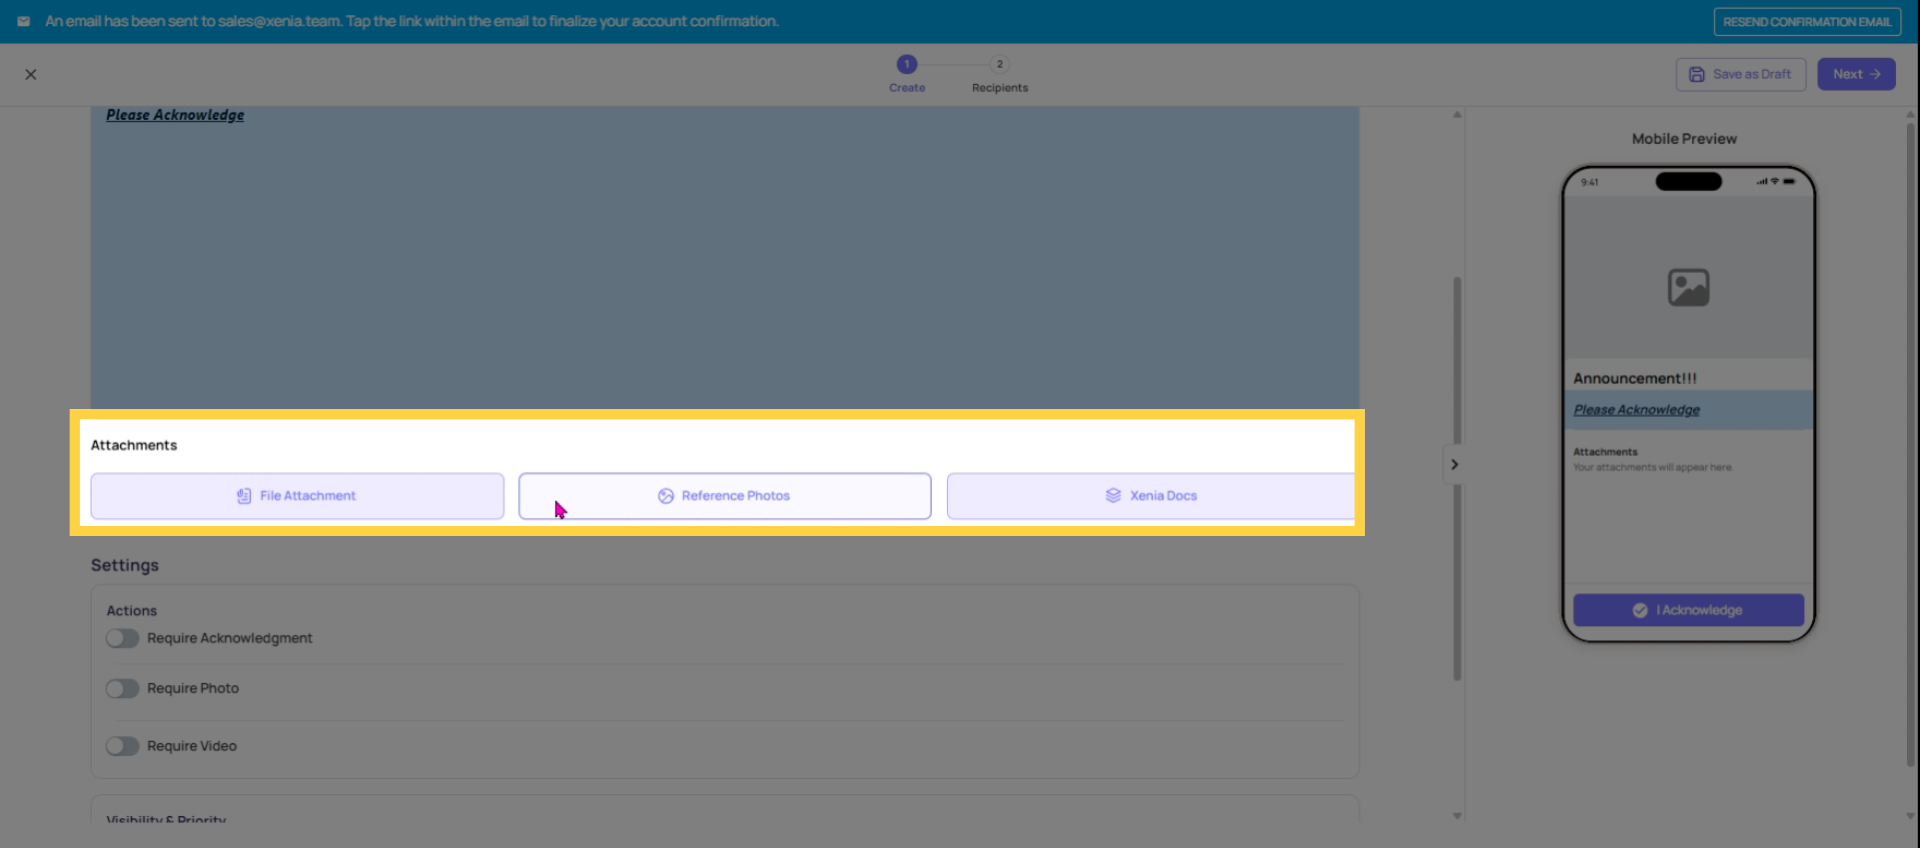 Within the settings, you have the option to mandate acknowledgment and/or signatures.
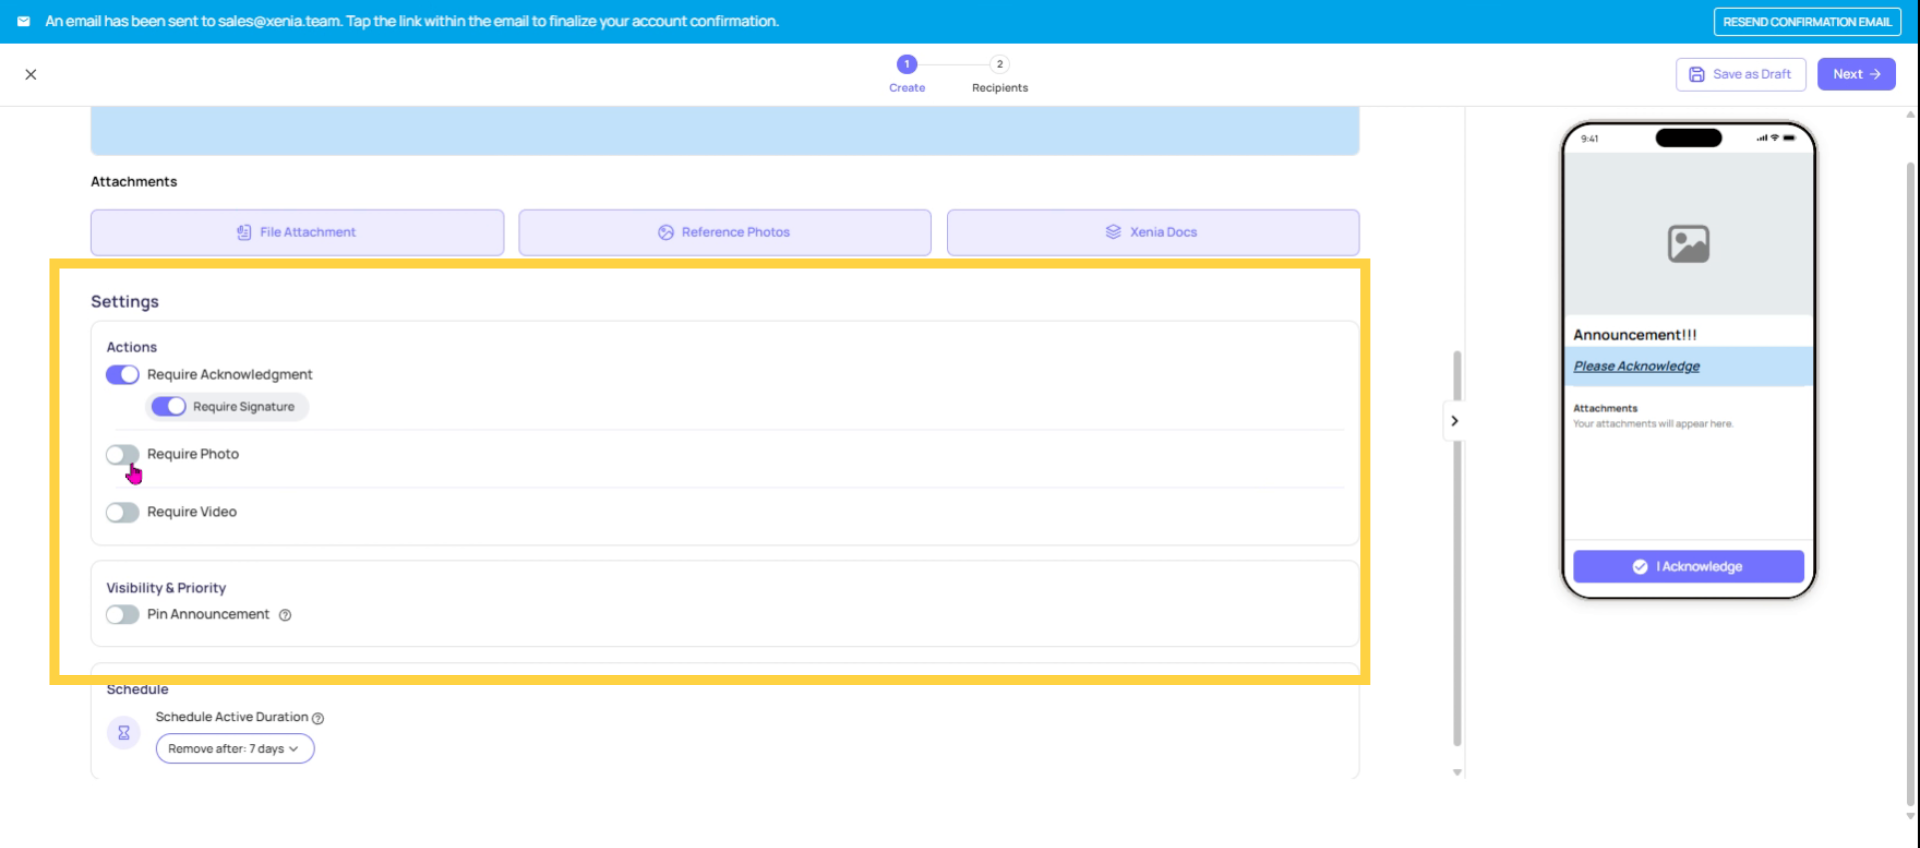
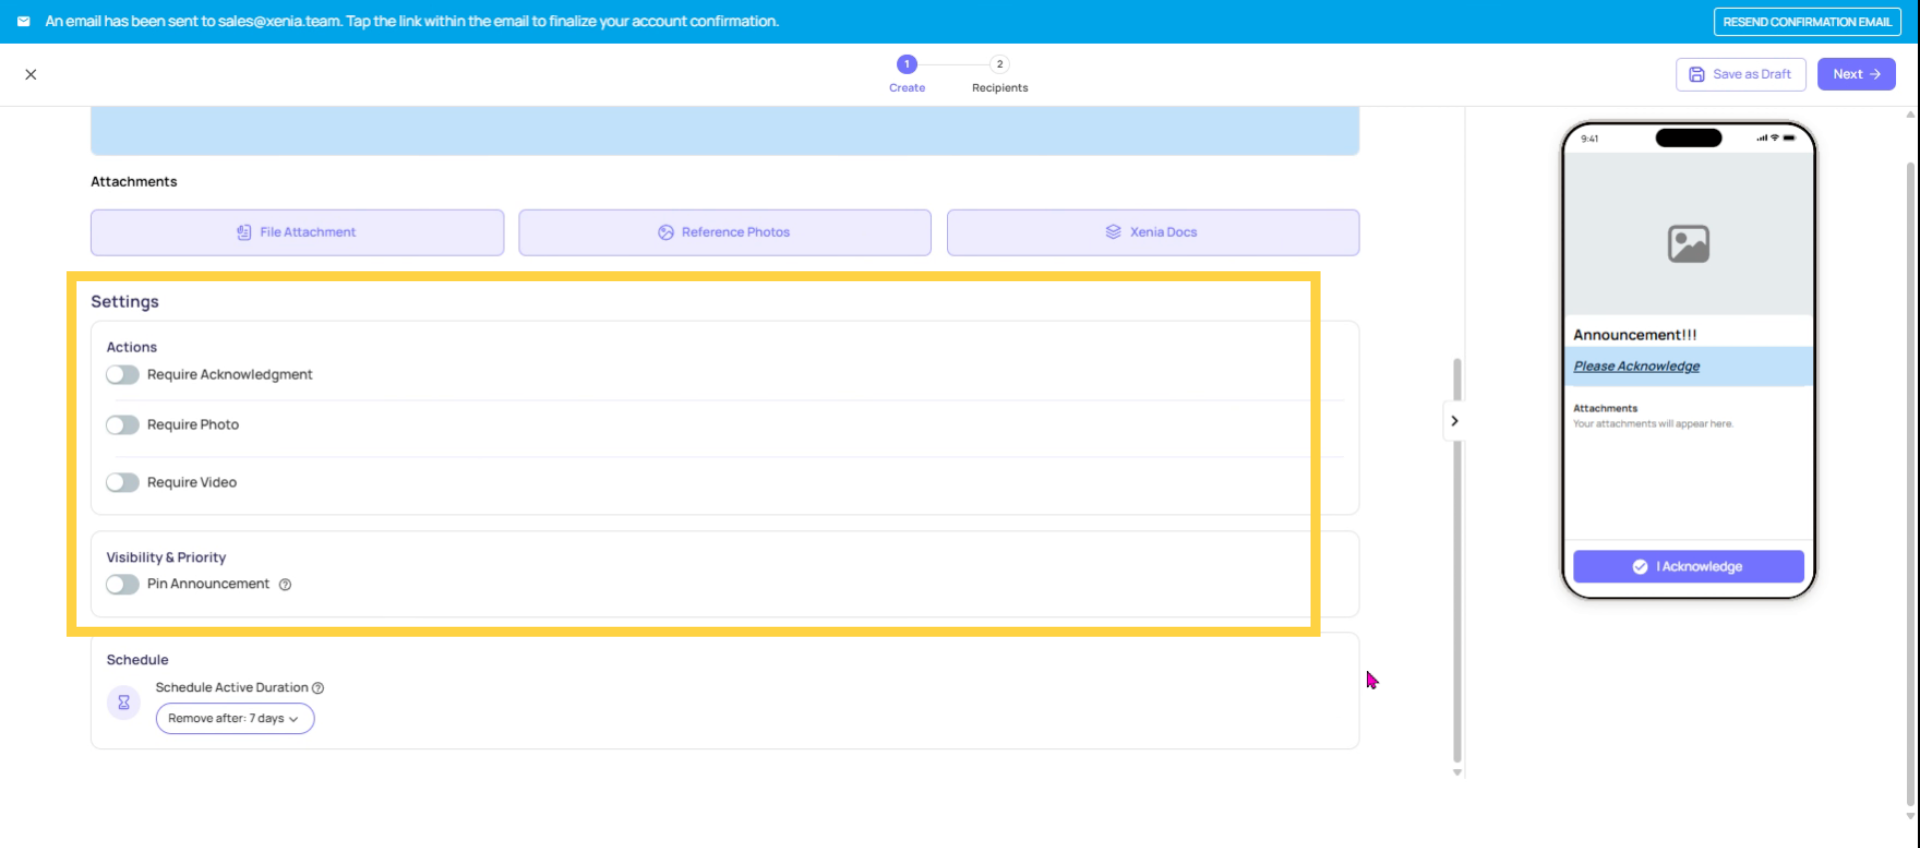 You have the option to mandate a photo submission, permit multiple photo uploads, and specify the number of photos to be included. Furthermore, video submissions can also be required.
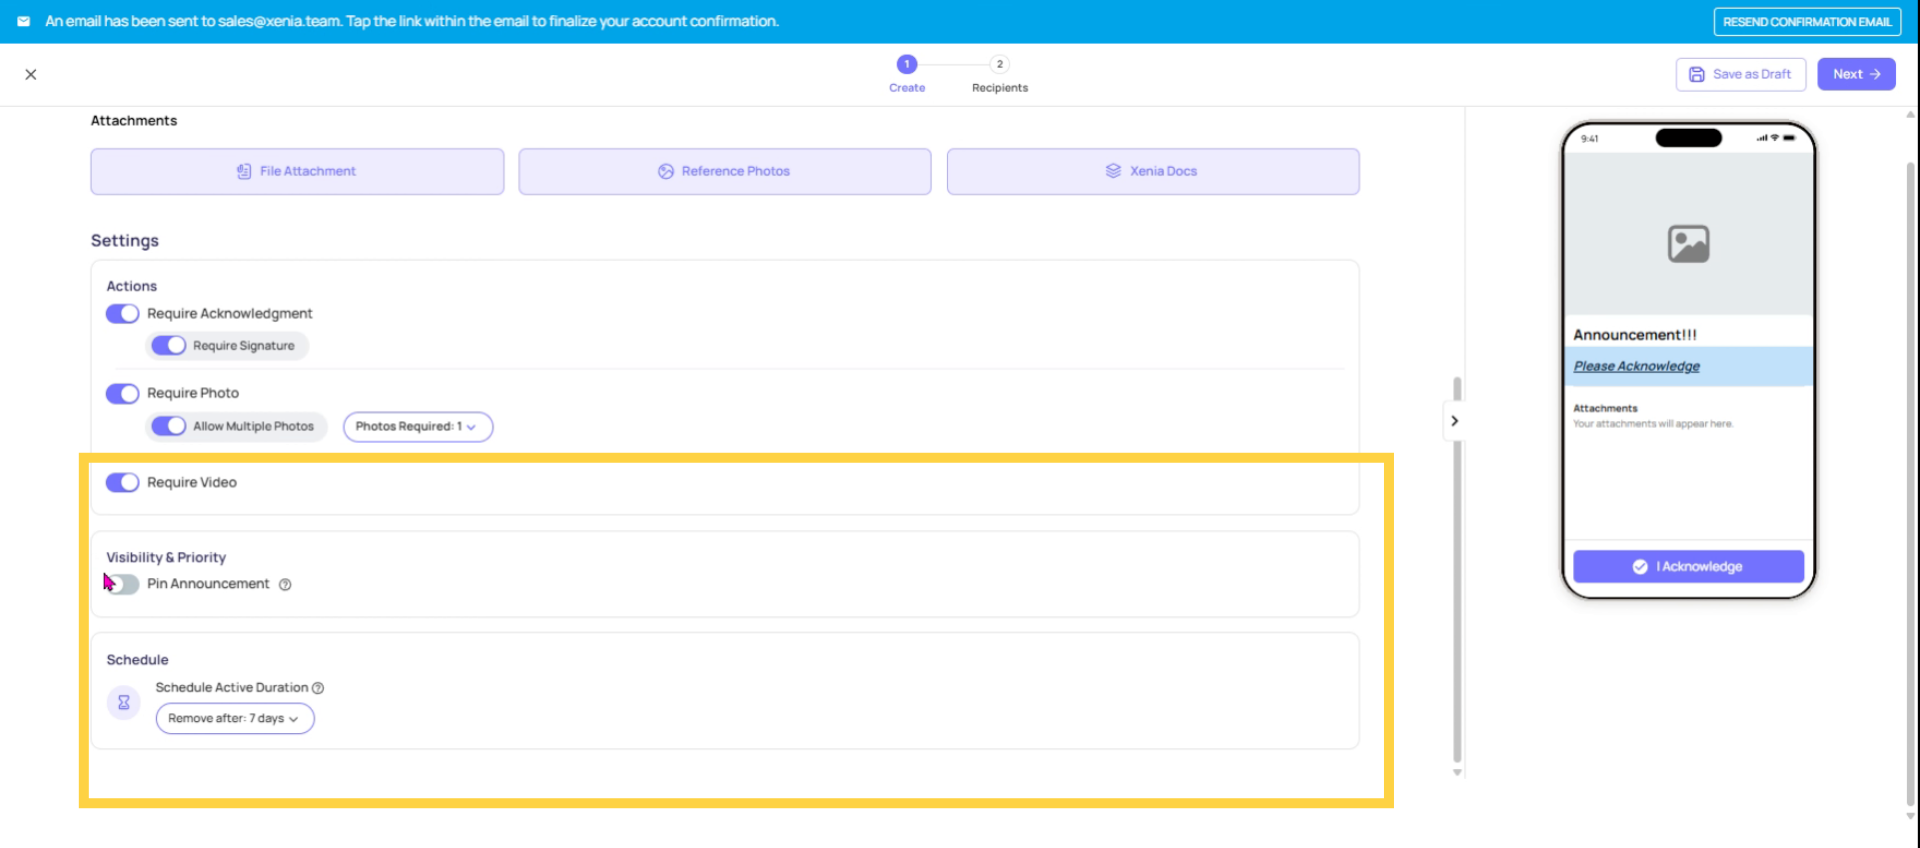
 To further enhance visibility, you can pin the announcement by accessing the visibility and priority settings. This action will ensure the announcement is prominently displayed at the top of the user dashboard upon login. Additionally, you have the flexibility to remove the announcement after seven days or set a custom schedule for its duration.
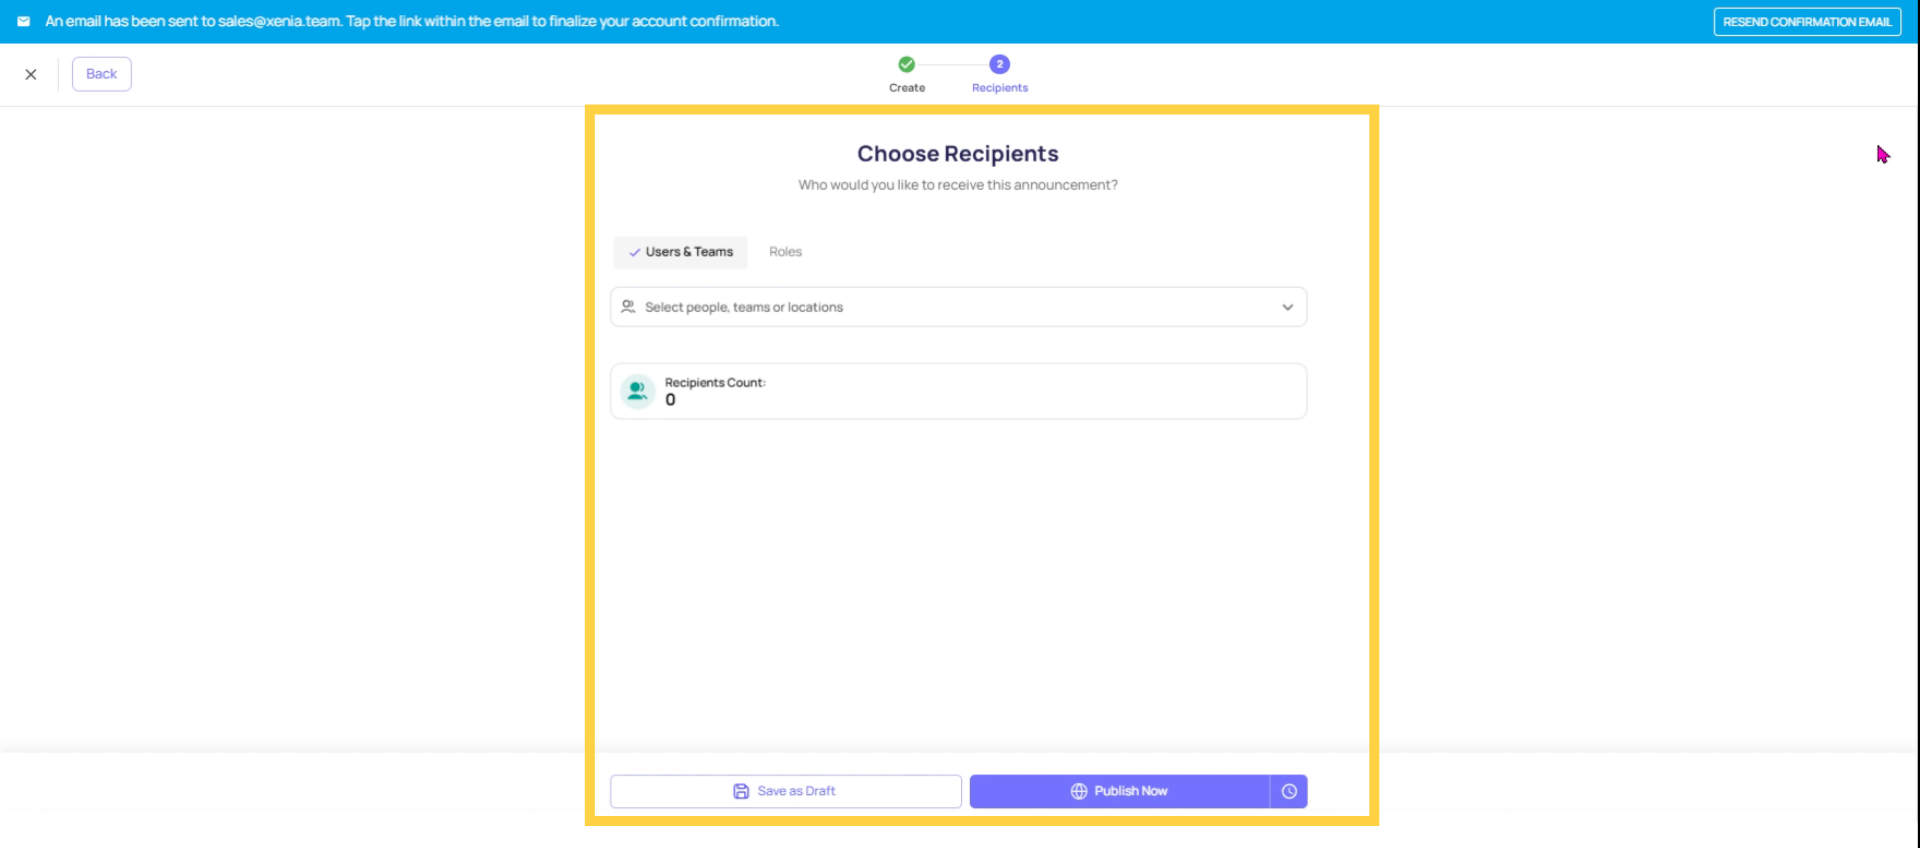
4. Drafts and Scheduled Announcements
You can save an announcement as a Draft before publishing — useful when building a complex announcement that needs review before it goes out.
If scheduling is available in your configuration, you can set a future publish date/time — useful for announcements that should go out at a specific time, like "New LTO Instructions" published Monday morning before stores open.
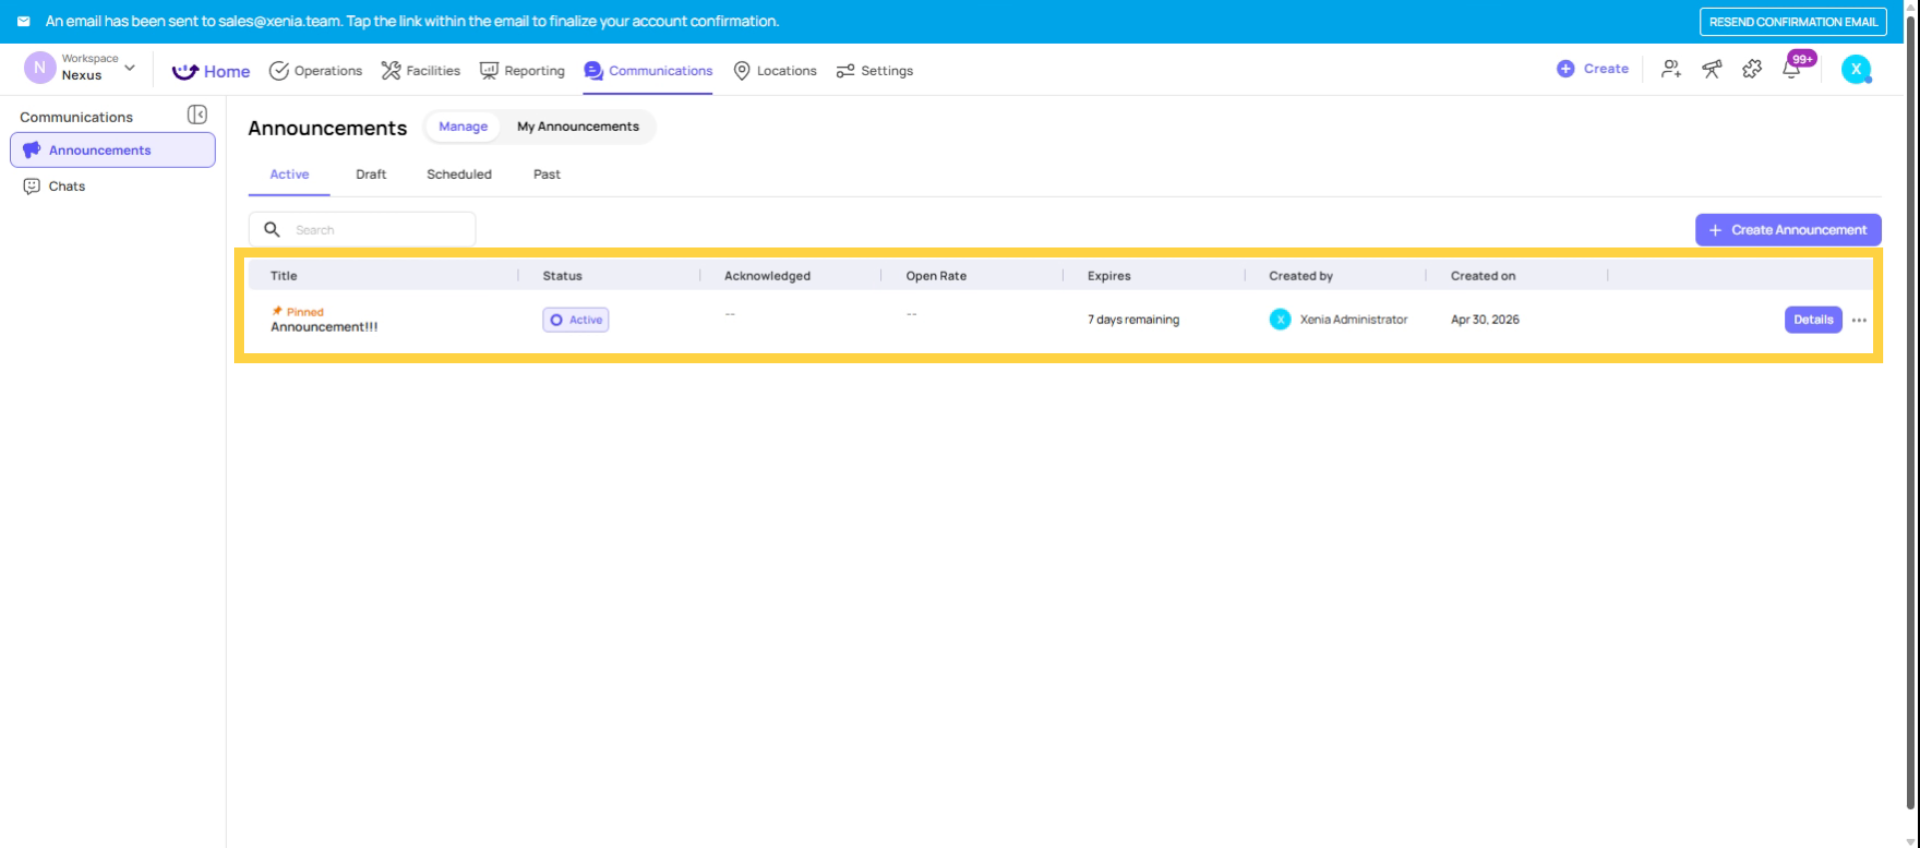
5. Viewing Sent Announcements
From Communications → Announcements, you can see all published announcements with:
- Title and publication date
- Recipient scope (which roles and locations received it)
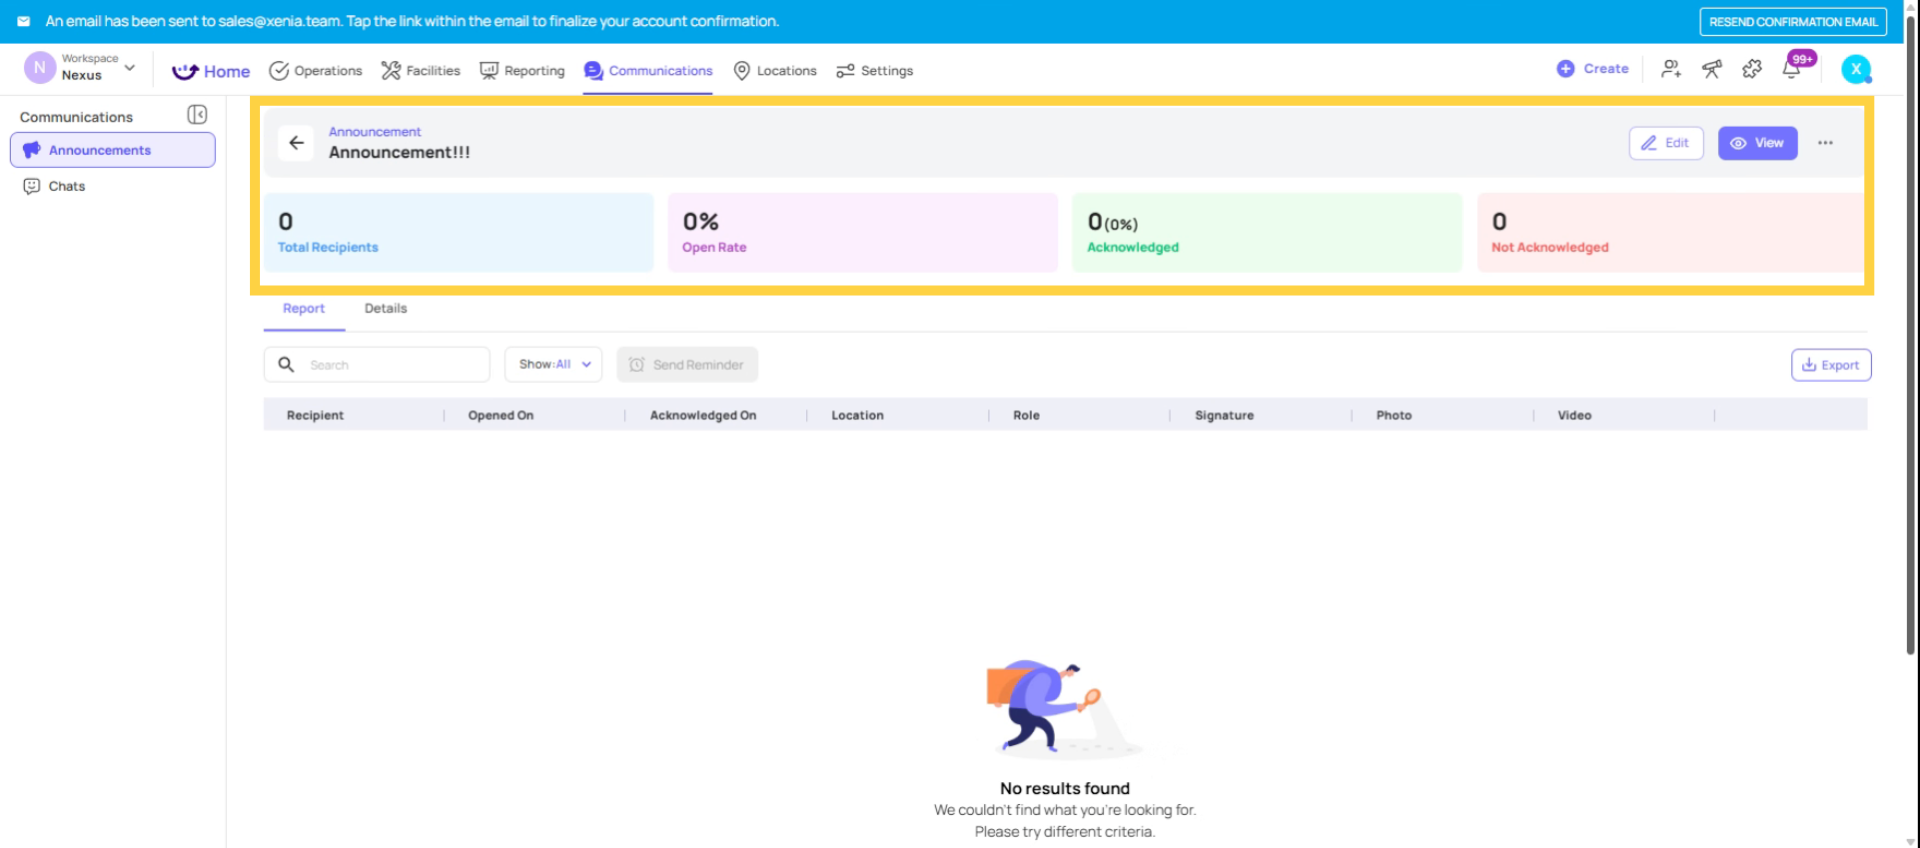
- Acknowledgment status (if required — how many have acknowledged vs. pending)
Click into any announcement to see the full content and the acknowledgment tracking detail.
Need Help?
Reach out to our Support Team at Support@xenia.team
Comments
0 comments
Please sign in to leave a comment.