1. Where to Create Assets
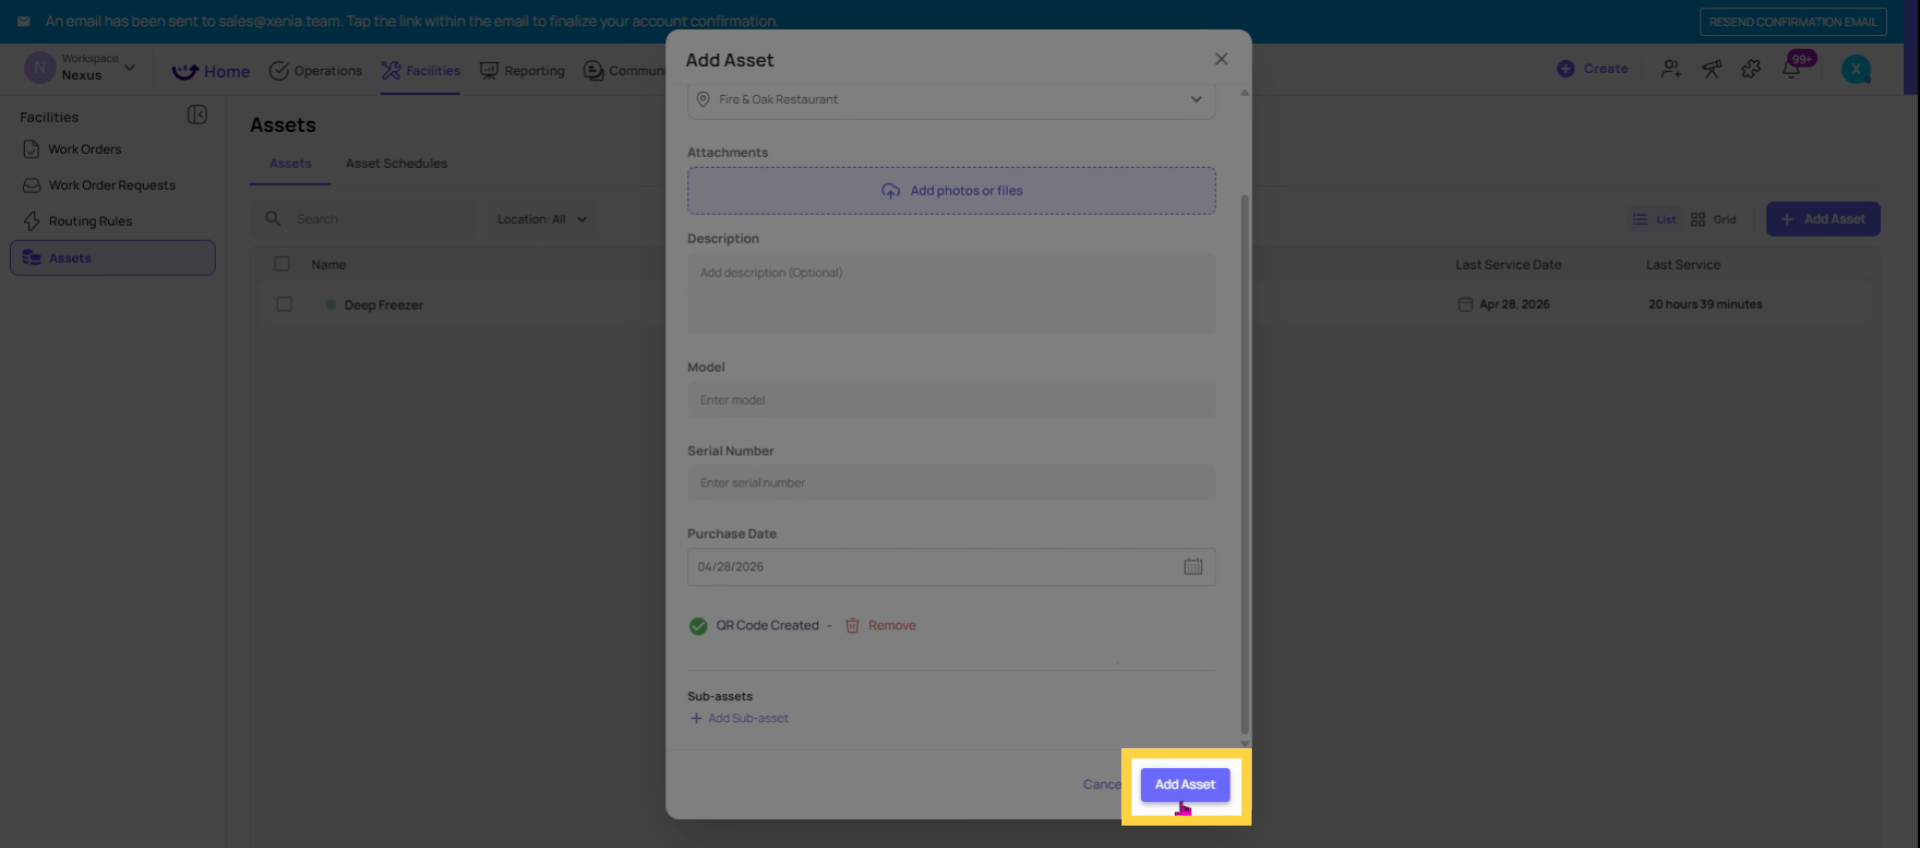
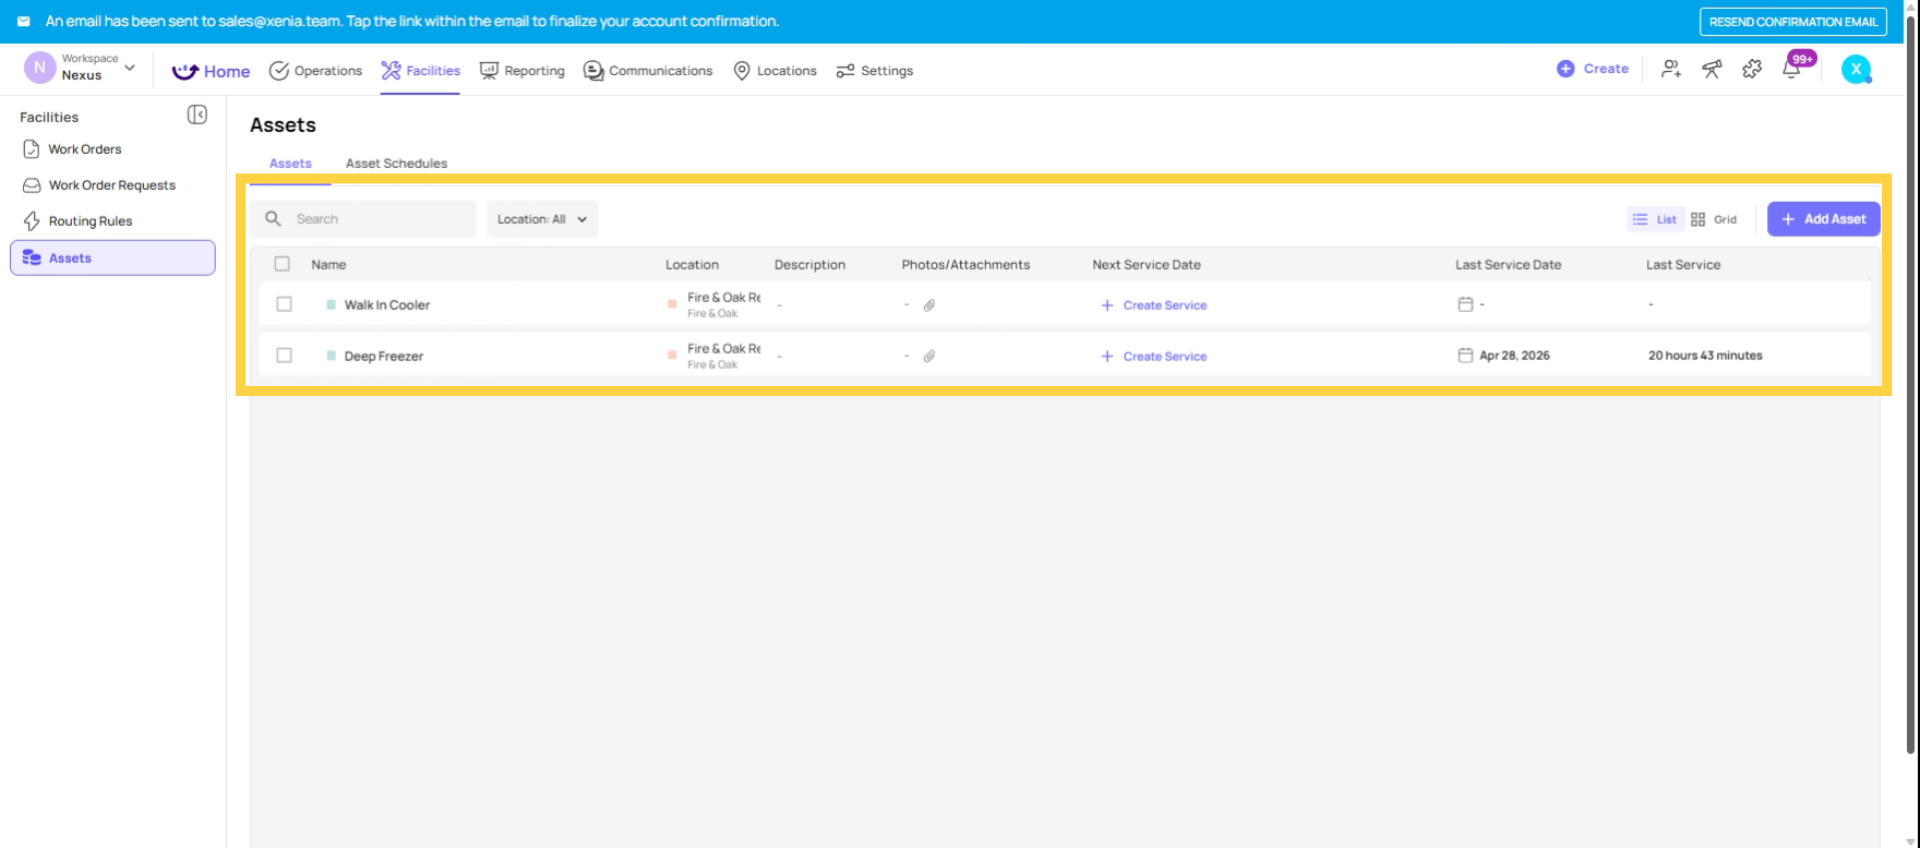
2. Creating a New Asset
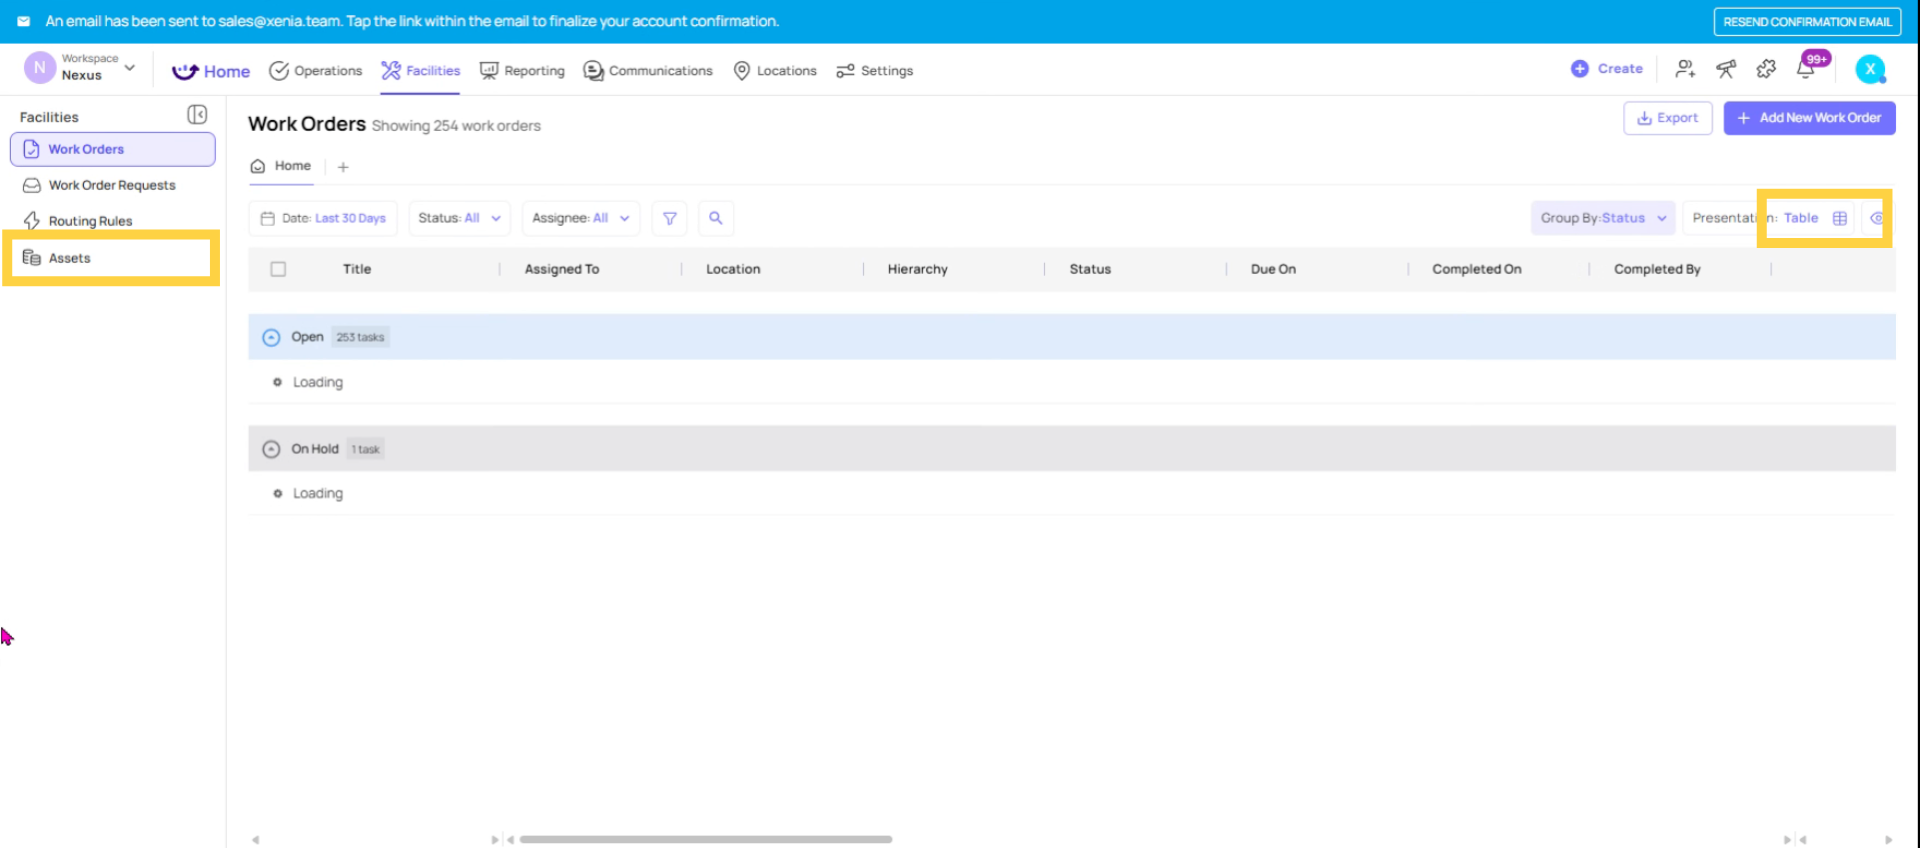
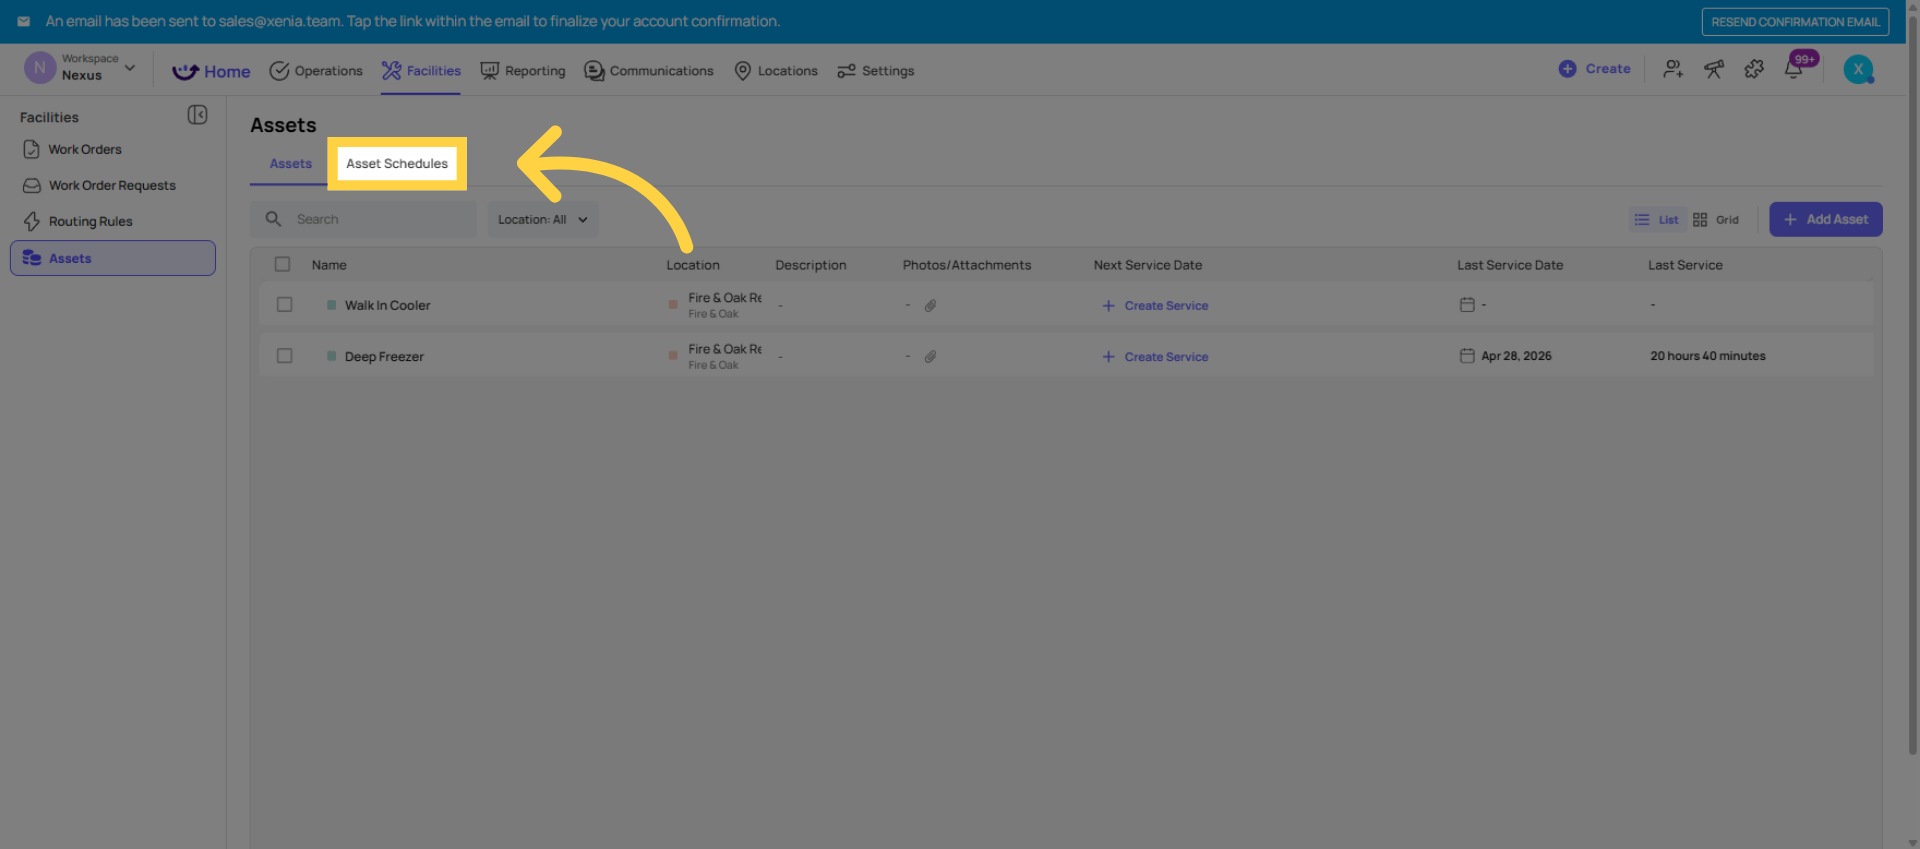
- Go to Facilities → Assets
- Click + Add Asset or the plus button
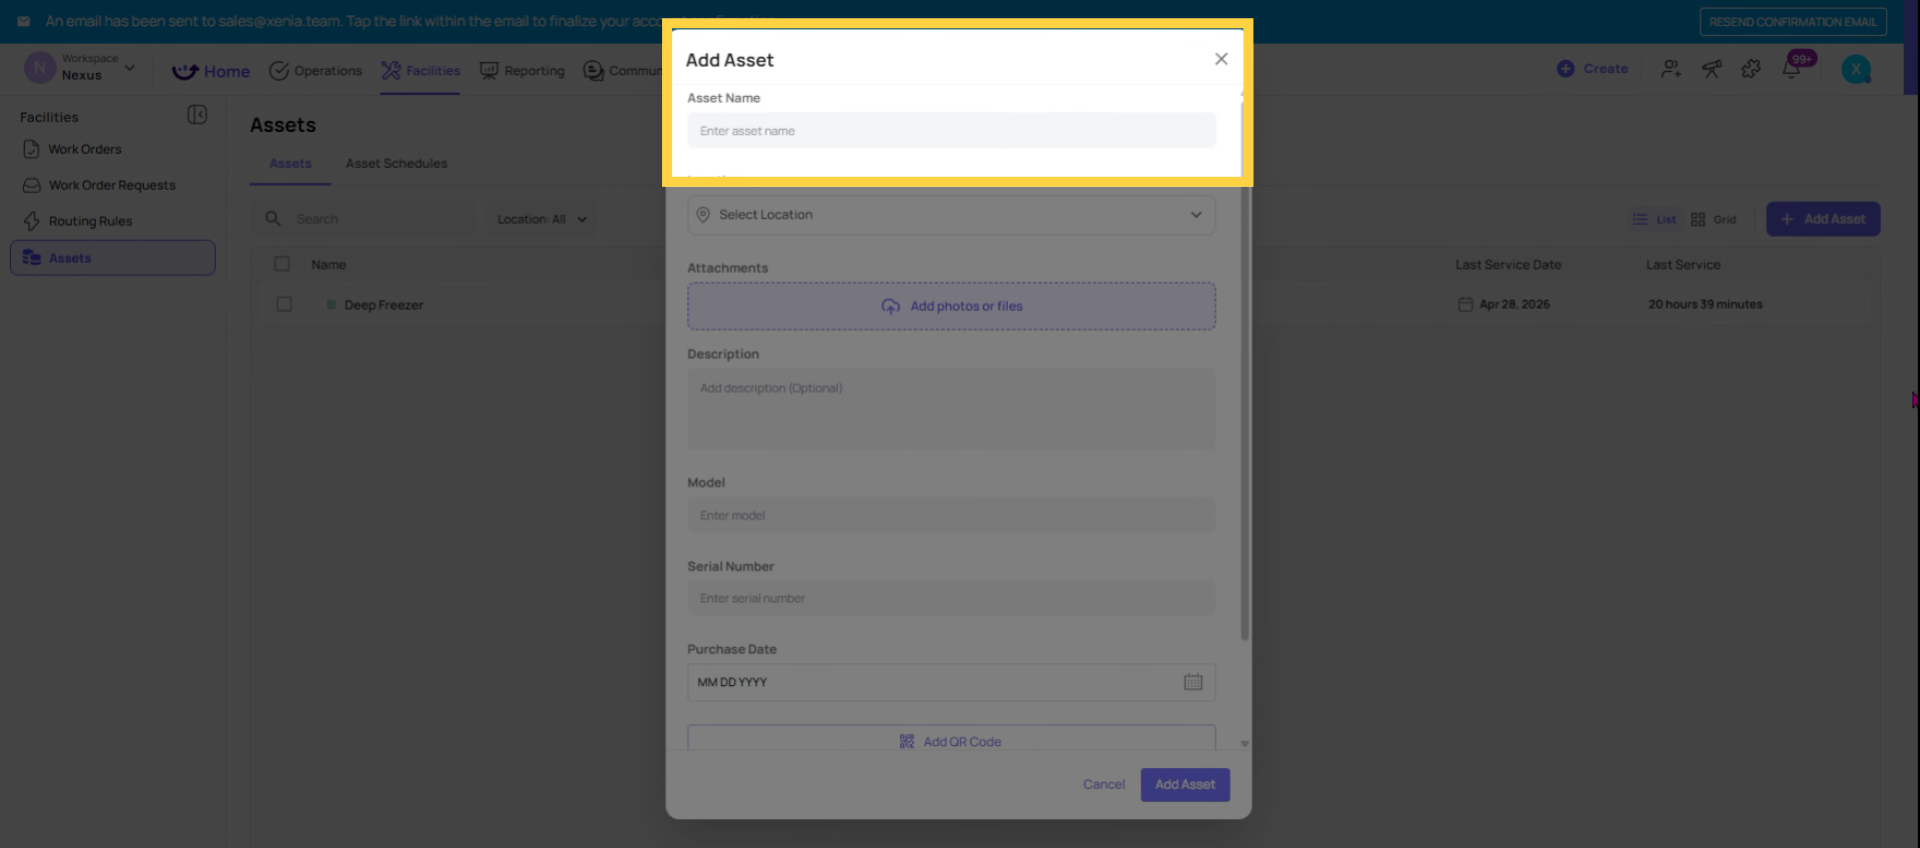
- Fill in the asset details (see below)
- Save
3. Asset Fields
Asset Name (required): Be specific and include context. "Walk-in Cooler — Kitchen — Store 12" is more useful than "Cooler." Names appear in Work Order forms, work history reports, and QR code labels. A clear name tells anyone who opens the record exactly what and where this asset is.
Asset Type / Category: Group assets by type for filtering and reporting. Common categories: HVAC, Kitchen Equipment, Refrigeration, Vehicles, IT Equipment, Plumbing, Electrical, Safety Equipment. Configure your categories in Settings → Asset Categories.
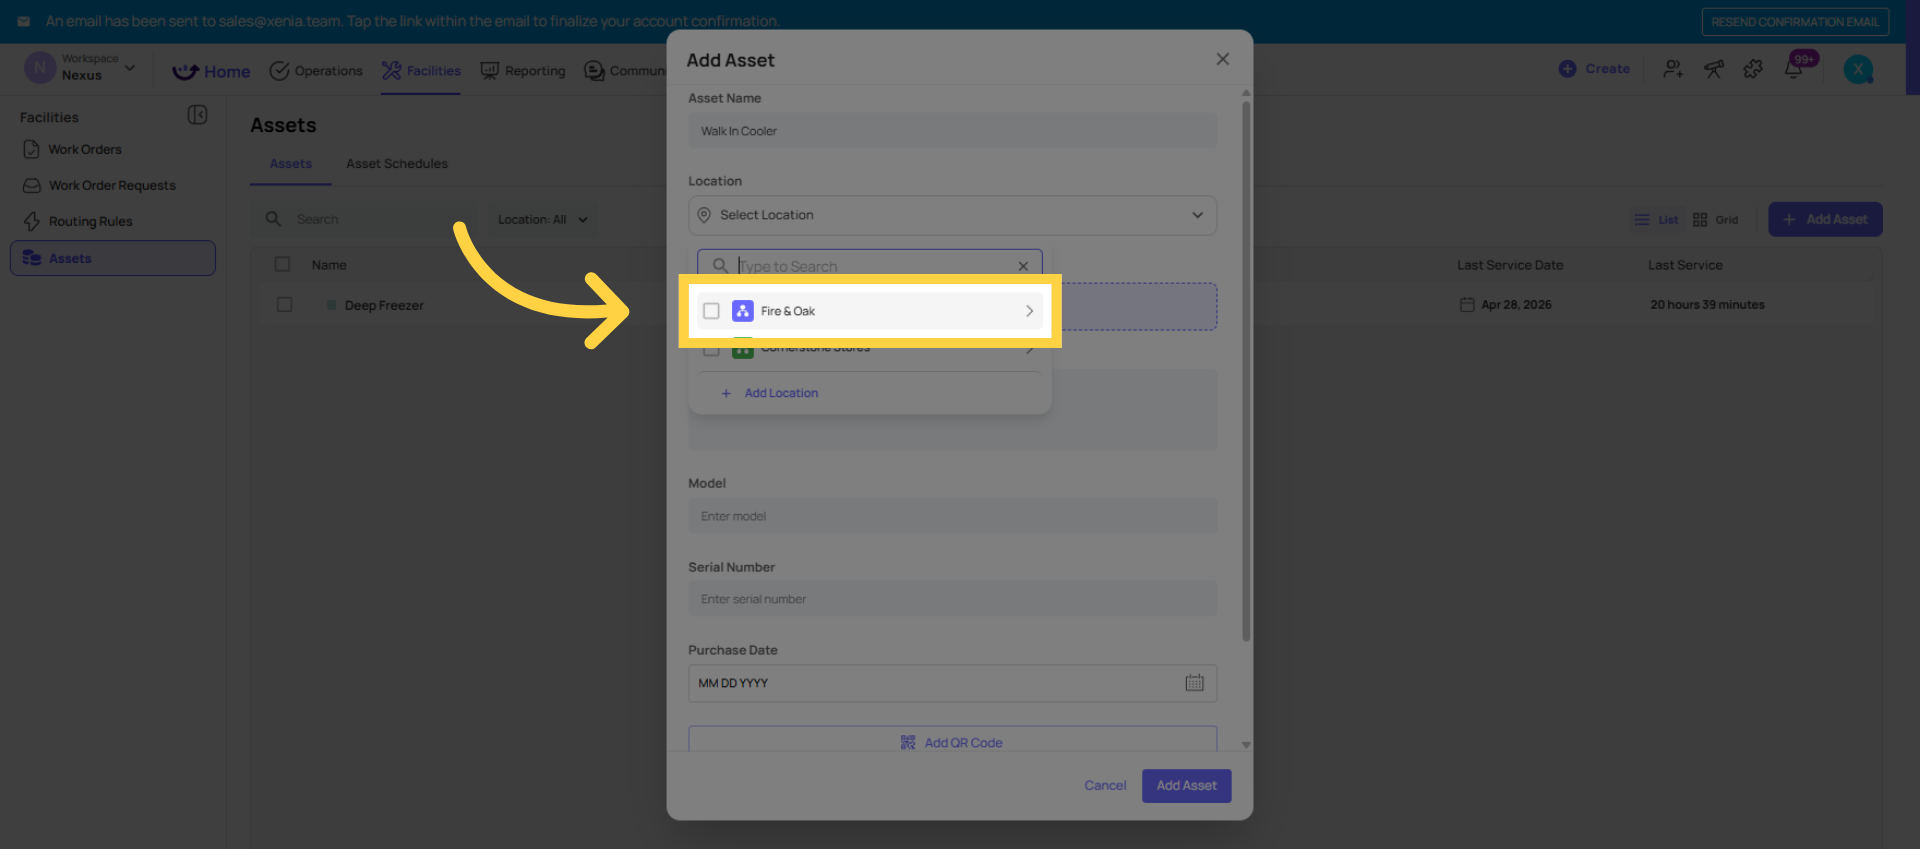
Location: Tag the asset to its location. This is what connects the asset to your location hierarchy and enables location-based filtering of your asset list.
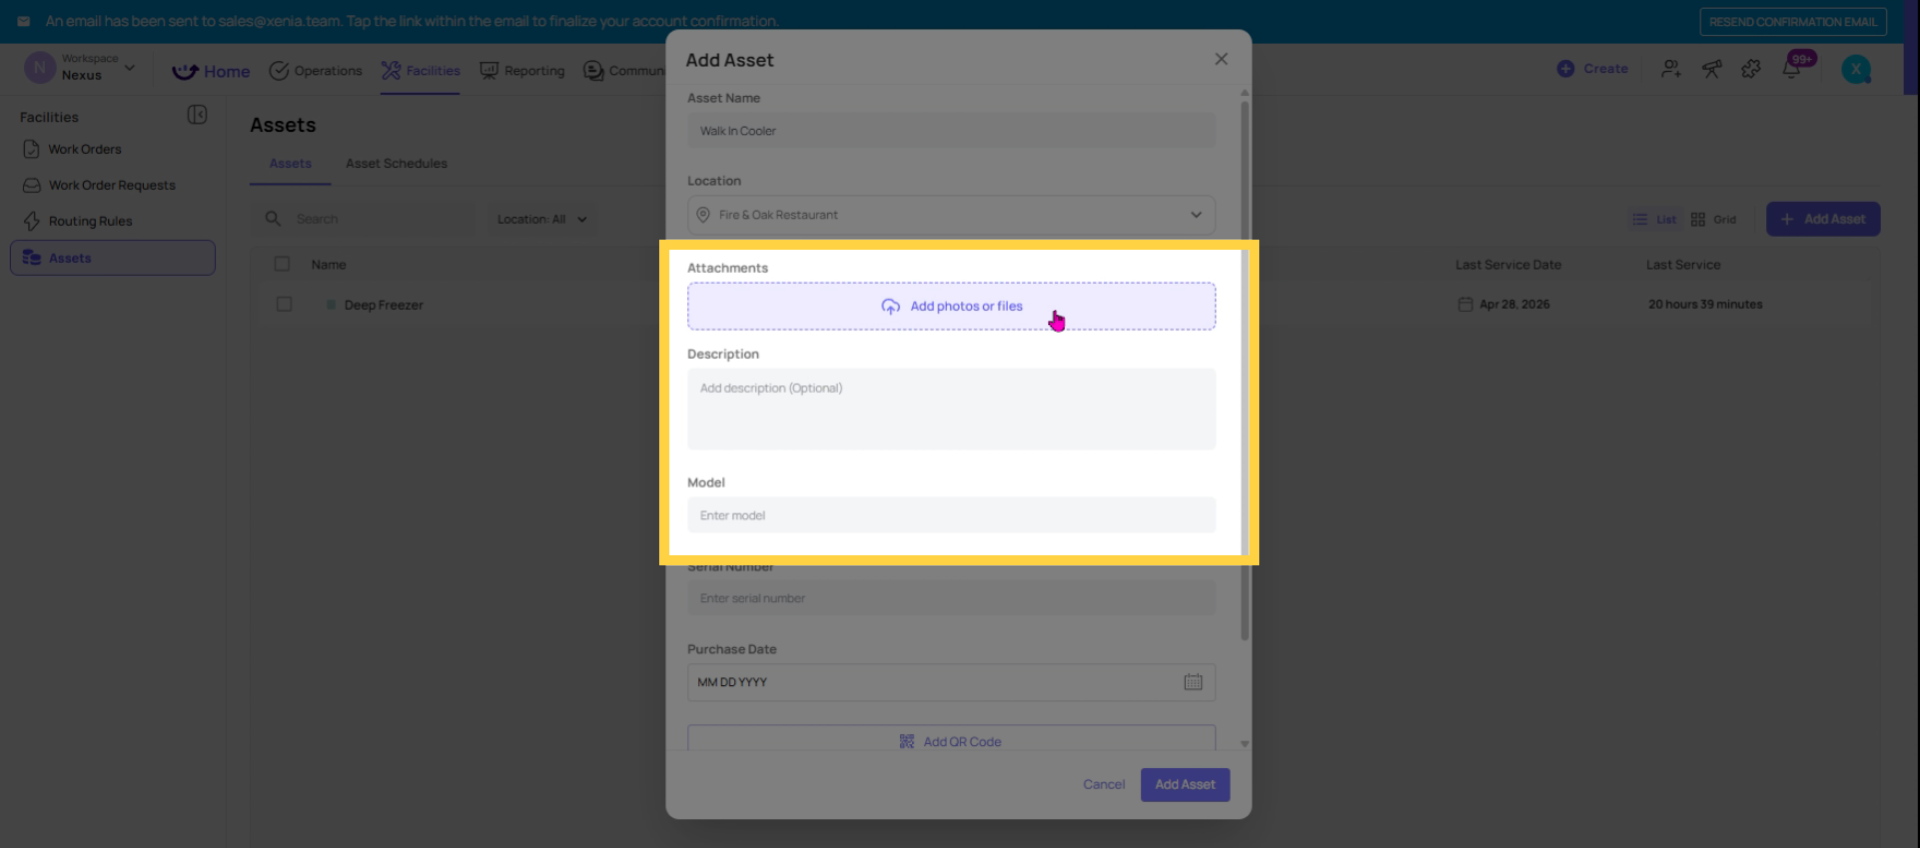
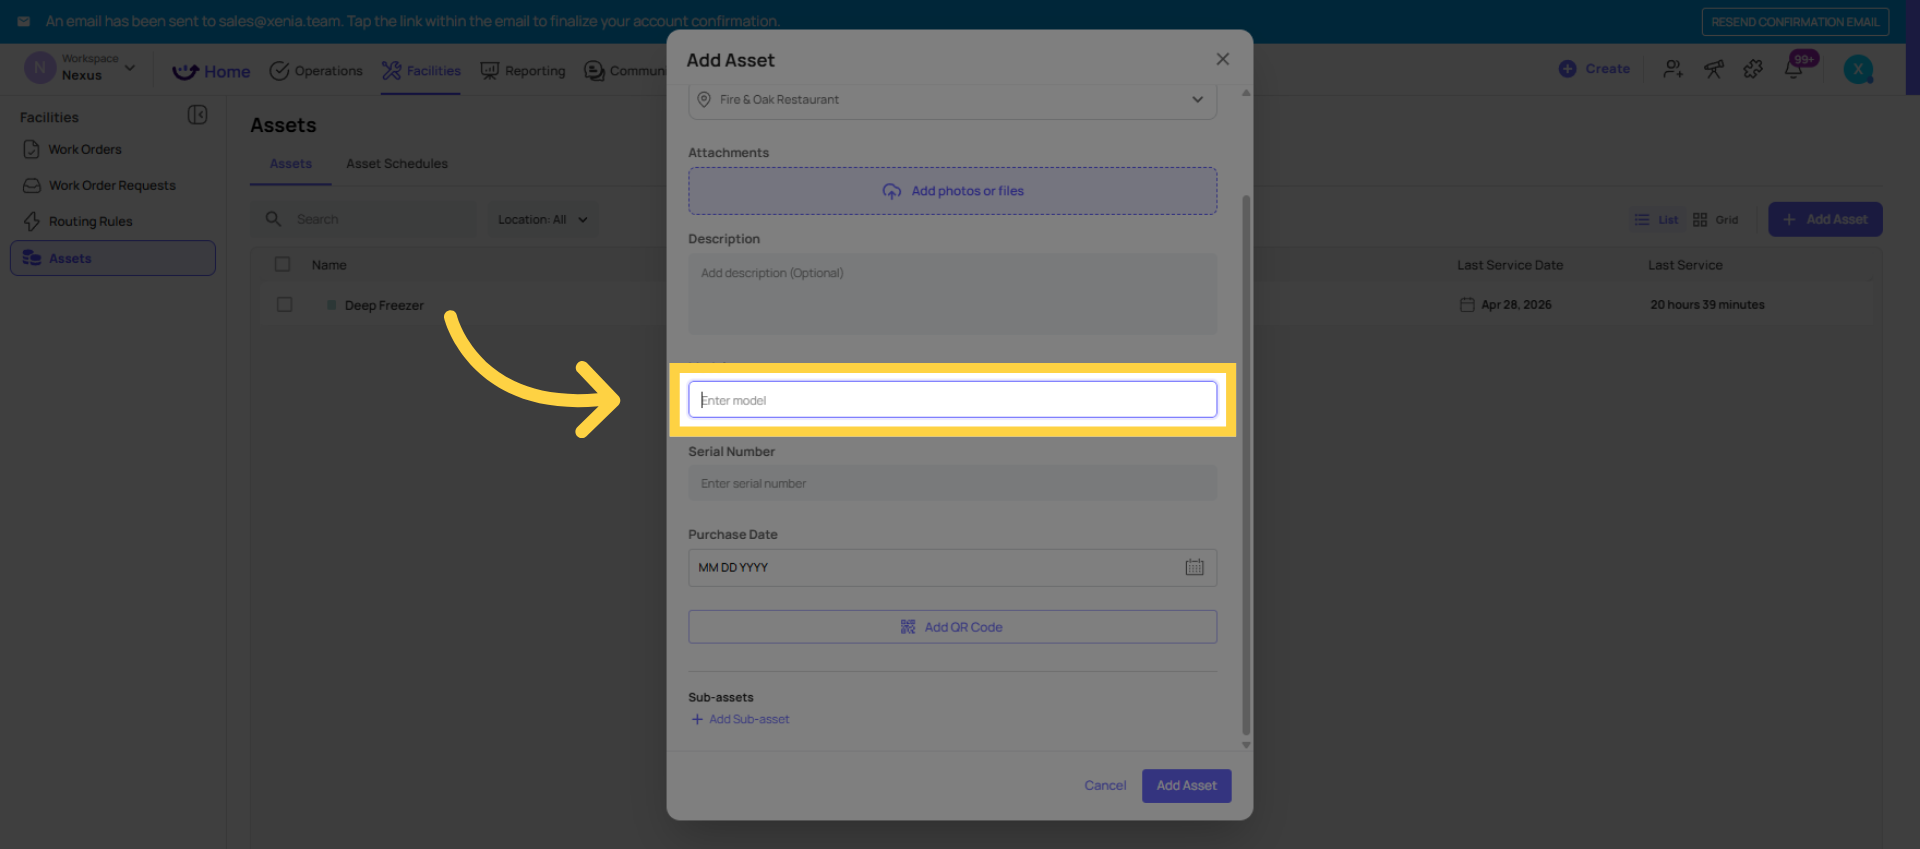
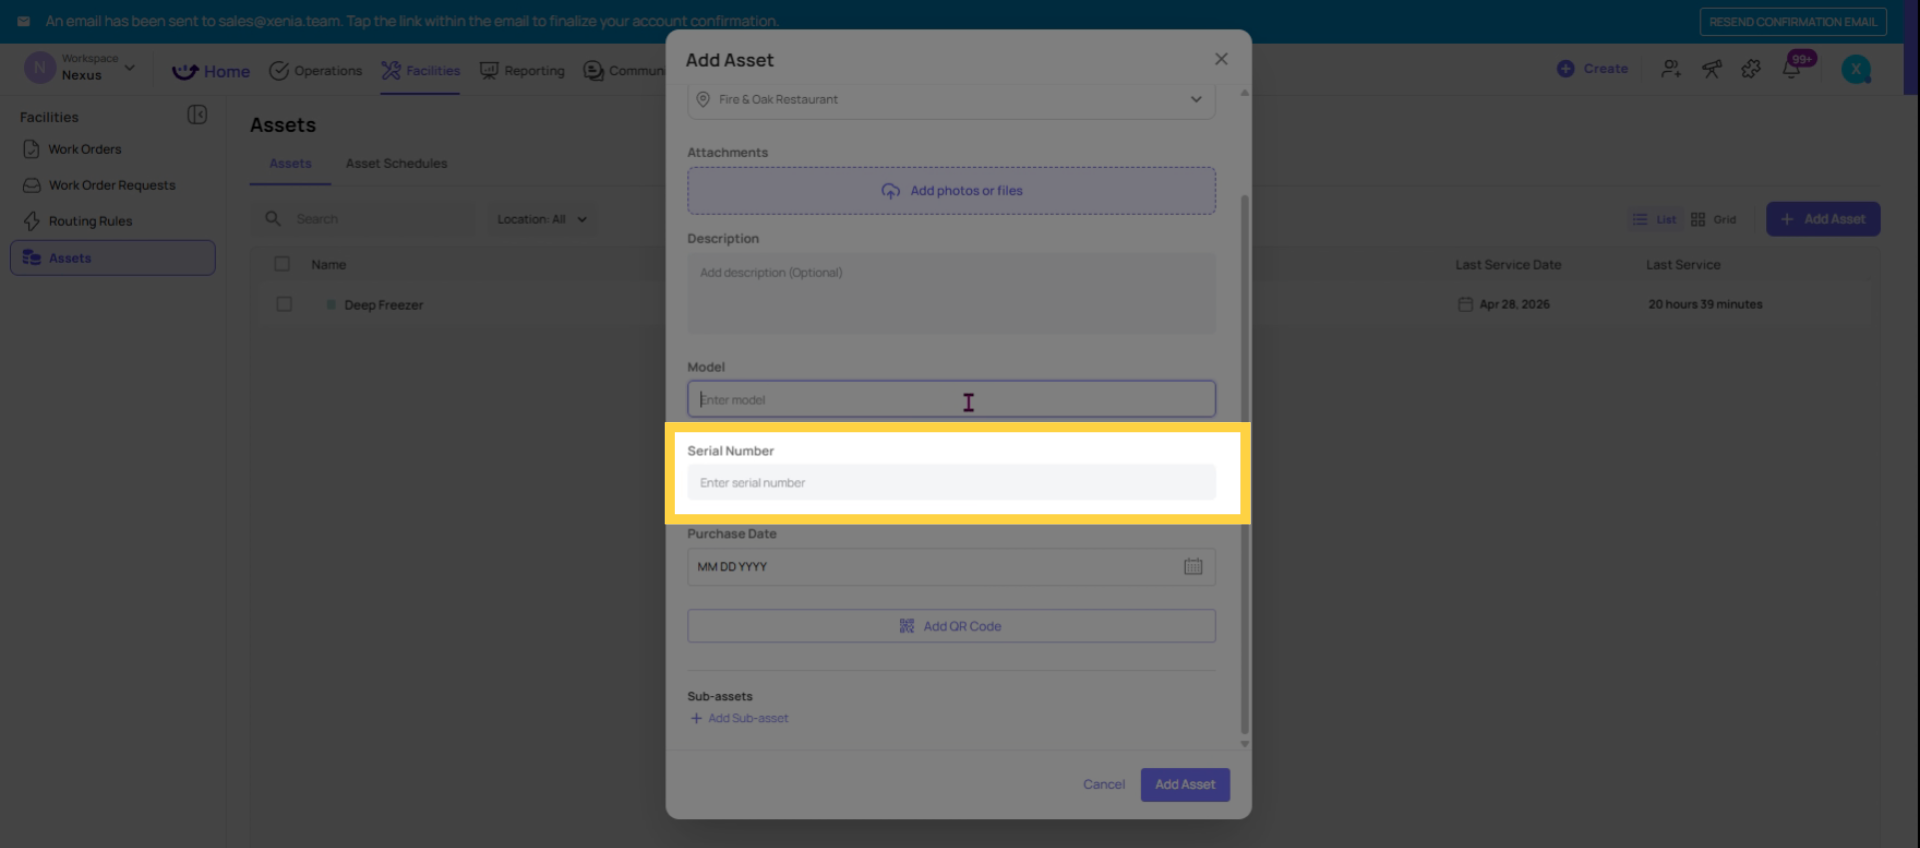
Description: Any relevant details — model number, serial number, manufacturer, installation date, warranty expiry, vendor contact. This information is visible in the asset record and doesn't need to be re-entered on every Work Order.
Photos: Add photos of the asset in its normal condition. Useful for reference during maintenance visits and for comparison if the asset's condition changes over time.
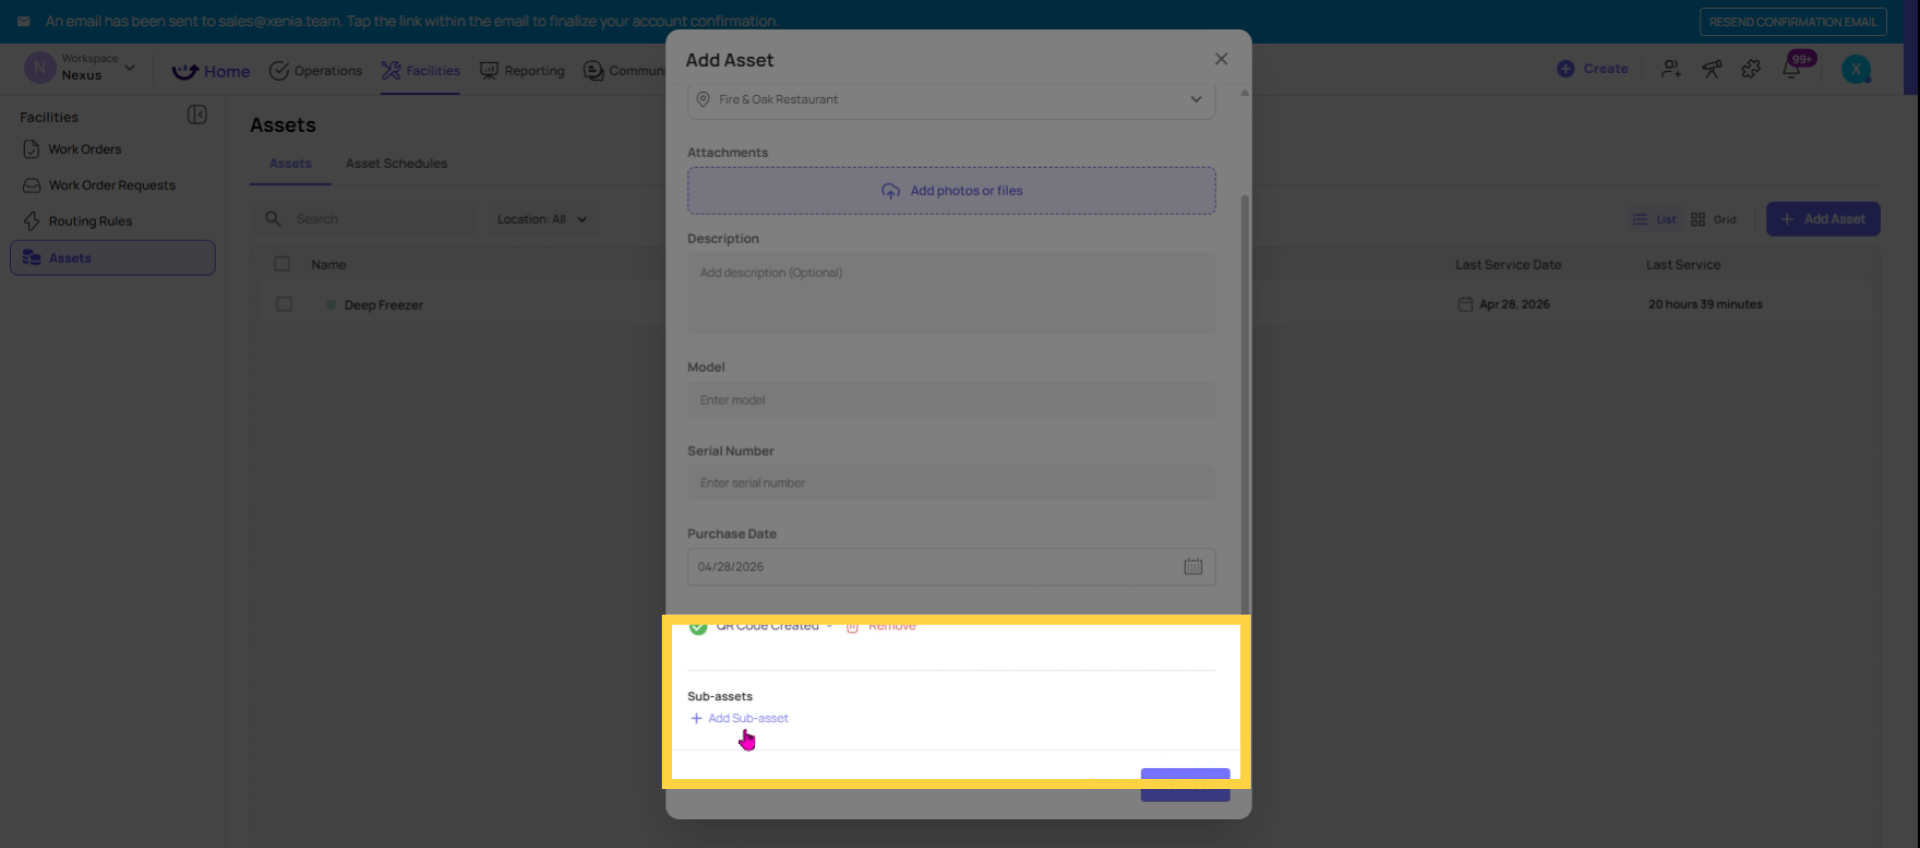
Sub-assets: If an asset has components that warrant individual tracking, add them as sub-assets. Example: an HVAC system (parent) with three rooftop units (sub-assets A, B, C). Work Orders can be tagged to the specific sub-asset rather than the parent system.

4. Configuring the Service Schedule
After creating the asset, set up its service schedule from the asset record:
Last Service Date: When it was most recently serviced. Sets the starting point for the service interval calculation.
Next Service Date: When it should next be serviced. Can be set manually or calculated automatically based on service interval.
Service Interval: How frequently the asset should be serviced — every 30 days, every quarter, every year. Set this once and Xenia calculates the next due date automatically after each service is recorded.
Service Reminders: Configure notification reminders before the next service date:
- Inside the asset record, find the Reminders or Service Schedule section
- Click Add Reminder
- Set the lead time — 7 days before, 14 days before, etc.
- Select the delivery channel — push, email, or SMS
- Set the recipient — a role (location-scoped to the asset's location) or a specific user
- Add a custom note if relevant — "Check compressor belt during this service" will appear in the reminder notification
Multiple reminders can be set on one asset — a 30-day reminder for scheduling, a 7-day reminder for preparation.
5. Recording a Completed Service
When a service is completed:
- Open the asset record
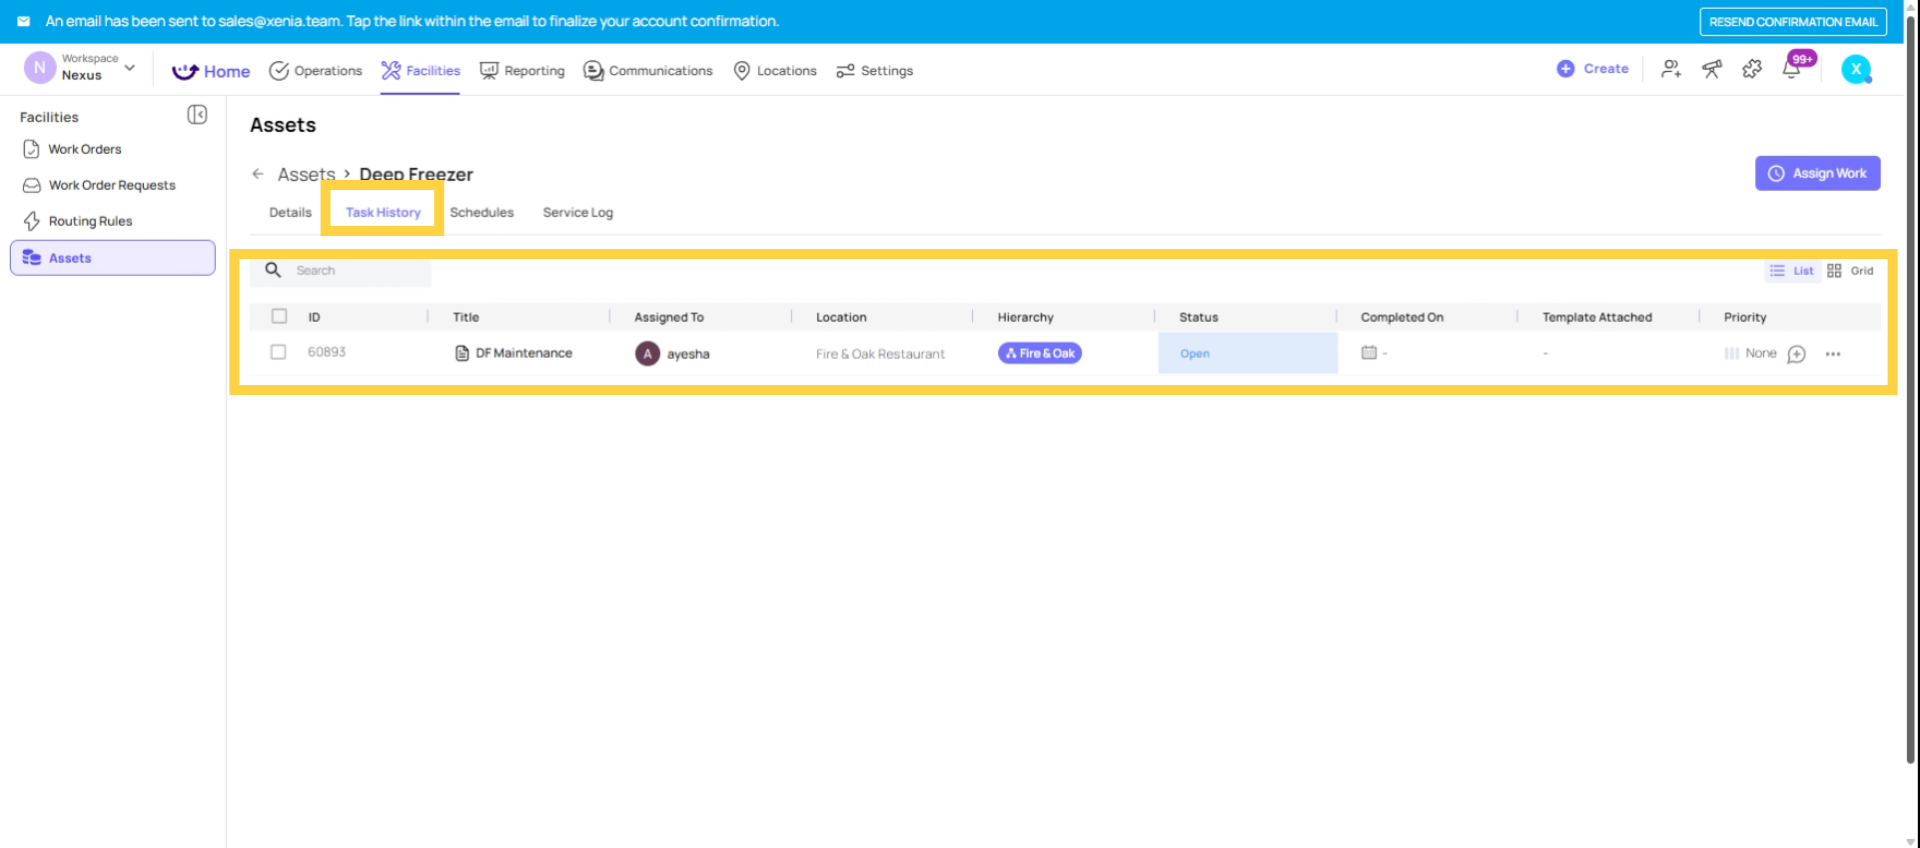
- Go to the Service History section
- Click Add Service Record or Mark Service Complete
- Enter: completion date, who performed it, cost (optional), notes on what was done
- Save
Xenia updates the Last Service Date and calculates the Next Service Date based on the configured interval. The service record is permanently stored in the asset's history.
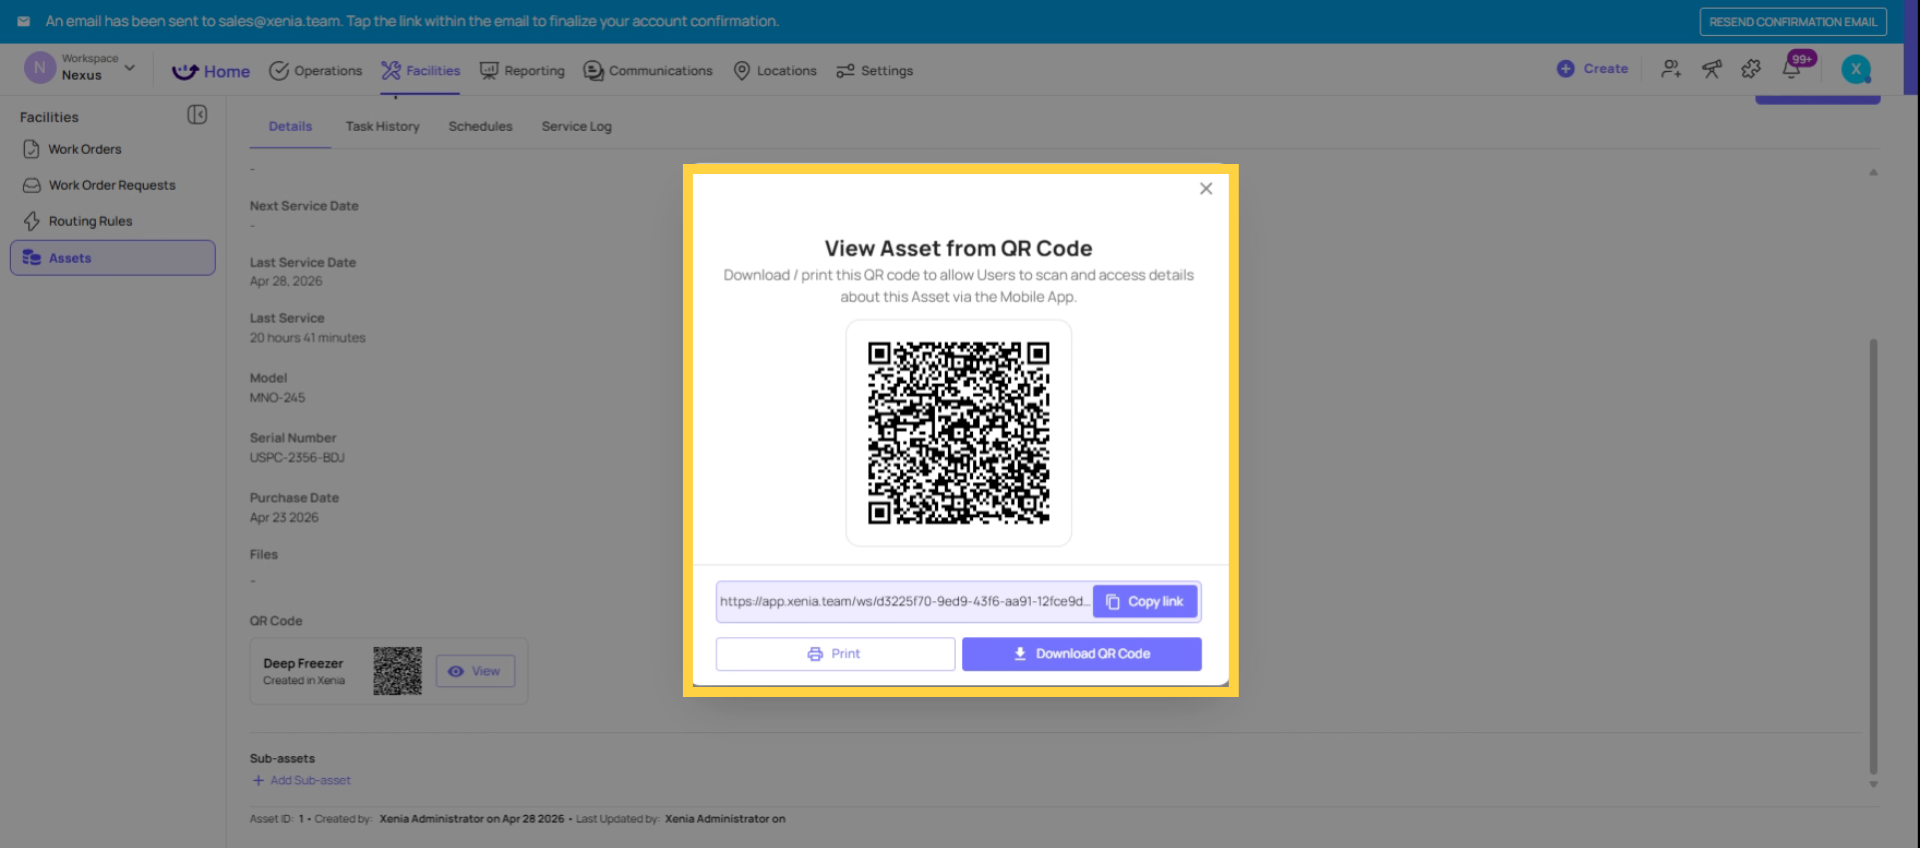
6. Generating and Printing a QR Code
- Open the asset record
- Find the QR Code section or button
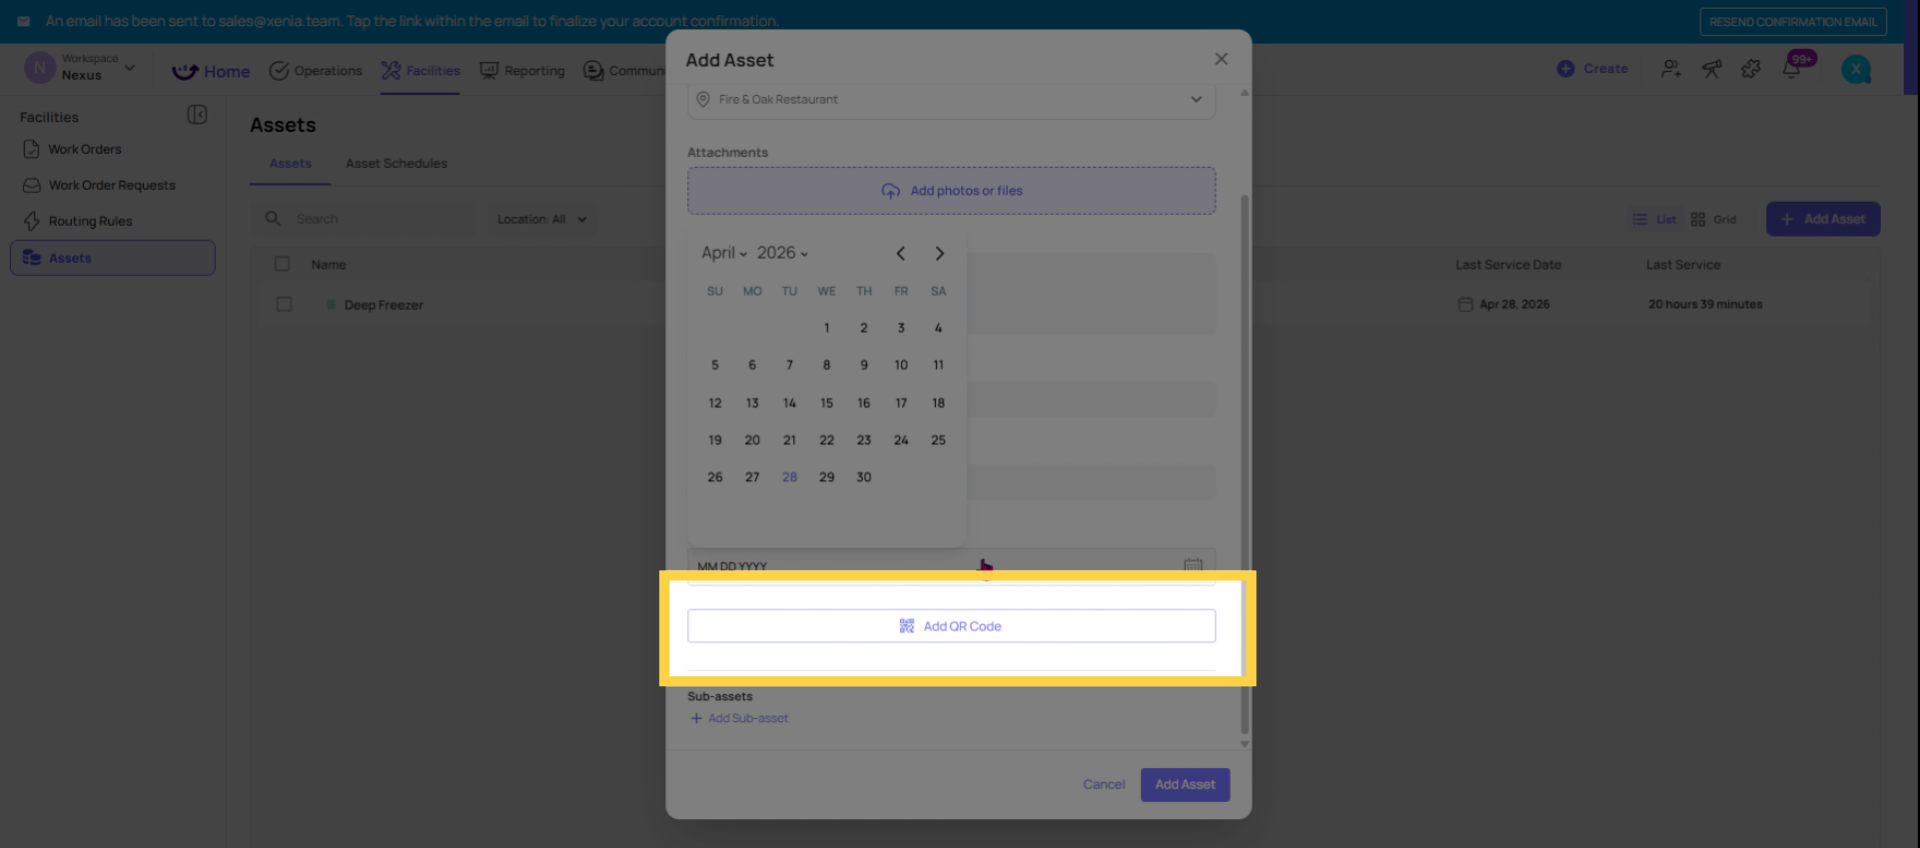
- Click Generate QR Code
- Download the QR code image
- Print it as a label and physically attach it to the equipment
The QR code is linked to this specific asset. When scanned with the Xenia mobile app, it opens directly to a Work Request form pre-tagged to this asset and its location. When scanned by someone without a Xenia account (using the public form), it opens the public Work Request form.
Label suggestions: Use durable, waterproof label material for equipment in kitchens, coolers, or outdoor environments. Print large enough to be scannable from a normal distance.
7. Managing Assets Over Time
Editing an asset: Click into the asset record and edit any field at any time. Changes take effect immediately.
Archiving an asset: When a piece of equipment is decommissioned or replaced, archive the asset rather than deleting it. Archiving removes it from the active asset list but preserves all its work history and service records. The history is available for reference, compliance, or warranty claims.
Replacing with a new asset: If equipment is replaced, archive the old asset and create a new one for the replacement. Create a note on the new asset referencing the old one if continuity of record is important.

Need Help?
Reach out to our Support Team at Support@xenia.team
Comments
0 comments
Please sign in to leave a comment.