1. Overview of Corrective Task Creation
Two Ways to Create a Corrective Task from a Checklist Response
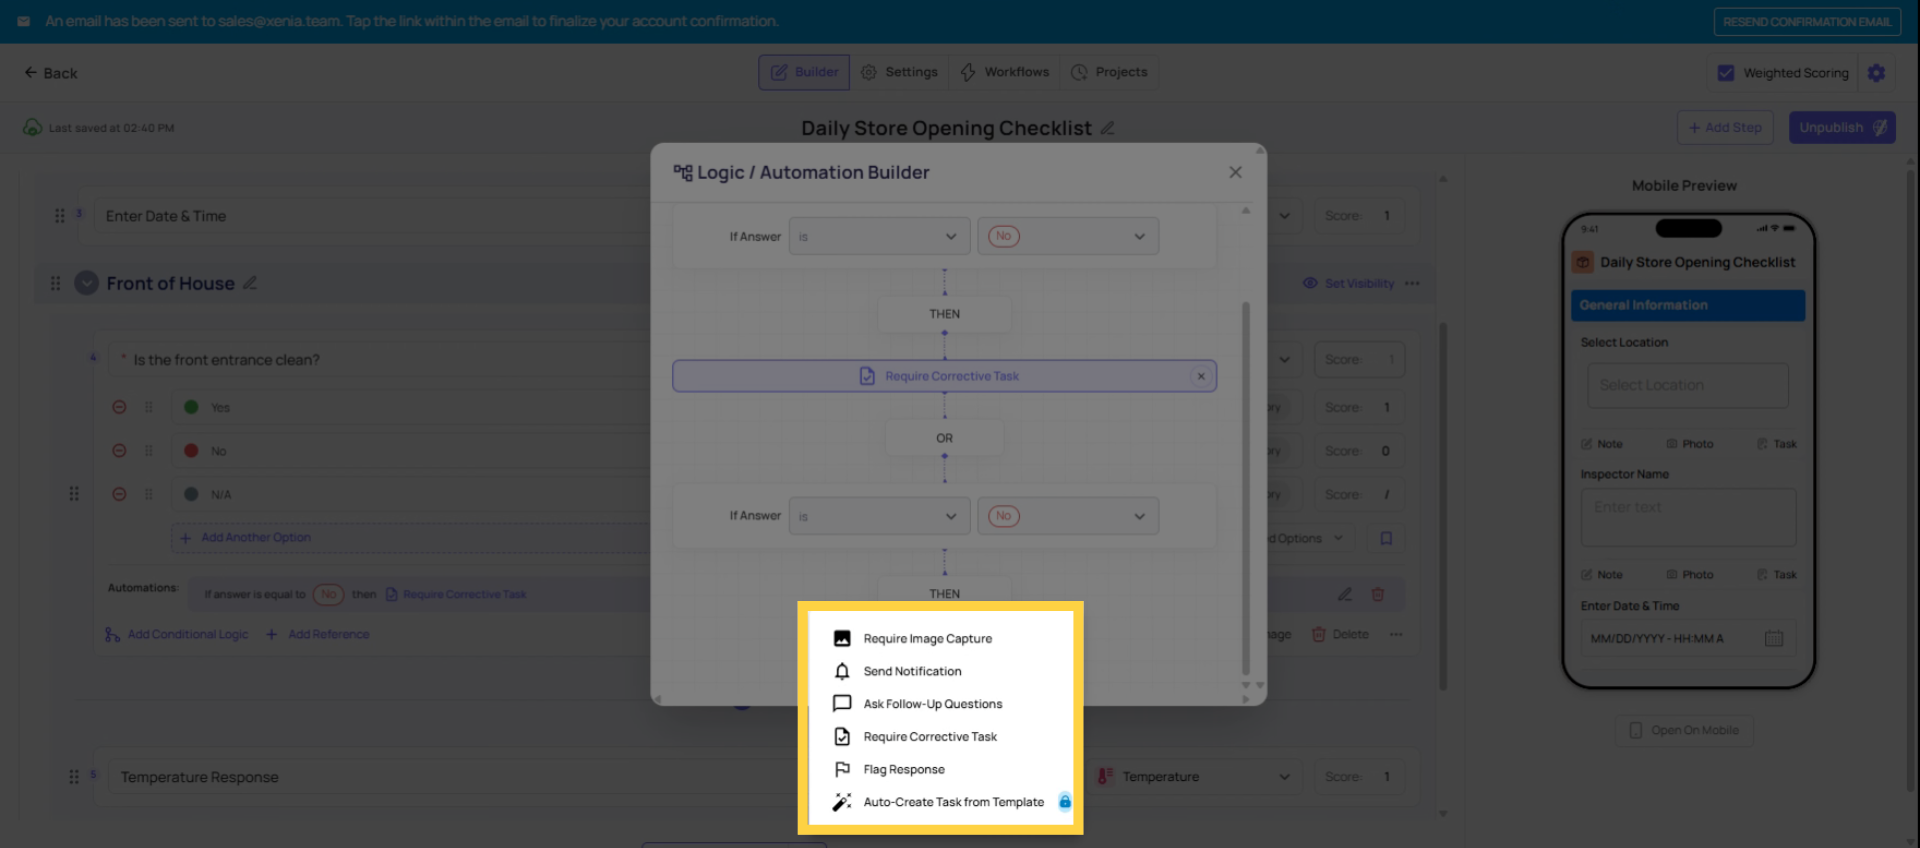
There are two distinct options in the conditional logic panel for creating corrective tasks. They look similar but behave very differently:
Require Corrective Task (manual) When triggered, this prompts the employee to manually create and assign a task before they can continue the checklist. The employee sees a prompt, fills in the task details, assigns it to someone, and then the form continues. The employee is in control of the task creation — they choose who gets it.
When to use: When the employee completing the form is the most informed person about who should handle the issue — perhaps in a context where different issues might go to different teams and the employee can make that judgment call.
When not to use: For any recurring, predictable failure type where the routing is always the same. If it's always Maintenance who handles HVAC issues, there's no reason for the employee to think about it — auto-create handles it for them.
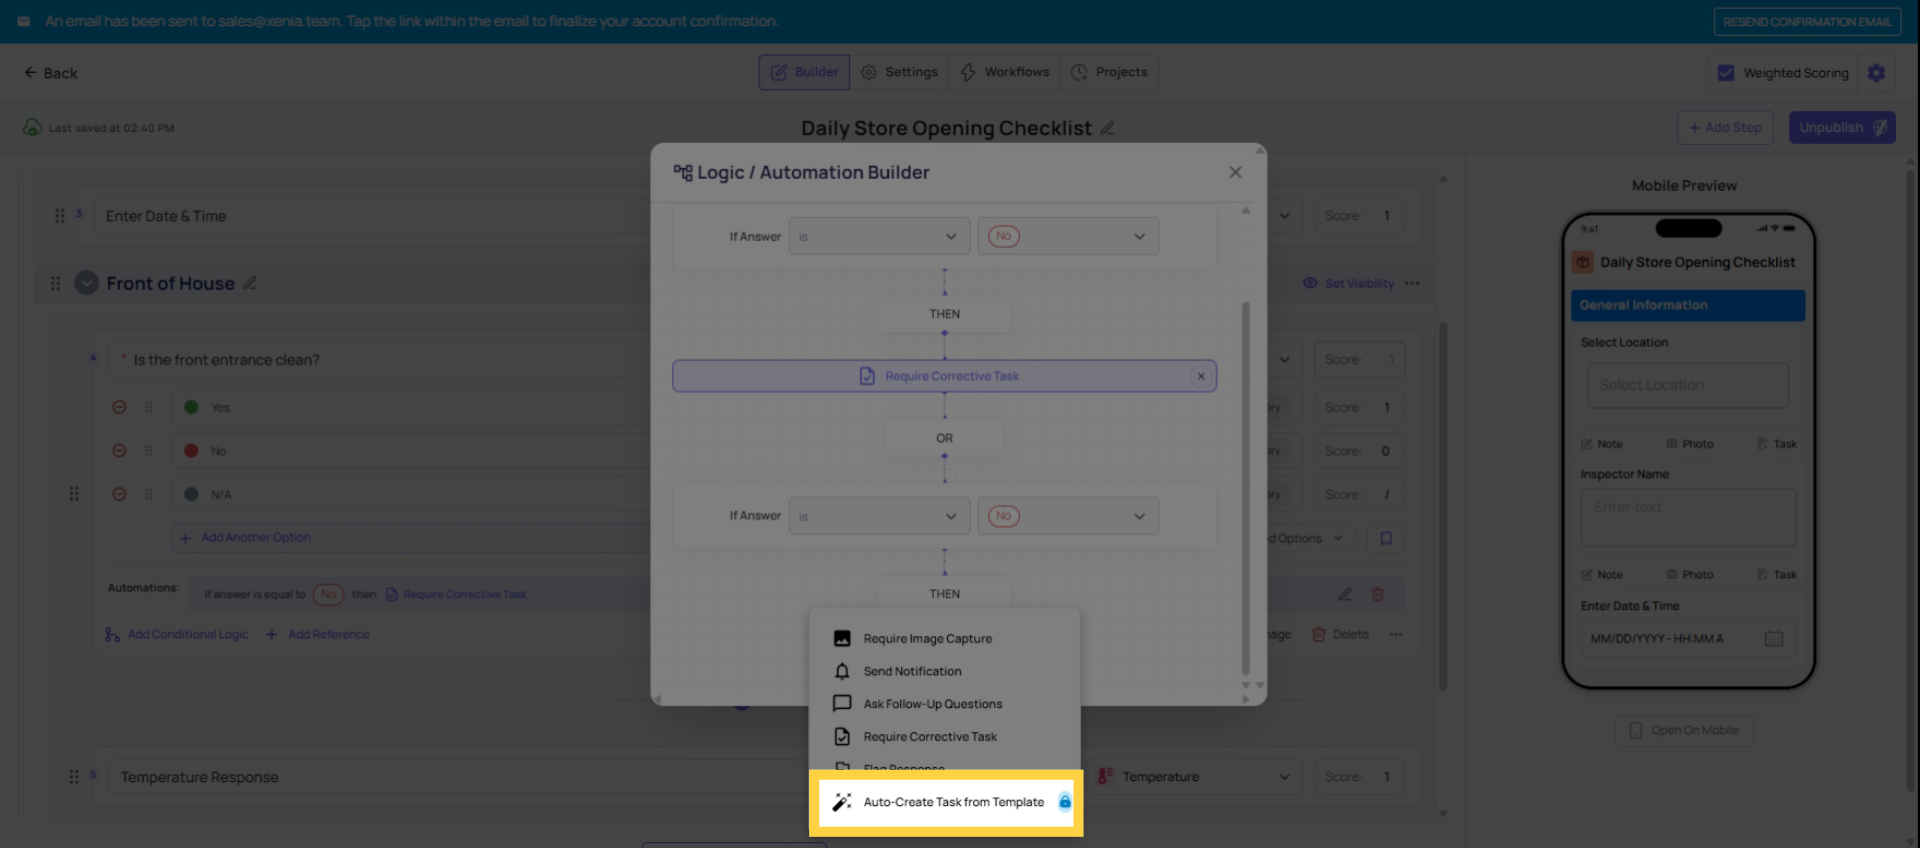
Auto-Create Task from Template (automated) When triggered, Xenia automatically creates the corrective task in the background with the pre-configured assignee, location, due date, and category. The employee sees a brief confirmation ("A corrective task has been created") and continues the checklist. No employee action required.
When to use: For any recurring failure type where the routing is always the same. Configure it once, and it handles itself every time the trigger fires.
Recommendation: In the vast majority of cases, use Auto-Create. It removes the burden from employees, ensures consistent routing, and works even when employees don't know who should handle something.
2. Manual Versus Auto Task Creation
3. Benefits of Auto Create Tasks
4. Configure Auto Create Template
Task Name The title of the corrective task that appears in the task board and in notifications. Make it specific enough that the receiver immediately understands what they're looking at: "Walk-in Cooler Temperature Out of Range — Food Safety" rather than "Temperature Issue."
Task Description Pre-filled descriptive text that appears in the task body. Use this to provide the receiving team with everything they need to act: what the issue is, what the standard is, what to do. Example: "Walk-in cooler temperature recorded as out of range during daily food safety log. Inspect the cooler, verify temperature, and document corrective action. This task was auto-generated from the Daily Food Safety Log submission."
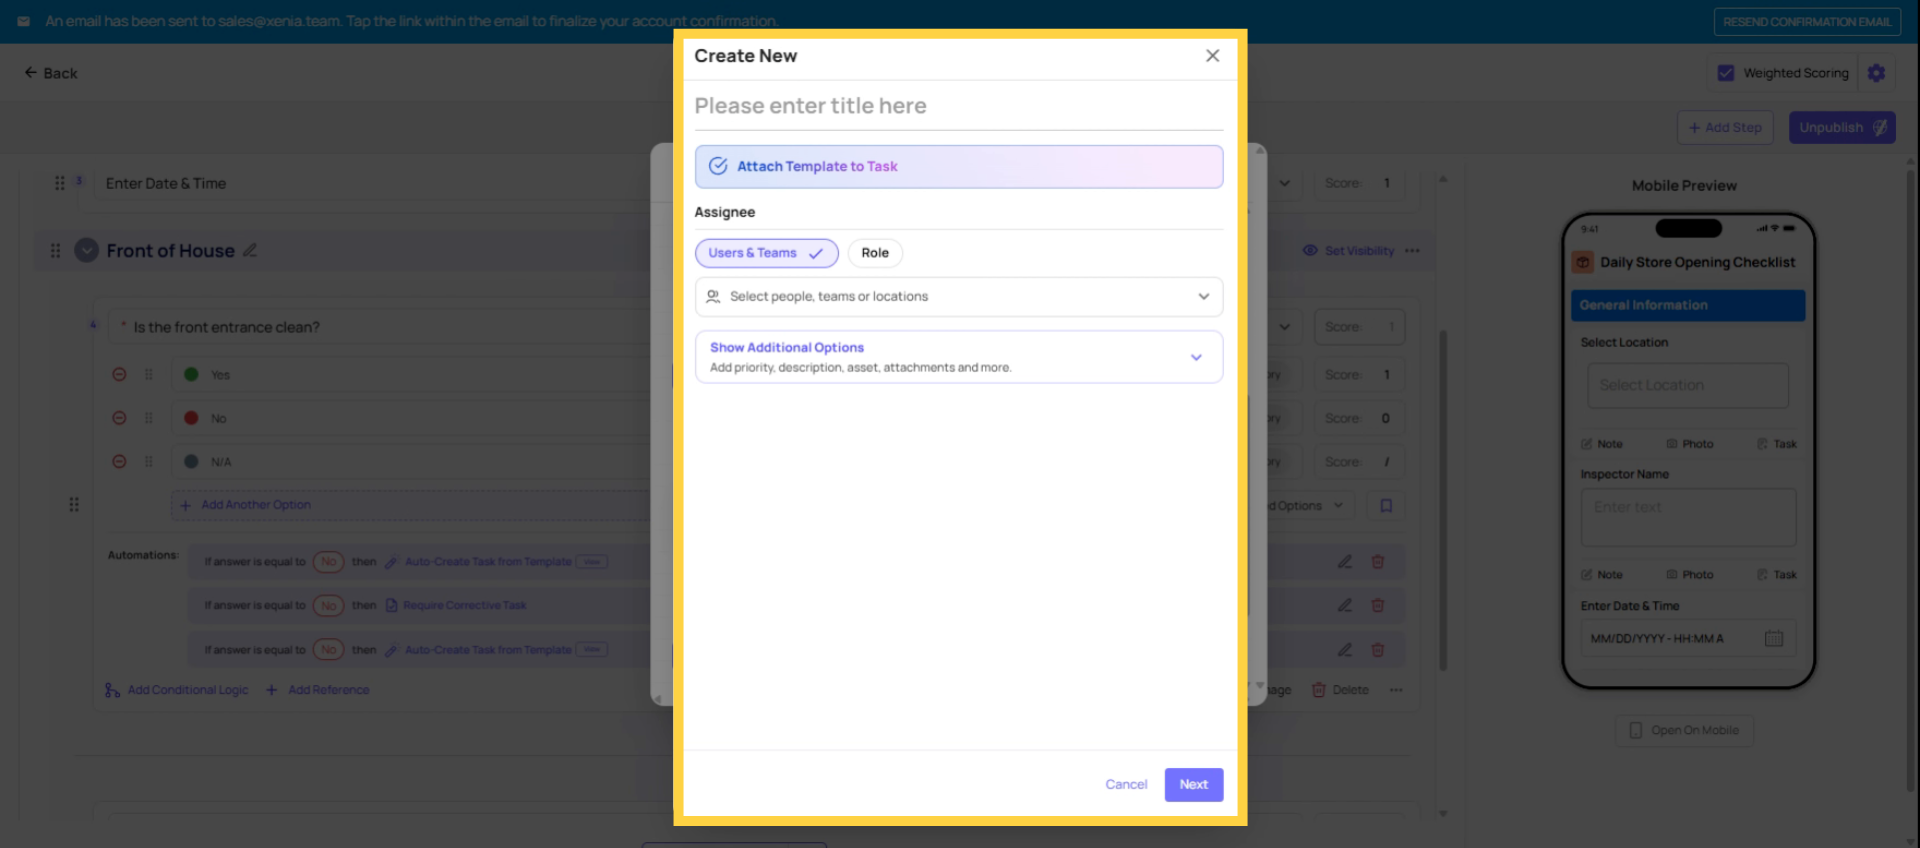
Assignee Who receives the corrective task. Options:
- Role (strongly recommended) — the role at the submission location receives the task. If the Facilities Manager role has membership at Store 5 and the submission came from Store 5, the Facilities Manager at Store 5 gets the task.
- Team — all members of the selected team receive it
- Individual user — a specific named person gets it (avoid for recurring automation; use only when one specific person is always responsible regardless of location)
Priority Low, Medium, High, or Critical. Sets the urgency indicator on the task in the task board.
Category Optional tag for reporting and filtering purposes. Categories are configured in Workspace Settings → Task Categories. Common examples: Maintenance, Safety, Food Safety, HR, Facilities, Cleaning.
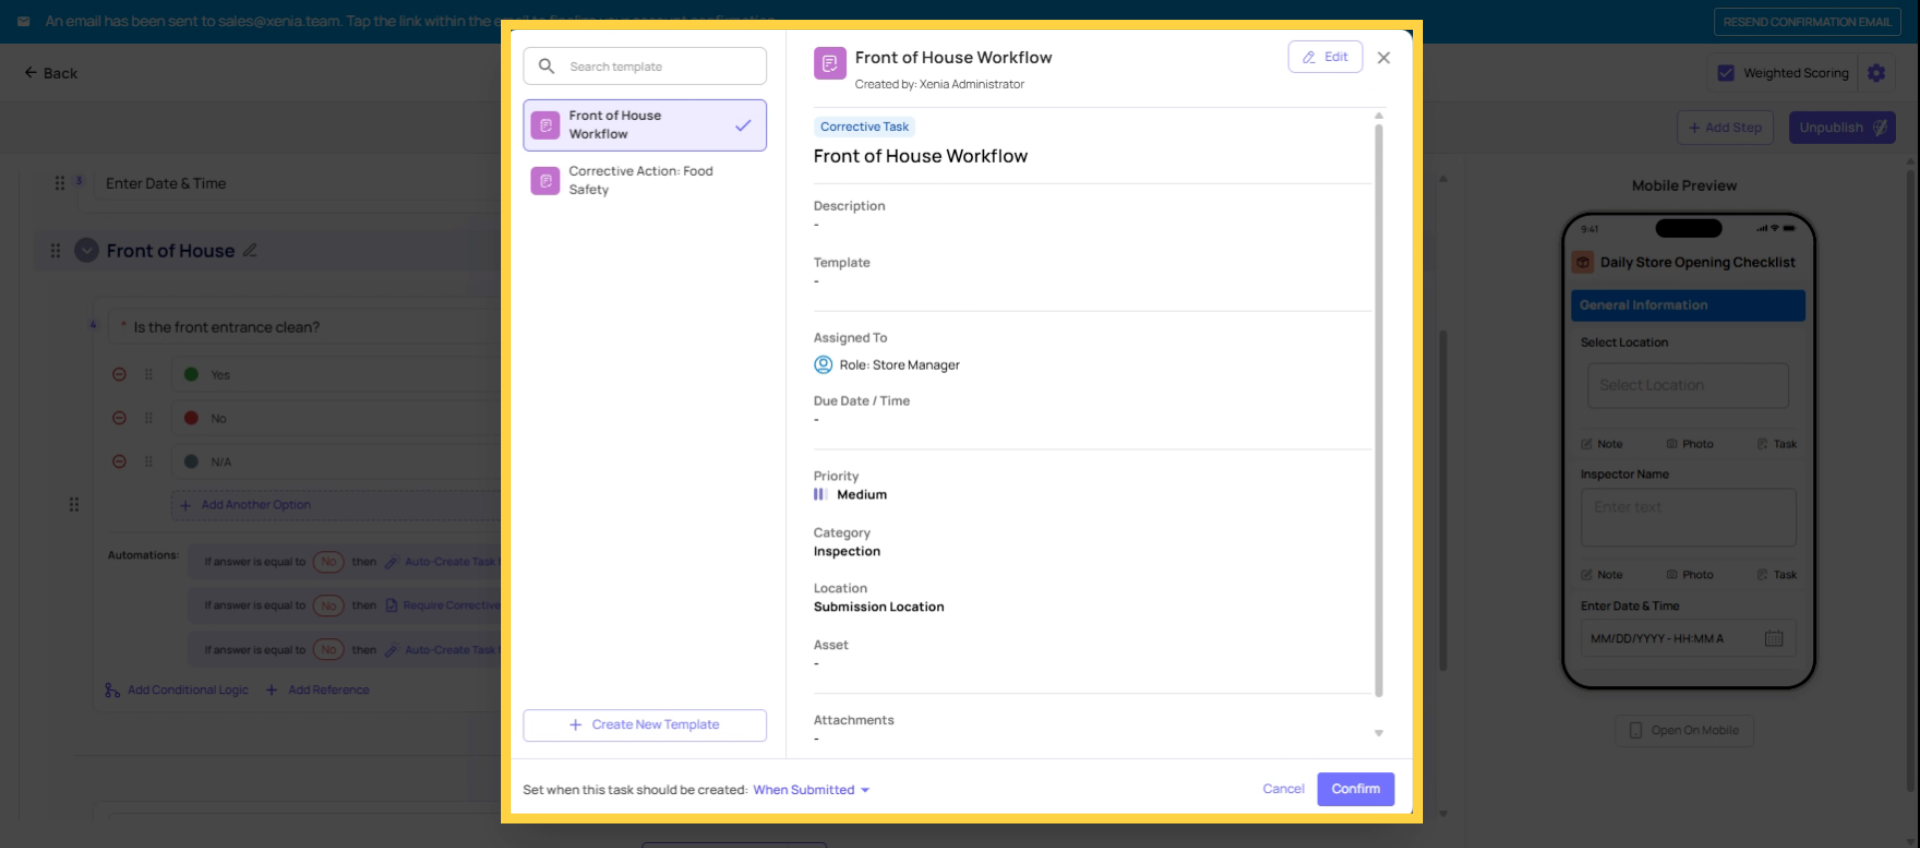
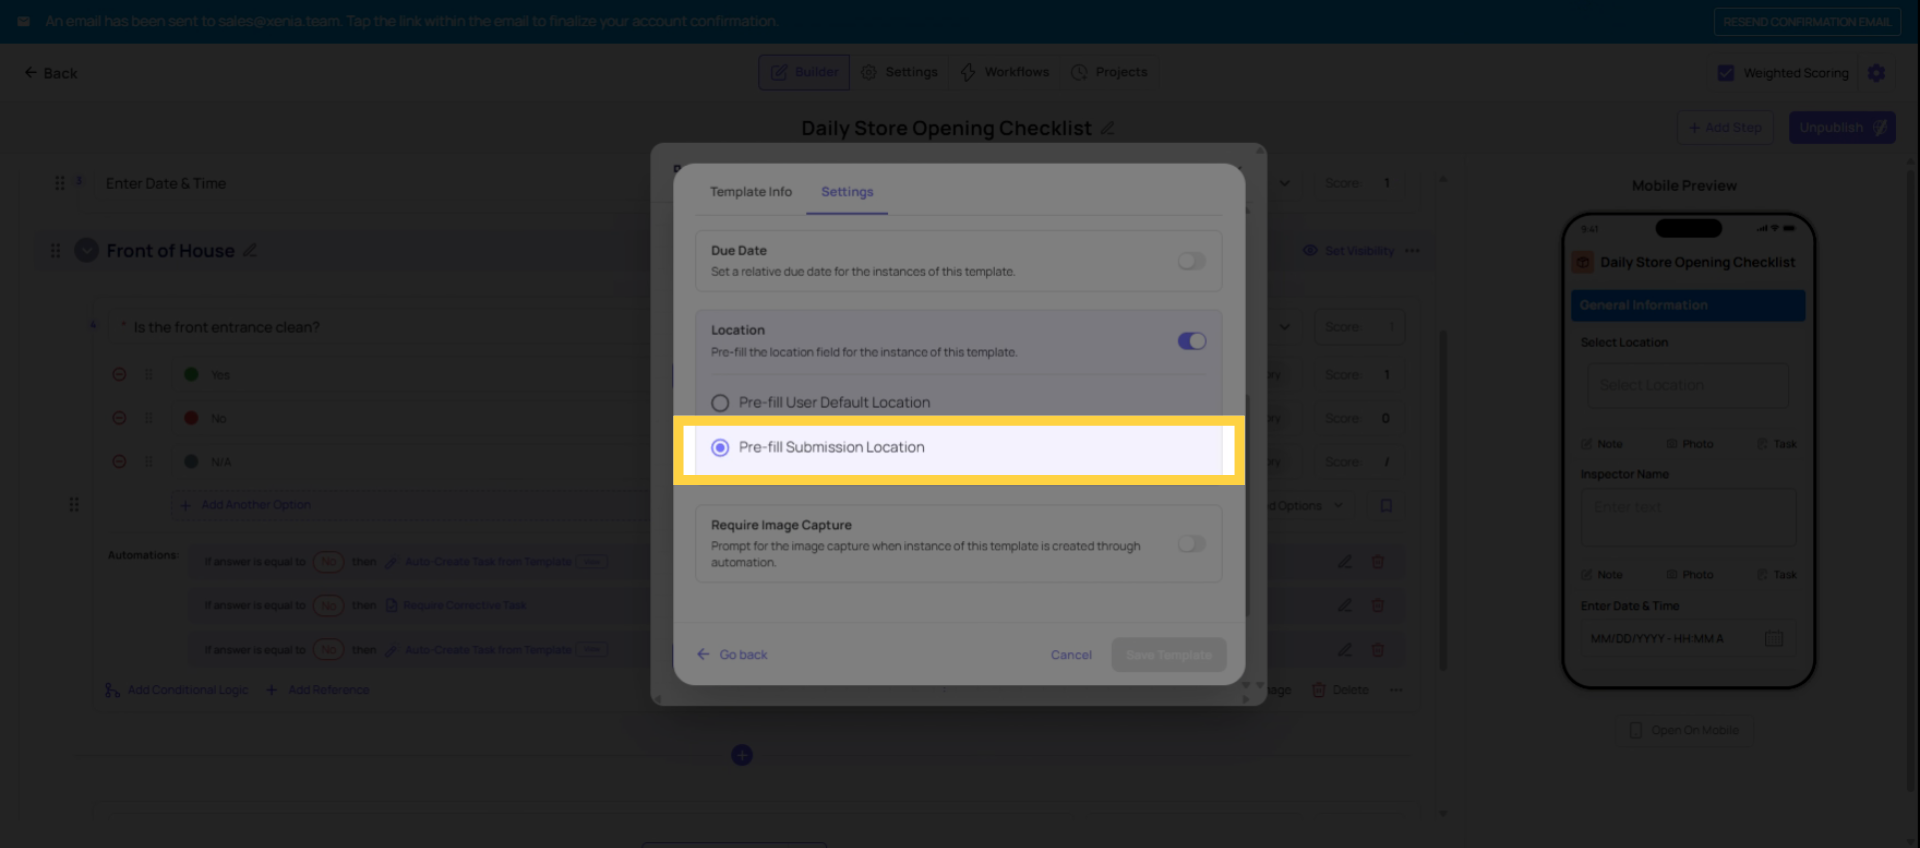
5. Importance of Submission Location
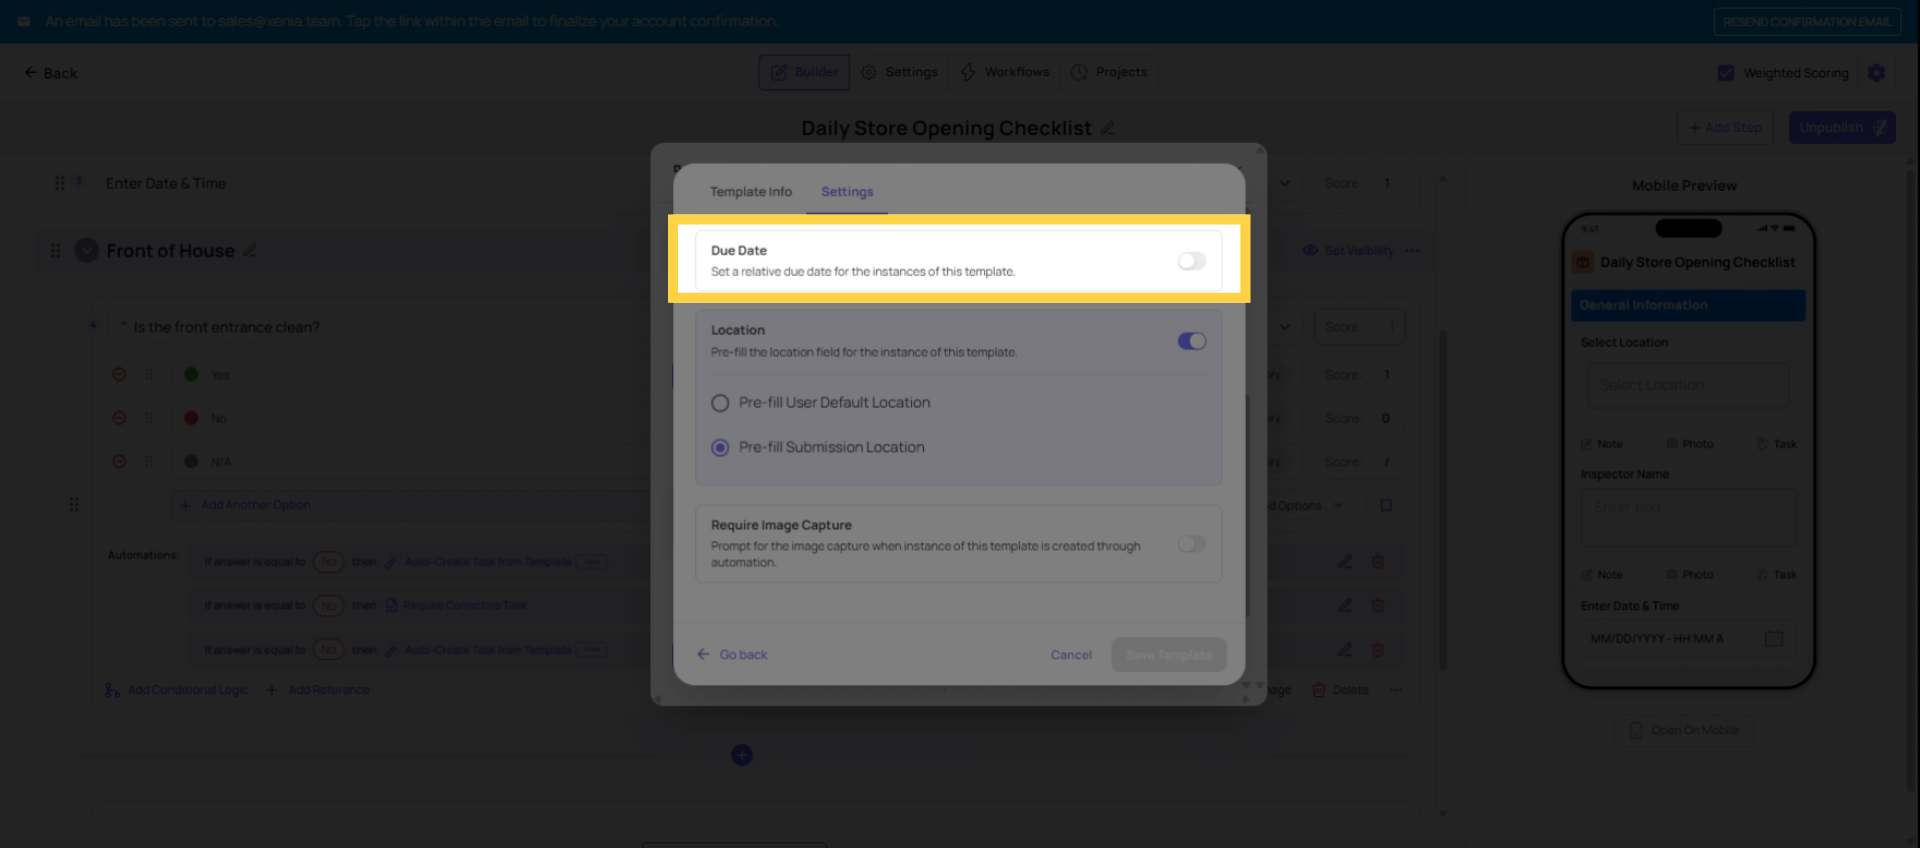
6. Set Relative Due Dates
Relative Due Date How much time the assignee has to complete the corrective task after it's created, measured from the task creation time. Options typically include hours or days: "Due in 4 hours," "Due in 1 day," "Due in 3 days," etc.
If no relative due date is set, the task appears in the task board with no deadline — it won't show as overdue, won't trigger overdue notifications, and may sit indefinitely. Set a relative due date for any issue that genuinely has a resolution timeline.
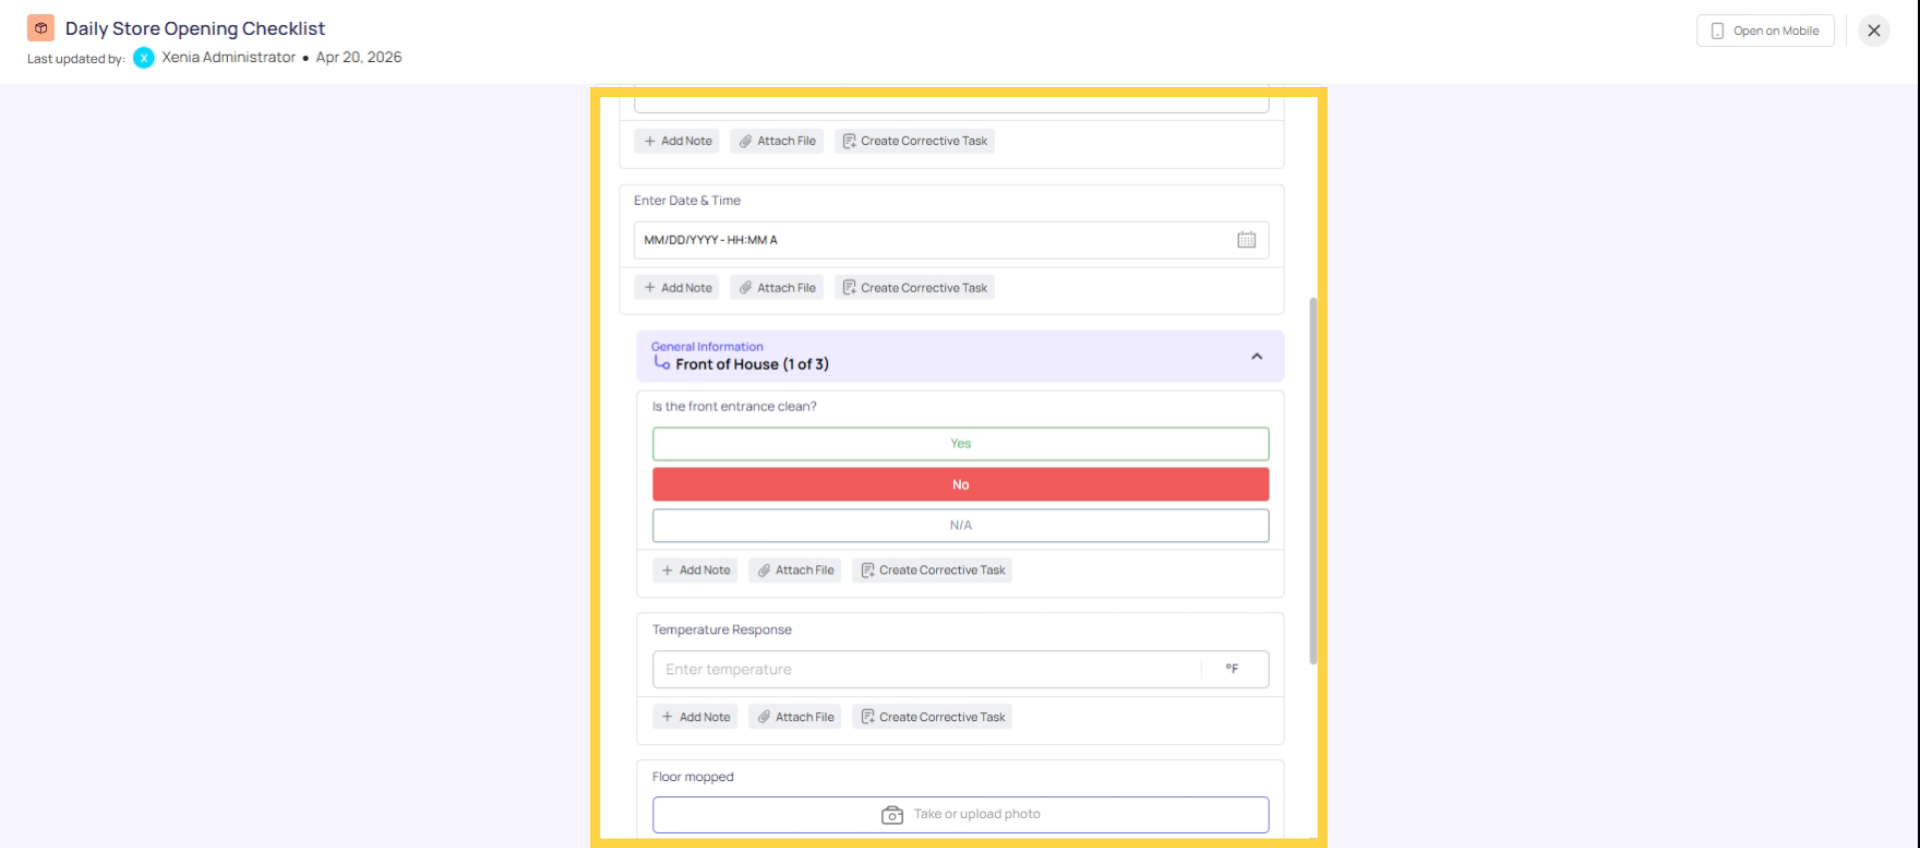
7. Test Task Creation Process
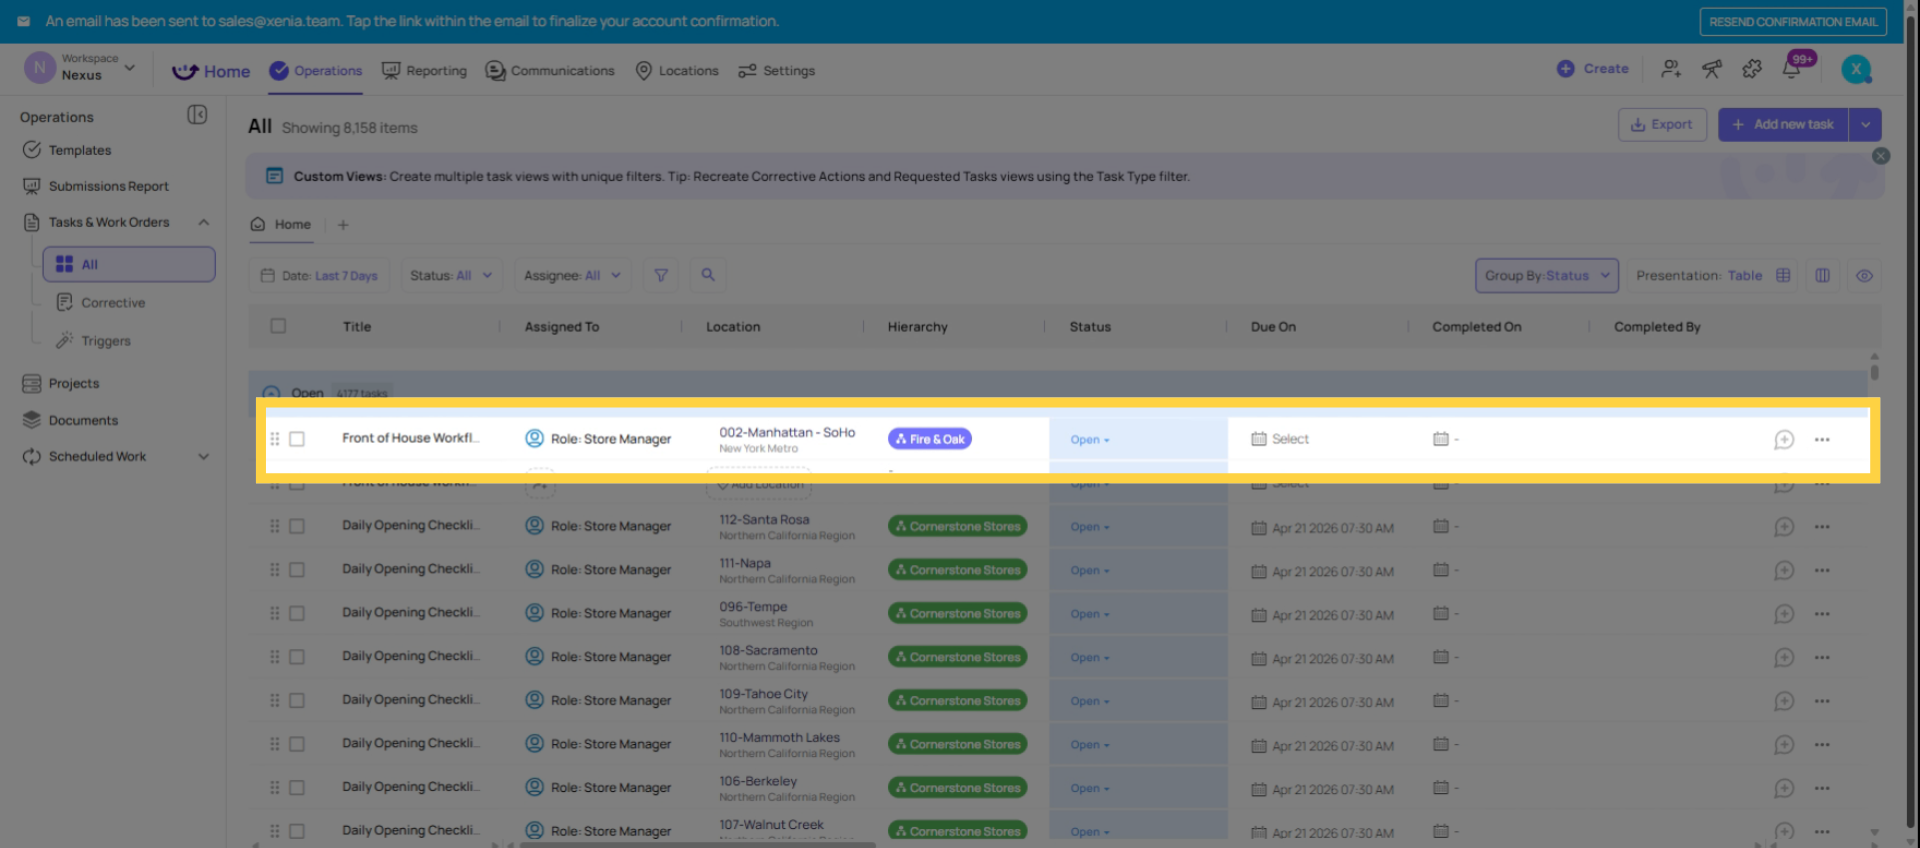
8. Verify Task Details
9. Troubleshooting: Corrective Task Not Generating
Task doesn't appear at all:
- Is the template published? Unpublished templates don't generate tasks
- Did the test submission include the triggering answer?
- Was the conditional logic saved before saving the template?
- Did you submit the form (not just exit partway through)?
Task appears but has no location:
- Was the Select Location step included in the template?
- Did the employee fill in the location during the test submission?
- Is Use Submission Location enabled on the corrective task?
Task appears but goes to the wrong person or no one:
- Does the assignee role have location membership at the submission location?
- Is Use Submission Location enabled?
- Is a specific individual assigned instead of a role? (They receive it for all locations, not just the submission location)
Task appears but notification wasn't received:
- Does the notification recipient have an email/push set up in My Settings?
- Is the role used as the notification recipient? If so, do they have location membership at the submission location?
Need Help?
Reach out to our Support Team at Support@xenia.team
Comments
0 comments
Please sign in to leave a comment.