What are Sections
1. What Are Sections?
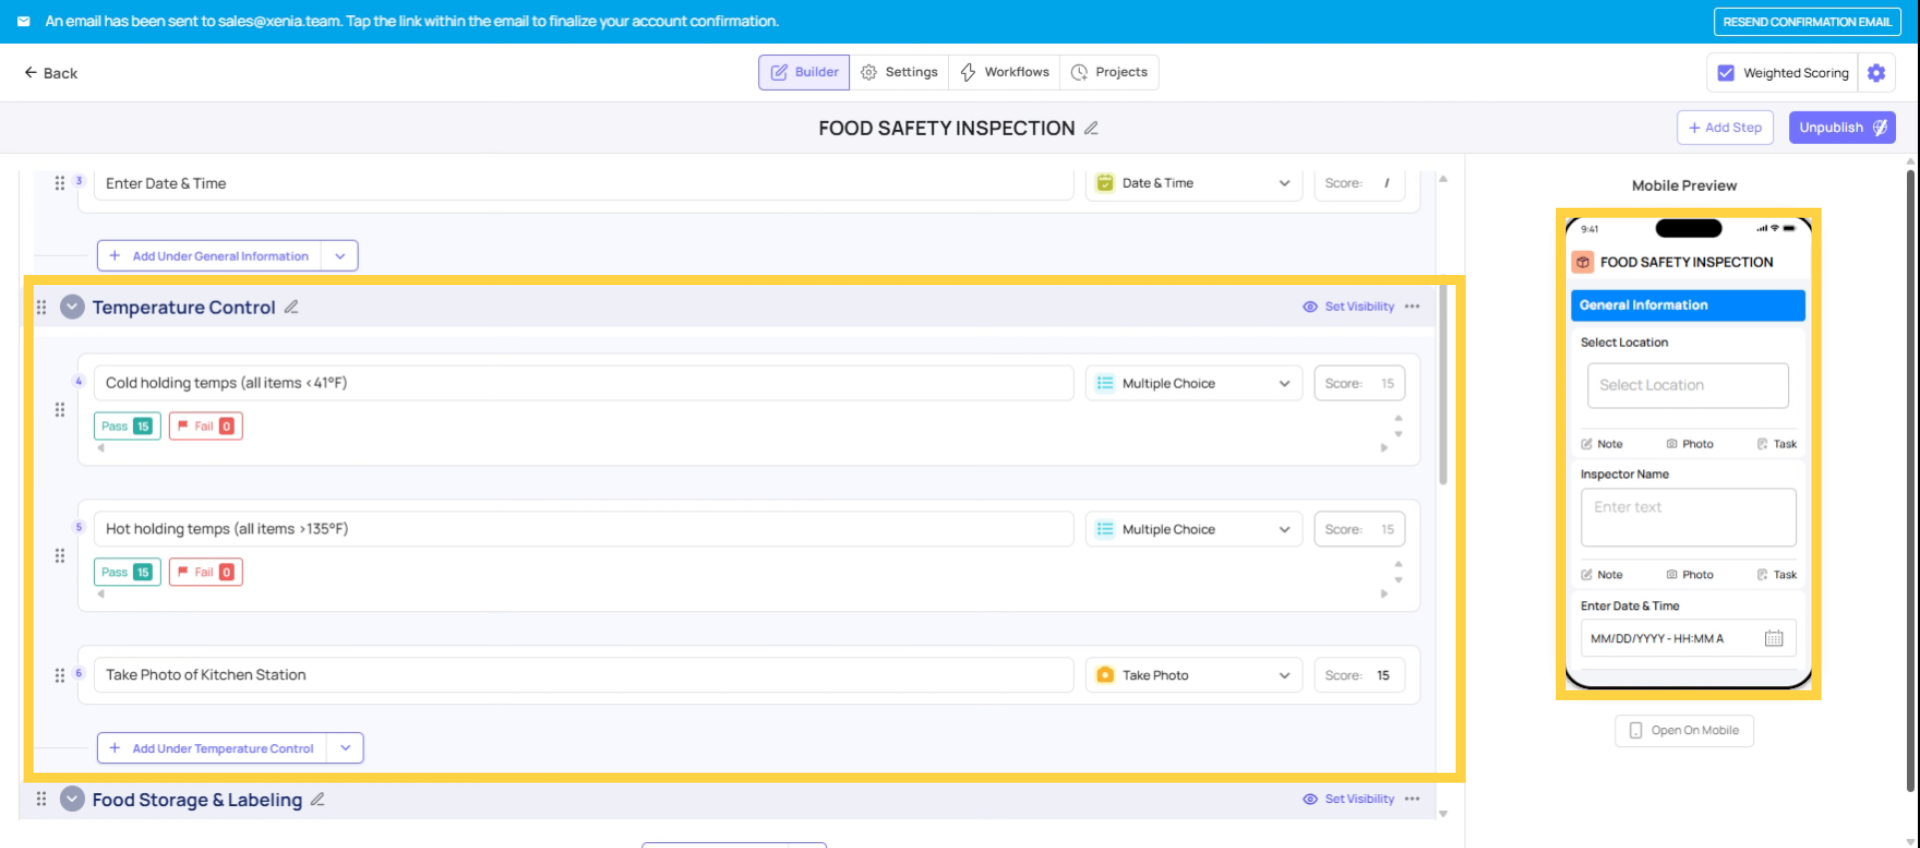
Sections are named groupings of steps within a template. Instead of one long undifferentiated list of 40+ questions, sections break the checklist into logical areas — "Front of House," "Kitchen," "Restrooms," "Safety Checks" — so employees know exactly where they are and what they're working through.
A template without sections is a wall of questions. A template with sections is a structured form that guides the employee through the checklist in the right order, one area at a time.
Benefits of Using Sections
2. Why Sections Matter
For employees completing the checklist:
- They can see the full structure of the checklist at a glance — how many sections there are, which are complete, which still need attention
- They can jump to specific sections using the table of contents / auto-jump feature in the mobile app
- They can collapse completed sections to reduce visual clutter as they work through a long form
- The checklist feels organized and purposeful rather than like an overwhelming list
How to Add a Section
3. How to Add a Section
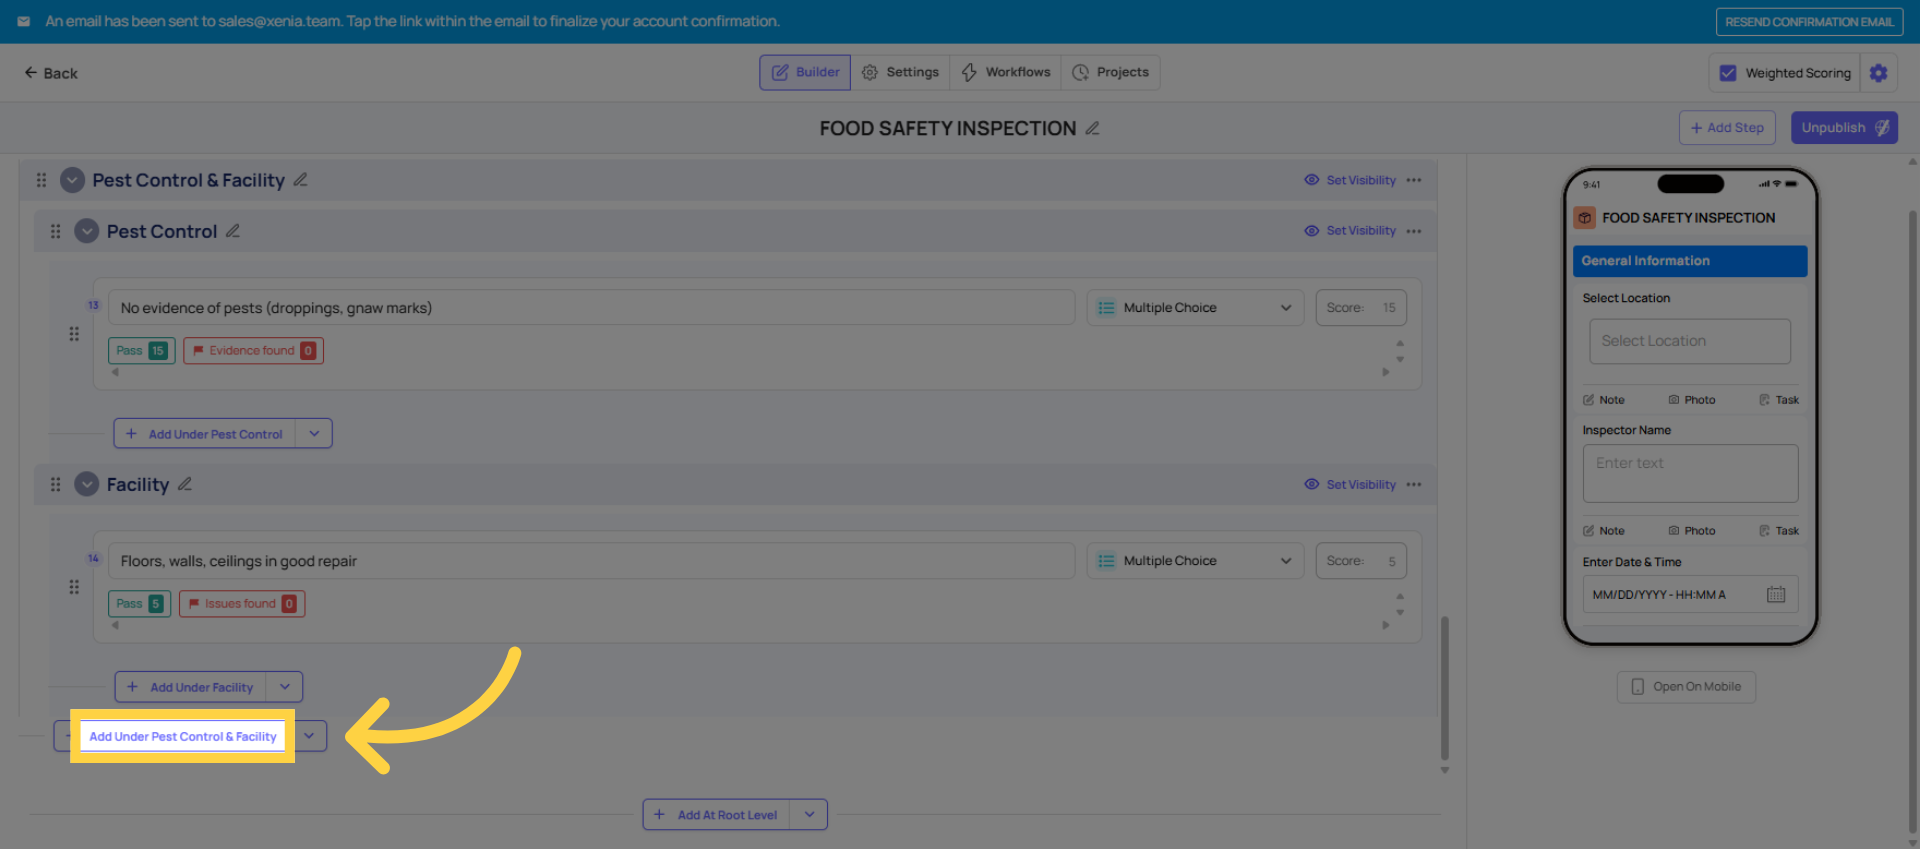
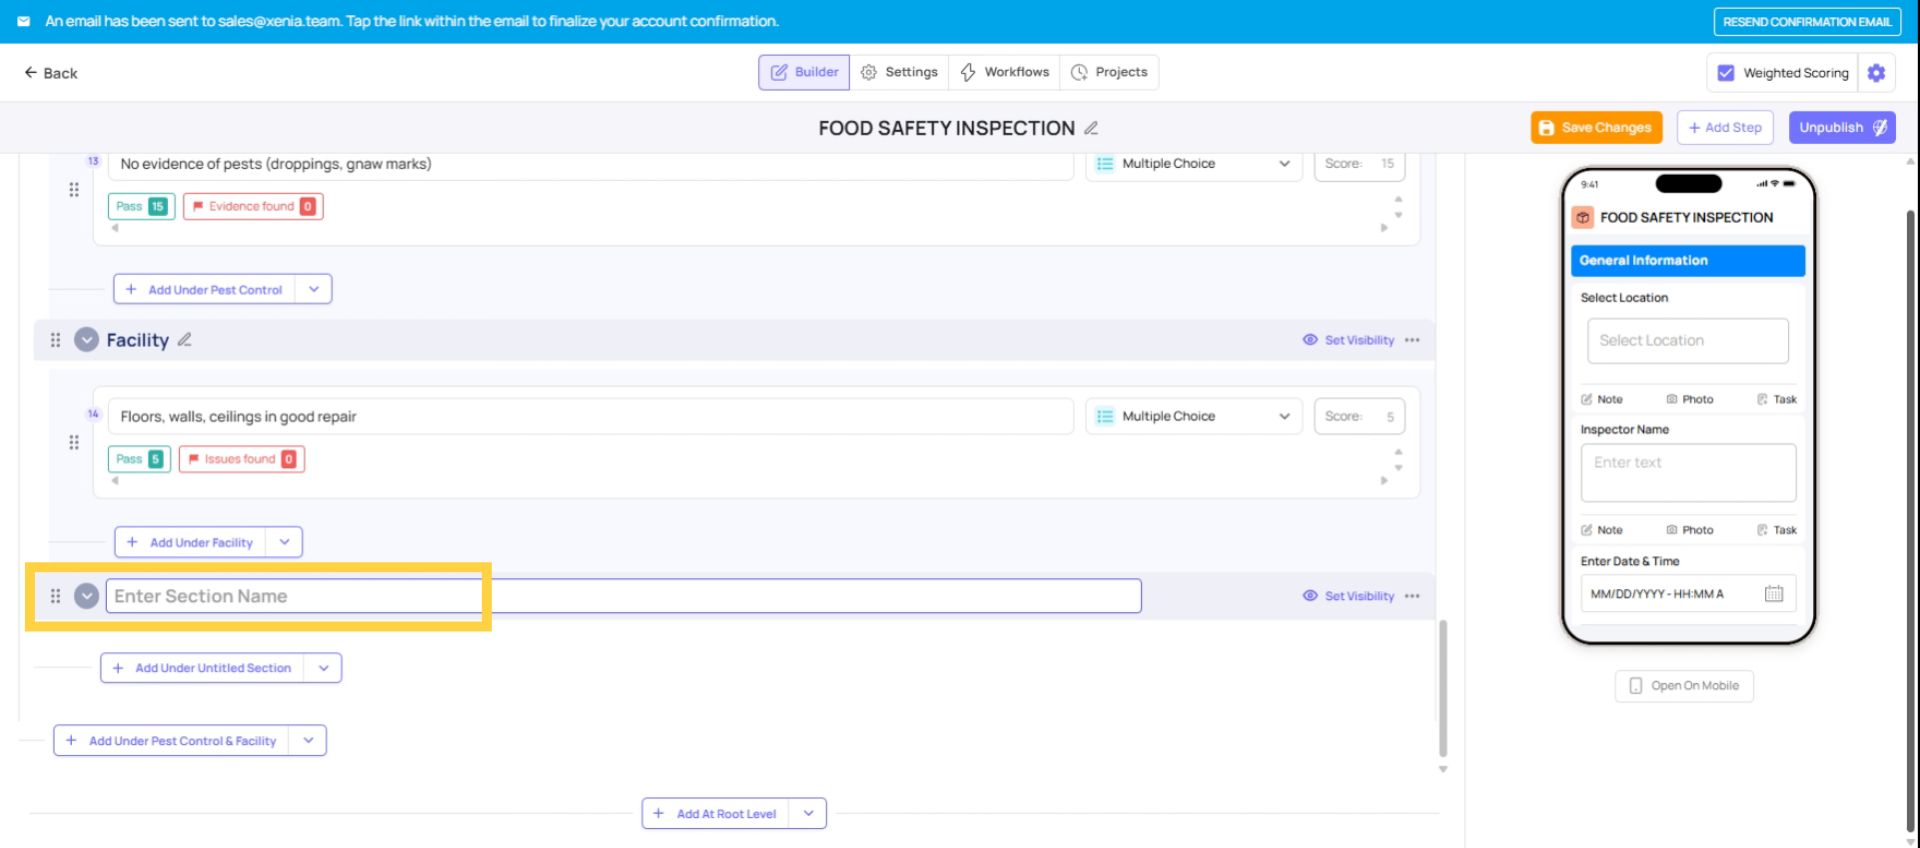
- In the template builder (Build tab), click Add Section
- Type the section name — "Front of House," "Kitchen," "Safety," "Manager Sign-Off," etc.
- Steps added after the section header are part of that section
- To move existing steps into a section, drag and drop them into position
You can have as many sections as your checklist needs. There's no limit.
Managing Sections
4. Managing Sections
Reordering sections: Click and drag the section header to move it and all its steps to a new position in the checklist.
Adding steps between sections: You can insert a new step inside any section — it doesn't have to go at the bottom. Hover between existing steps within a section to find the insert point.
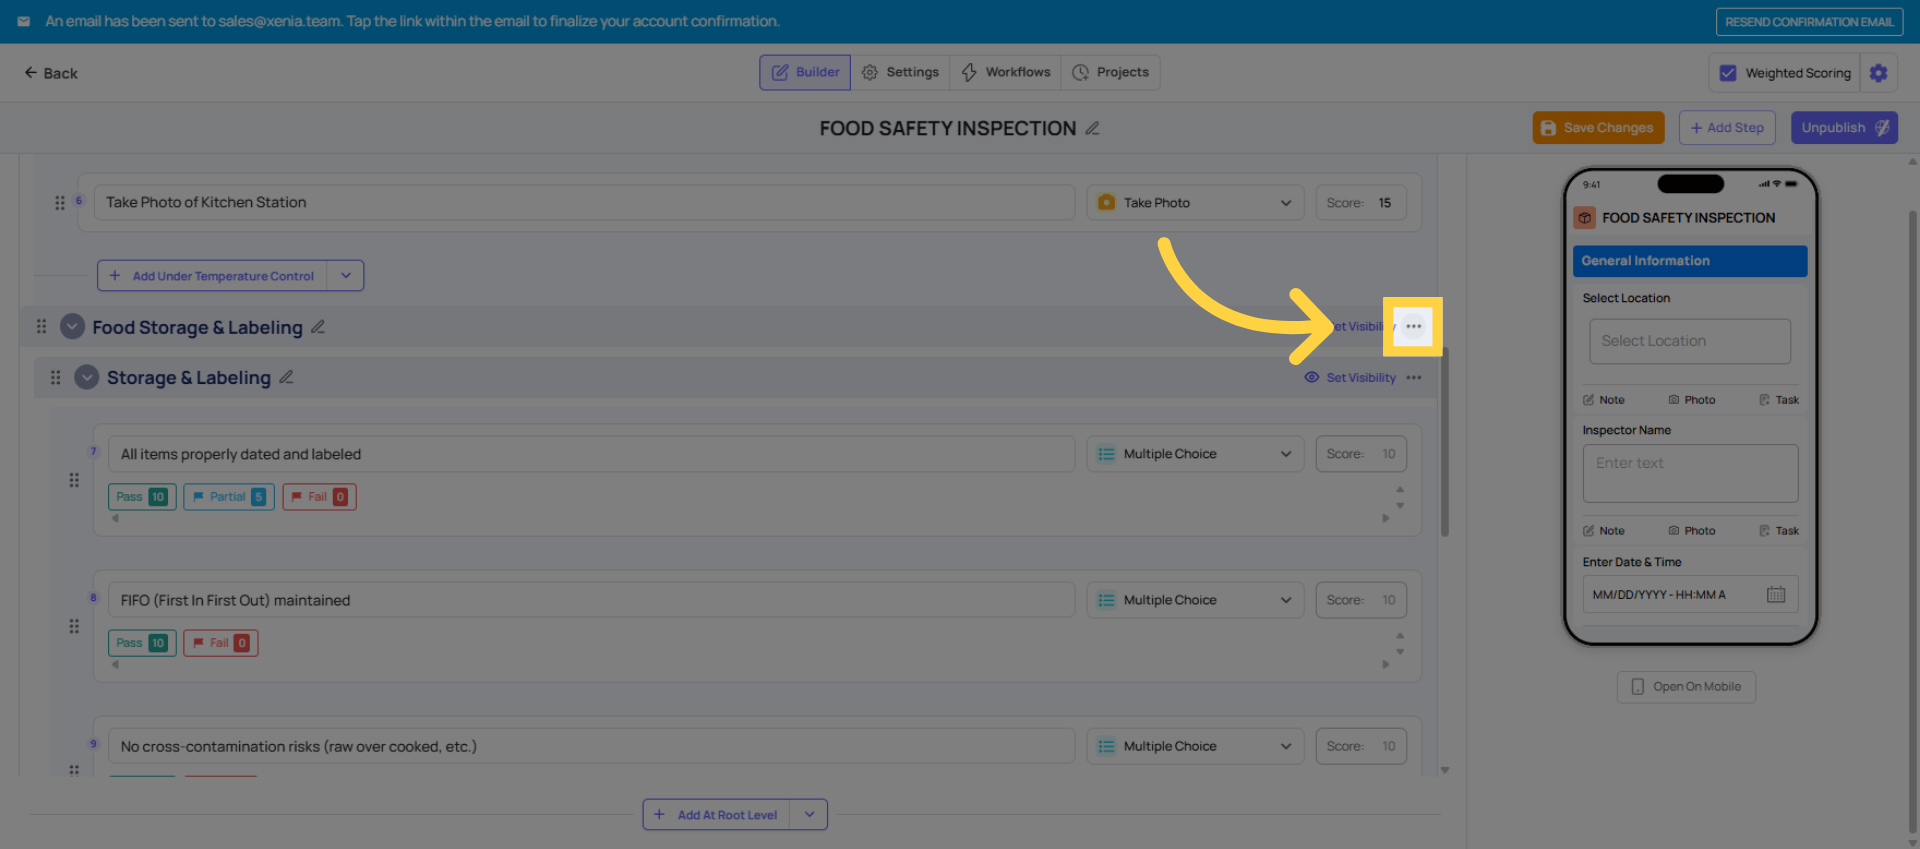
Deleting a section: When you delete a section, you'll be prompted with two options:
- Delete the section and all its steps (removes everything in that section)
- Delete the section but keep the steps (steps fall into the previous section or become unsectioned)
Use the second option if you want to reorganize steps into different sections without losing them.
Collapsing sections: In the builder, you can collapse a section to hide its steps and reduce visual noise while working on other parts of the template. Collapsed sections in the builder don't affect how the template appears to employees.
 Reordering sections is the same. Drag the section header, and everything inside it moves with it.
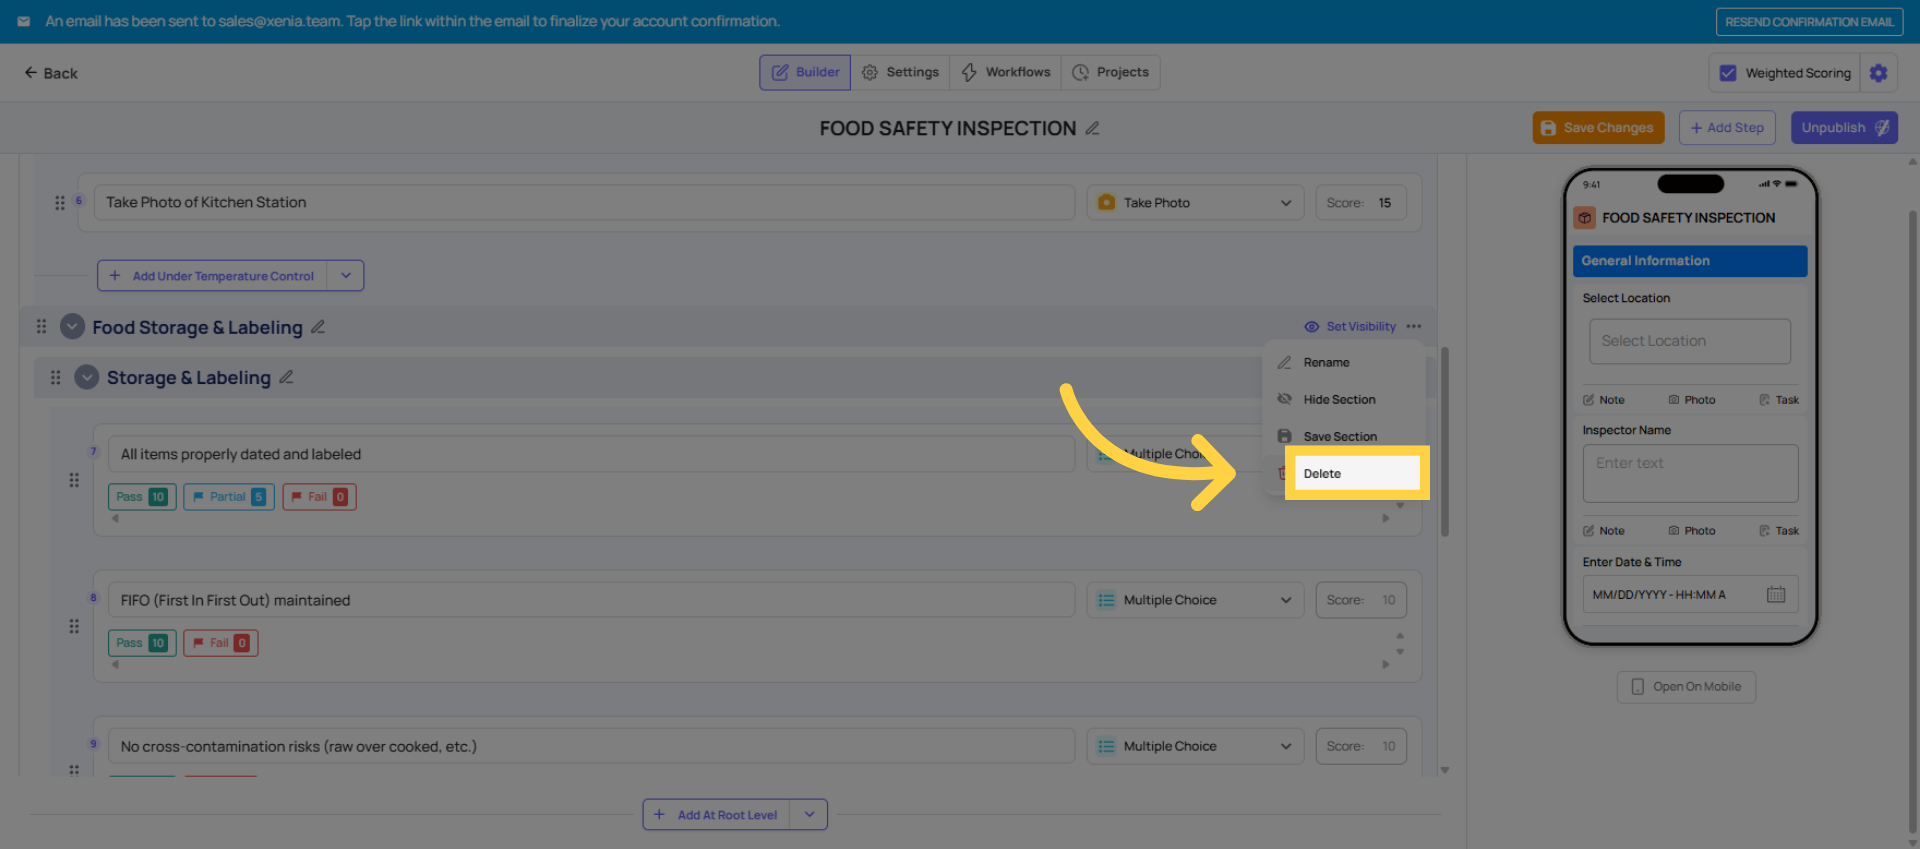
 Click here to select the section you want to manage within Xenia.
 Click the Delete button to initiate the section deletion process in Xenia .
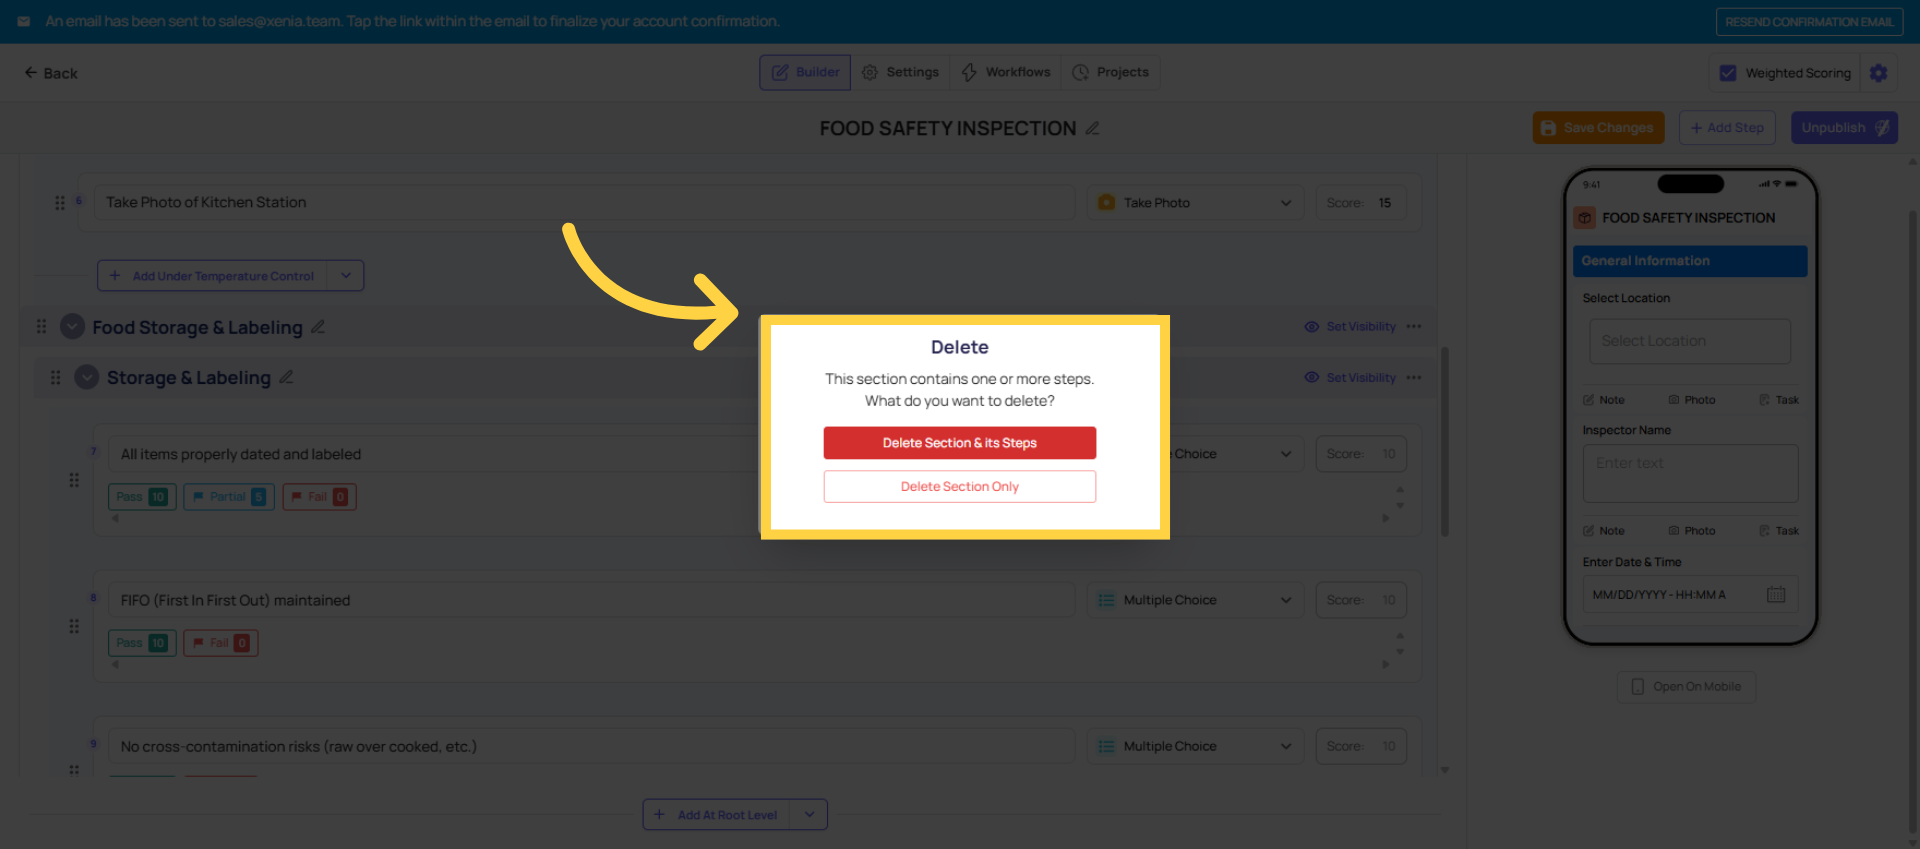
 If you delete a section, you'll get two options. Delete the section and all its steps, which removes everything in it, or delete the section but keep the steps, which preserves the steps and moves them into the previous section. Use that second option if you're reorganizing rather than removing content.
Navigate Sections on Mobile Panel
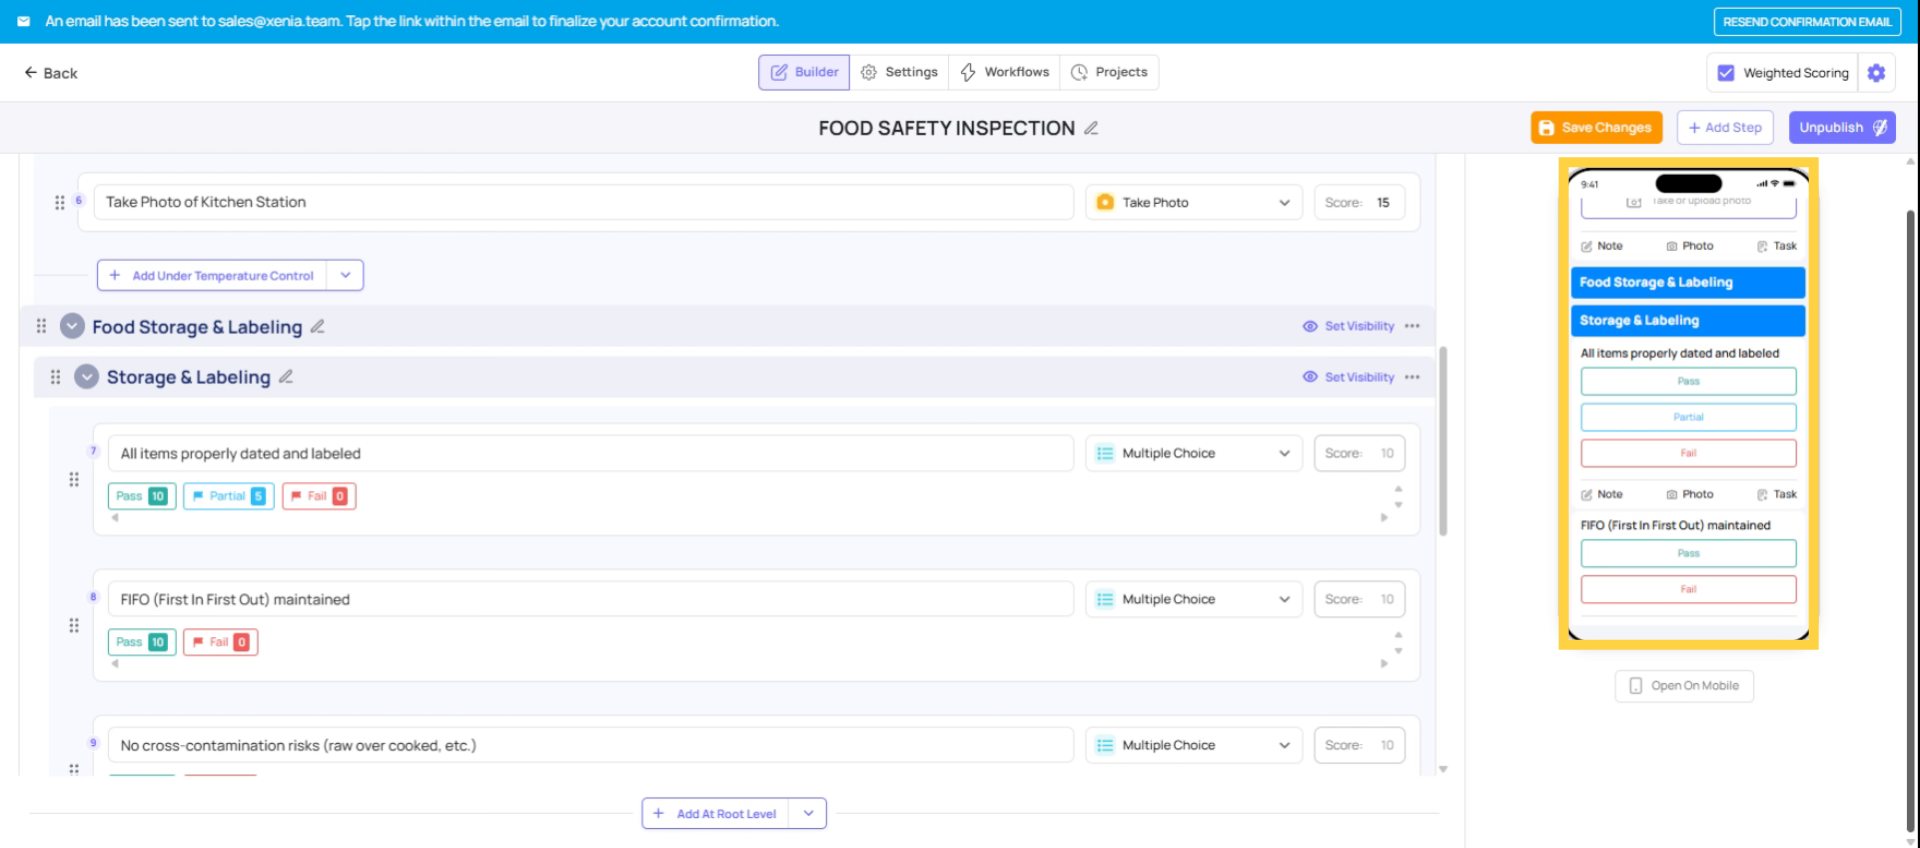
5. How Sections Work on Mobile
When an employee opens a checklist on their phone or tablet, sections are clearly visible as headers dividing the form. They can:
Auto-jump to a section: The mobile app includes a table of contents that lets employees tap any section name and automatically scroll to it. Useful on long forms — if the manager needs to start with the kitchen section, they can jump straight there instead of scrolling through front-of-house questions.
Collapse completed sections: As employees finish each section, they can collapse it to keep their view focused on what's left. This reduces the feeling of overwhelm on a long checklist.
Track completion by section: The progress indicator shows overall completion percentage, but employees can visually see which sections are fully answered and which still need work.
Need Help?
Reach out to our support team at Support@xenia.team
Comments
0 comments
Please sign in to leave a comment.