1. Introduction to Checklist Creation
Before You Build — What to Have Ready
Before opening the template builder, take 5 minutes to plan:
- What is this checklist for? (opening procedure, food safety log, cleaning inspection, etc.)
- Who will complete it? (which role)
- How will it be deployed? (as a scheduled project every day, or ad hoc on demand)
- What questions need to be answered to confirm the work was done?
You don't need a perfect plan, but having a rough list of steps in mind makes building much faster. You can always add, remove, or reorder later.
2. Add New Checklist Template
Step 1 — Create a New Template
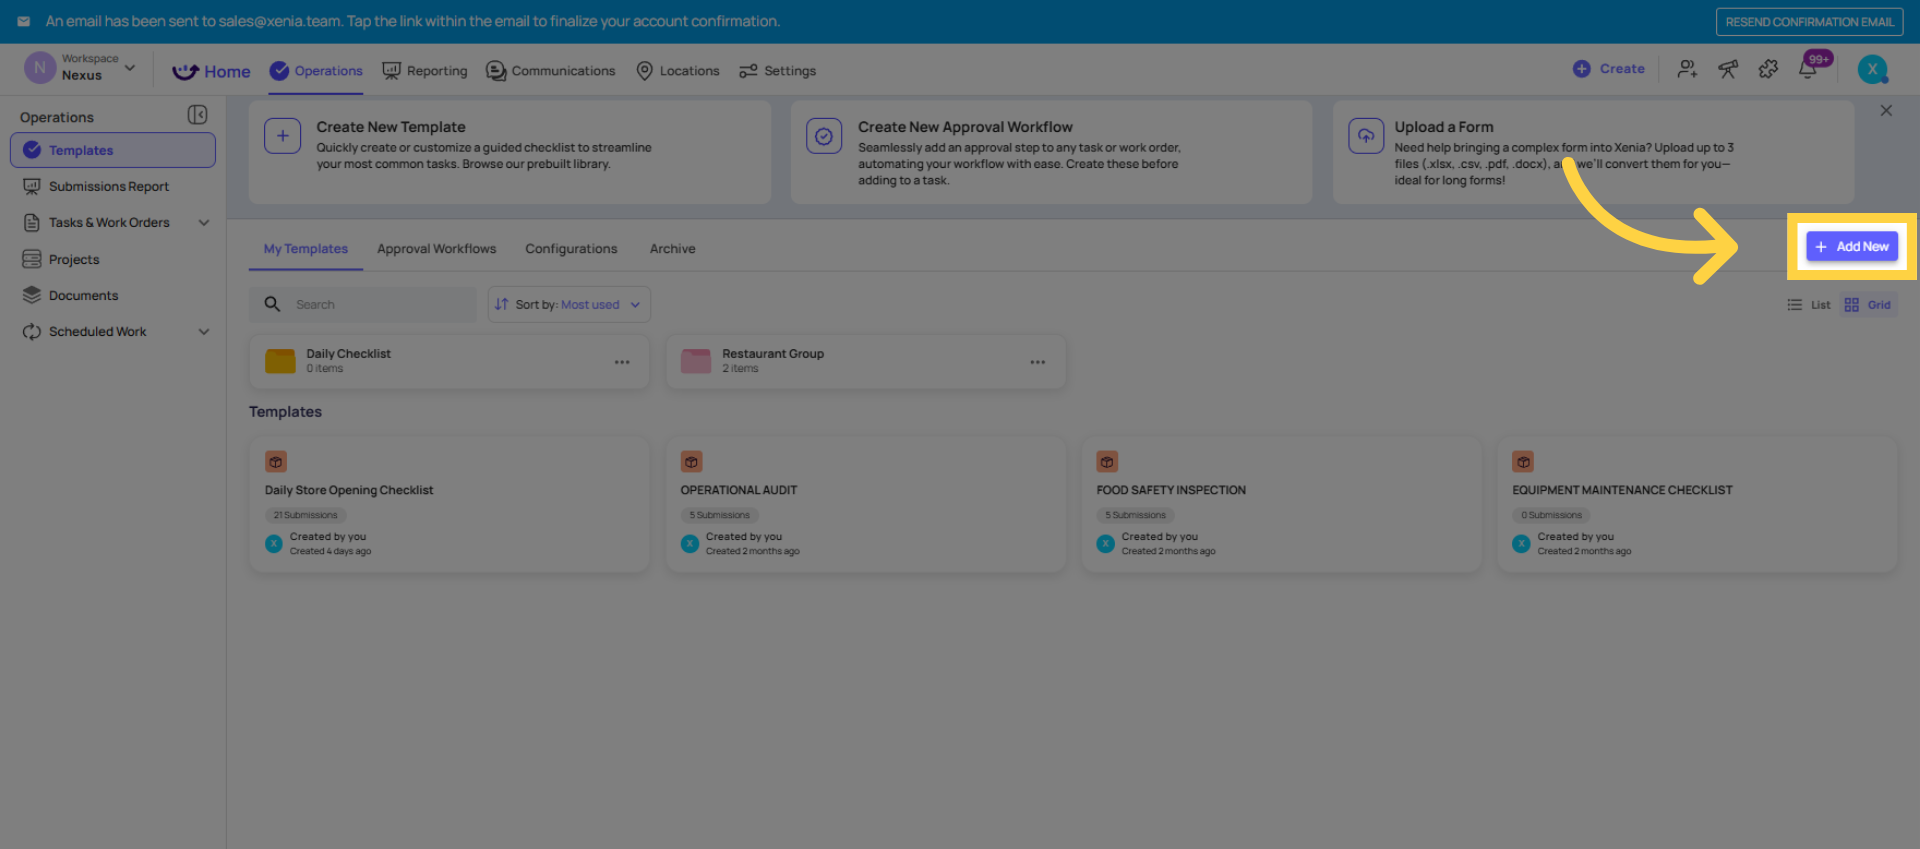
- Go to Operations → Templates
- Click Create Template (or the + button)
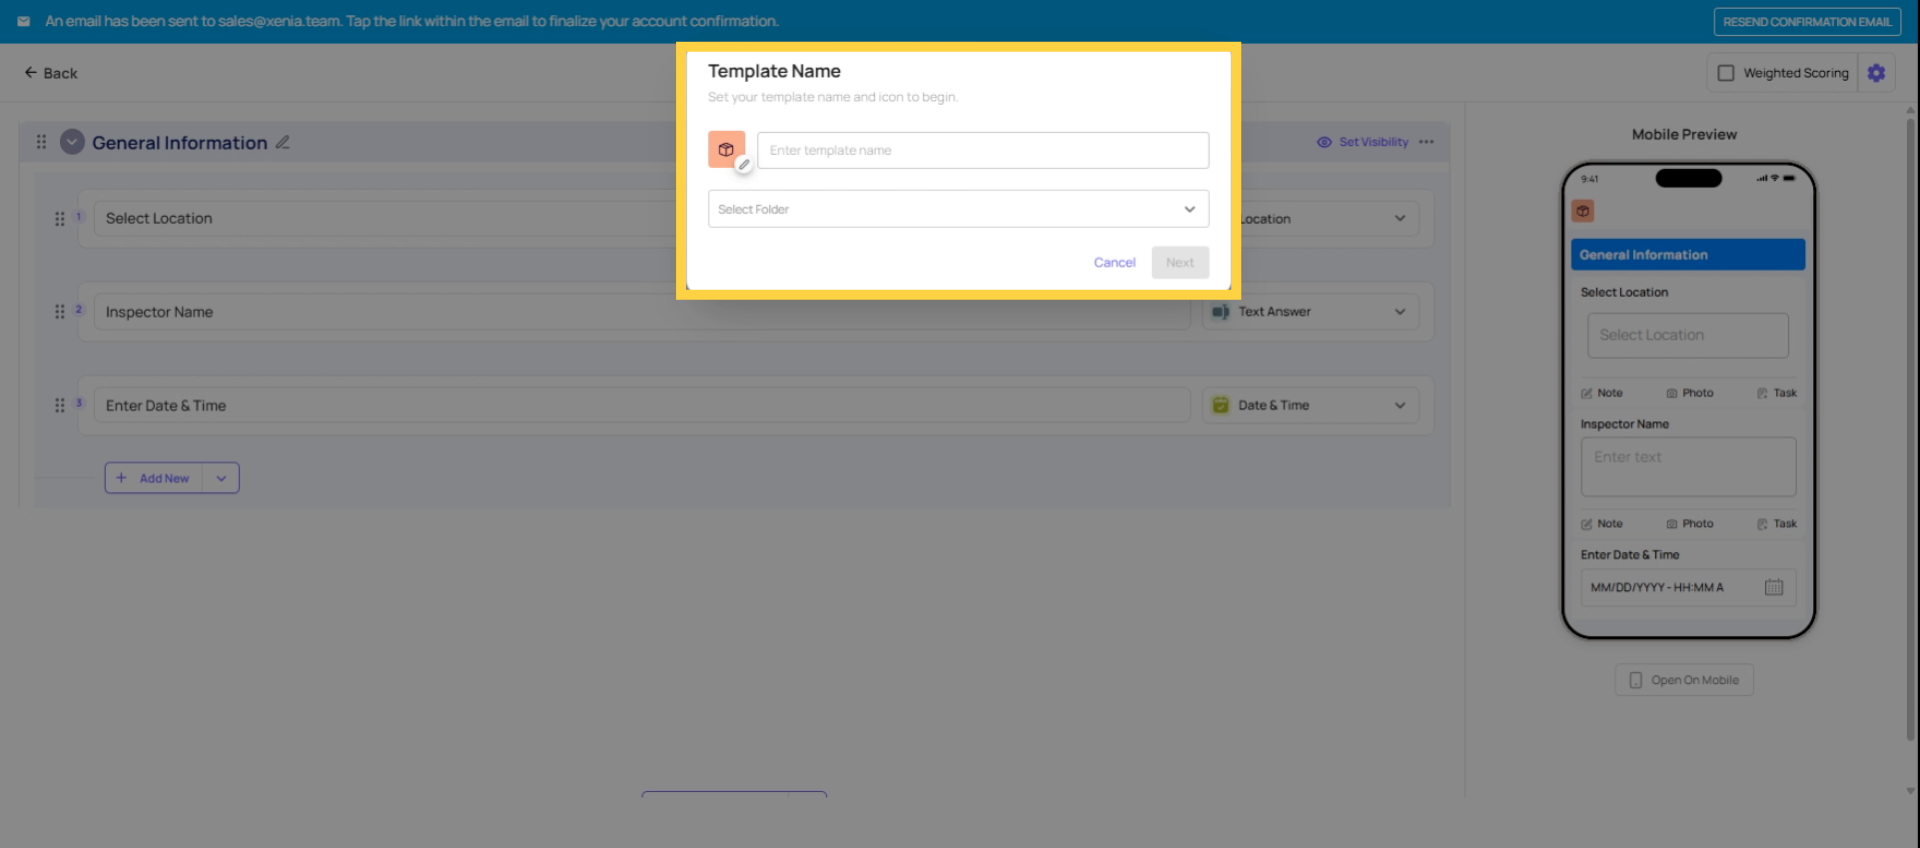
- Give your template a name — be specific. "Daily Opening Checklist" is better than "Opening." "Walk-in Cooler Temperature Log" is better than "Temp Log." Names appear in reports and assignment dropdowns, so clear names pay off.
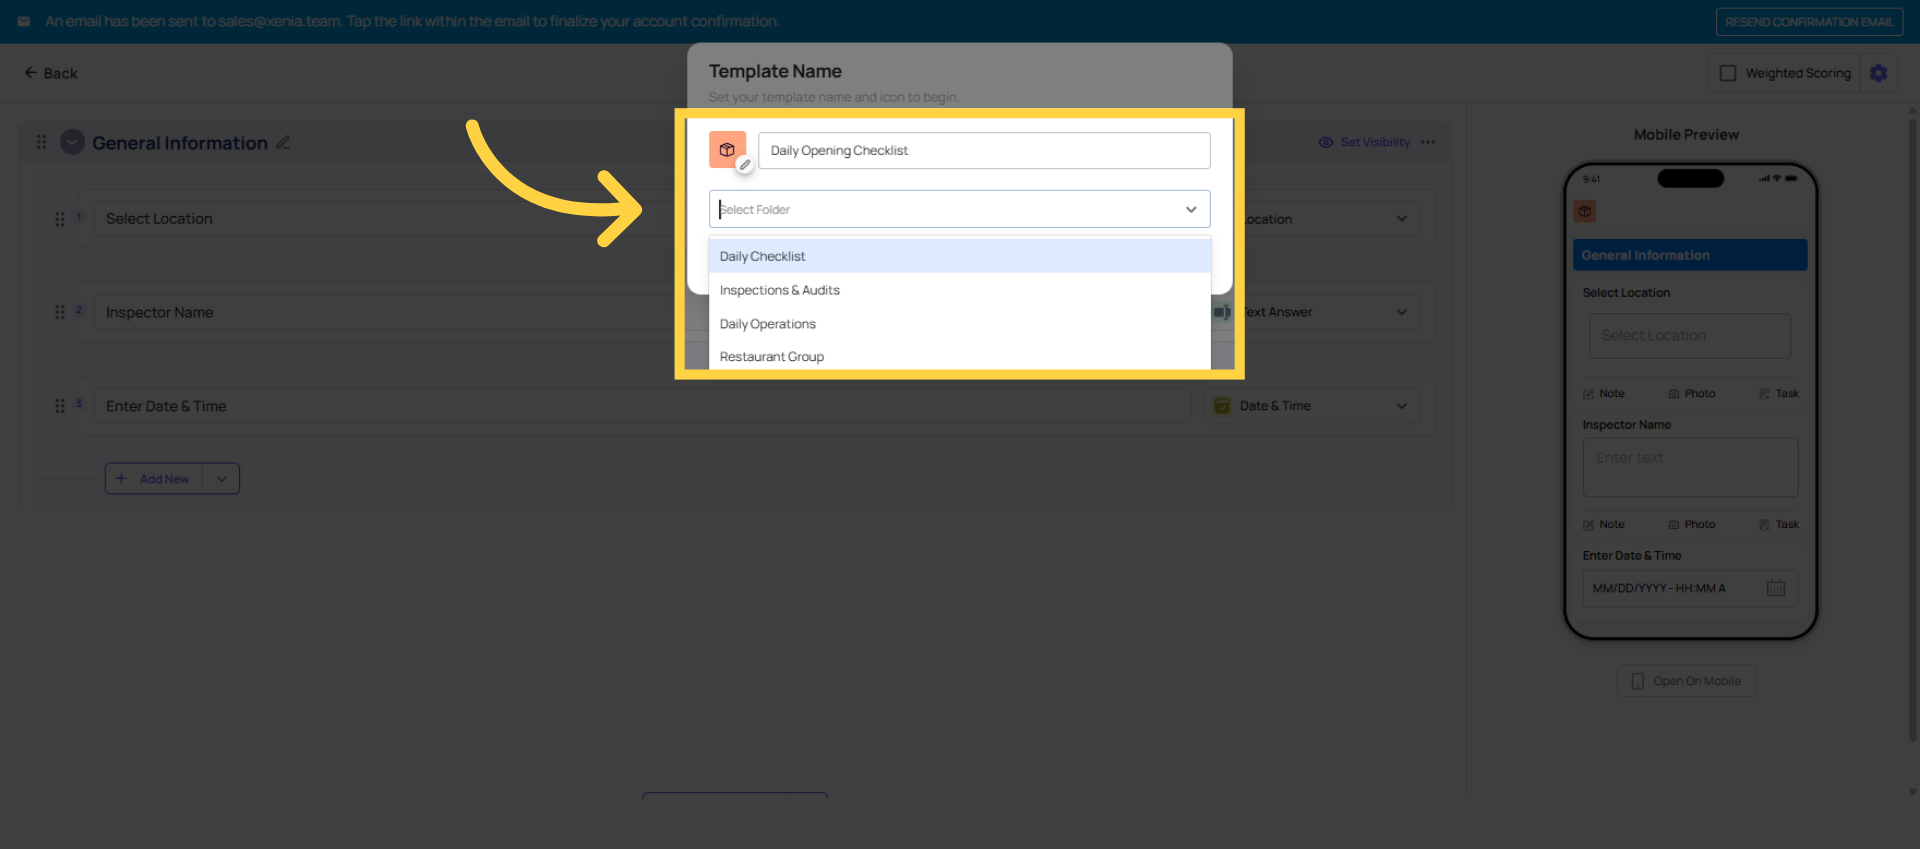
- Choose a folder to store it in (or create a new folder). Organize by category — Daily Ops, Food Safety, HR, Audits, etc.
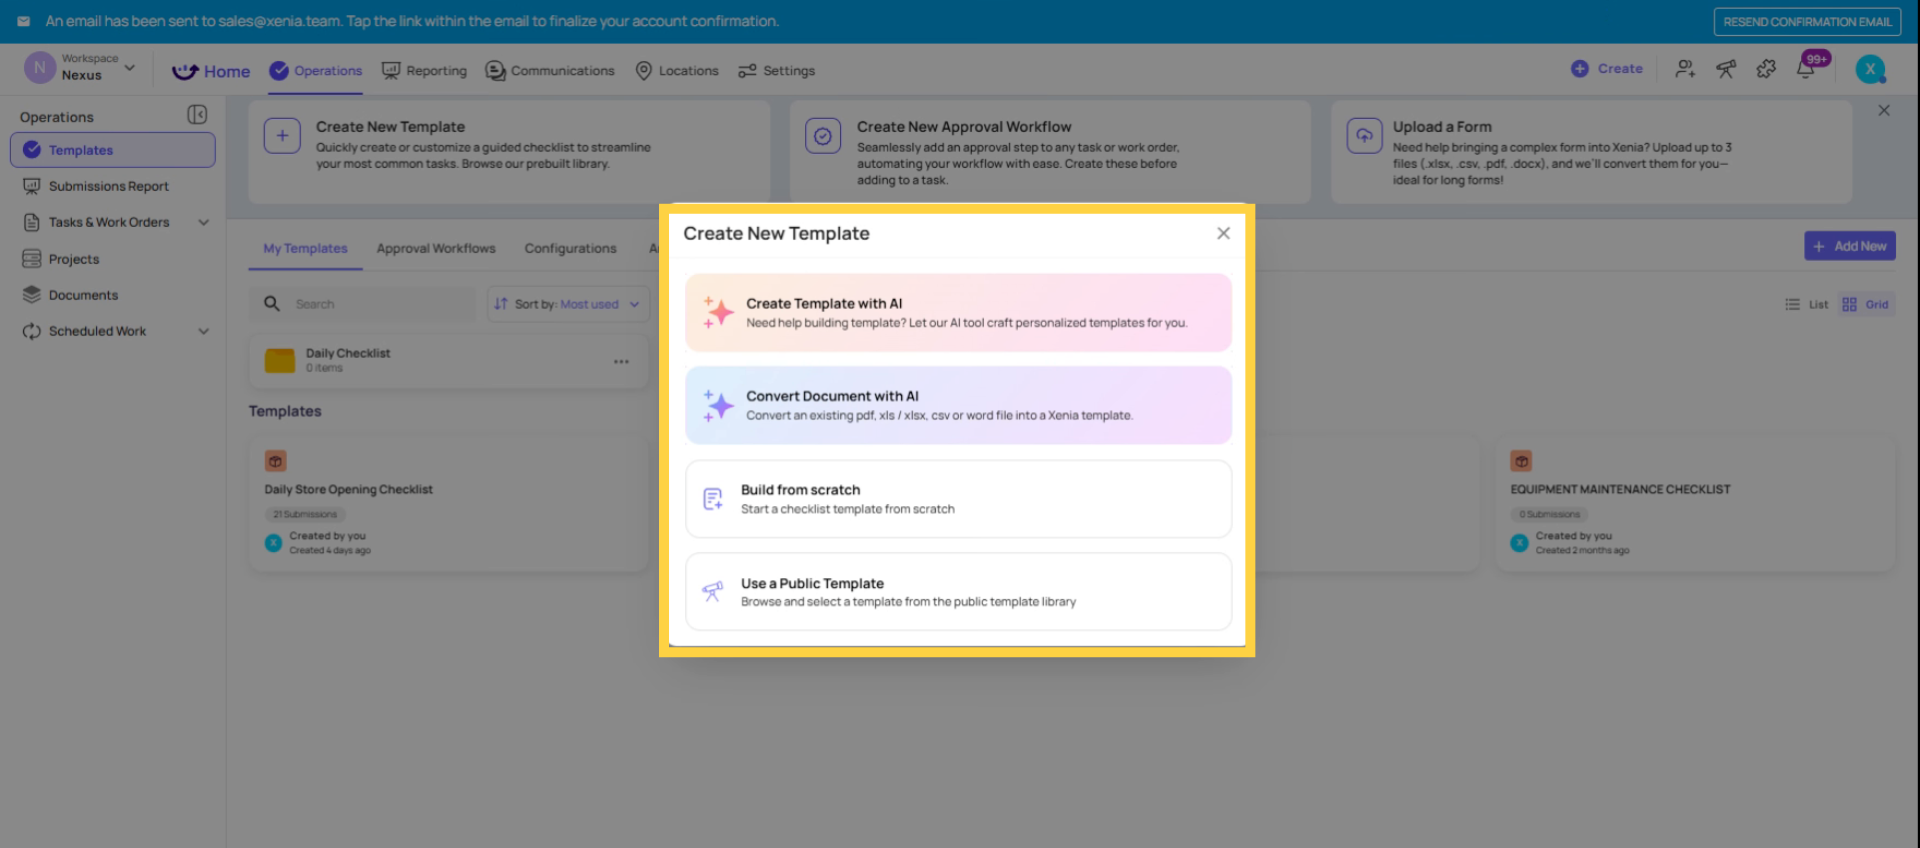
Click Create — you're now in the template builder
3. Overview of Template Builder Tabs
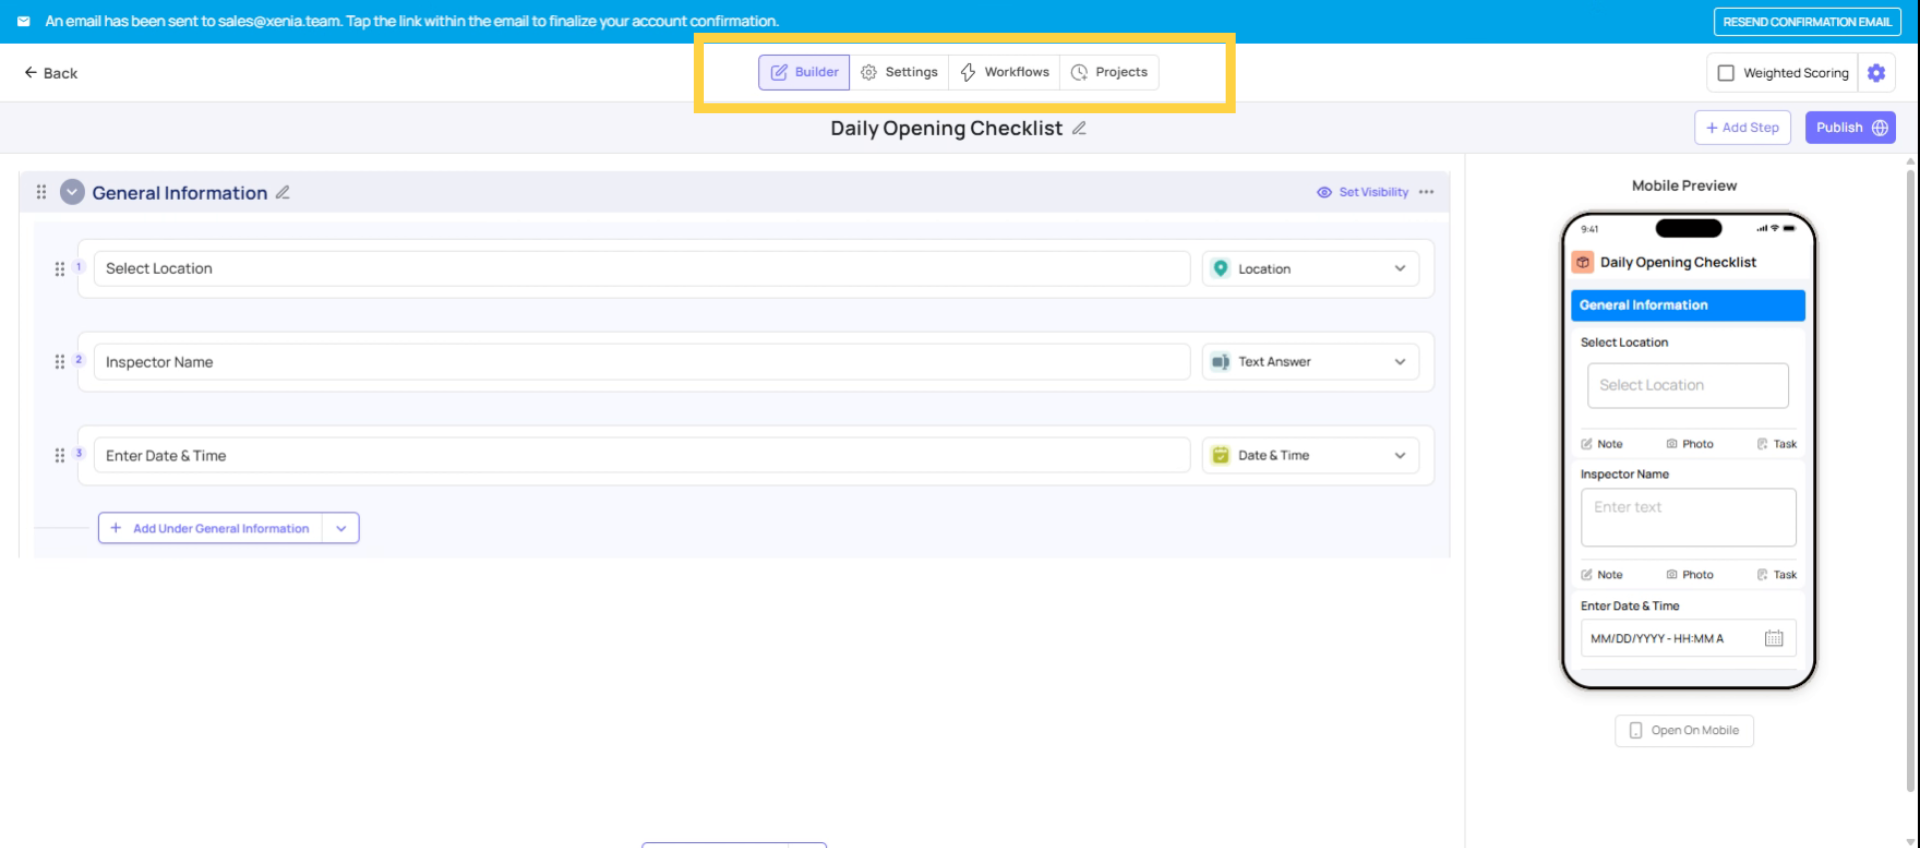
Step 2 — The Template Builder: Three Tabs
The template builder has three tabs at the top:
Build — where you add and arrange your steps and sections. This is where you'll spend most of your time.
Settings — where you configure who can submit and edit the template, submission access, submission mode (project-based vs. ad hoc), email notifications, and scoring.
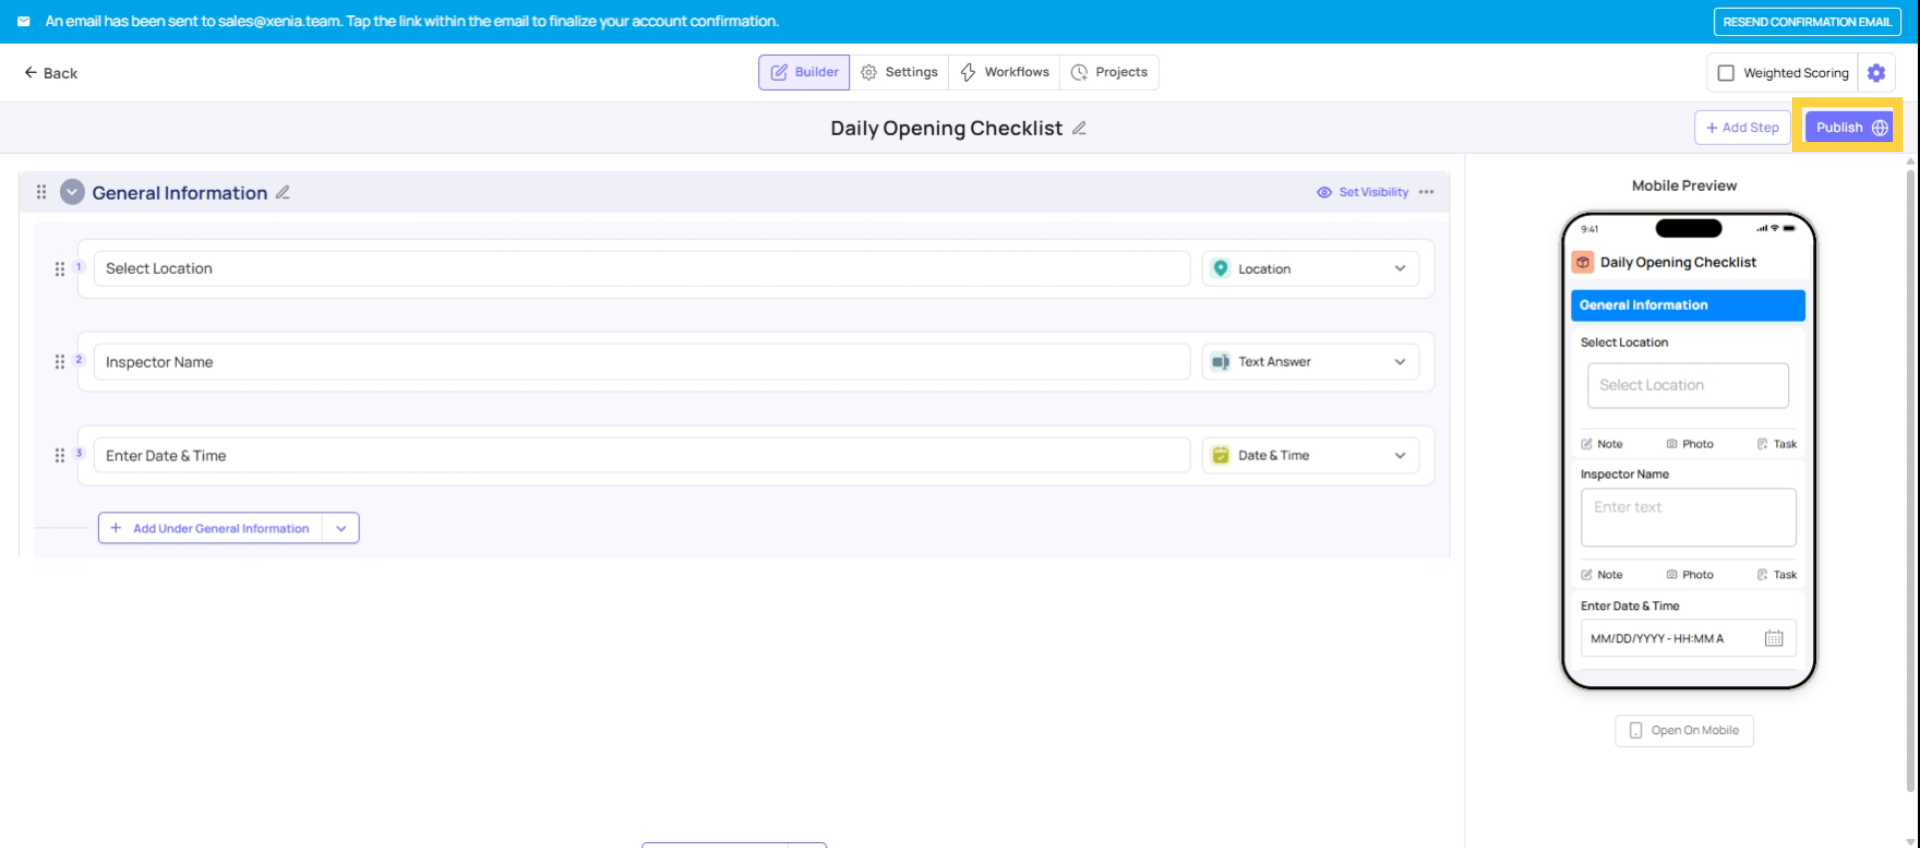
Publish — where you publish the template to make it available and deployable. A template must be published before it can be assigned via a project or submitted ad hoc.
4. Template Publishing Requirement
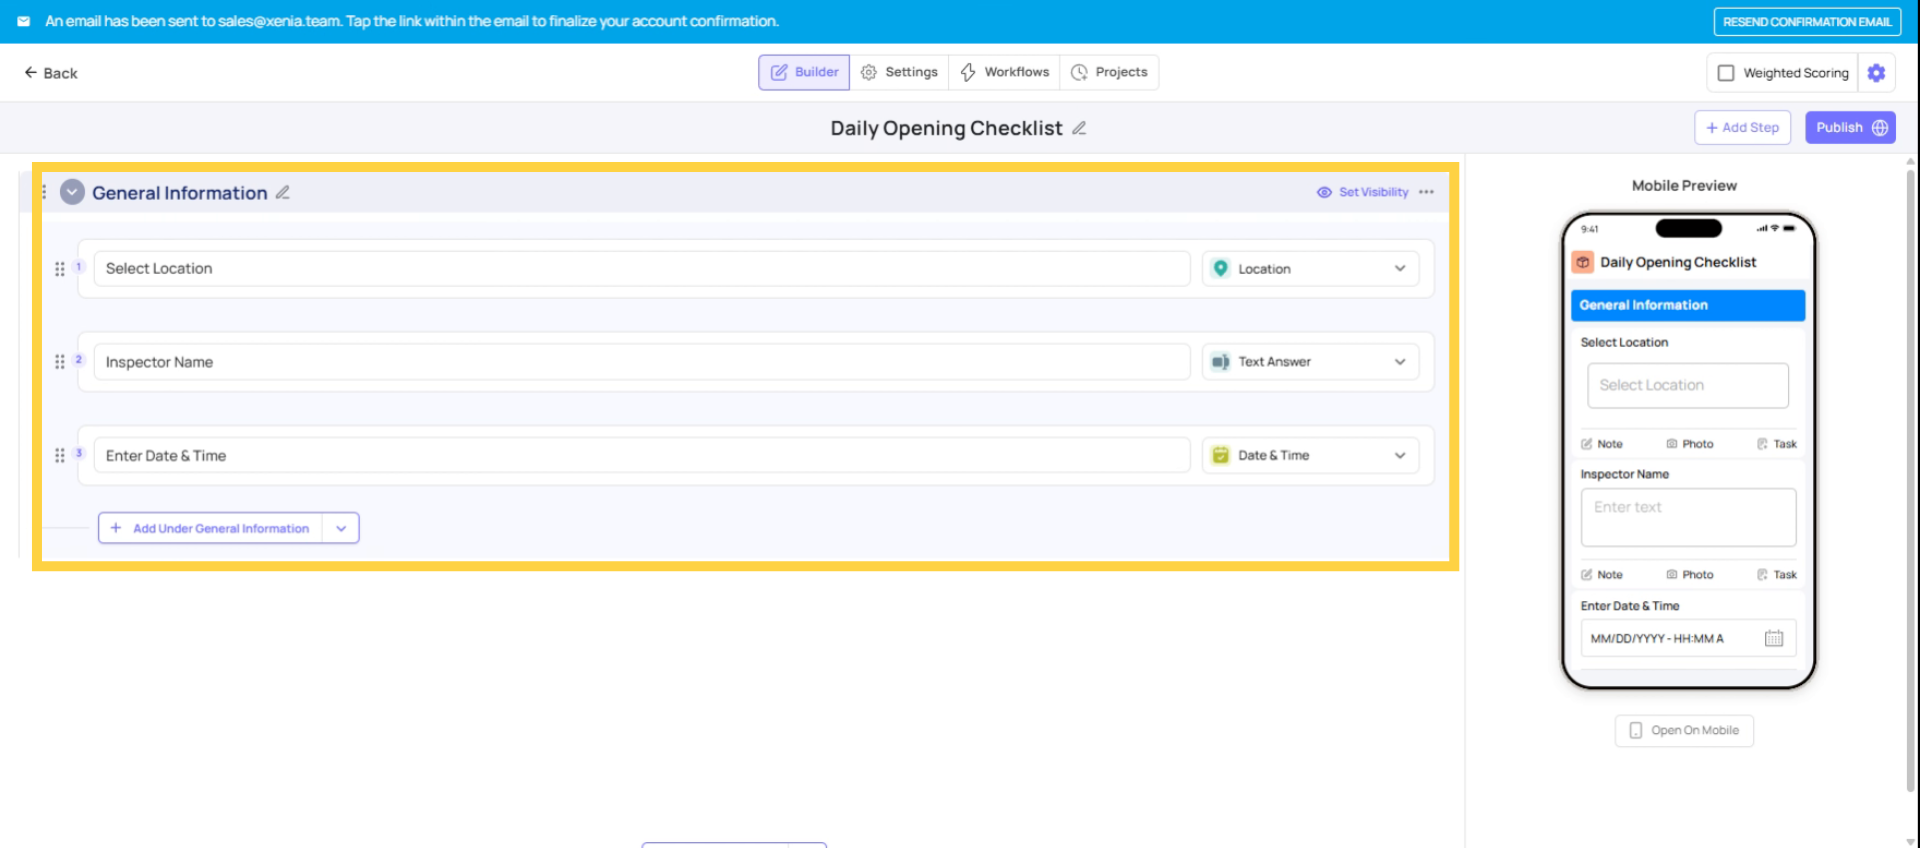
5. Features of General Information Section
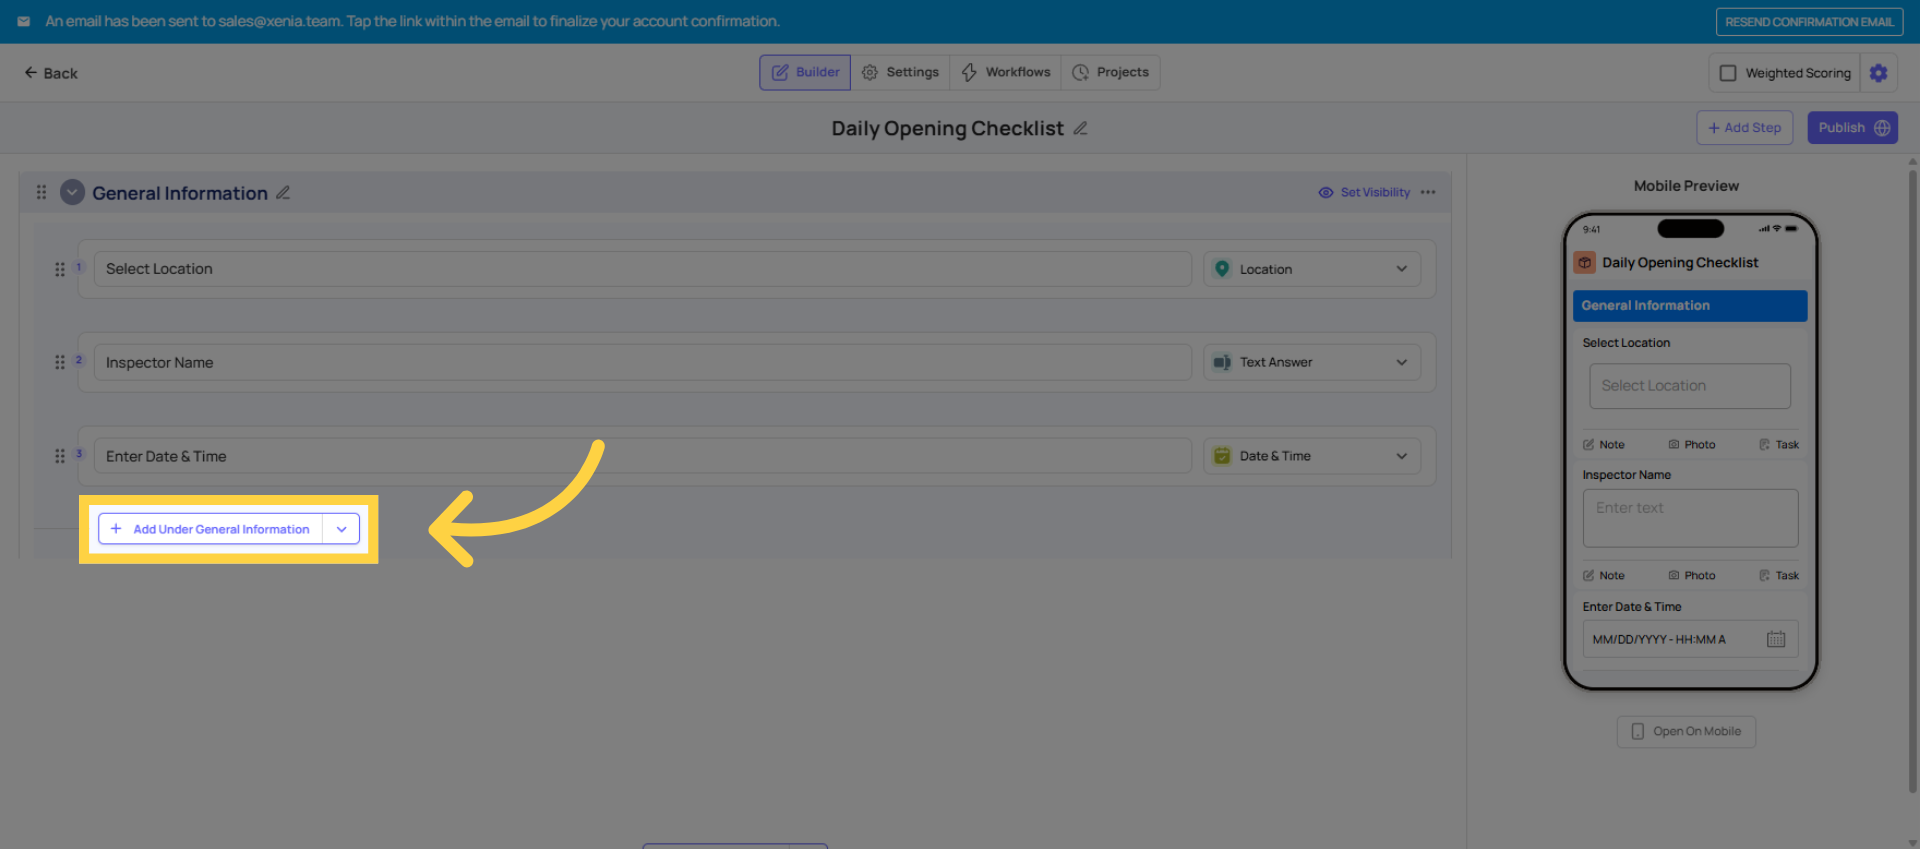
6. Add Under General Information
Step 3 — Add Your Steps
In the Build tab:
- Click Add Step
- Choose a step type (see the Step Types article for a full breakdown)
- Type the step title — this is the question or instruction the employee sees
- Mark the step as Required if it must be answered before the form can be submitted
- Repeat for each item on your checklist
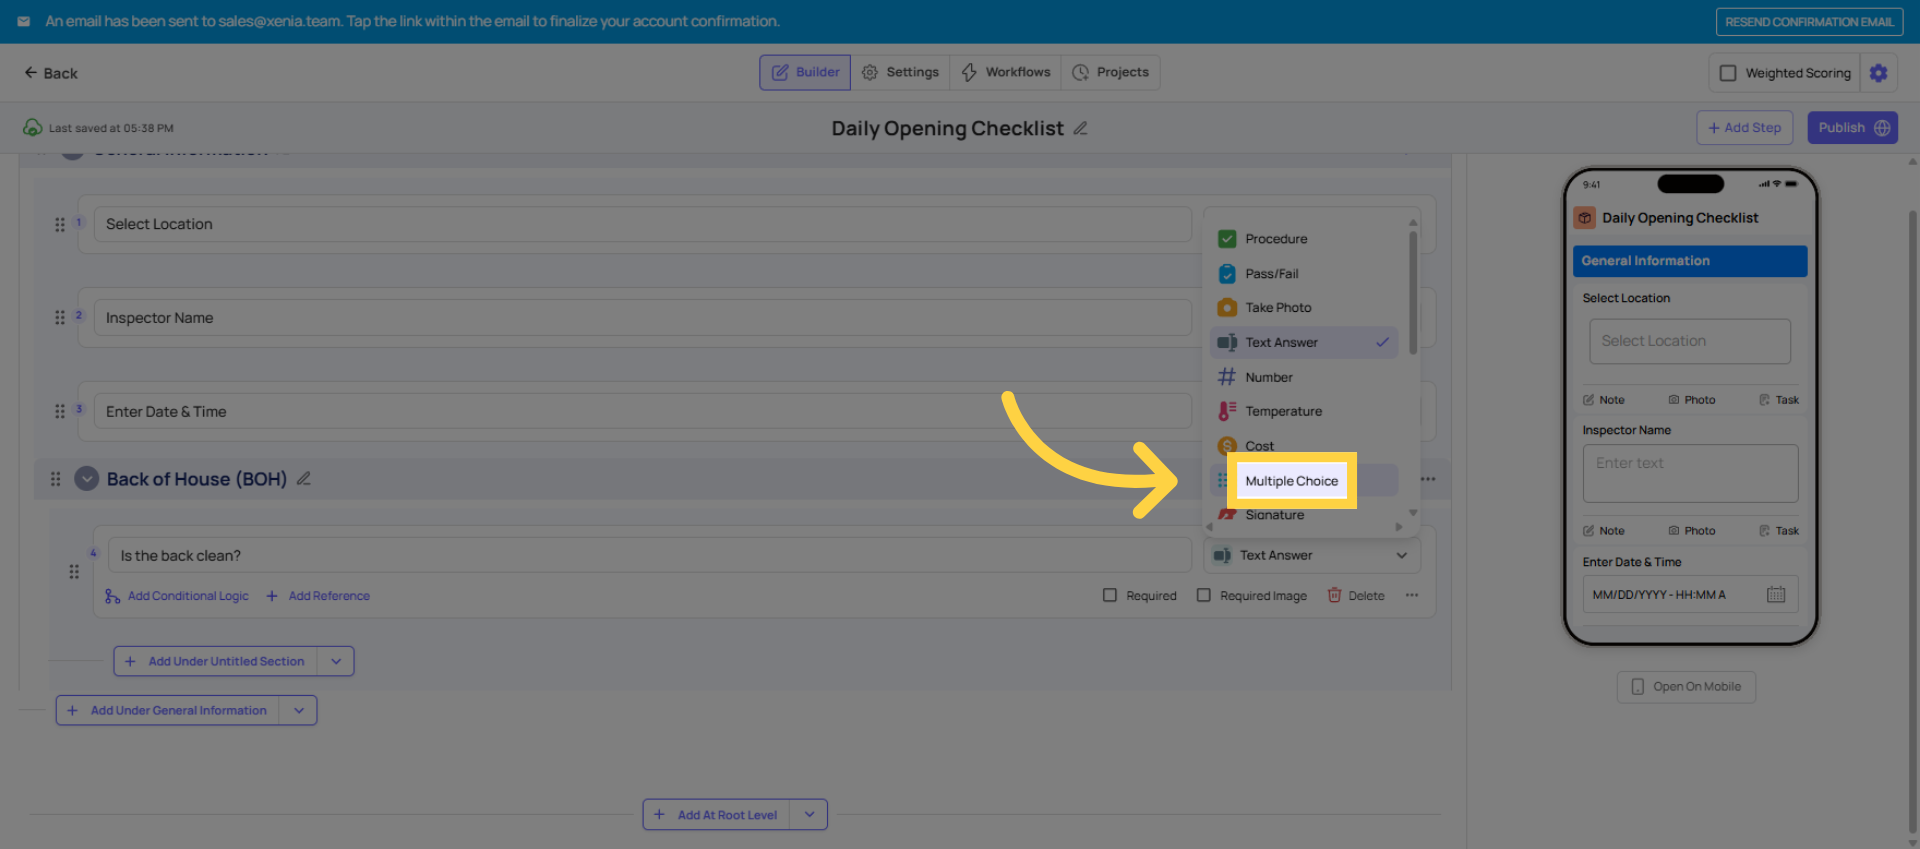
Starting recommendation: Begin with Multiple Choice steps (Yes/No questions) for your first checklist. They're the easiest to build and the clearest for employees to answer on a tablet or phone. You can add more complex step types as you get comfortable.
The mobile preview pane on the right side of the builder shows you exactly how each step will look on a phone or tablet as you build. Use it to spot anything that looks confusing before you publish.
7. Choose Multiple Choice Step
8. Add and Reorder Steps with Requirements
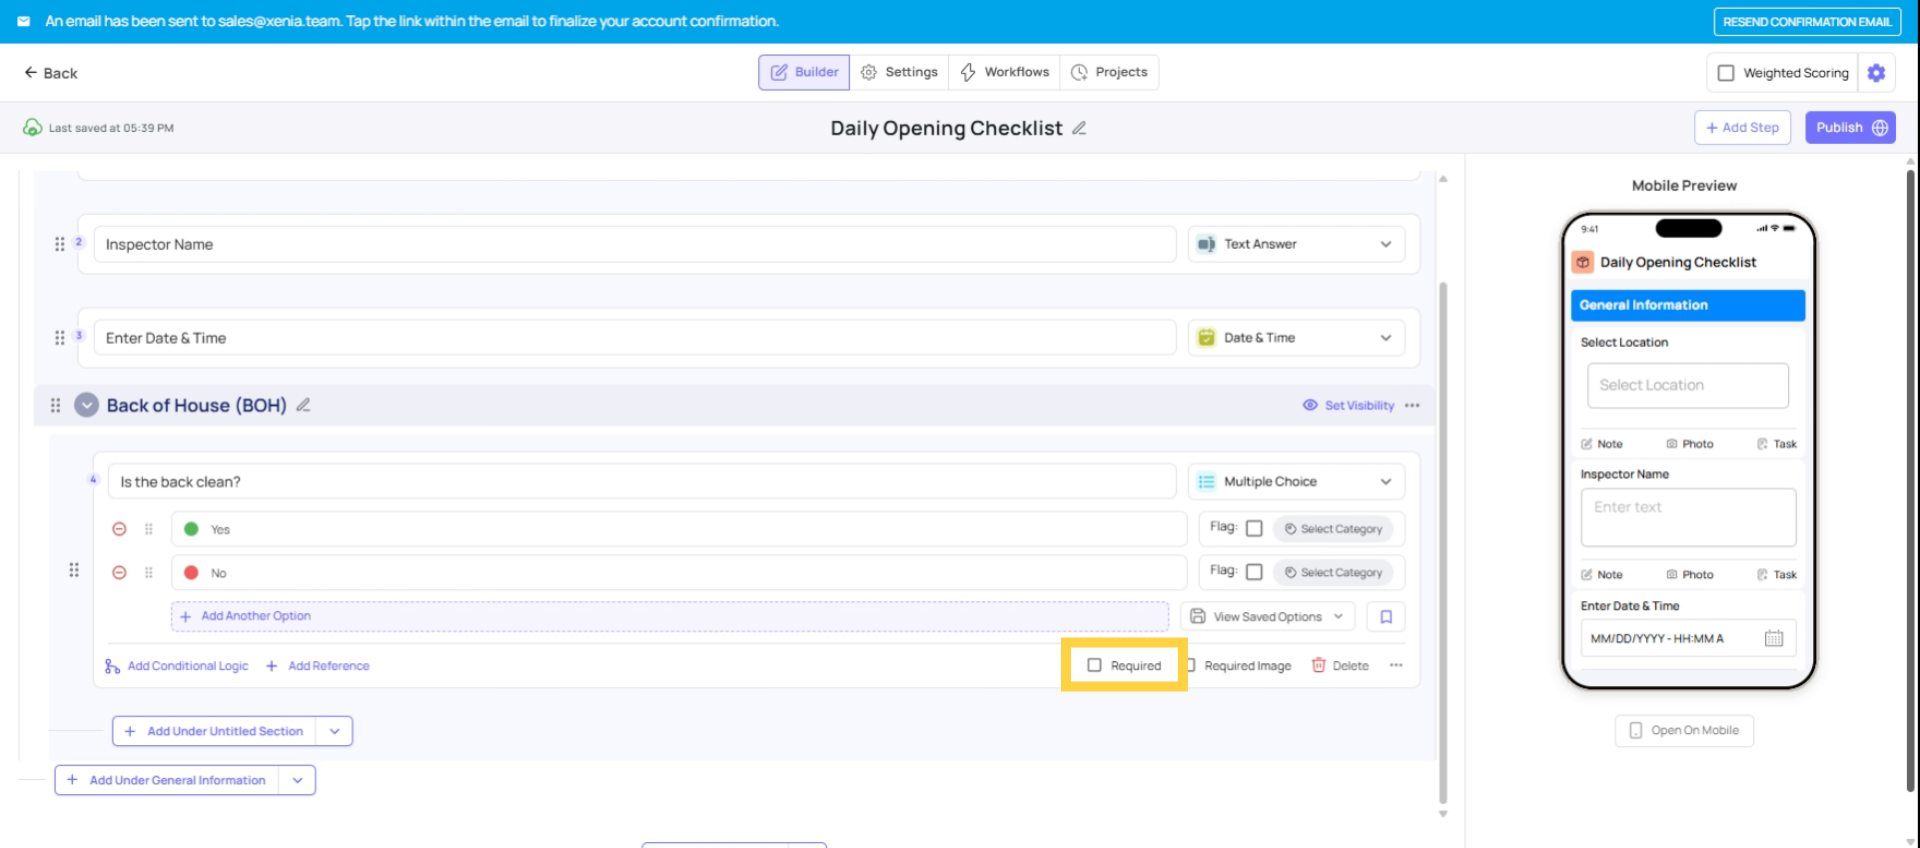
Step 4 — Make Critical Steps Required
For any step where skipping it would be a problem — safety checks, mandatory sign-offs, temperature readings — toggle the Required switch on that step. When required steps are incomplete, Xenia blocks submission and prompts the employee to go back and complete them.
Don't make everything required unless everything genuinely is — required on every step can feel frustrating on a long checklist. Target the ones that truly matter.
9. Configure Settings Tab
Step 5 — Configure Settings
Click the Settings tab. Key settings to configure before publishing:
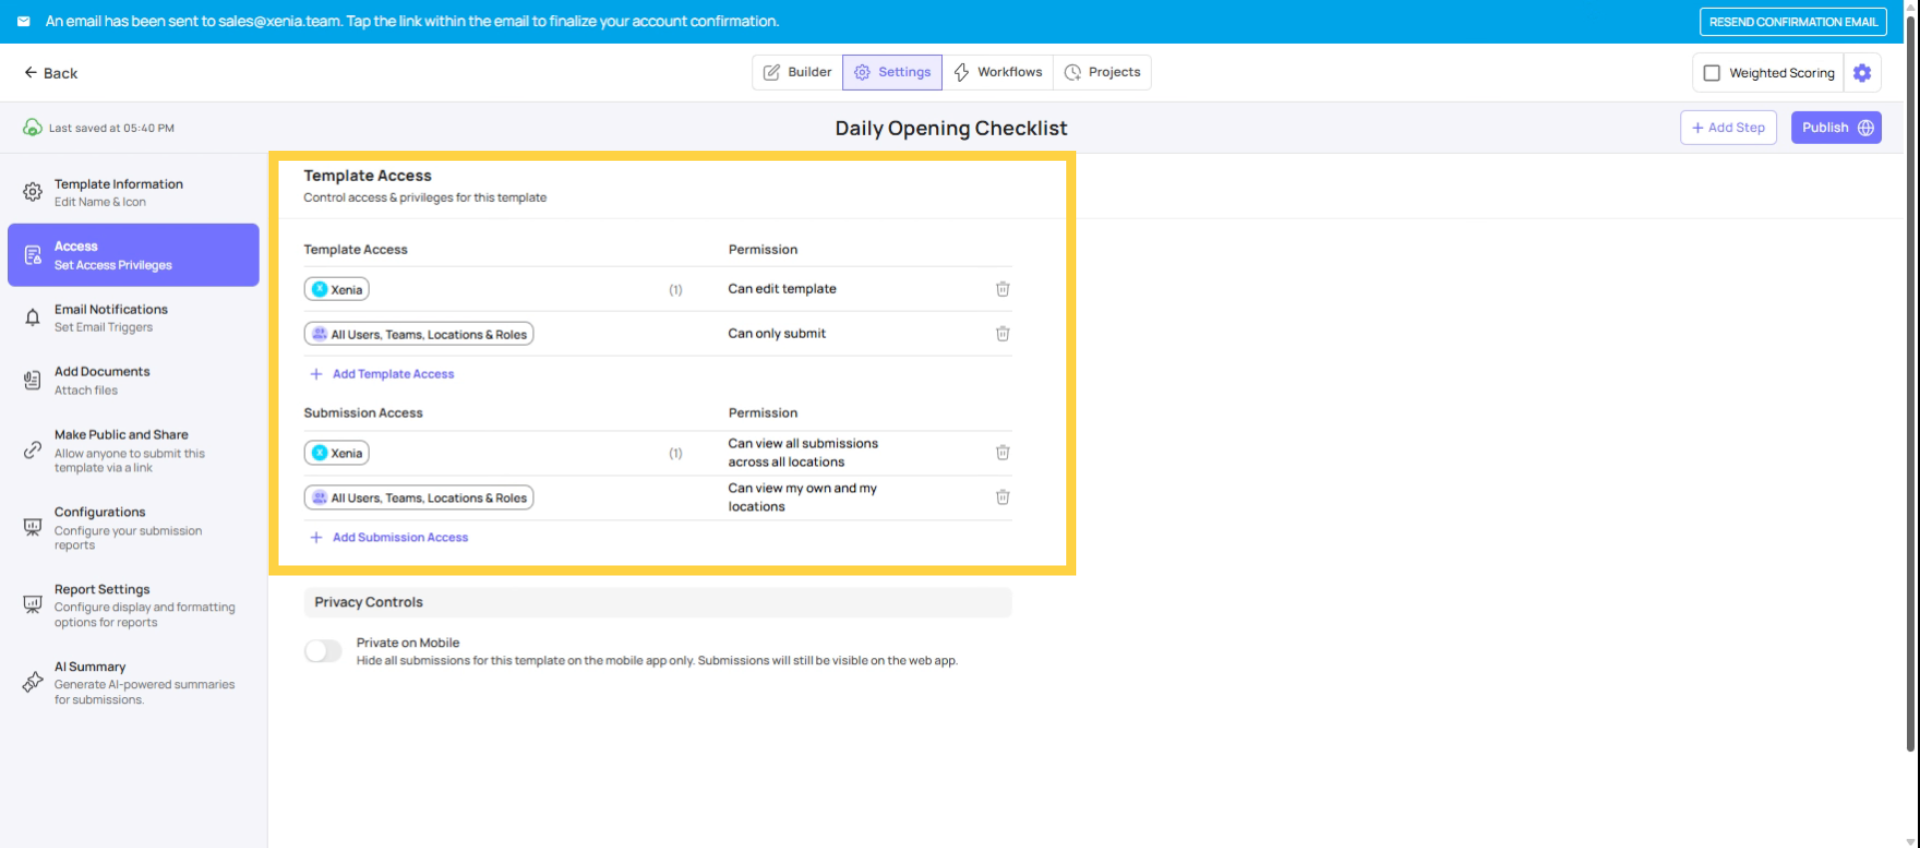
Template Access:
- Can Submit — which roles can see and complete this template. Default is all users; restrict this for sensitive forms.
- Can Edit — which roles can open the builder and edit the template. Default: Admin only.
Submission Access:
- Set the visibility tier per role (Tier 1/2/3) so the right people can review completed submissions.
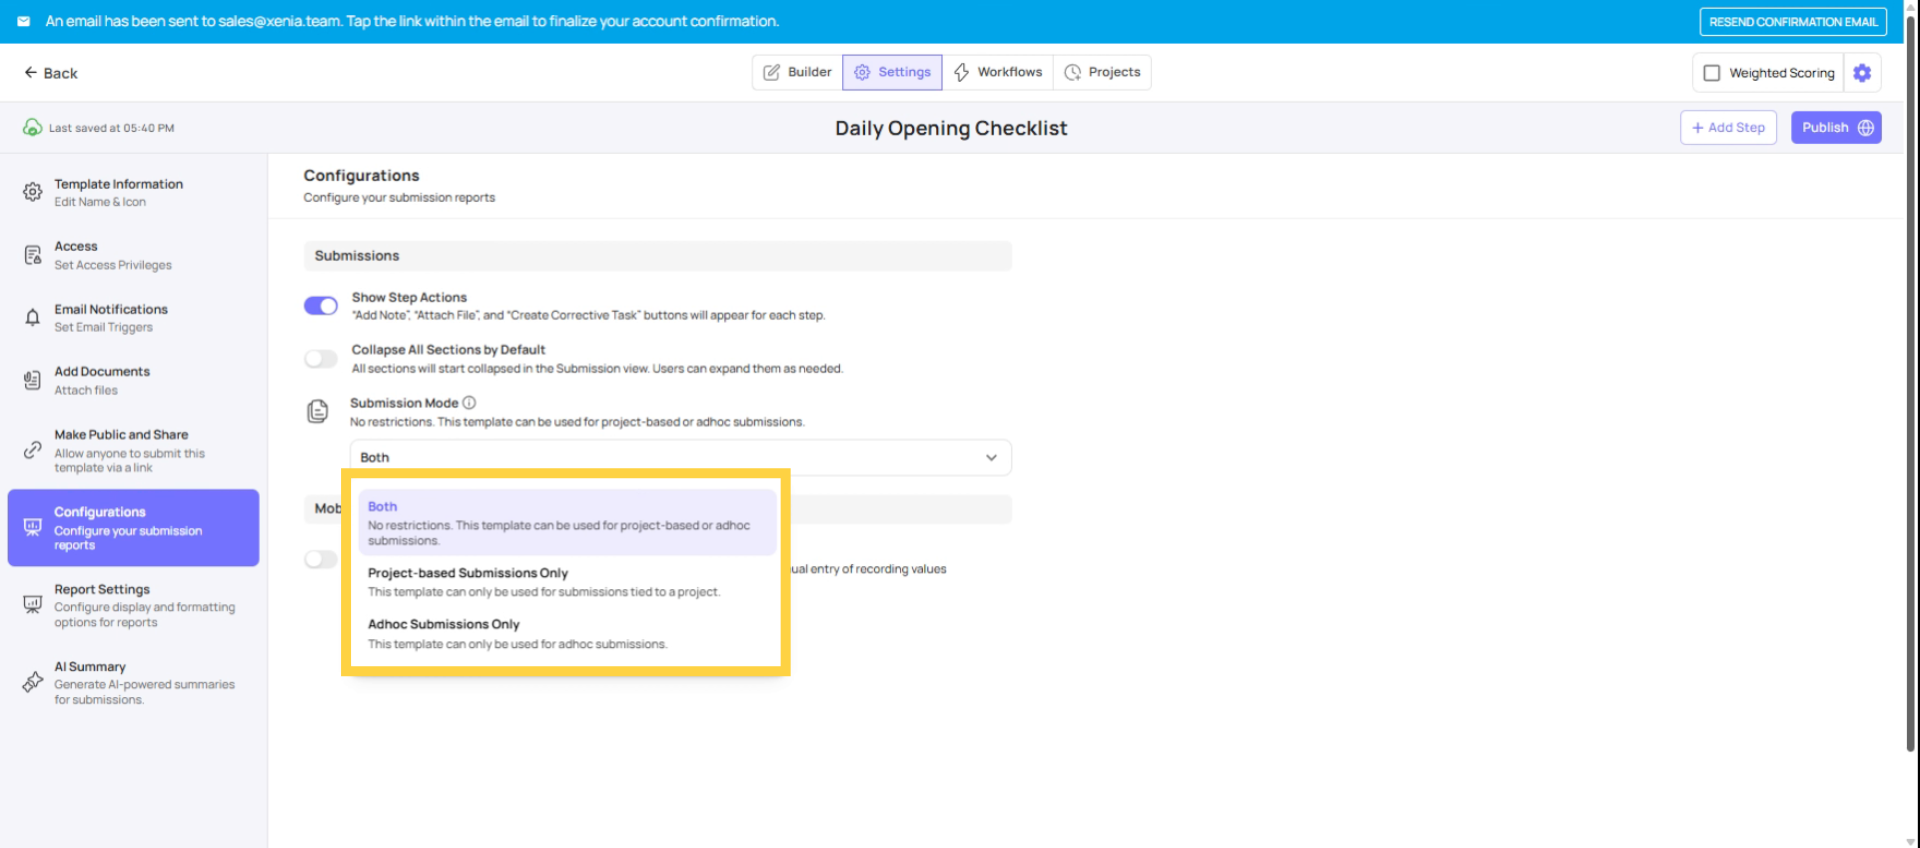
Submission Mode:
- Project-based — the template is only completed as part of a scheduled assignment
- Ad Hoc — the template can be submitted any time without a project
- Both — can be used either way
For a daily operational checklist: set to Project-based so completion is tracked and tied to a schedule. For an incident or vendor issue form: set to Ad Hoc so it can be submitted whenever something happens.
Common First-Checklist Mistakes
| Mistake | Fix |
| Naming the template too generically ("Daily Checklist") | Use specific names that identify the purpose and context |
| Making every step required | Only mark steps required if skipping them is genuinely unacceptable |
| Forgetting to publish | Go to the Publish tab and click Publish before trying to deploy |
| Building 40+ steps with no sections | Break long checklists into sections (see Sections article) |
| Not checking the mobile preview | Use the preview pane to see how it looks on a device before publishing |
Need Help?
Reach out to our support team at Support@xenia.team
Comments
0 comments
Please sign in to leave a comment.