What a Frontline Employee Needs in Xenia
Frontline employees — cashiers, cooks, baristas, servers, store crew, maintenance workers — have the simplest set of needs in Xenia:
- See only what they need to do today: No clutter, no other people's tasks, no management reports
- Complete their assigned checklist and submit it: That's the primary daily action
- Report an issue if something comes up: A work request or flagged item
- Nothing else: They don't need reporting, template management, or user administration
The guiding principle for frontline setup is zero friction. When they open the app, their tasks should be right there. No navigation required. No configuration on their part. Just: "here's what you need to do today" — and a submit button when they're done.
Getting this wrong — giving frontline employees too many permissions, too many templates, or the wrong home screen — is one of the most common reasons teams abandon Xenia. If employees open the app and see 40 checklists, they give up.
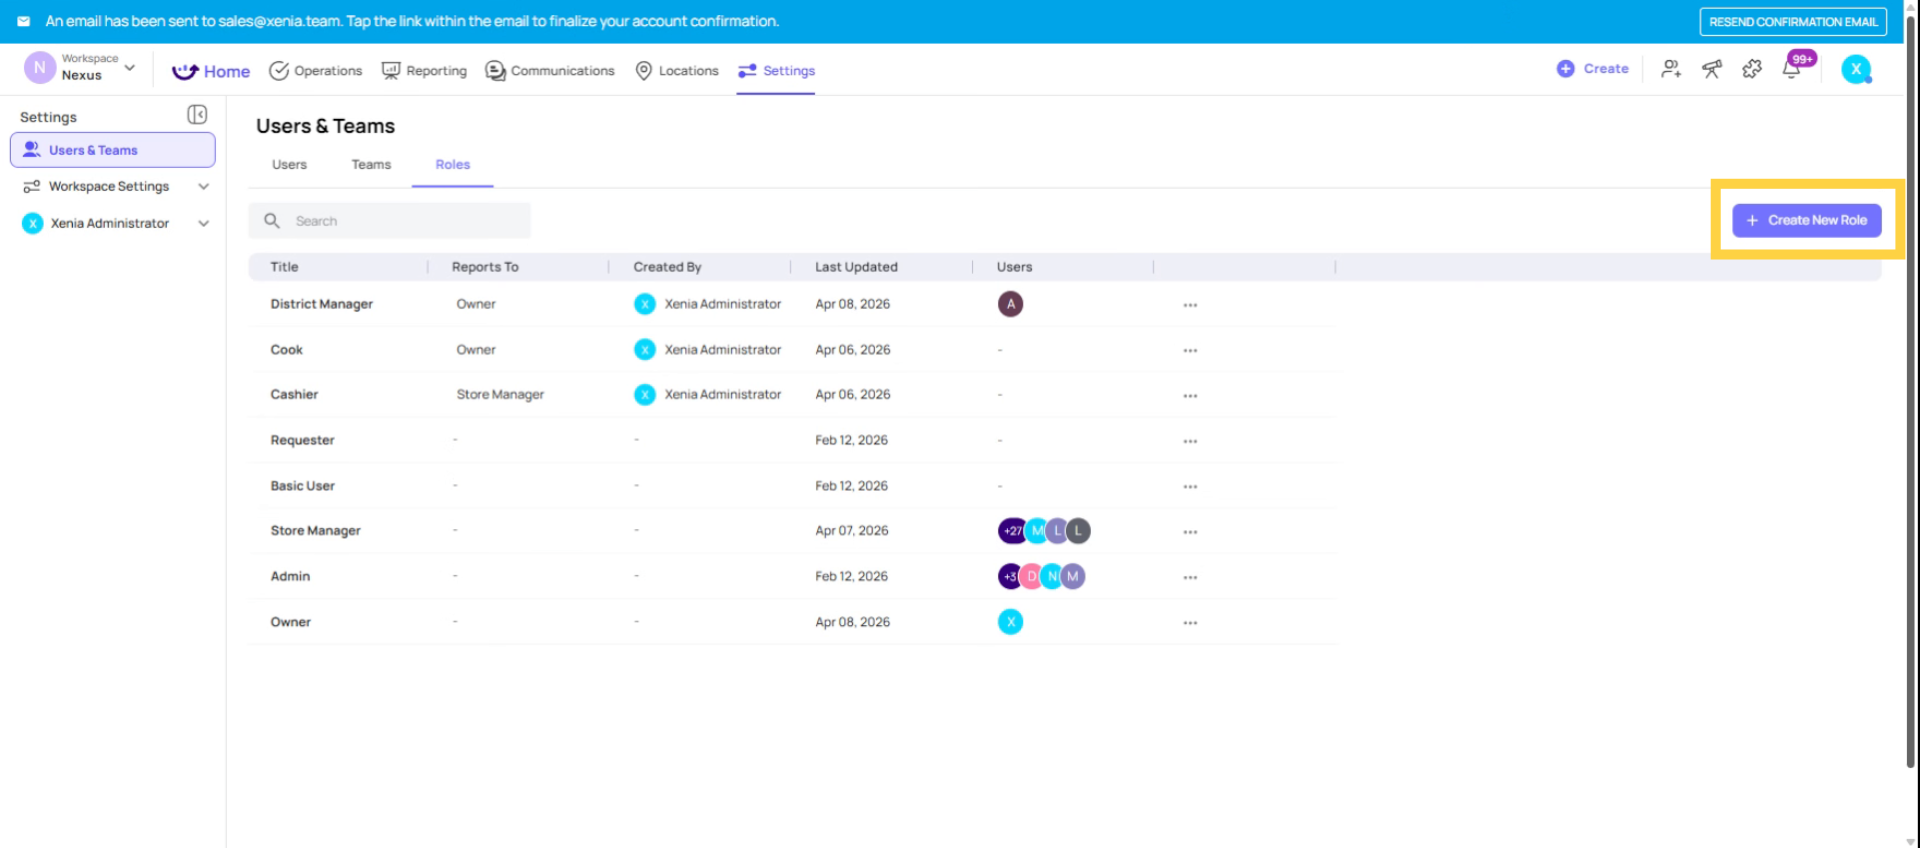
Create New Frontline Role
You may need multiple frontline roles depending on your org (Cashier, Cook, Barista, Store Crew, etc.). If different positions need to see different checklists, create separate roles. If everyone at the store sees the same checklists, one "Store" role works fine.
Go to Settings → Roles → Create Role
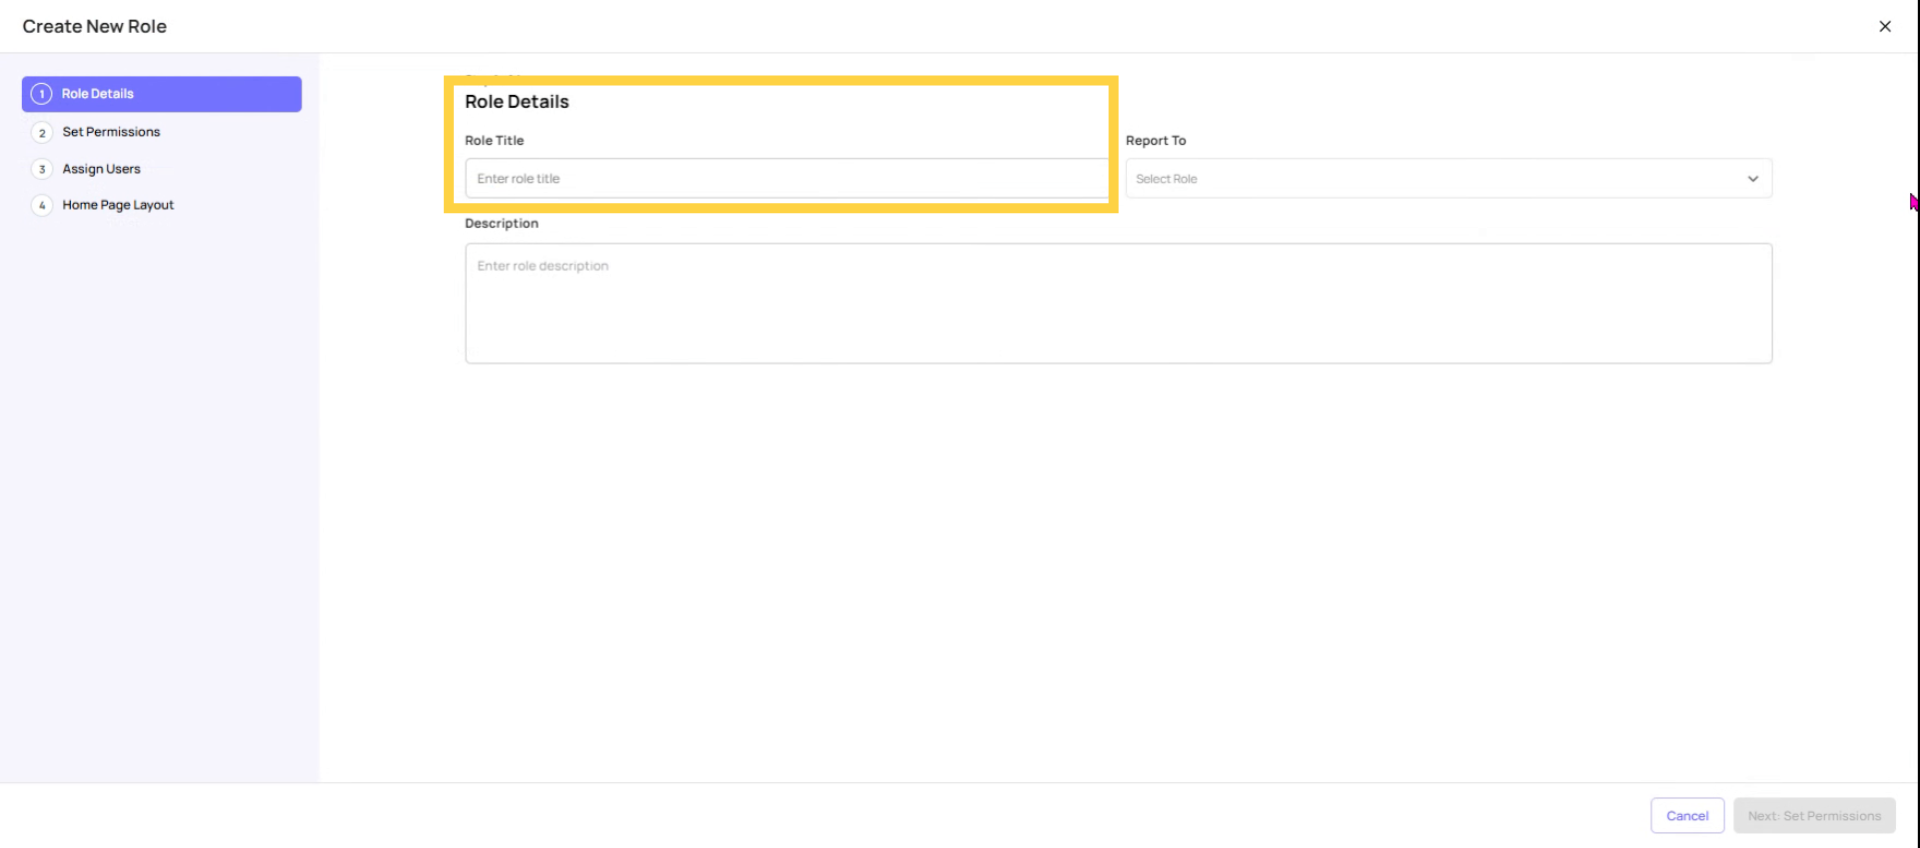
Give a Title to your Frontline Role
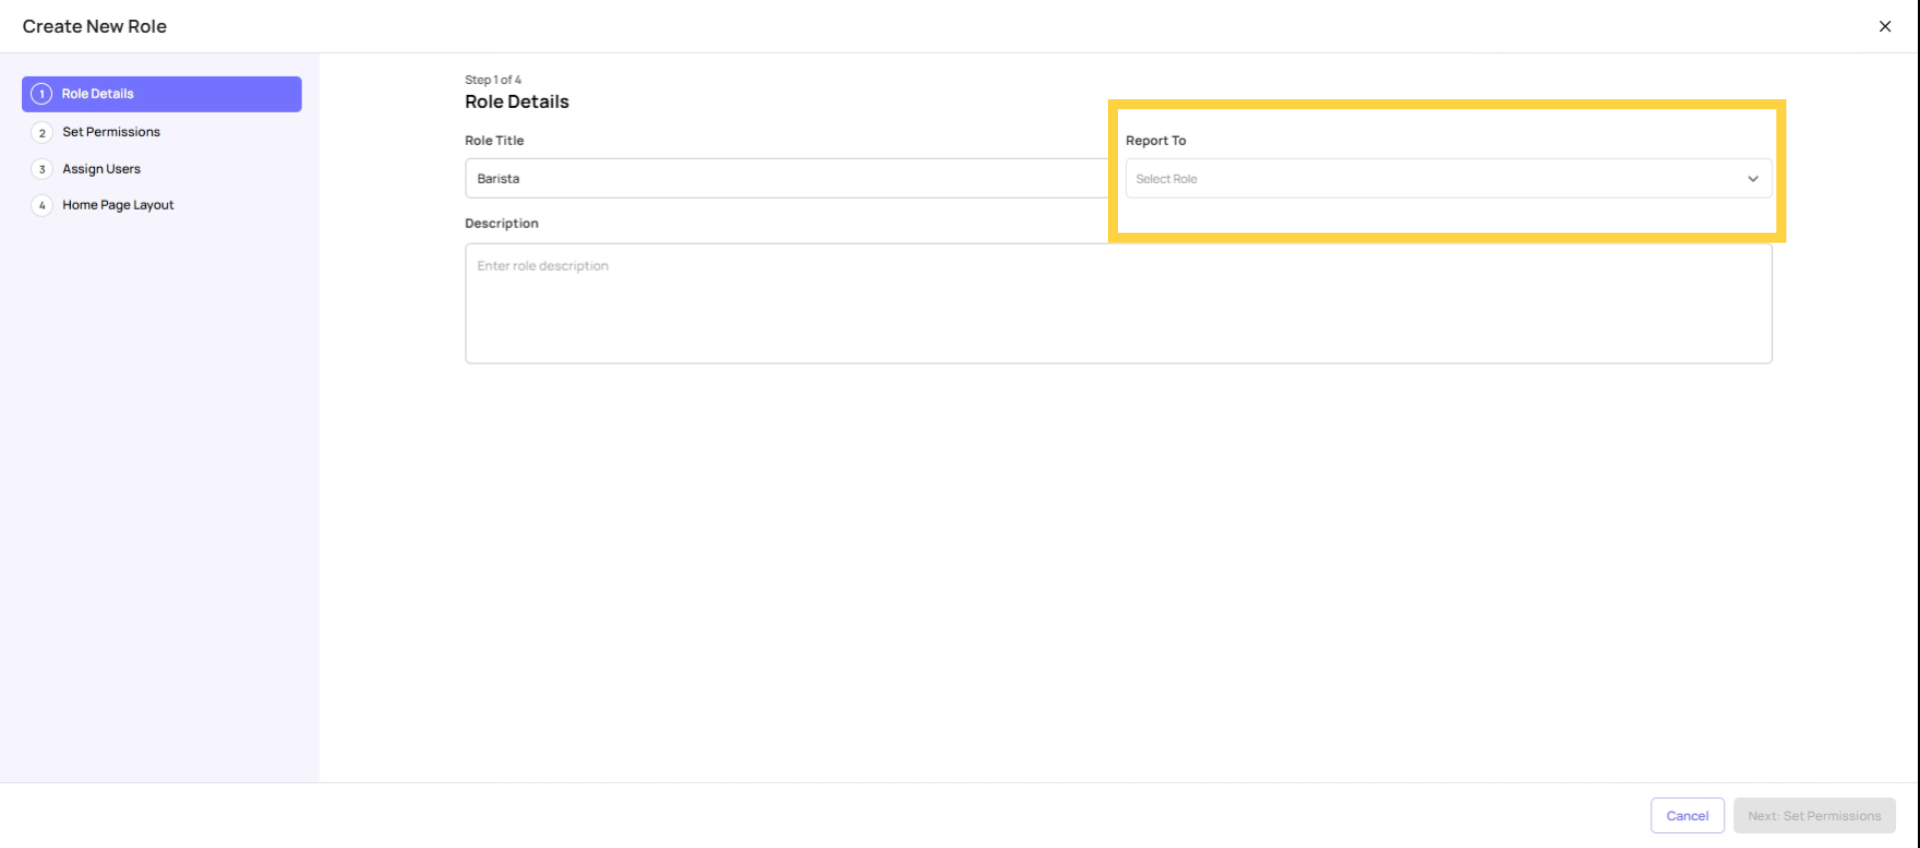
Set Reporting Structure
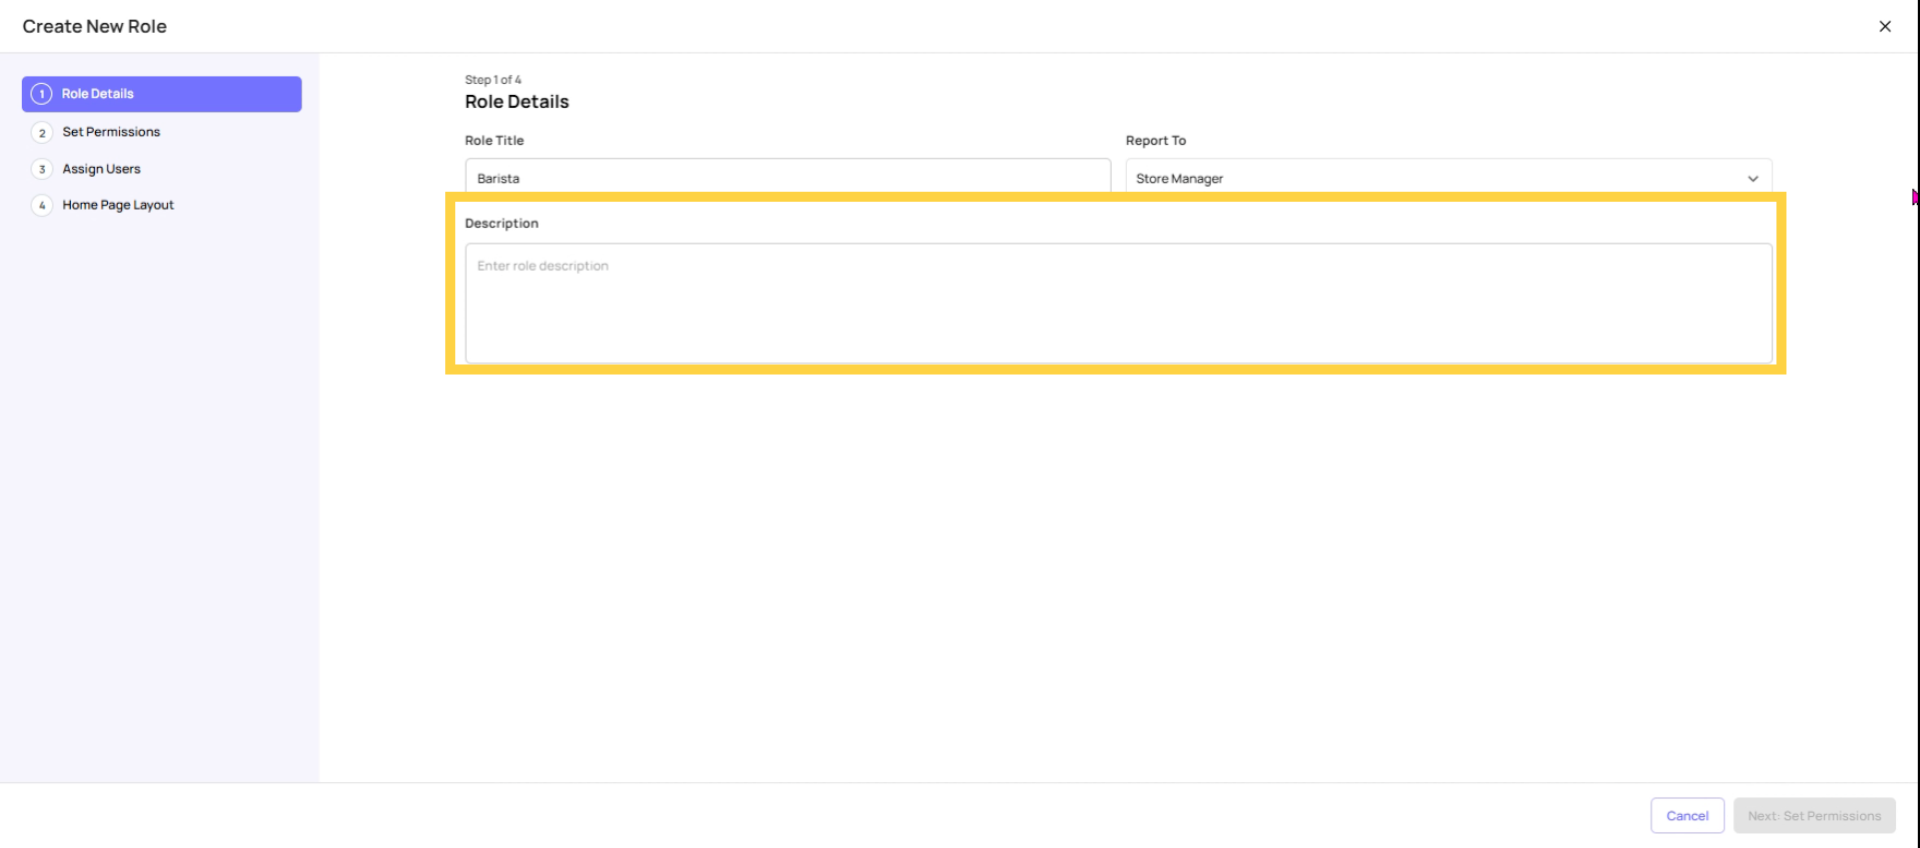
Add Role Description
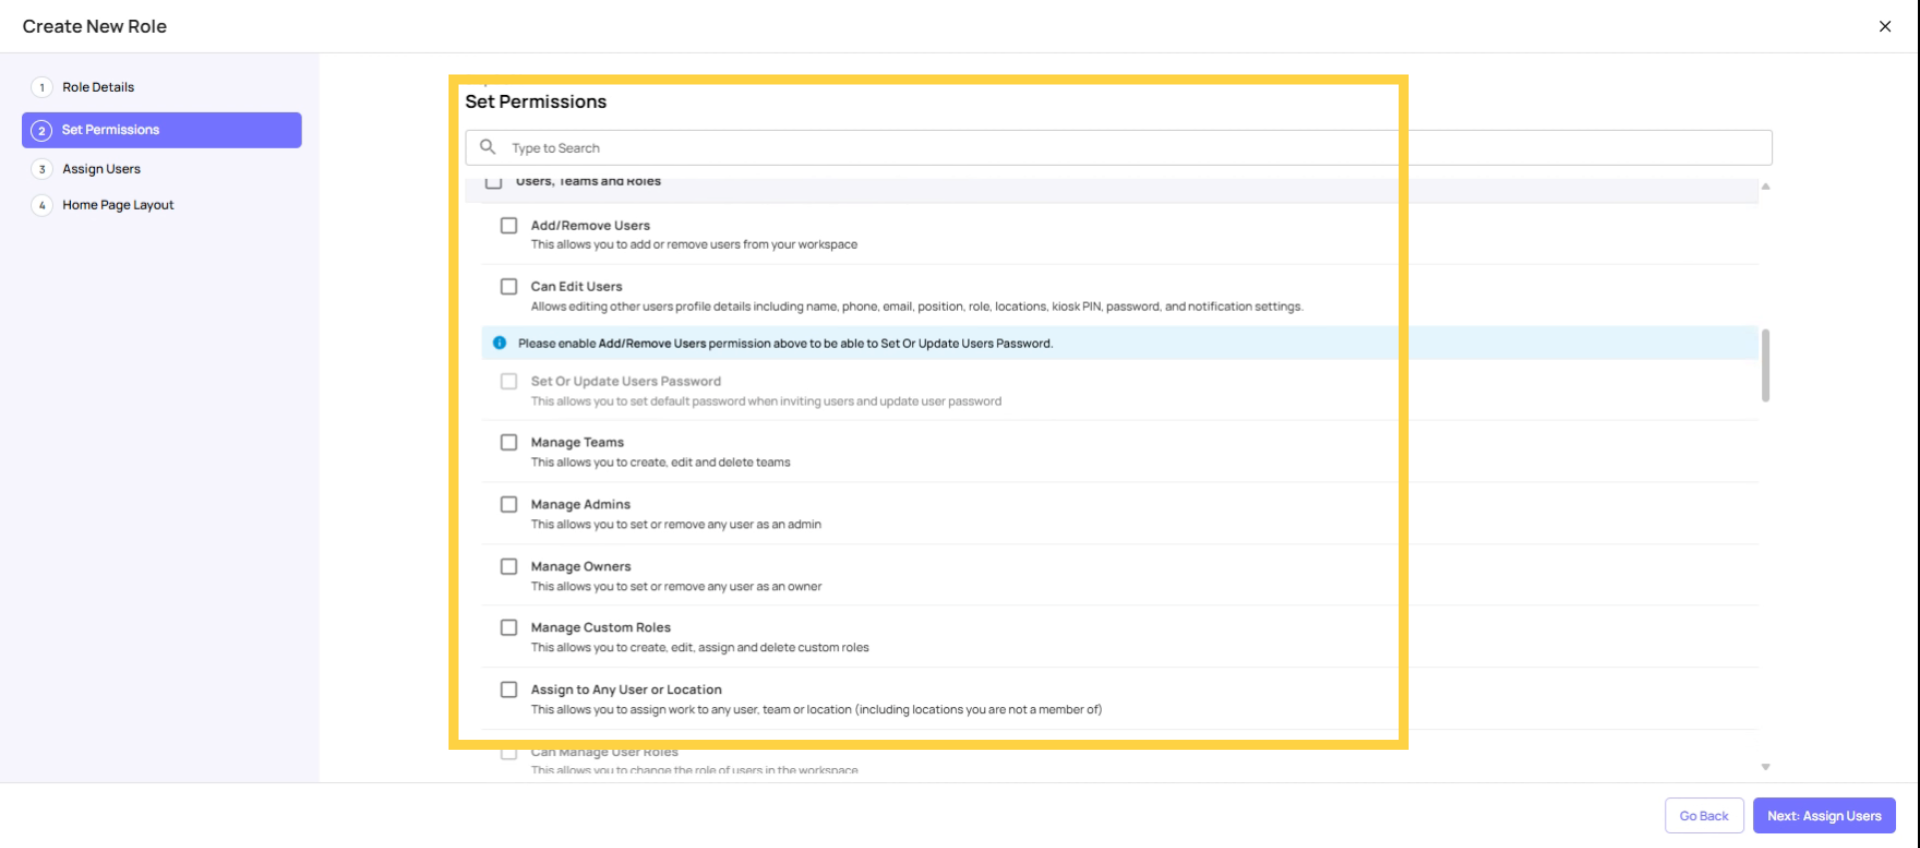
Restrict Role Permissions
Permissions to configure:
| Permission | Setting | Why |
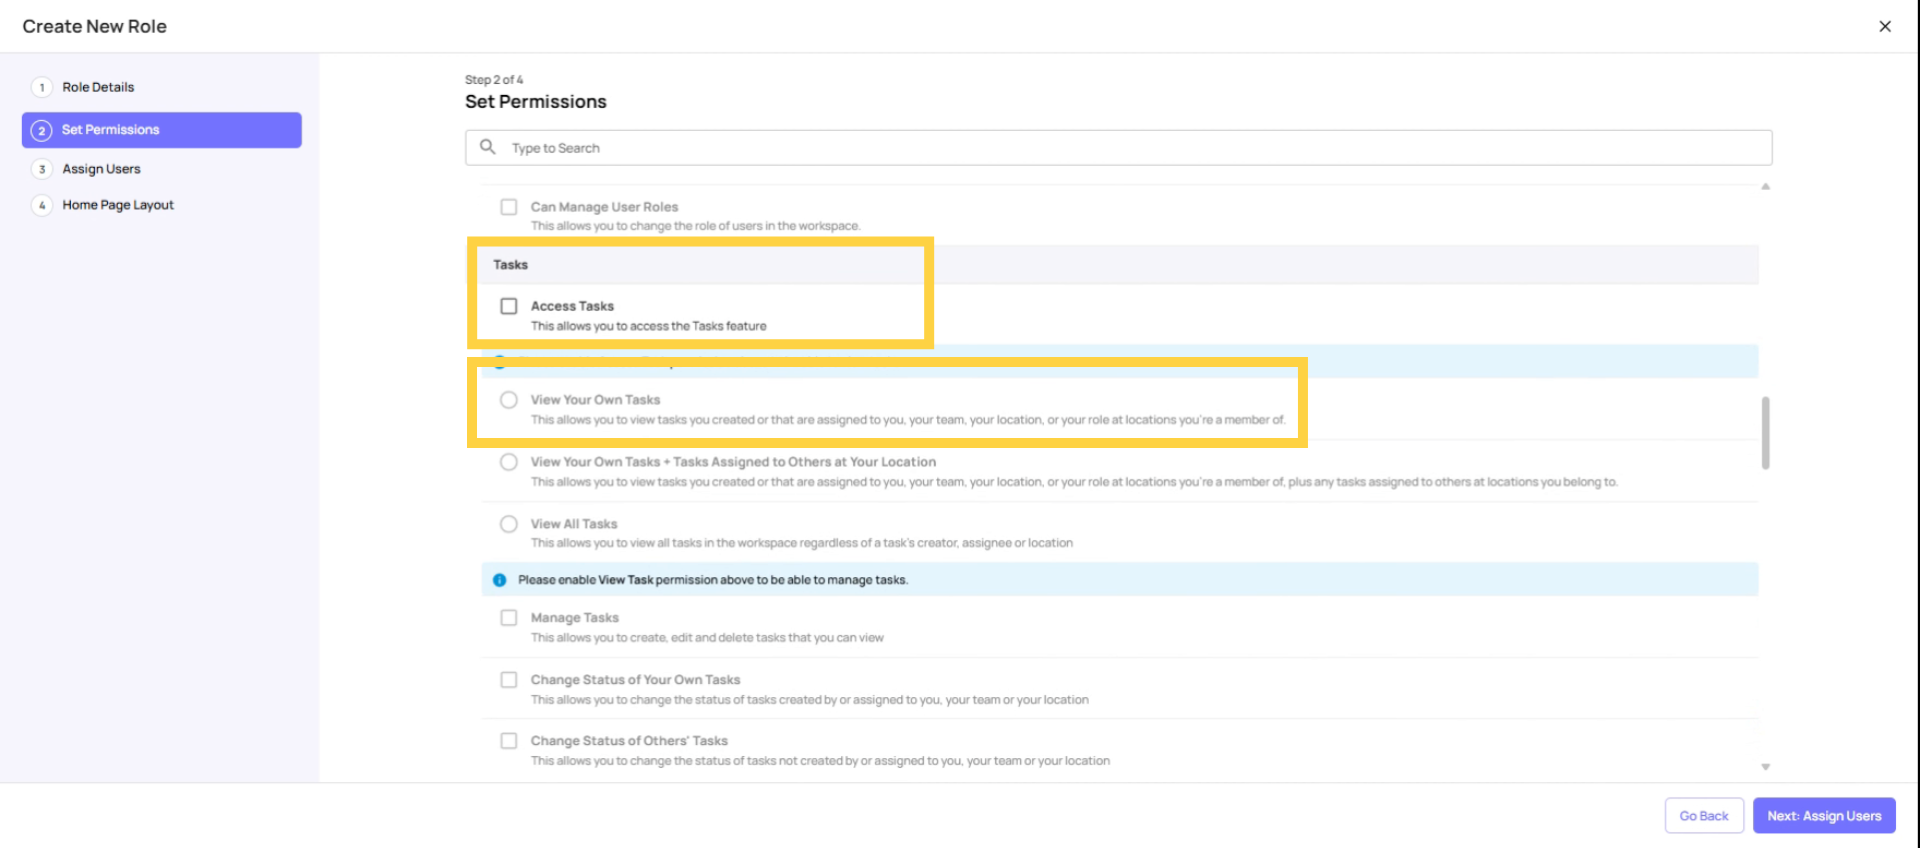
| Access Tasks | ✅ ON | They need to see their assigned tasks |
| Task Visibility | View Own Tasks Only | They should only see what's assigned to them |
| Manage Tasks | ❌ OFF | They don't create or edit tasks |
| Change Status of Own Tasks | ✅ ON | They need to mark tasks complete |
| Change Status of Others' Tasks | ❌ OFF | Not their responsibility |
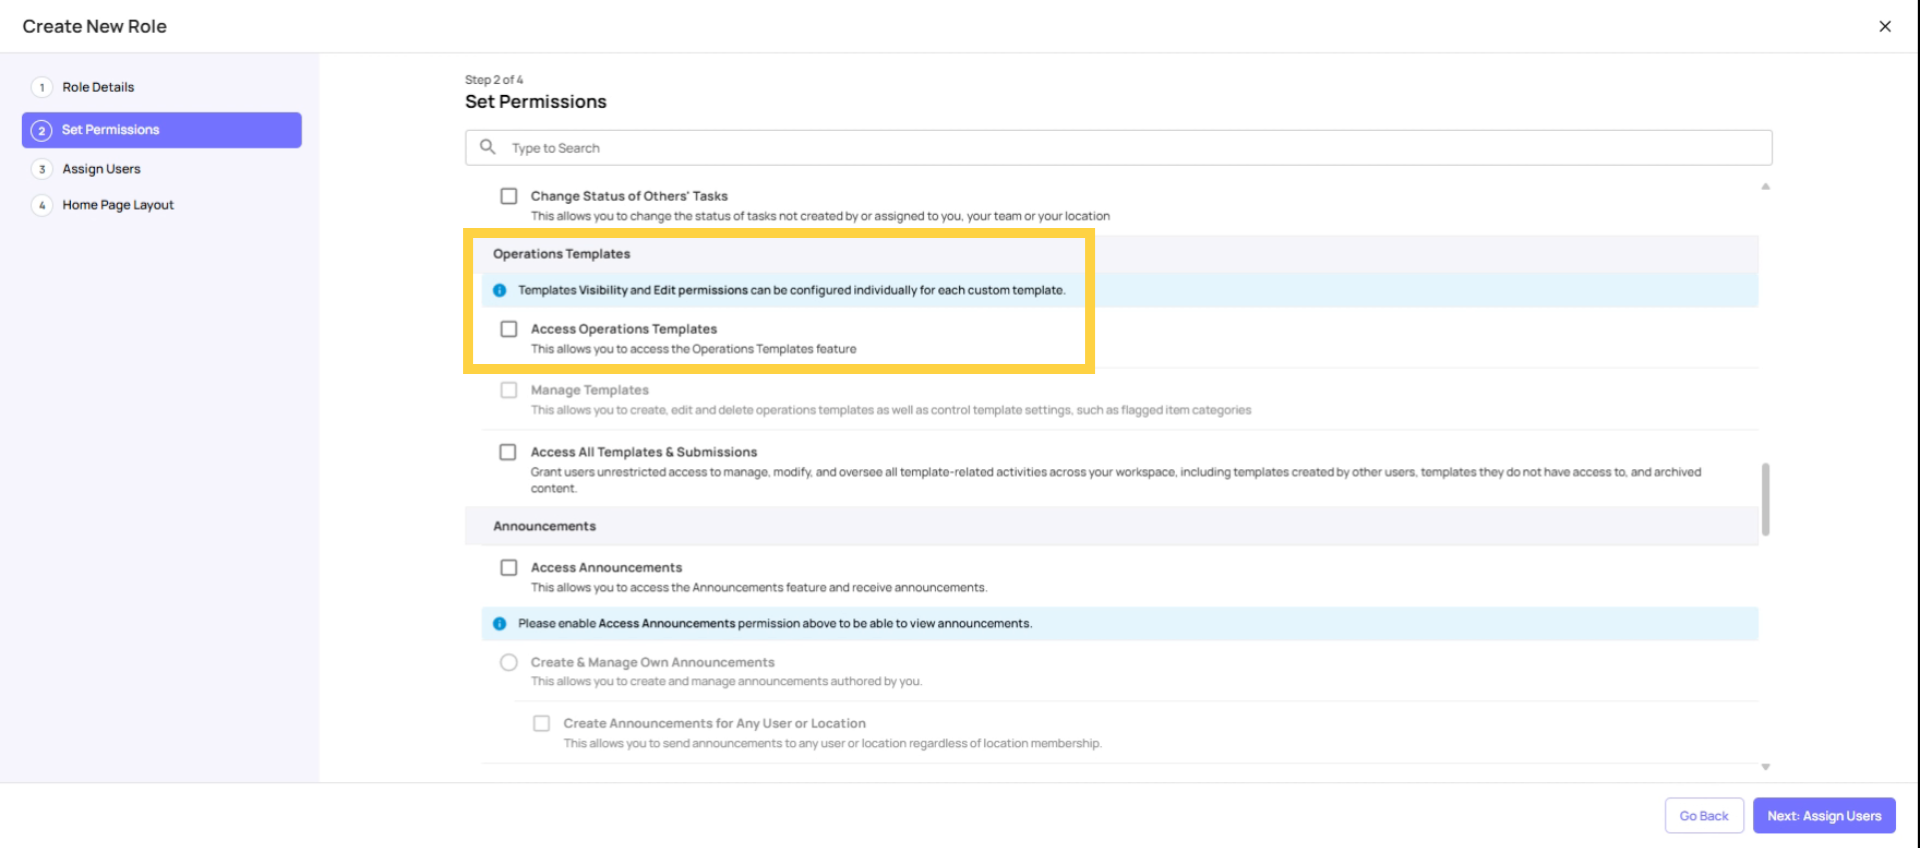
| Access Operations Templates | ✅ ON | They need to complete checklists |
| Manage Templates | ❌ OFF | Critical — keep this OFF |
| Access Locations | ❌ OFF | They don't need to see location settings |
| View Dashboard Templates | ❌ OFF | No reporting needed |
| Add/Remove Users | ❌ OFF | Admin only |
| Manage Teams | ❌ OFF | Admin only |
| Announcements | ✅ ON (optional) | If you want them to receive announcements |
| Access Chat | ✅ ON (optional) | If your org uses internal messaging |
 You would want them to access their tasks. This is a critical function. They need to see their assignment. Set task visibility to view your own tasks.
 Under operation templates, they need to have access to operations template, but do not give them manage template. They would not be able to manage, create, delete, or edit any checklist, but they would only be able to access the template and submit it.
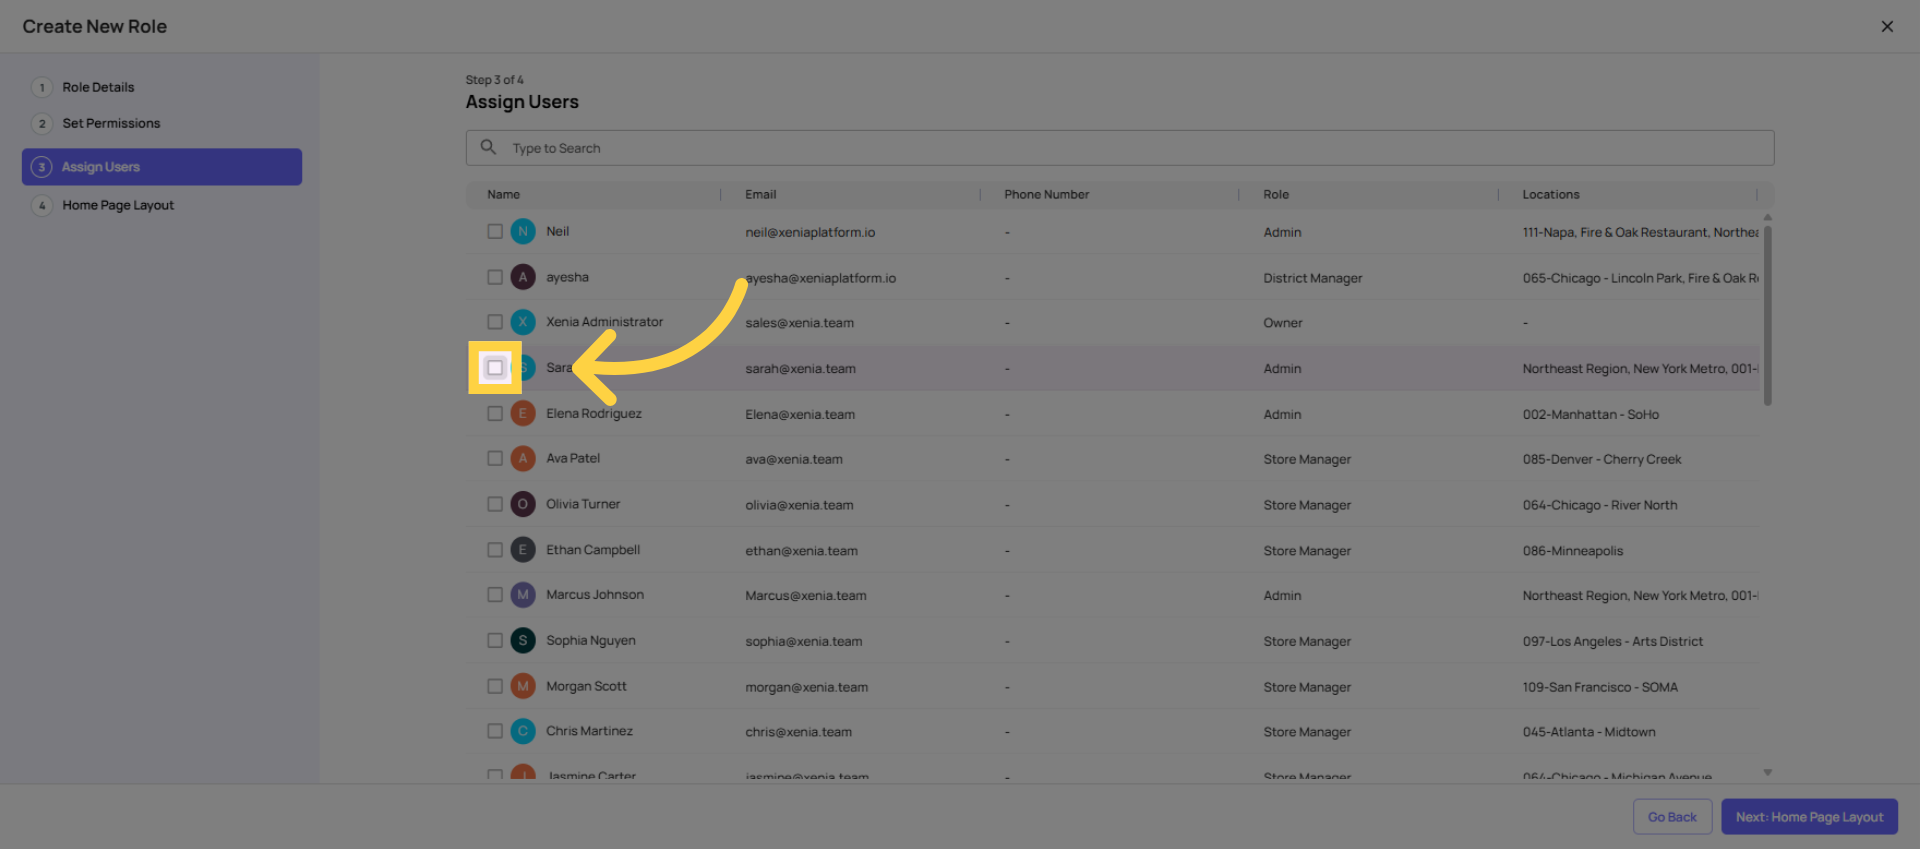
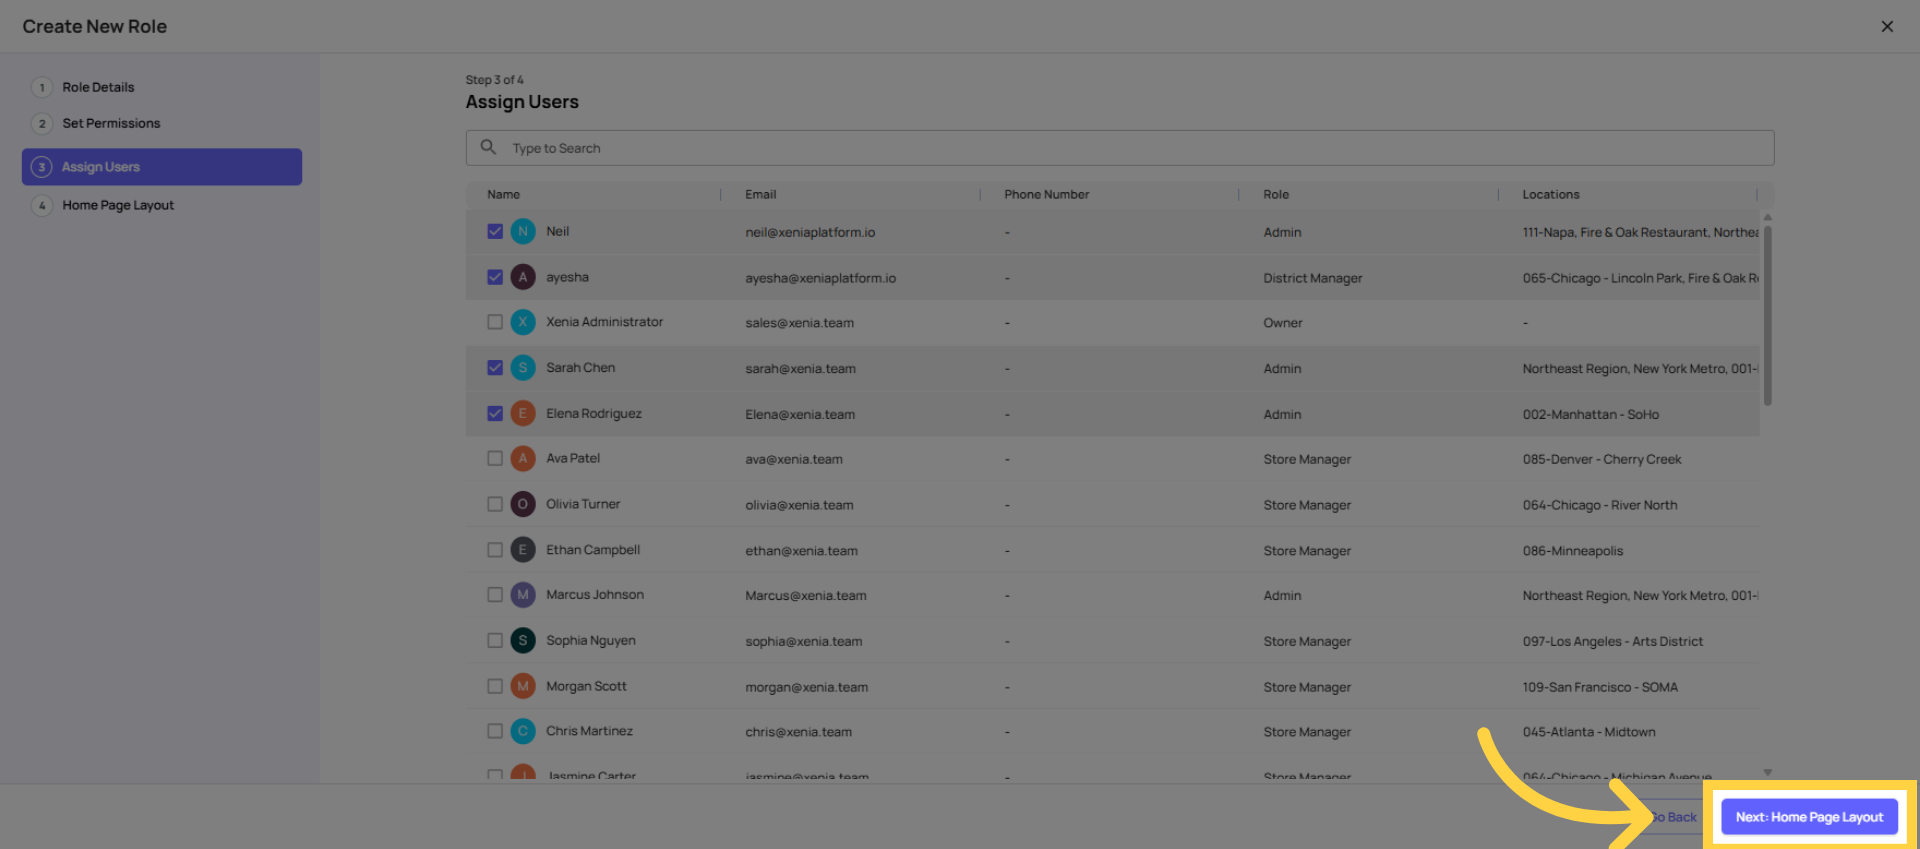
Assign Users

Toggle User Selection
Proceed to Homepage Layout
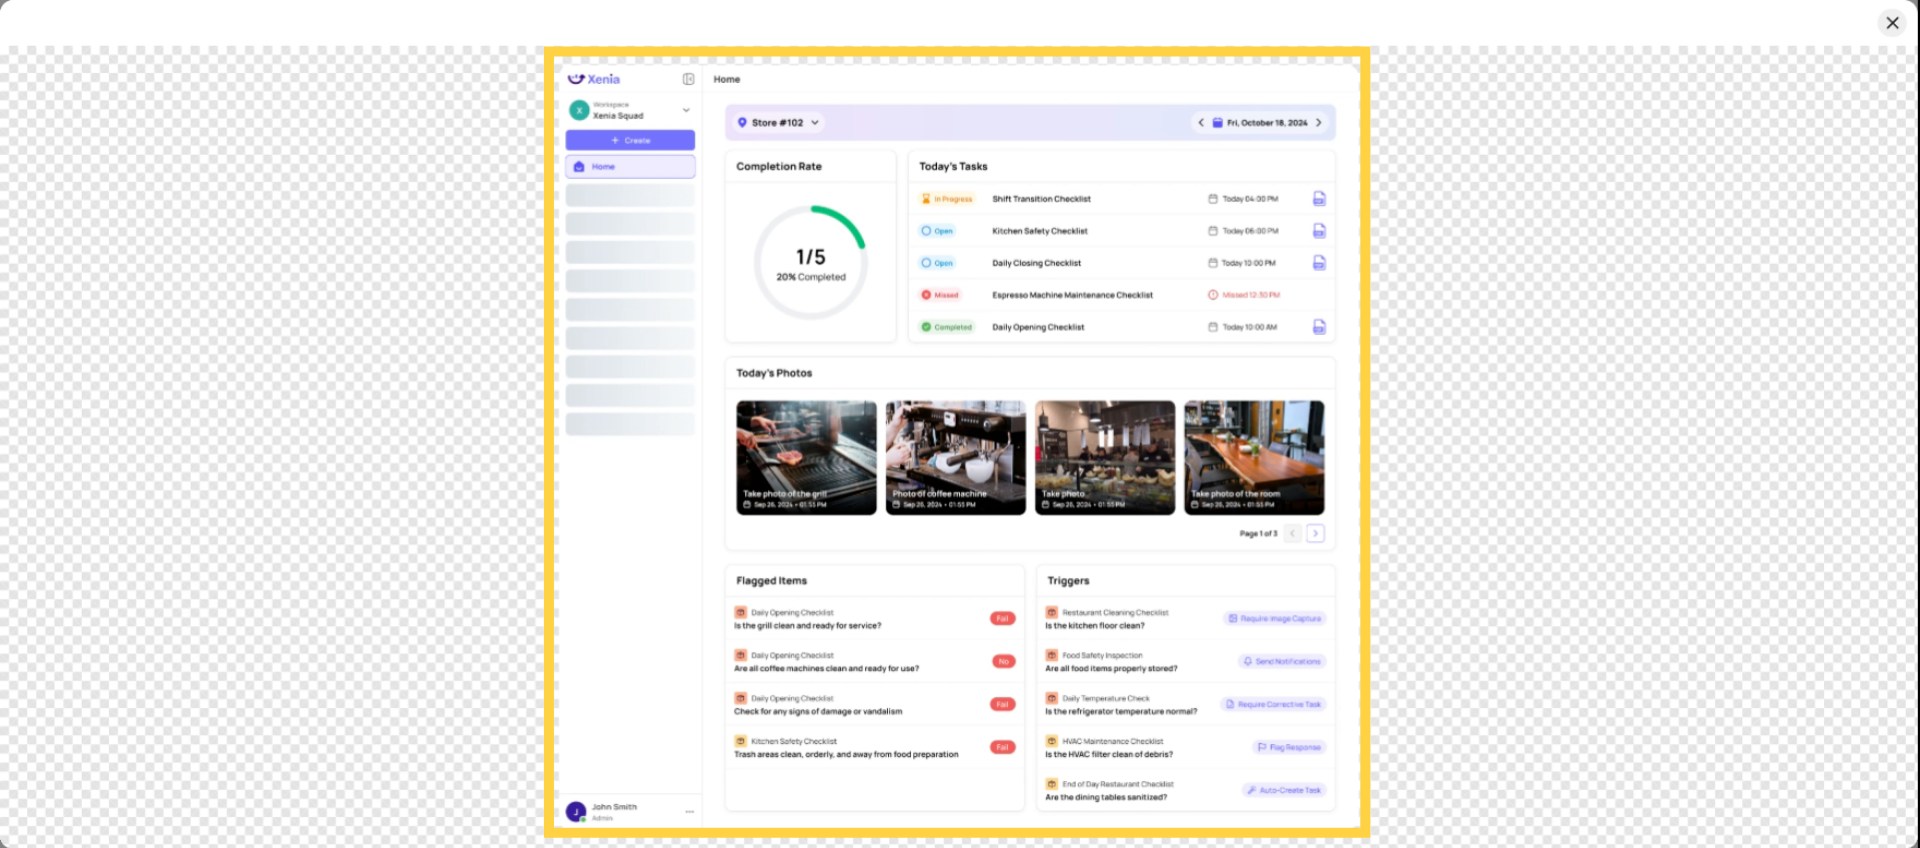
Select Location Pulse Layout
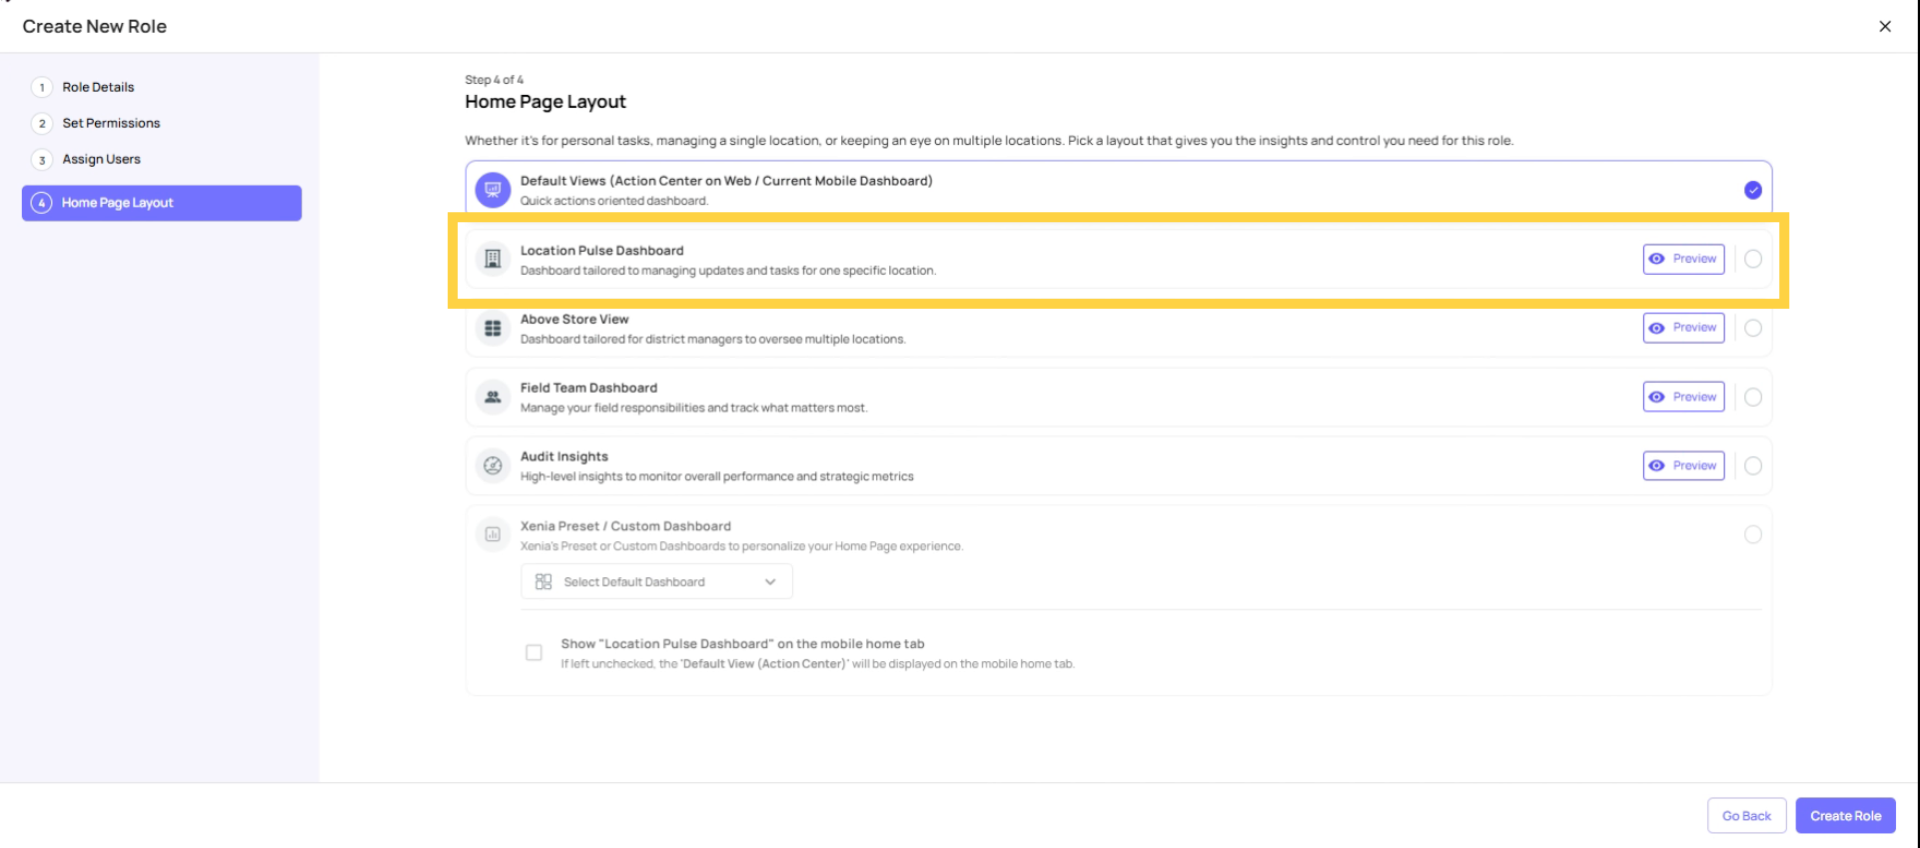 It's a clean single-day view of today's tasks and completion status. This is what drives the highest completion rates. Employees open the app and immediately see what they need to do.
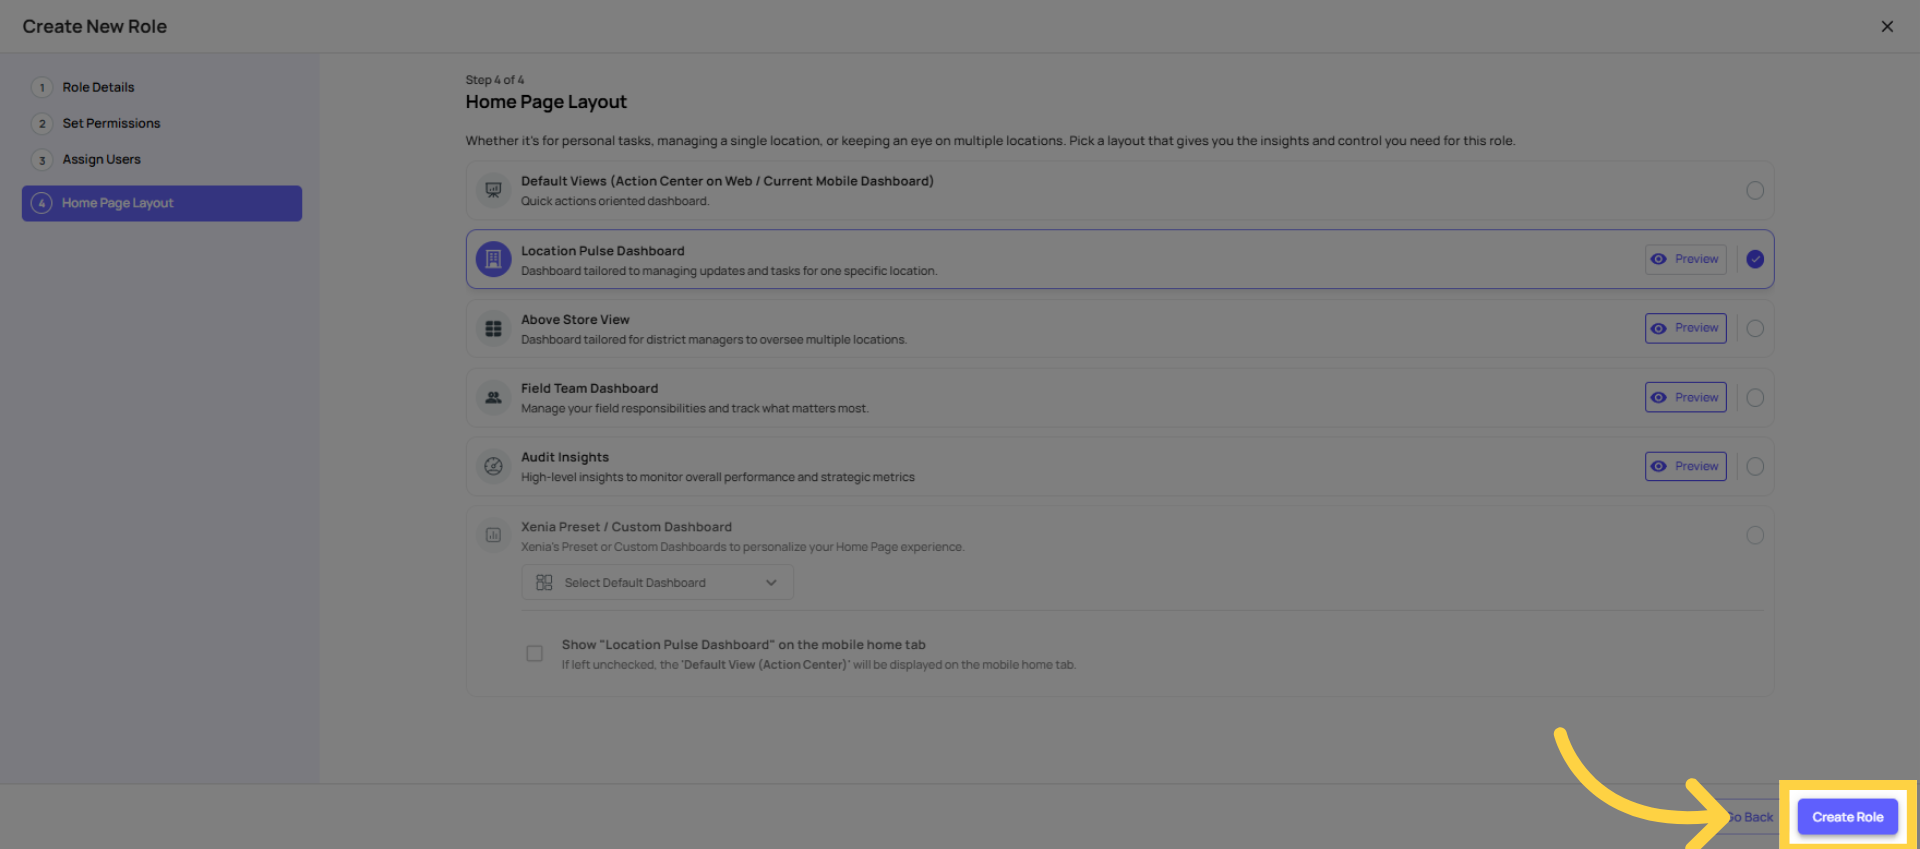
Create Role
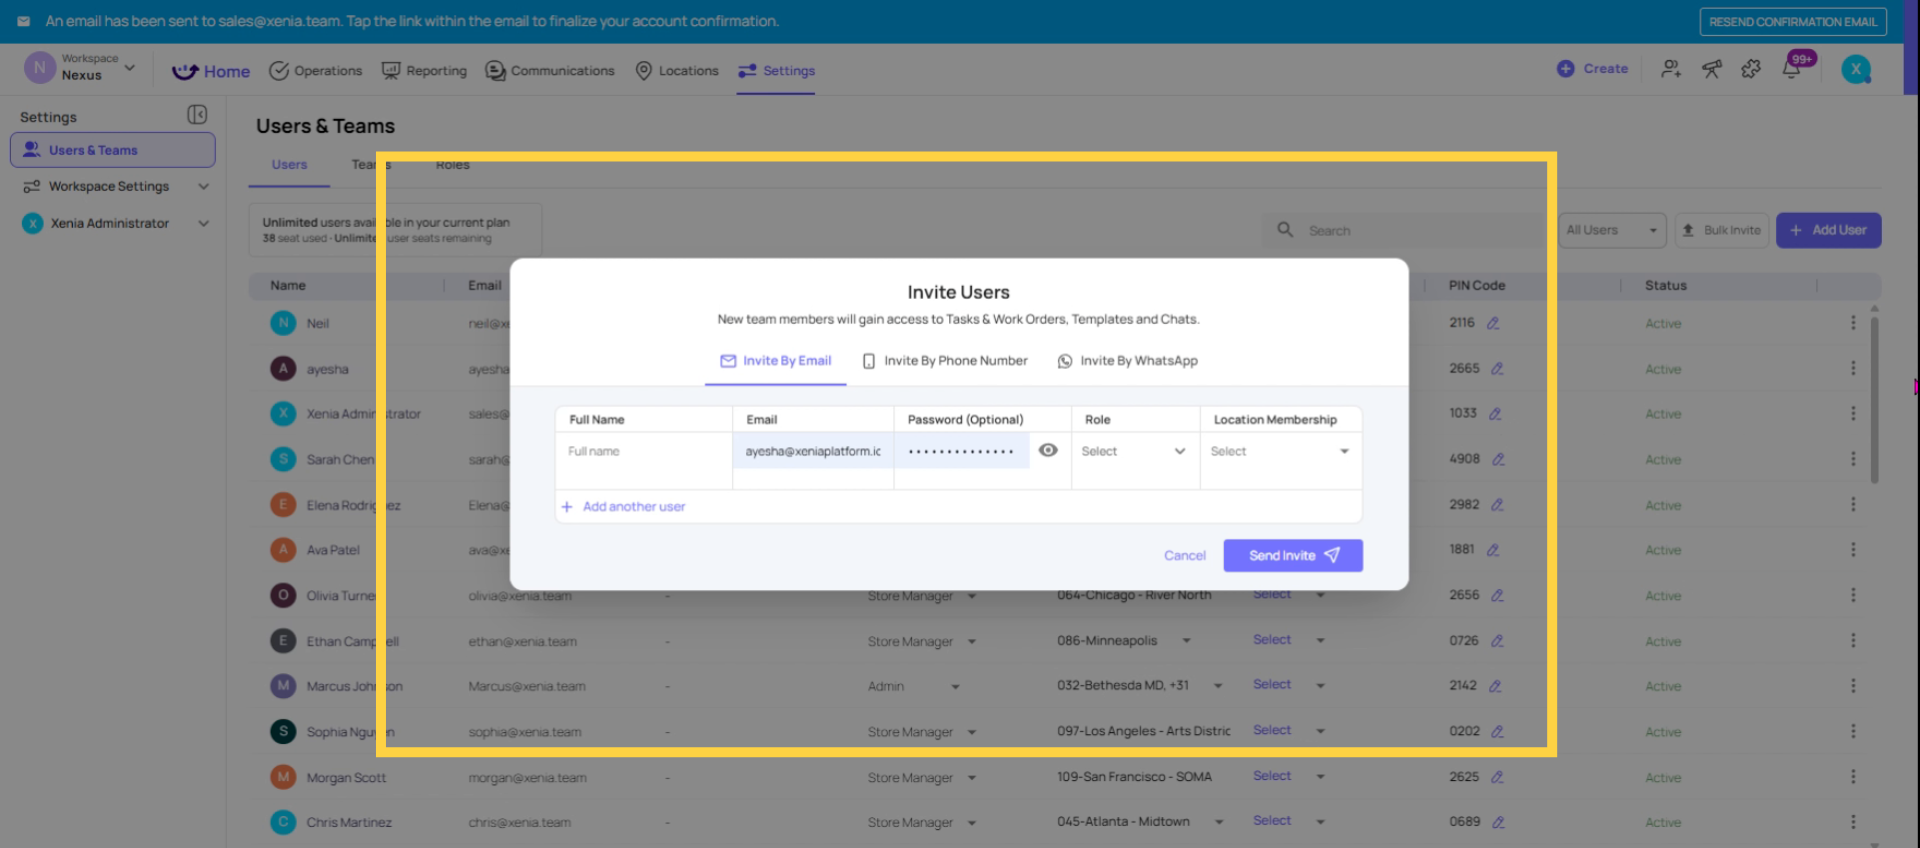
Invite Users and Set Location
Set Up the Account
Individual account (personal device):
- Invite with the employee's personal or work email
- Set role to the appropriate frontline role
- Assign location membership to their one store only
Role-based shared account (store tablet):
- Create account with a role-based email: cook.store5@yourcompany.com
- Set role to Cook (or Store Crew, etc.)
- Set location membership to Store 5 only
- Set the password directly (three dots → Update Password) rather than waiting for an invite email
- Log in on the tablet — the account stays logged in on the device
One location only: A frontline employee should be a member of exactly one location. Their store. Not any other store. This is what keeps their Xenia experience focused and simple.
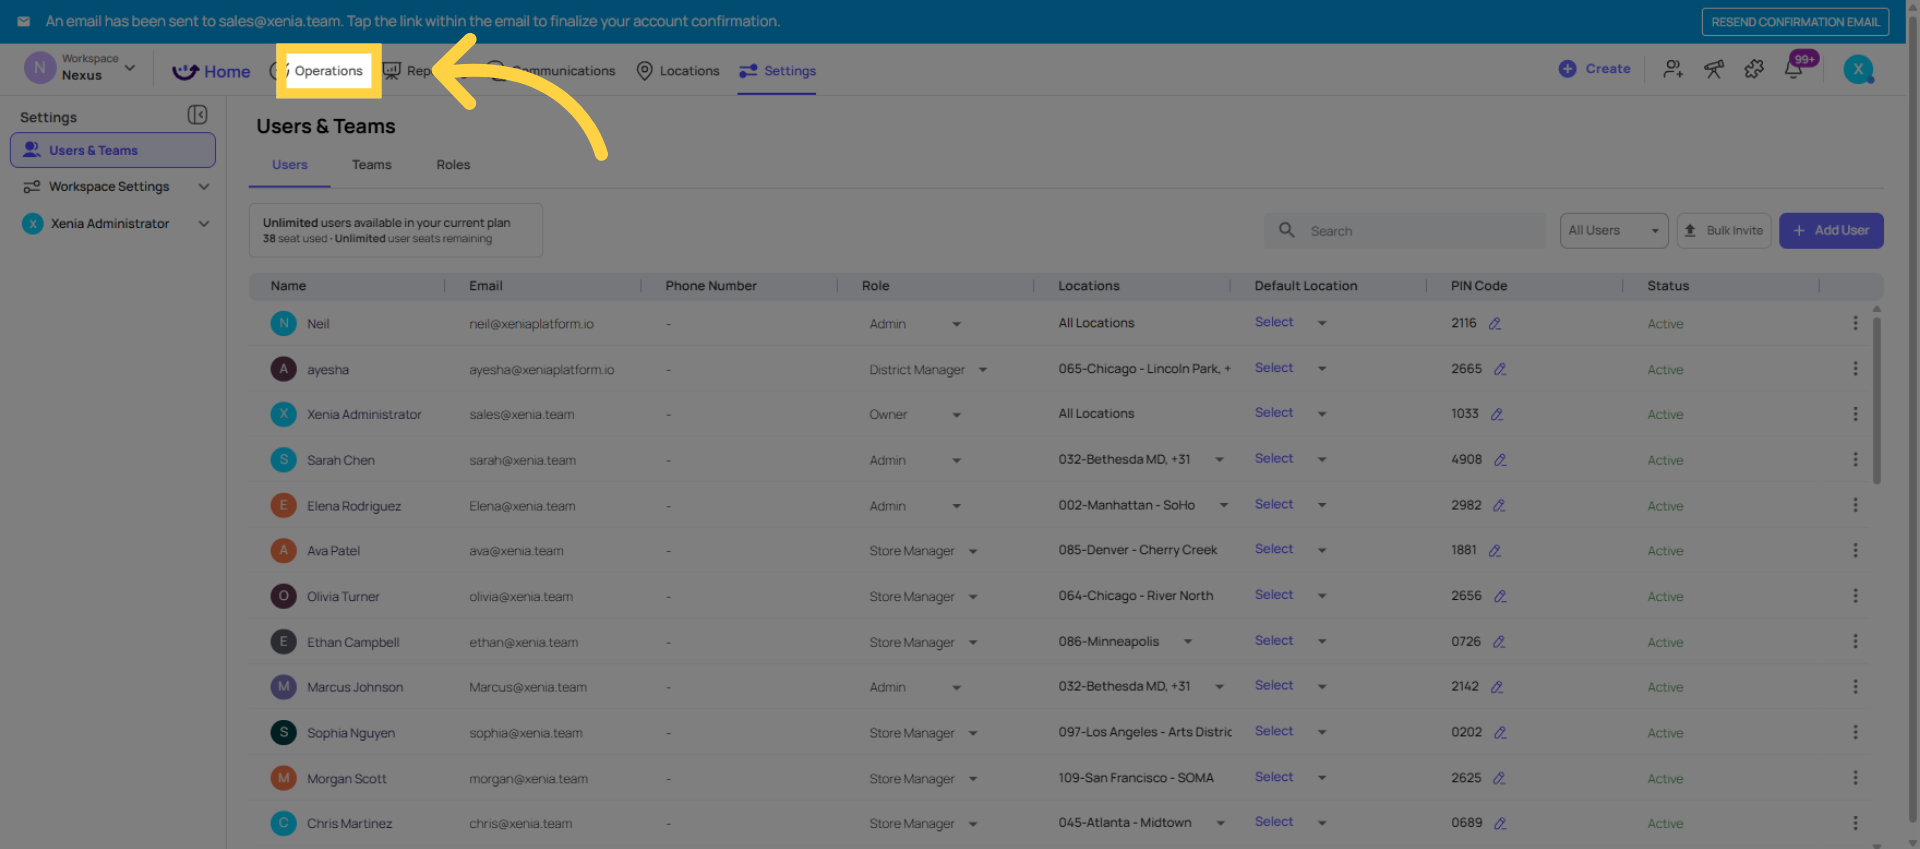
Open Operations Tab
Configure template Submission Access
For checklists assigned to frontline roles, set submission access:
For their daily checklists (opening, temperature logs, cleaning checklists):
- Frontline role → Tier 1: View own submissions only
- They can complete and submit, and they can see their own history
- They cannot see what other employees submitted
This keeps the frontline experience clean and focused on execution, not data review.
Review User Task Experience
What the Frontline Employee Experience Looks Like
When configured correctly:
On mobile or tablet:
- Opens the Xenia app → Location Pulse home screen appears immediately
- Sees today's tasks with due times and completion status
- Taps a task → opens the checklist → completes each step → taps Submit
- Task disappears from the "due today" list or shows as completed
- If something's wrong at the store, taps + → Submit Work Request → done
They never see:
- Tasks from other employees (those are on a different account)
- Templates they're not assigned to
- Reporting dashboards or data analytics
- Location settings, user settings, or admin controls
- Any other store's data
This is the experience that makes Xenia successful at the frontline level — it's simple enough that a new employee can be trained in under 5 minutes.

Common Frontline Setup Mistakes
| Mistake | Impact | Fix |
| Manage Templates left ON | Employee can accidentally archive checklists | Turn OFF immediately |
| Task visibility set to "View all" | Employee sees tasks from across the org | Change to View Own Only |
| Too many templates in Can Submit | Employee sees 30+ checklists — overwhelm | Restrict Can Submit per template to relevant roles |
| Wrong homepage layout (not Location Pulse) | Employee has to navigate to find their tasks | Set Location Pulse in role settings |
| Multiple locations assigned | Employee sees tasks from multiple stores, has to switch | Assign exactly one location |
| Account set up but no project running | Employee logs in and sees no tasks | Create and activate the project first |
Comments
0 comments
Please sign in to leave a comment.