Submission Visibility Tiers
The submission visibility tier you assign to each role on each template determines the scope of historical data that role can access. It's one of the most granular controls in Xenia — and one of the most powerful for protecting sensitive data while still giving managers the insight they need.
Getting these wrong has real consequences:
- Too restrictive: a store manager can't see whether their team has been completing checklists
- Too open: a cashier can browse all performance notices submitted in the workspace
- Wrong tier on wrong template: HR submissions visible to frontline employees
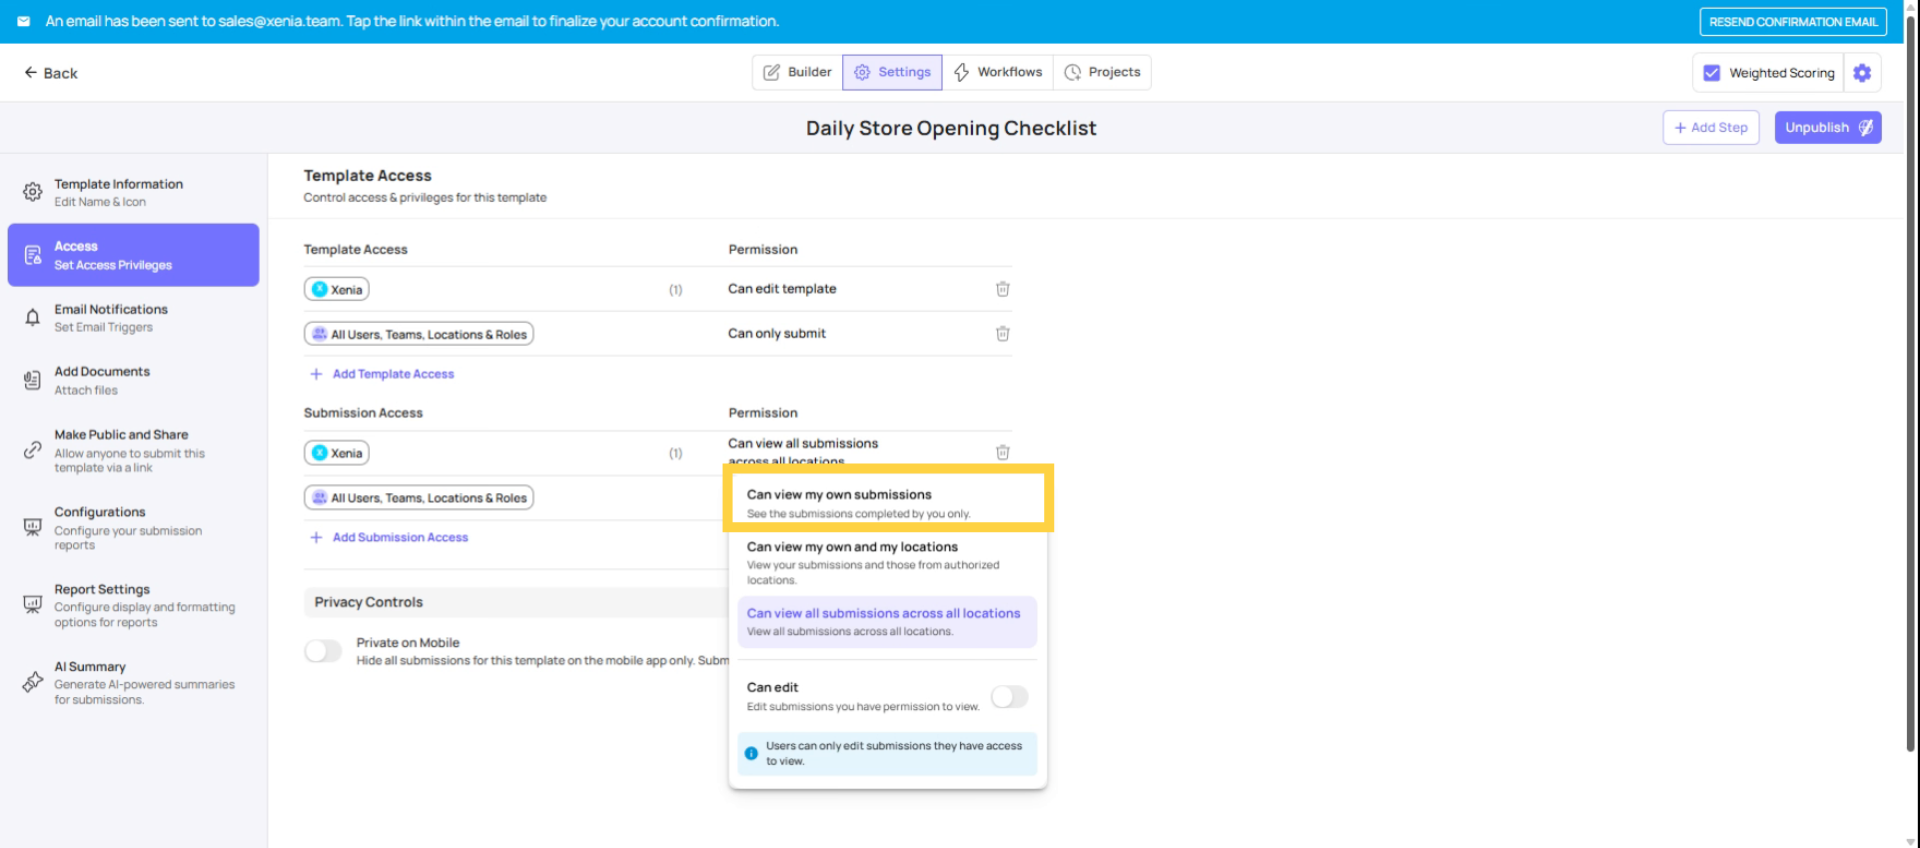
Tier 1: View Own Submissions Only
Tier 1: View Own Submissions Only
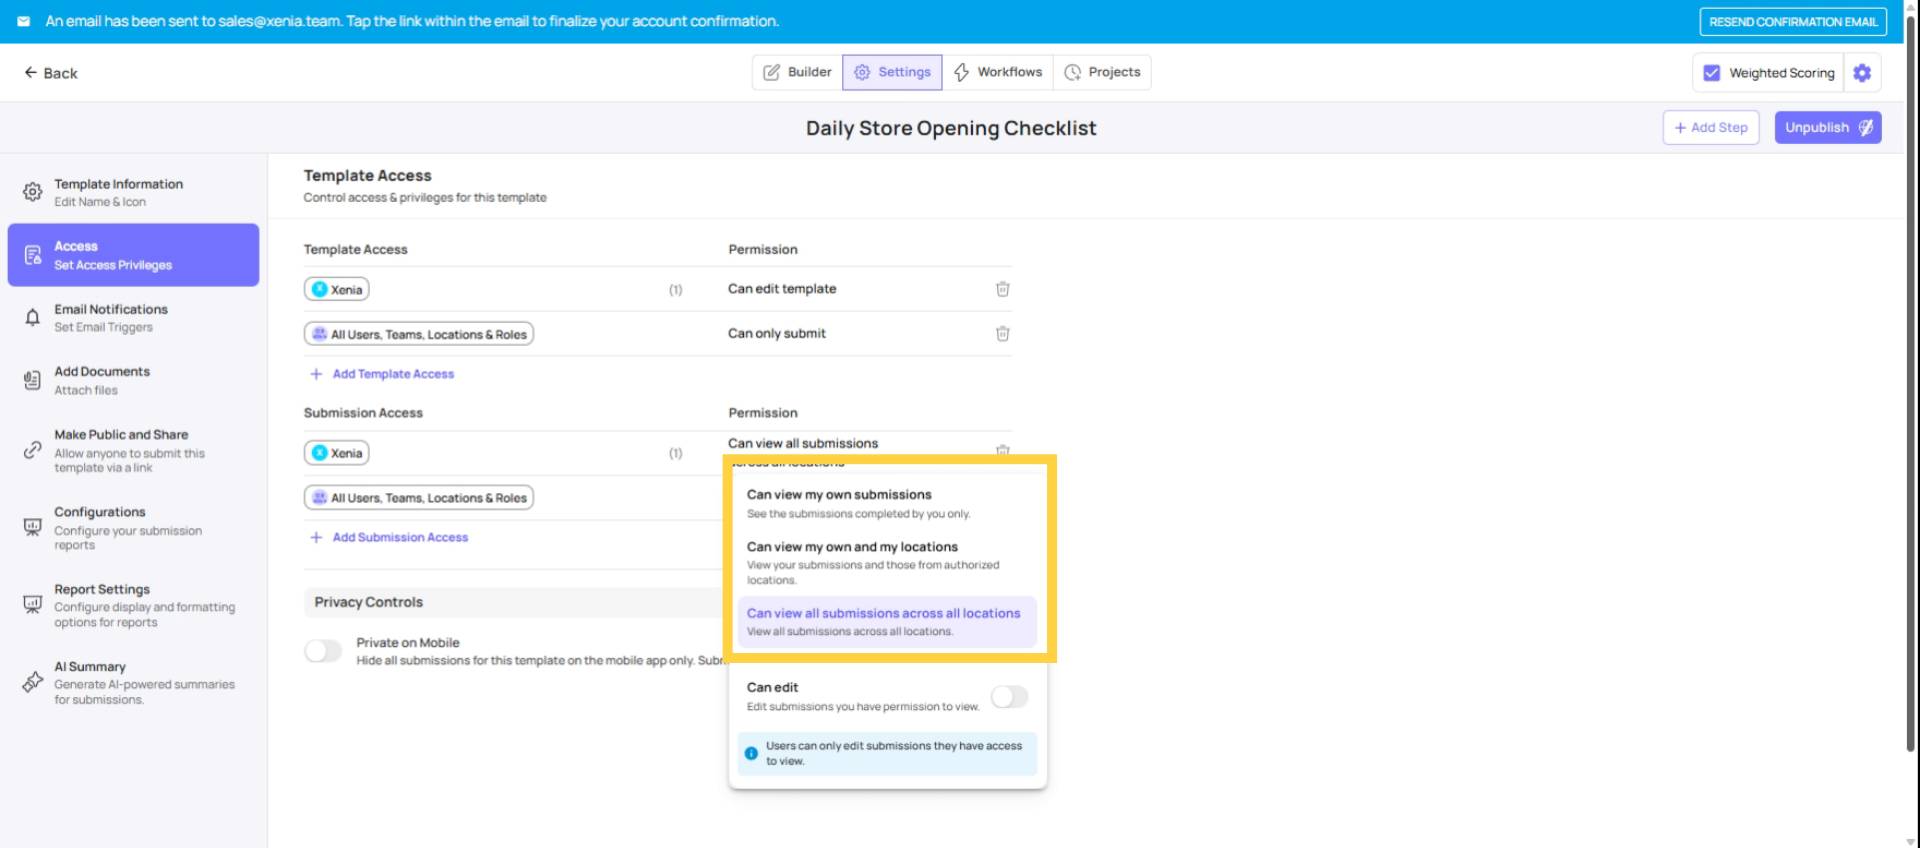
What it shows: Only the submissions this specific user completed themselves. Nothing from teammates, nothing from other locations — just their own history.
How it works technically: Xenia filters submissions to show only those where this user is the submitter. Location membership has no effect on this tier.
When to use it:
- For frontline employees completing checklists assigned to their position
- For any role where individual accountability matters but team visibility doesn't
- For submitters of sensitive forms (e.g., an employee submitting their own self-assessment) who should only see their own
Real example: A cook is assigned to complete a daily food safety log. With Tier 1 set on the cook role, they can submit the log and see their own submissions. They cannot see the submissions from the cook on the previous shift, from other locations, or from any other role.
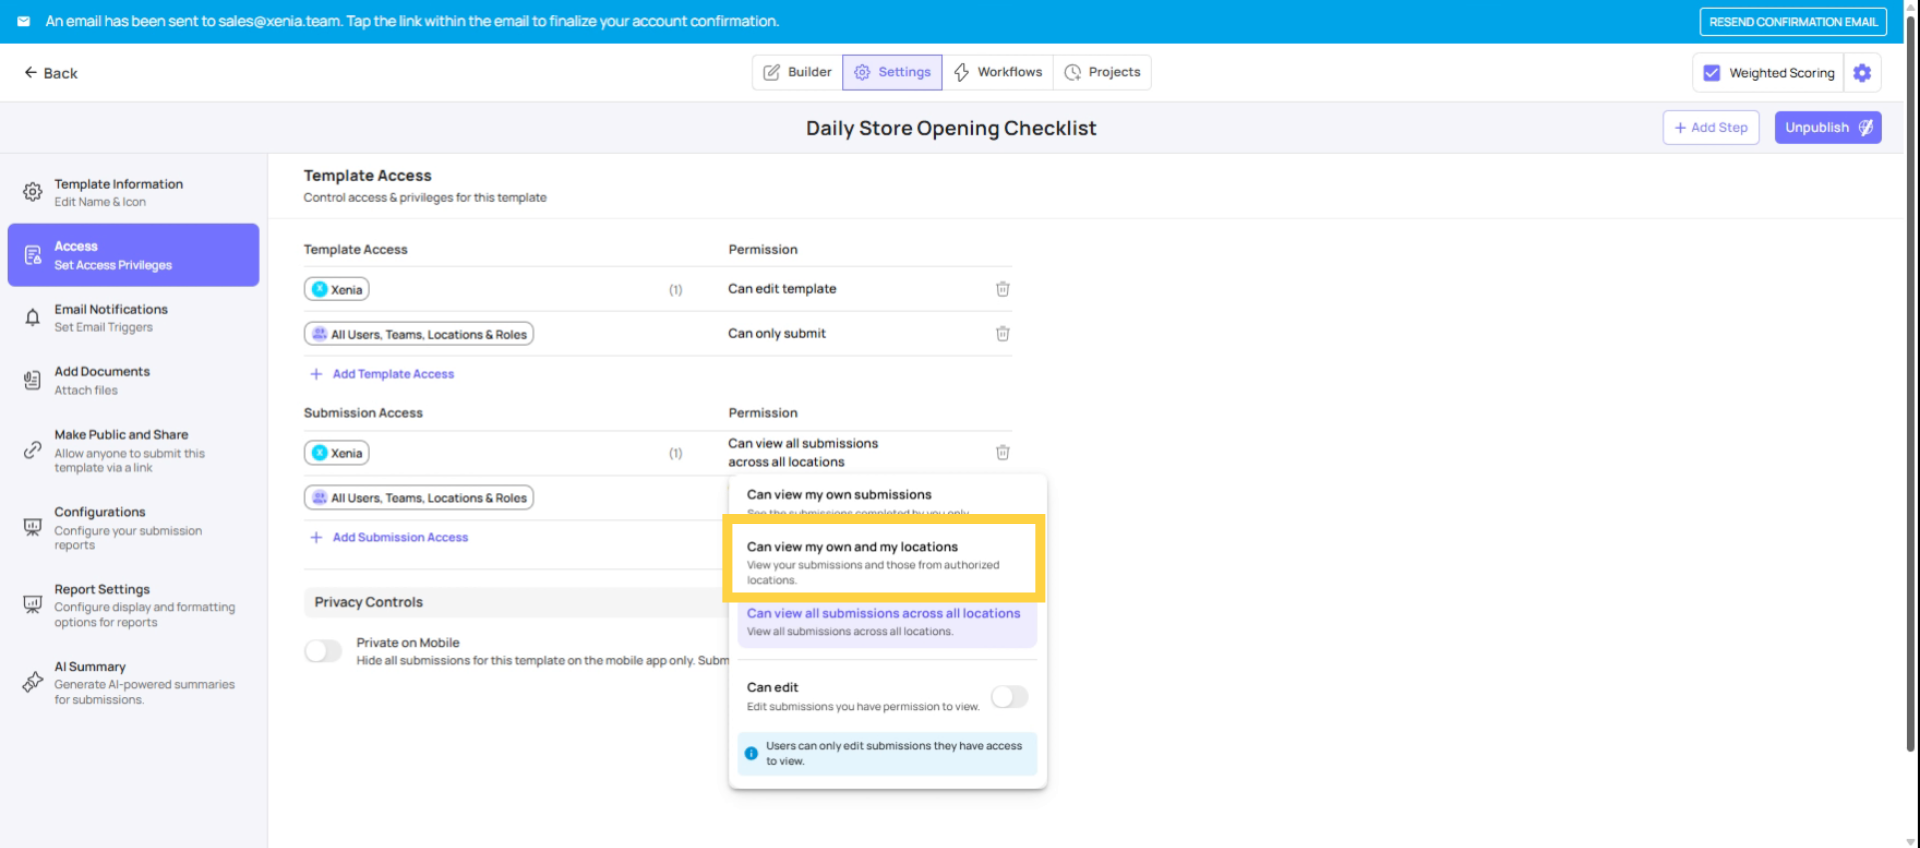
Tier 2: View Own Submissions + Submissions at Their Locations
Tier 2: View Own Submissions + Submissions at Their Locations
What it shows: Everything the user submitted themselves, plus all other submissions for this template where the tagged location matches one of the user's member locations.
How it works technically: Xenia looks at the "tag location" field on each submission (which comes from the Select Location step in the template) and compares it against this user's location membership. If the submission's location is one the user is a member of, they can see it — regardless of who submitted it.
When to use it:
- Store managers who need to see all submissions from their store
- District managers who need all submissions from their district's stores
- Area managers overseeing a set of locations
Location membership impact
Real example: A store manager is overseeing daily temperature logs. With Tier 2, they can see:
- Their own temperature log submissions
- All temperature log submissions from their store (Store 5), regardless of who submitted them
They cannot see:
- Temperature log submissions from Store 6 (a different store they have no membership to)
The select location step requirement (critical): For Tier 2 to work, the template must include a "Select Location" step (or a Location field type). Without it, submissions aren't tagged to any location, and the "at their locations" filter has nothing to match against. All submissions become invisible to the user under Tier 2 — they'll only see their own submissions, effectively behaving like Tier 1.
If you set Tier 2 for a role and they still can't see other users' submissions, check the template for a Location step first.

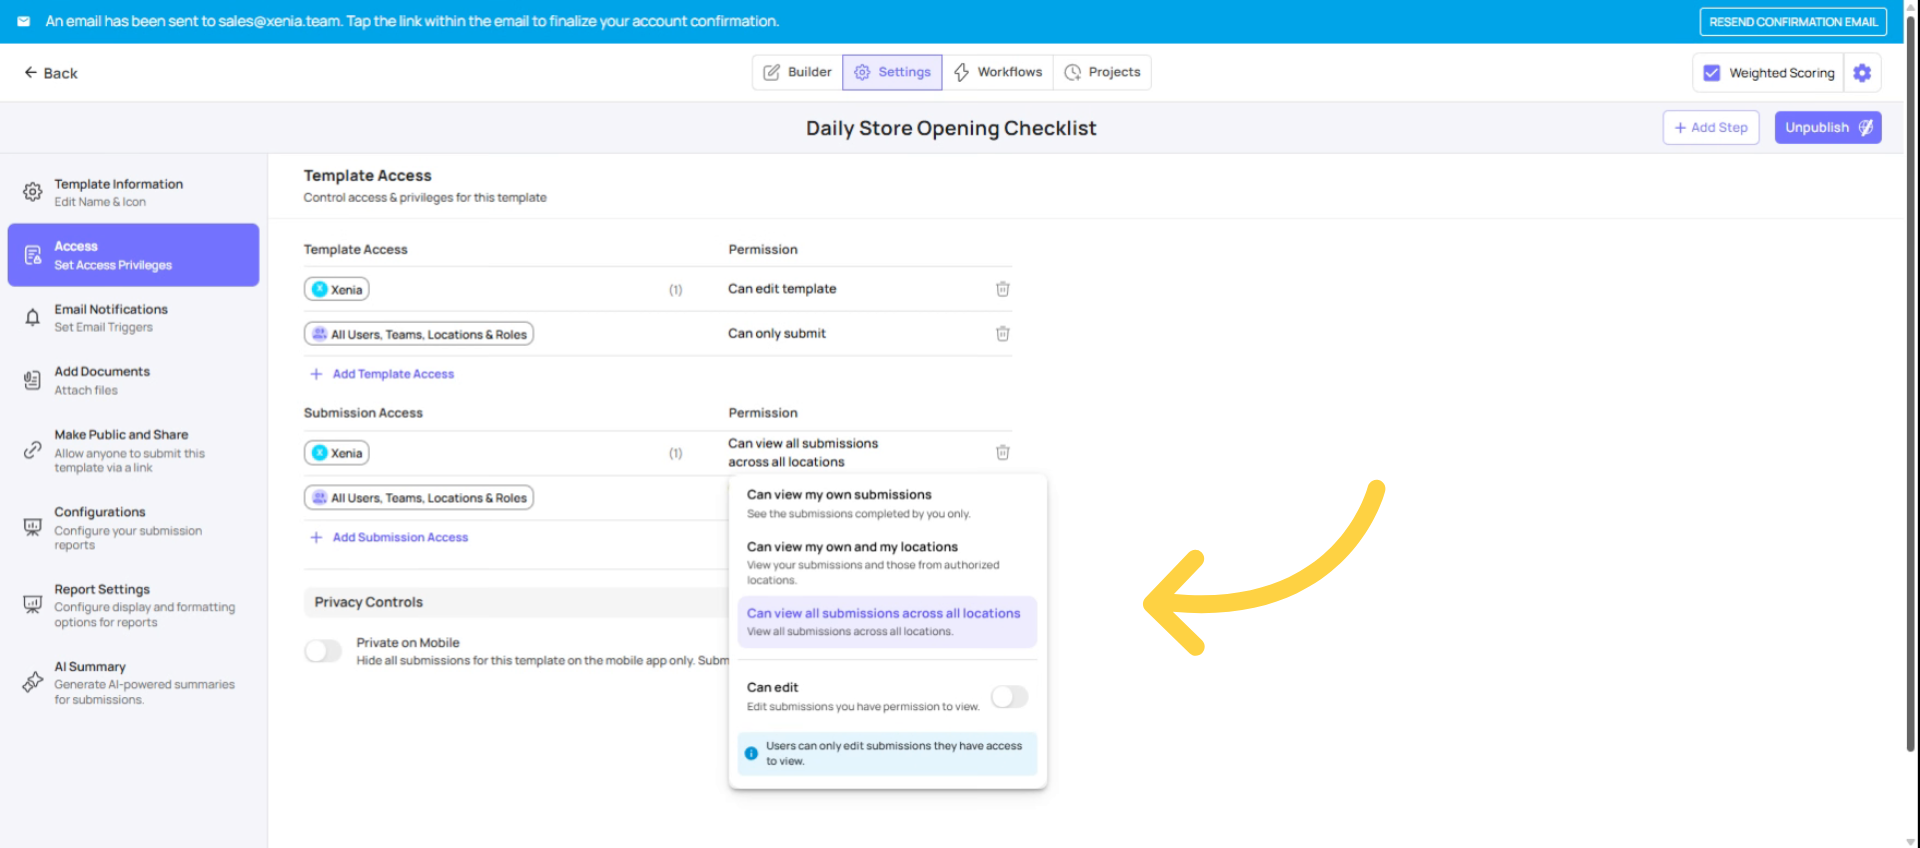
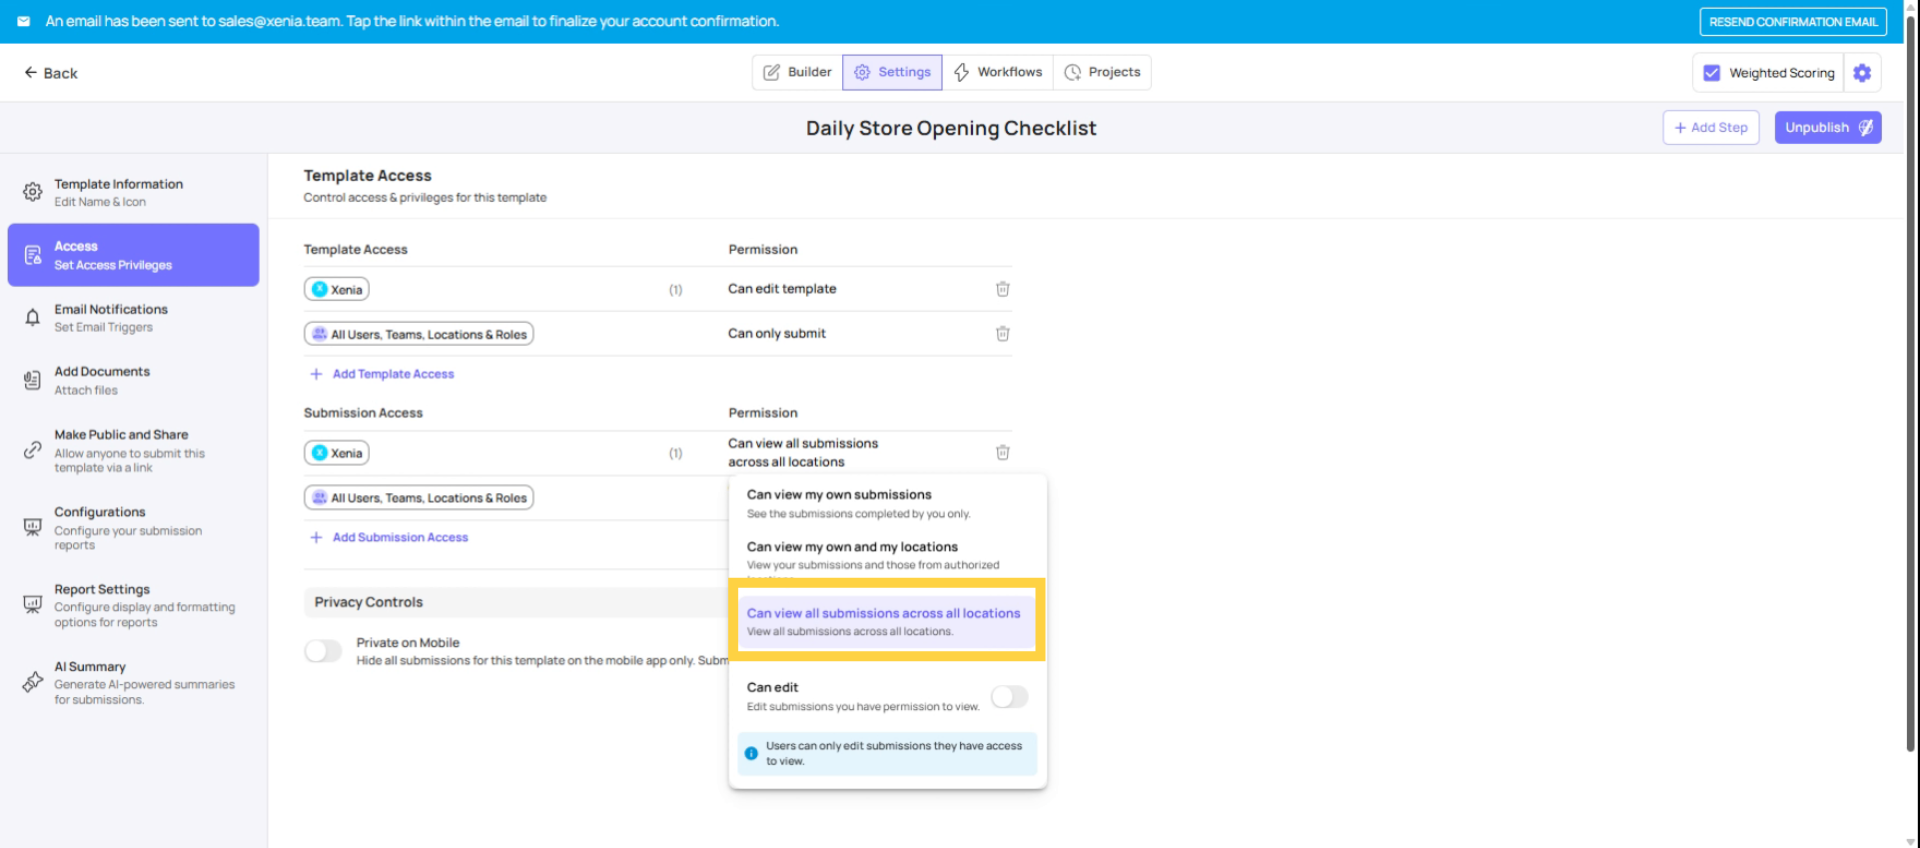
Tier 3: View All Submissions
Tier 3: View All Submissions
What it shows: Every submission for this template across the entire workspace — all users, all locations, regardless of the viewer's location membership.
How it works technically: Xenia applies no location-based filtering. If you have access to the template (via Can Submit or Can Edit), you see all submissions for it.
When to use it:
- HR Managers reviewing performance notices across all locations
- QA/Compliance Officers reviewing audit data for the whole org
- Admin/Owner roles who need full visibility
- Corporate-level reporting roles who aggregate data across all regions
Warning: Be intentional about which roles get Tier 3. If a district manager accidentally gets Tier 3 on a performance notice template, they can see submissions from every other district — not just theirs. Tier 3 genuinely means everything.
Real example: An HR Manager is reviewing disciplinary counseling submissions. With Tier 3, they see every submission from every location in the workspace. They can filter, search, and download as needed for HR records.
Assign Tiers by Role
Configuring Tiers for Different Roles on the Same Template
You can set a different tier for every role on the same template. This is normal and expected. A single template often needs:
- Frontline roles → Tier 1
- Store Managers → Tier 2
- District Managers → Tier 2 (scoped to their district via location membership)
- Admin/HR → Tier 3
Configuration path: Operations → Templates → [Template Name] → Settings → Access → Submission Access → set the tier per role.
Need Help?
Reach out to our support team at support@xenia.team
Comments
0 comments
Please sign in to leave a comment.