Introduction to Adding Users
There are two entry points for managing which users belong to which locations:
Path A — From the User (User-centric): Go to the user's profile and add/edit their location assignments. Best when you're onboarding a new person and setting them up completely.
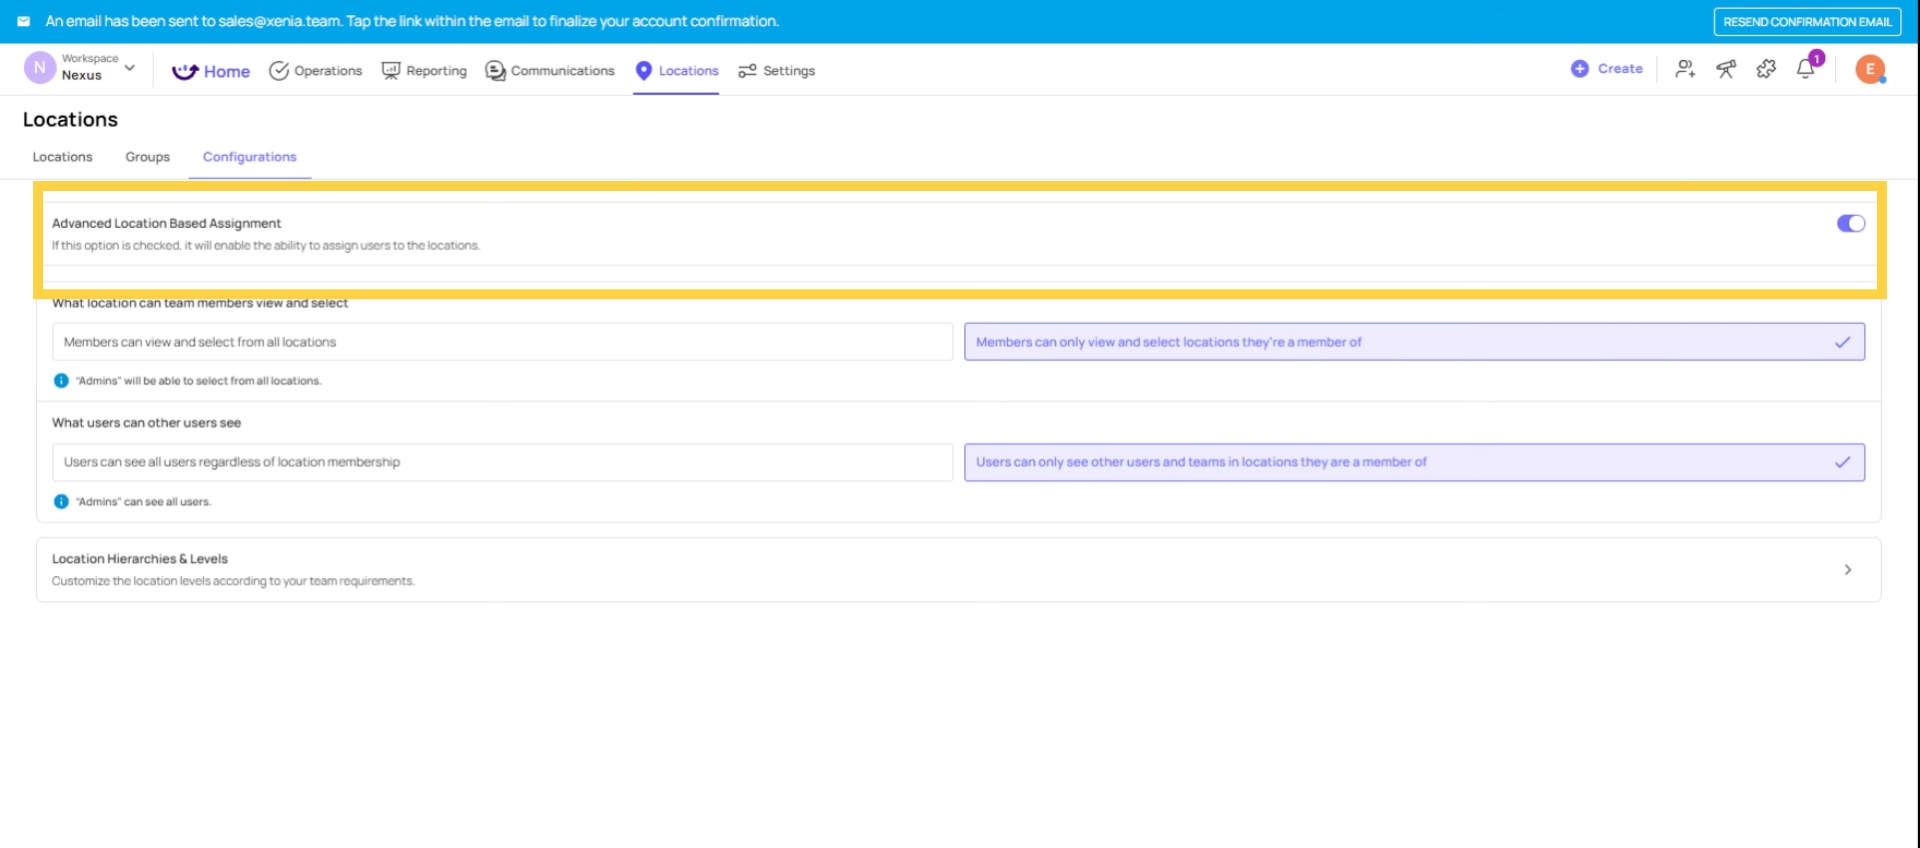
Path B — From the Location (Location-centric): Go to a location and manage which users are members of it. Best when you're setting up a new location and want to see who belongs there. (Note: this path is only available when Advanced Location Logic is enabled.)
Both paths achieve the same result — they update the same underlying membership. Use whichever is more natural for your current task.
Invite New User and Assign Location
When inviting a new user:
- Go to Settings → Users, Teams & Roles → Users tab
- Click Add User or Invite
- Fill in name, email, and role
- In the Location Membership field, click to open the location picker
- Select one or more locations from the hierarchy
Click Send Invite — the user is created with membership to the selected locations
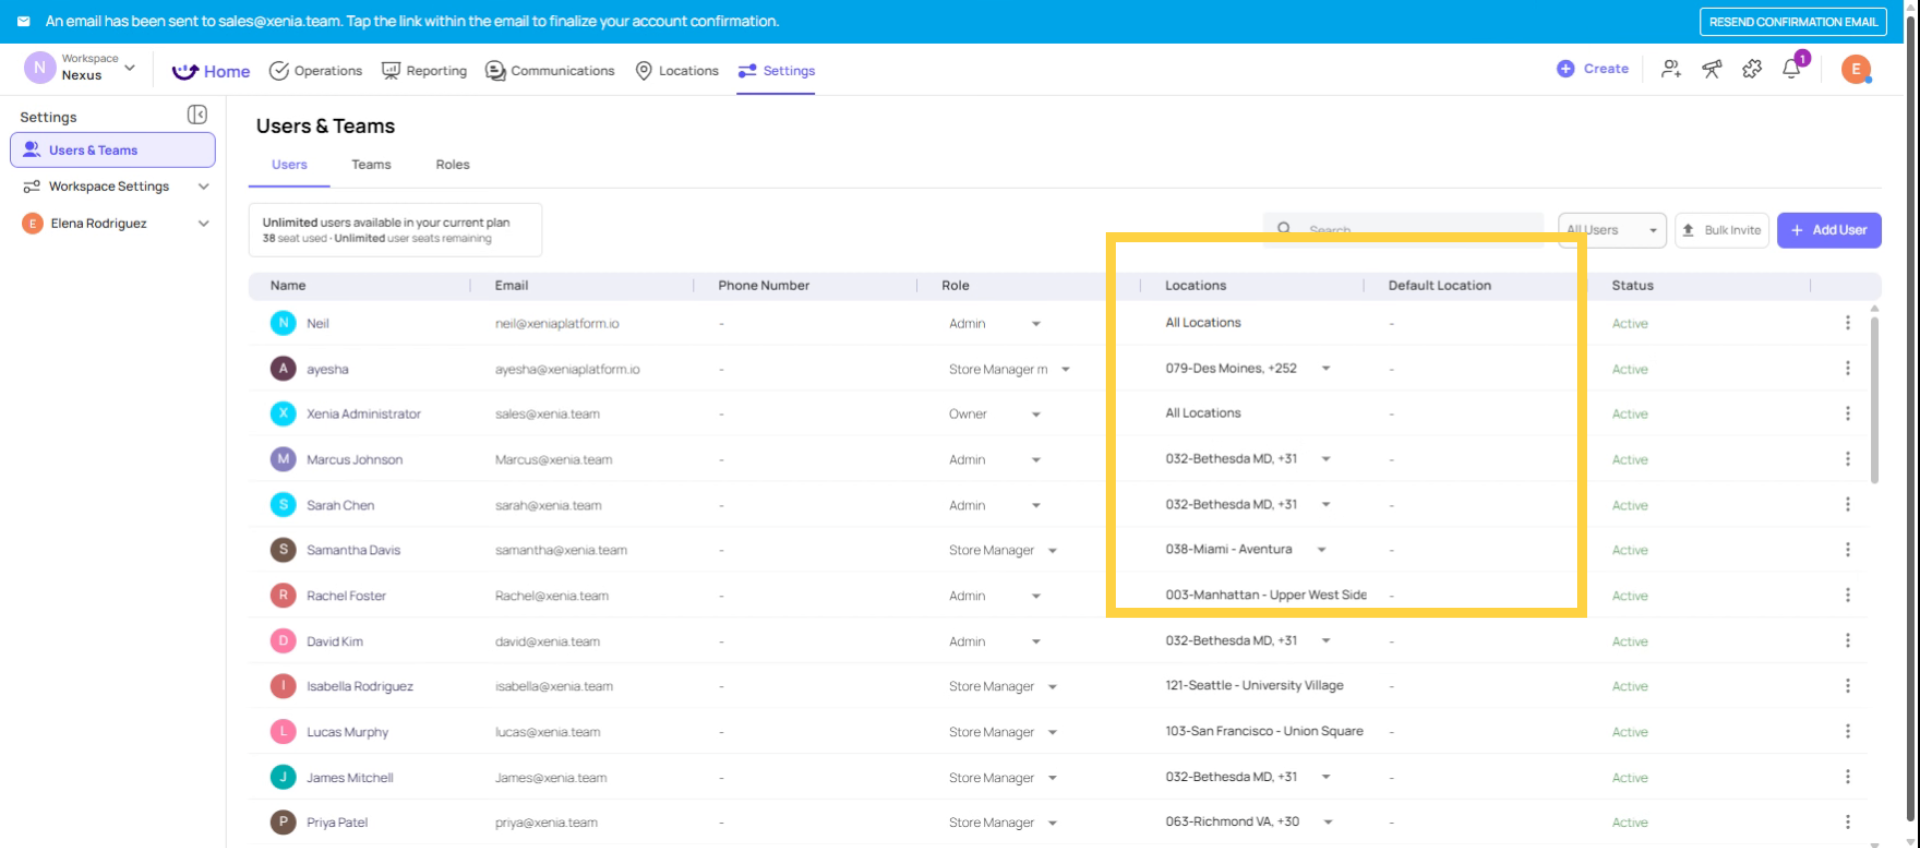
Assign Location for Existing user
For existing users:
- Settings → Users → find the user
- Click the three dots (⋯) → Update
- Scroll to the Location Membership section
- Add or remove locations as needed
- Click Update to save
Changes take effect immediately — no logout required.
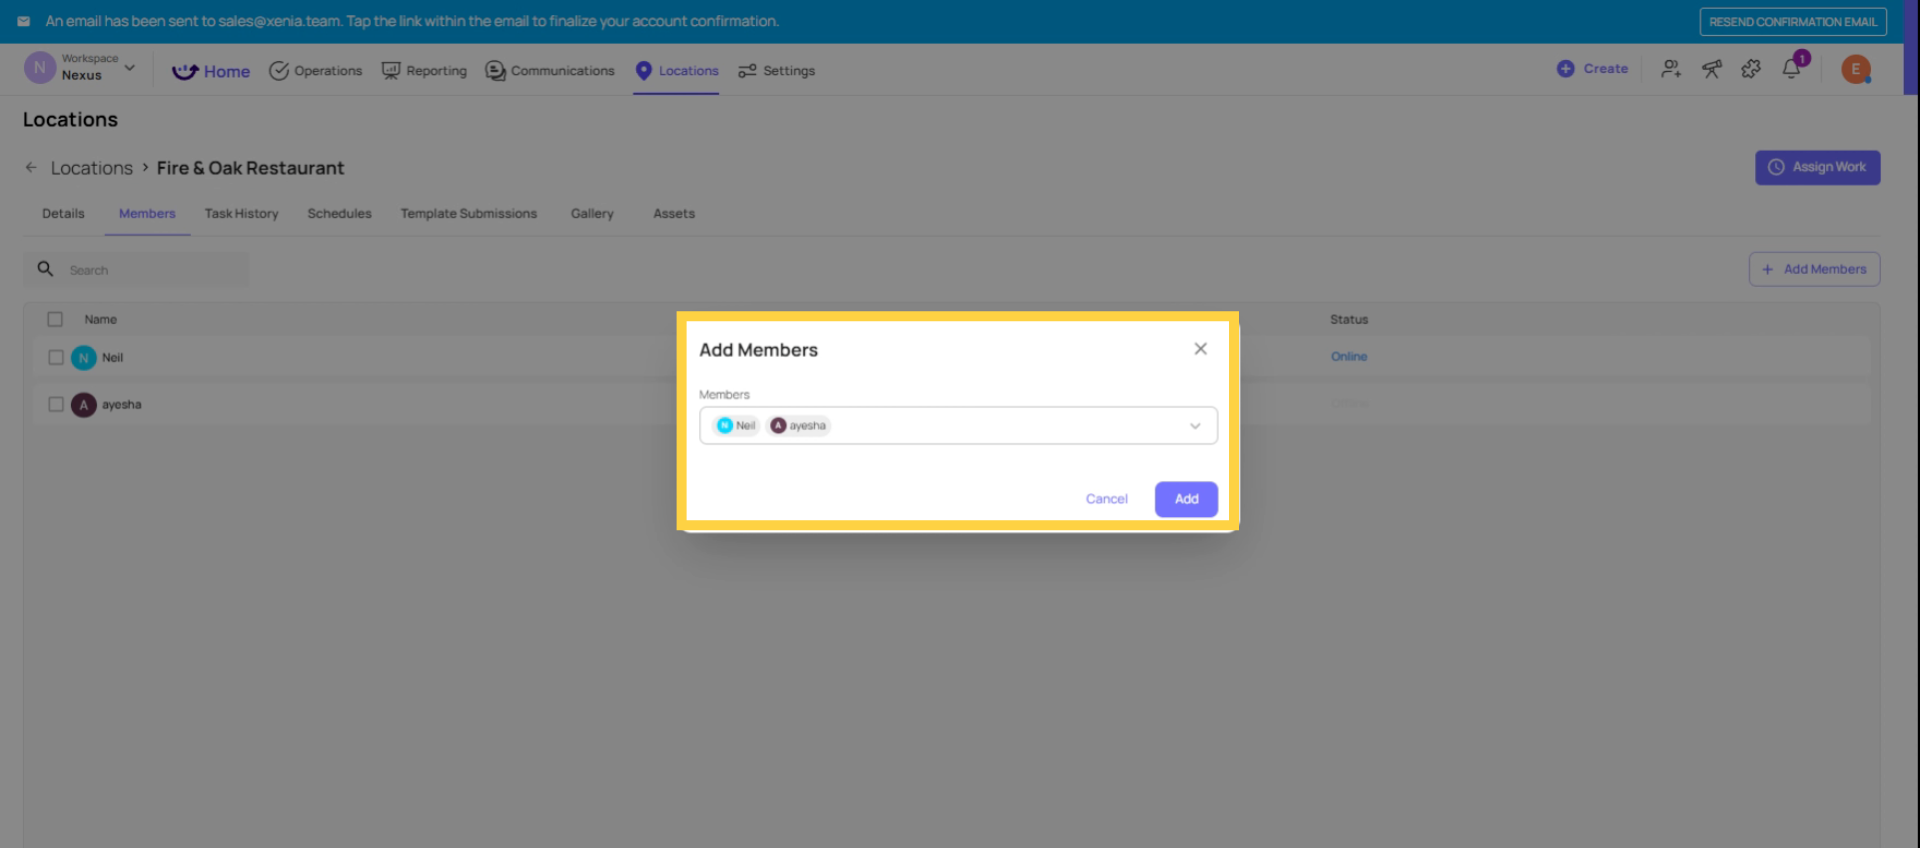
Use Advanced Location Logic Feature to Add Members/Users
When Advanced Location Logic is enabled, each location has a Members view:
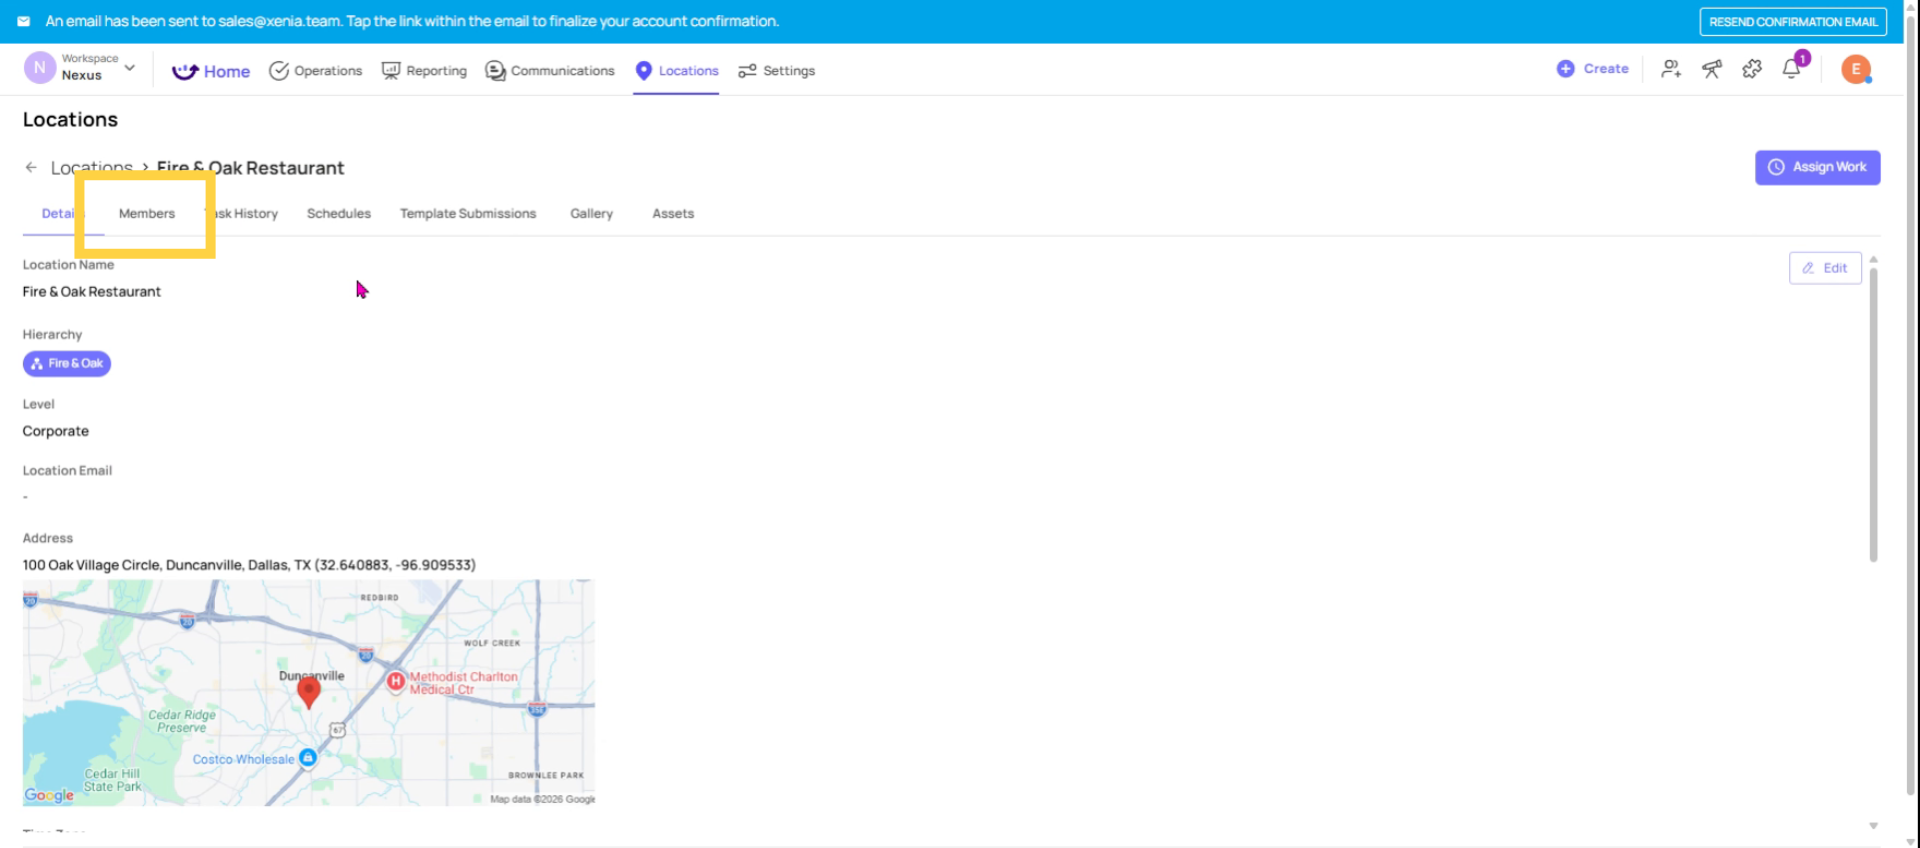
- Go to Locations tab
- Click on a specific location
- Find the Members section
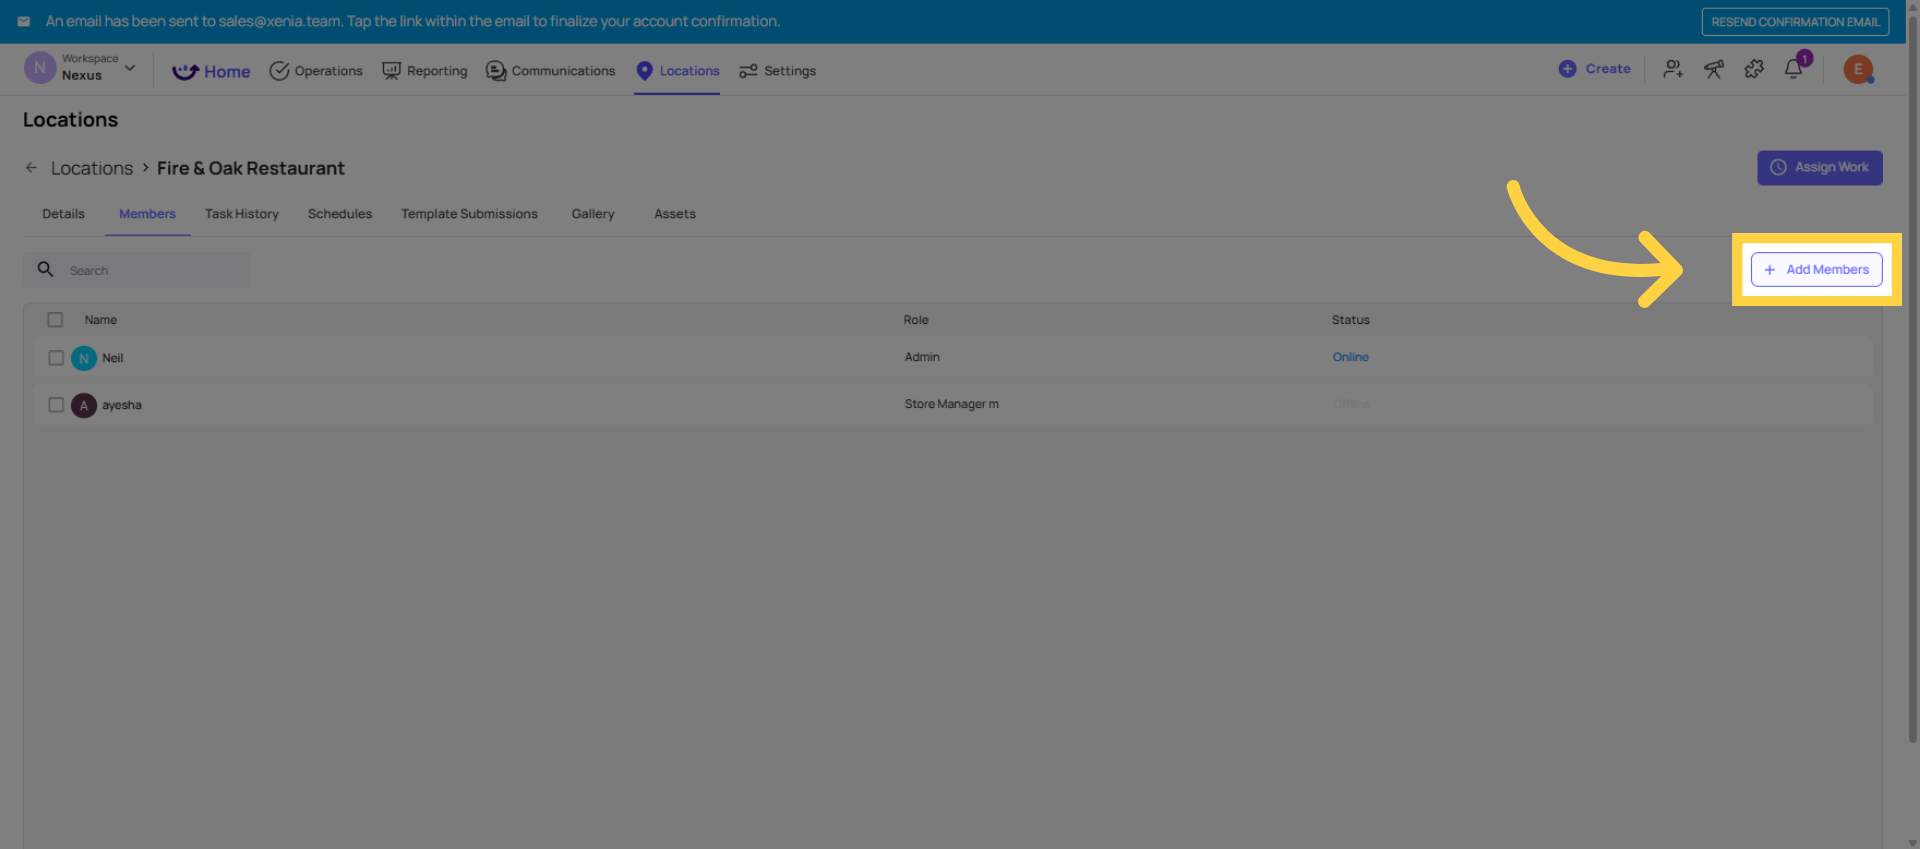
- Click Add Member
- Search for and select the users to add to this location
- Save
This is particularly useful when setting up a new store — you can see the full picture of who belongs there and add everyone at once from a single screen.

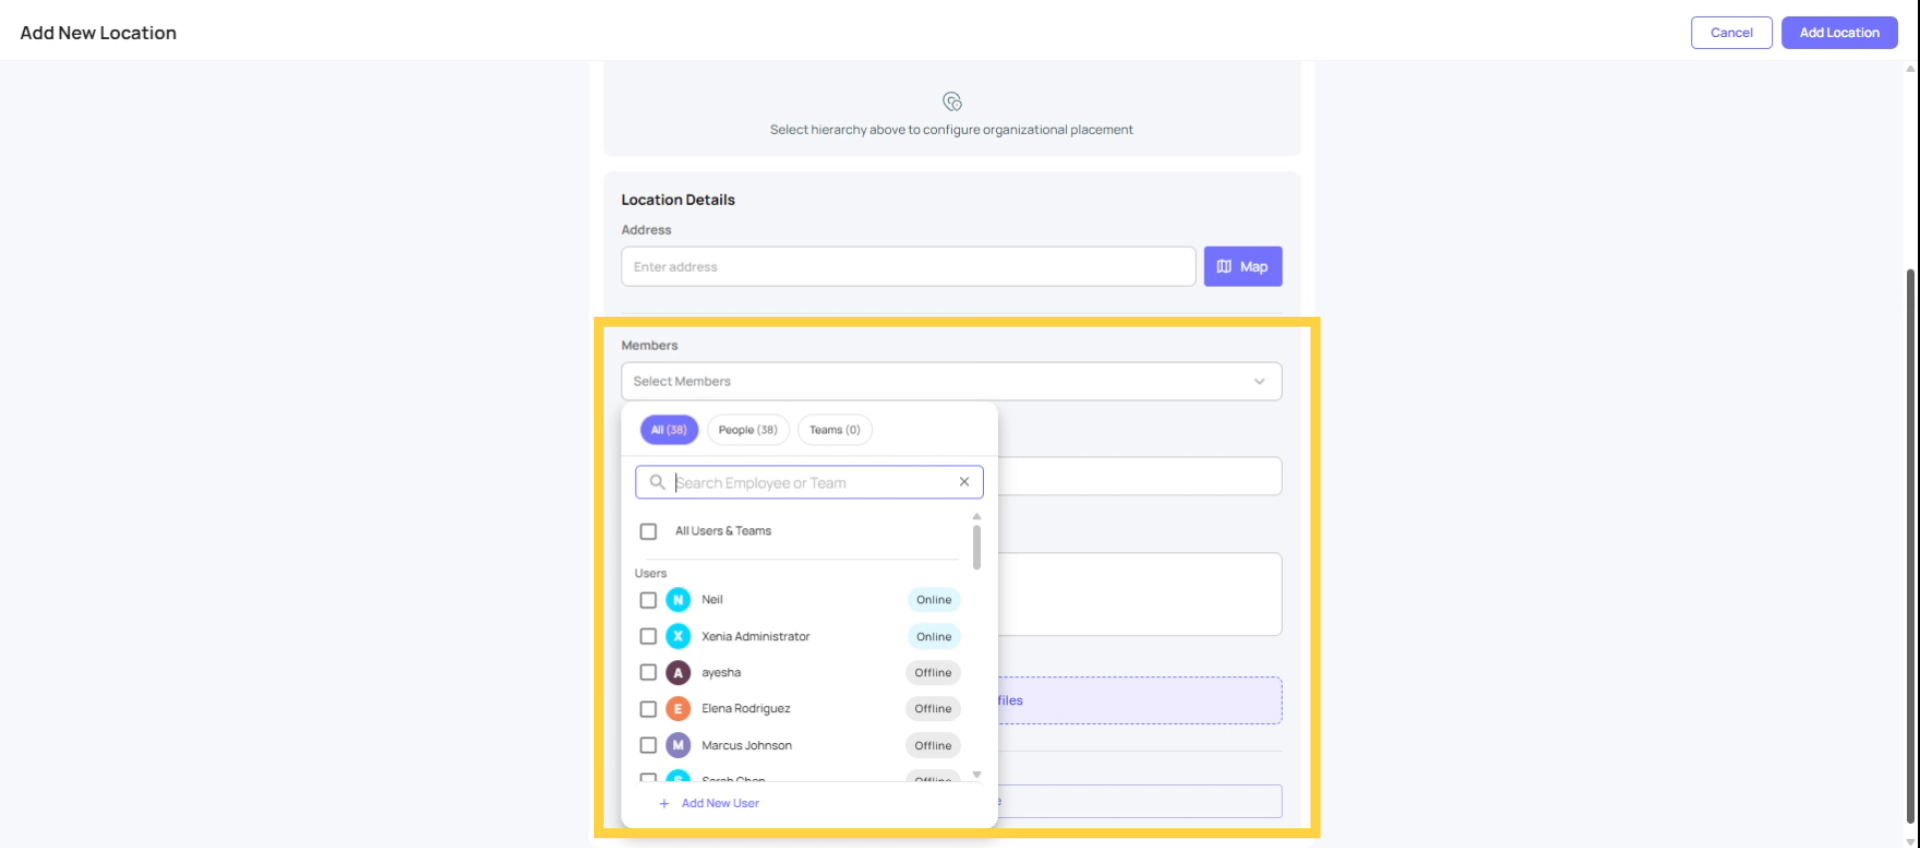
Add Users/Members via Adding New Location
What Happens If a User Has No Location Membership
A user with no location membership will:
- Log in and see no tasks (unless their role has "View all tasks" which bypasses location filtering)
- See empty or near-empty dashboards
- Be unable to select a location when submitting ad hoc checklists
- Not receive role-based project tasks (since tasks are matched to users who have that role at that location)
This article explains how to add and manage user location memberships in Xenia, ensuring users have access to the correct locations. For more information, see related articles on user management and location settings.
Need Help?
Reach out to us at Support@xenia.team
Comments
0 comments
Please sign in to leave a comment.