1. Introduction to Checklist Building
Before You Build — Understand What Templates Are
- In Xenia, a Template is the checklist itself — the questions, steps, and structure
- A Project is what deploys the template to your team on a schedule (covered in the next article)
- You always build the template first, then deploy it via a project
- Templates live in Operations → Templates — think of it as your filing cabinet for all checklists, forms, logs, and SOPs
- Templates can be used standalone (ad hoc) or attached to a recurring project
2. Navigate to Template Creation
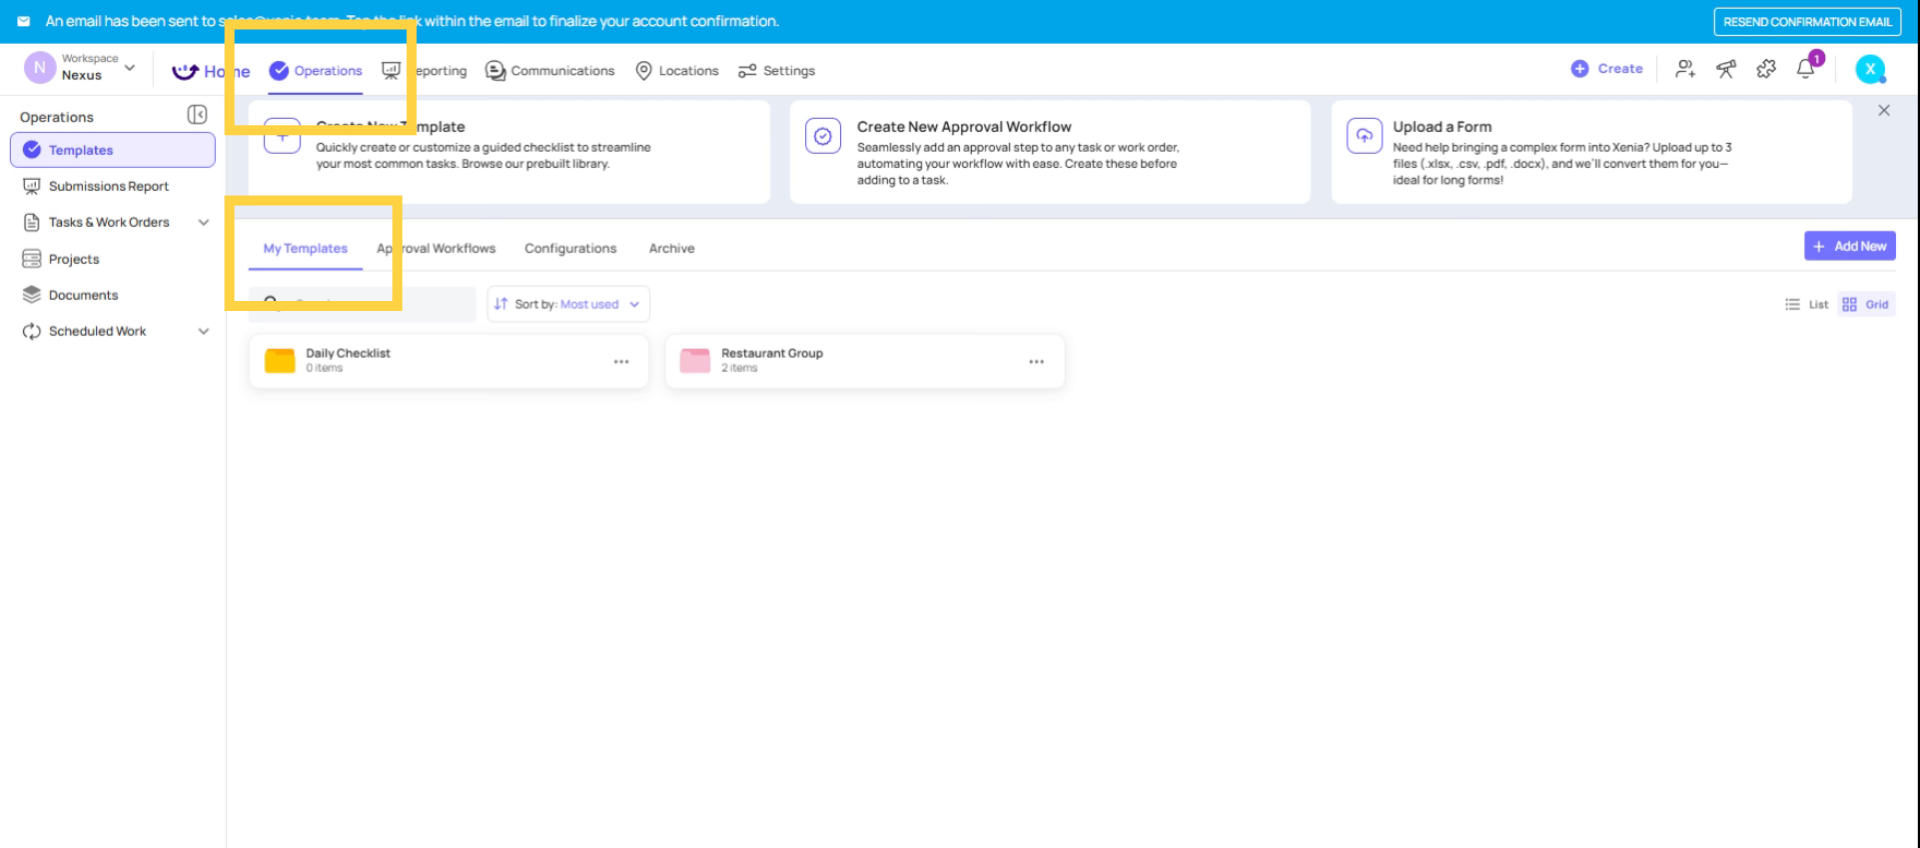
3. Click Add New Button
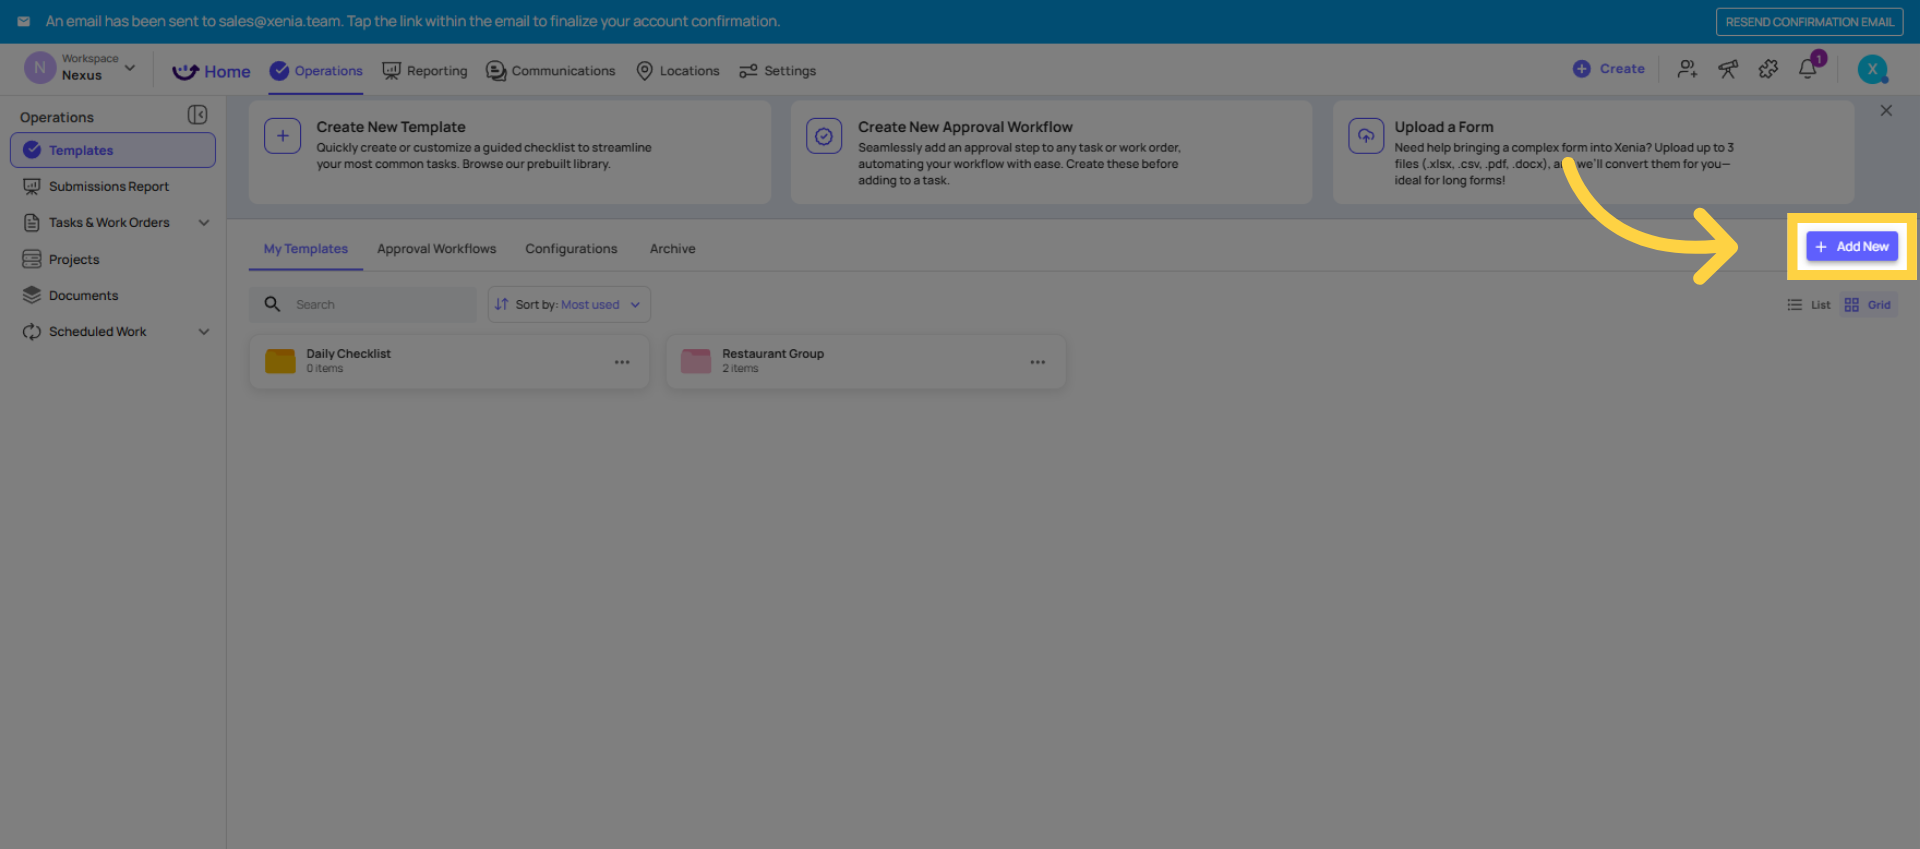
4. Select New Template Option
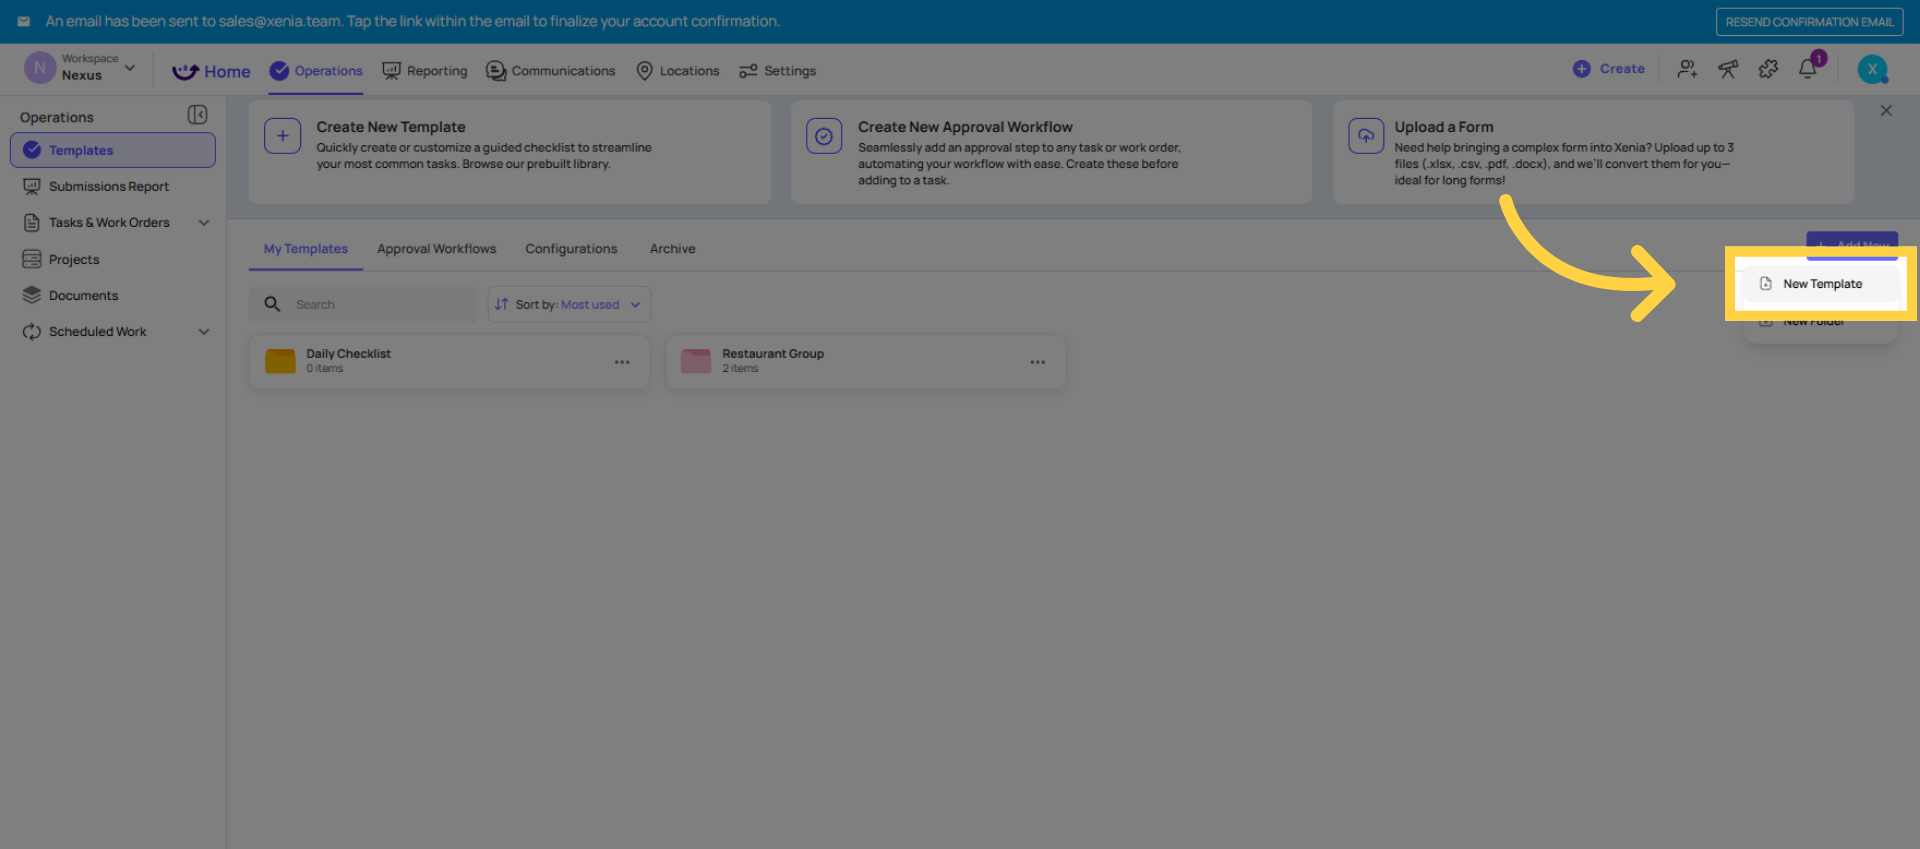
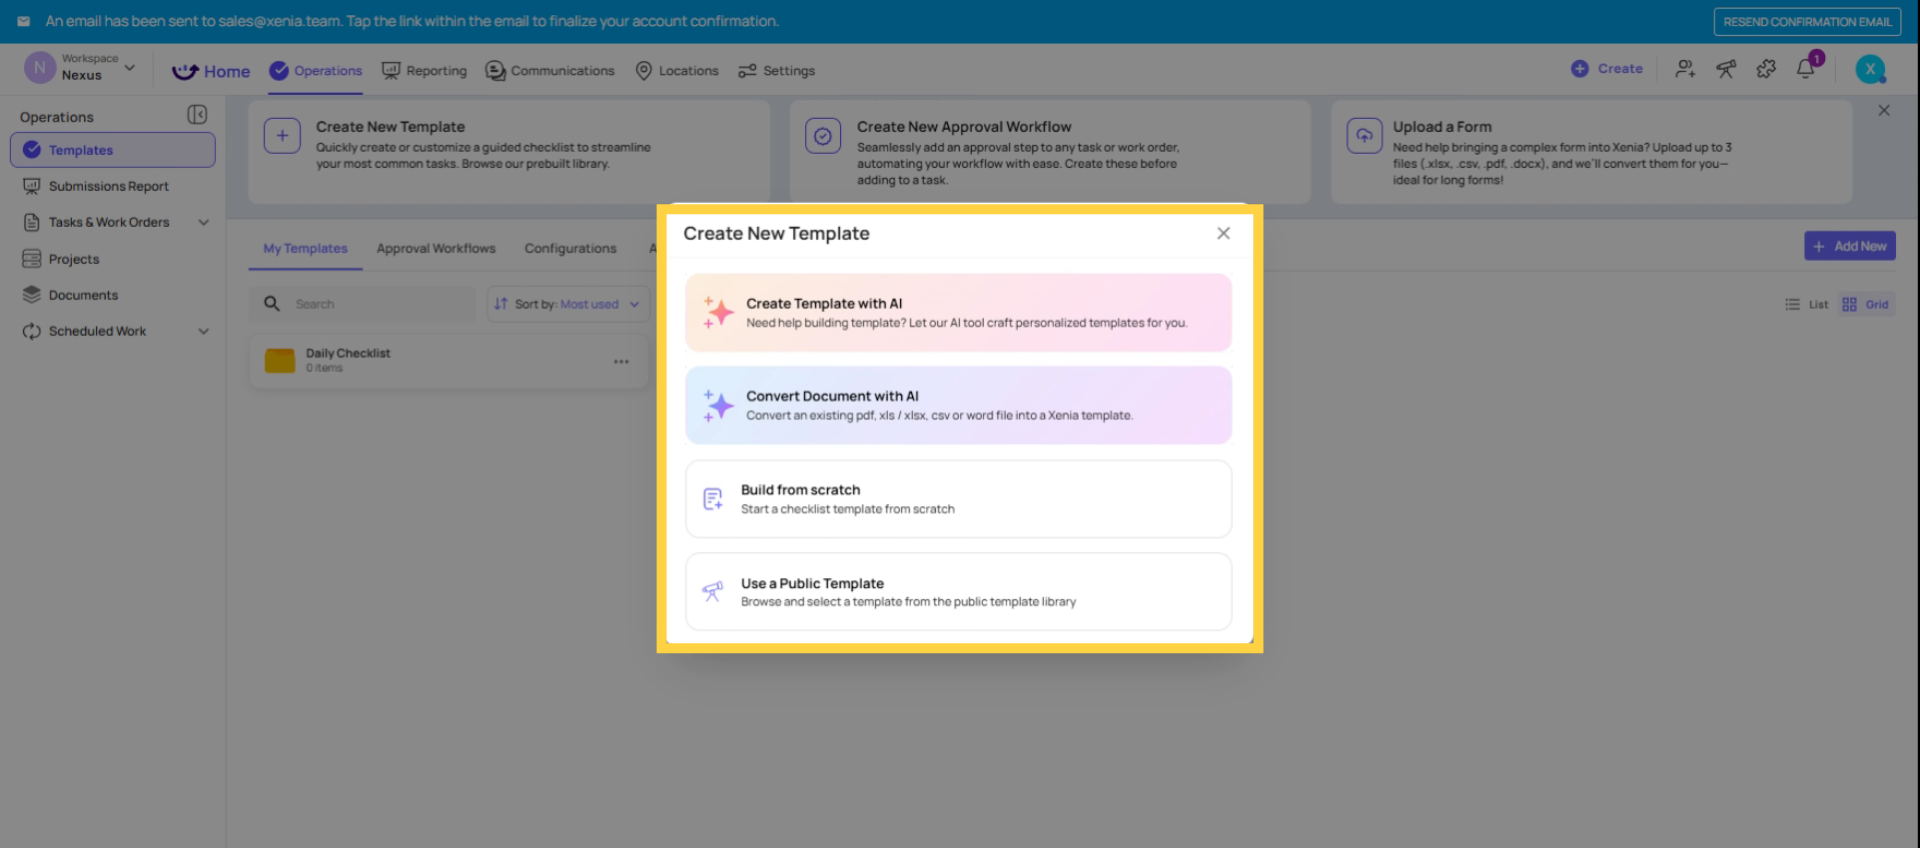
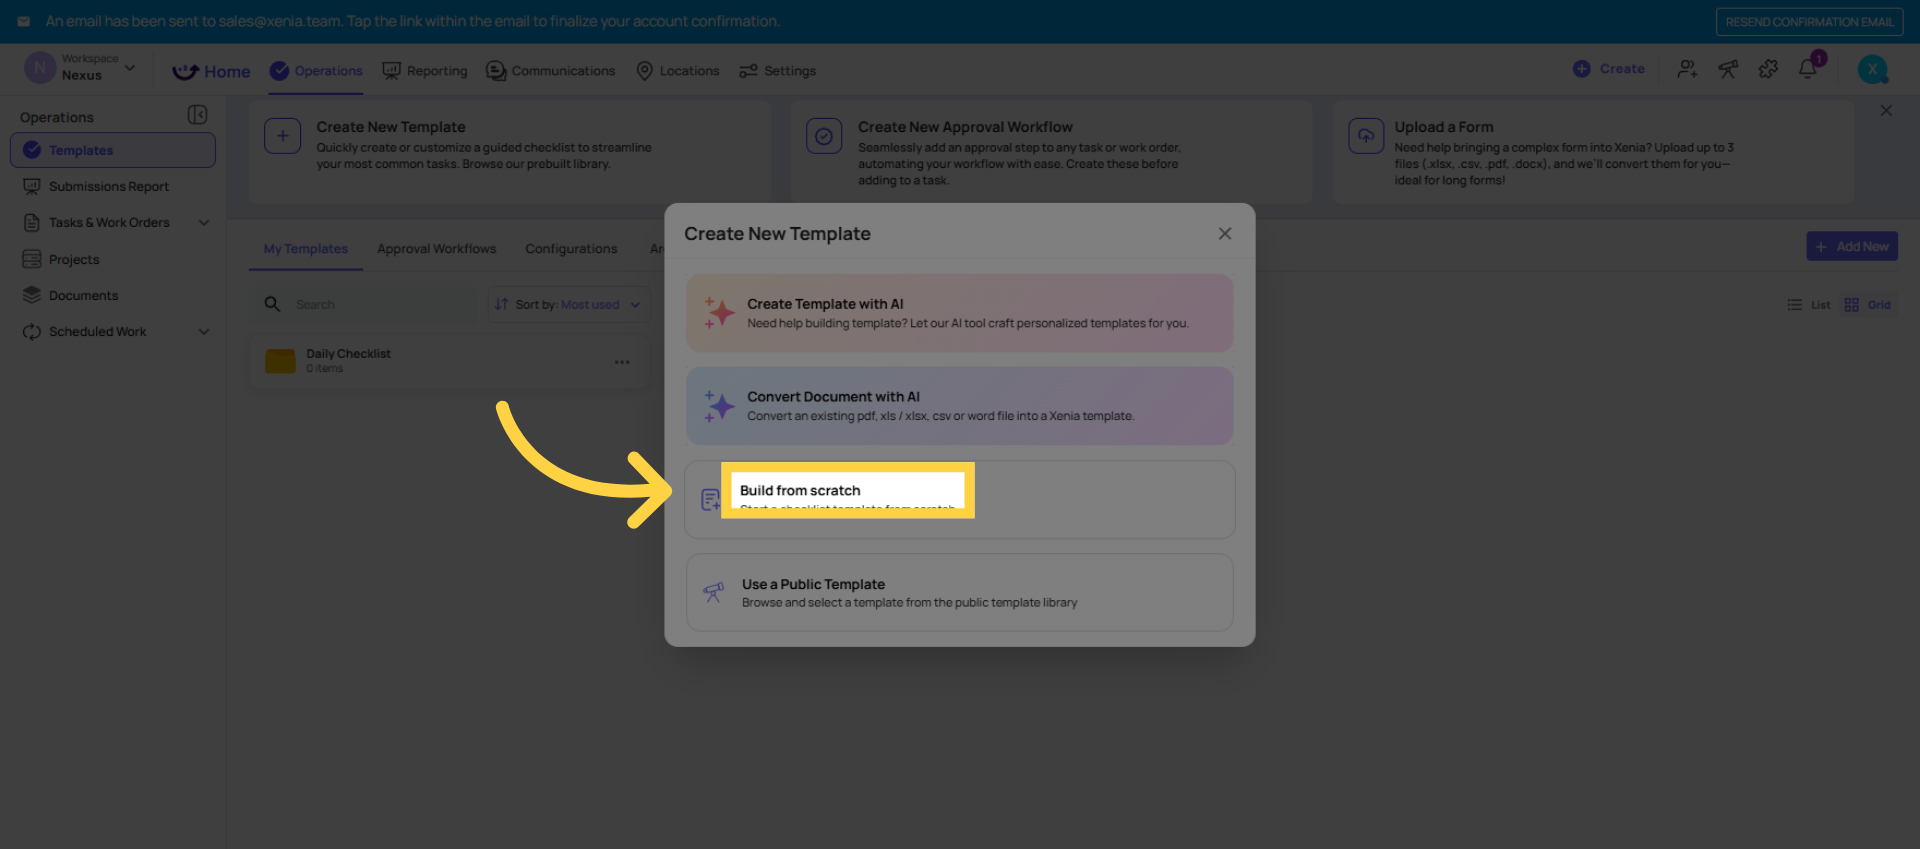
5. Review Template Creation Options
Ways to Start a Template
Option A — Build from Scratch Full control; start with a blank canvas
Option B — Use the AI Template Builder Type a prompt (e.g., "Daily restaurant opening checklist") and Xenia generates a full template for you to customize — fastest way to get started
Option C — Use the Template Library Xenia has hundreds of ready-to-use templates (checklists, SOPs, inspections, logs, surveys) — find one close to what you need, save it to your workspace, and customize from there
6. Choose Build From Scratch
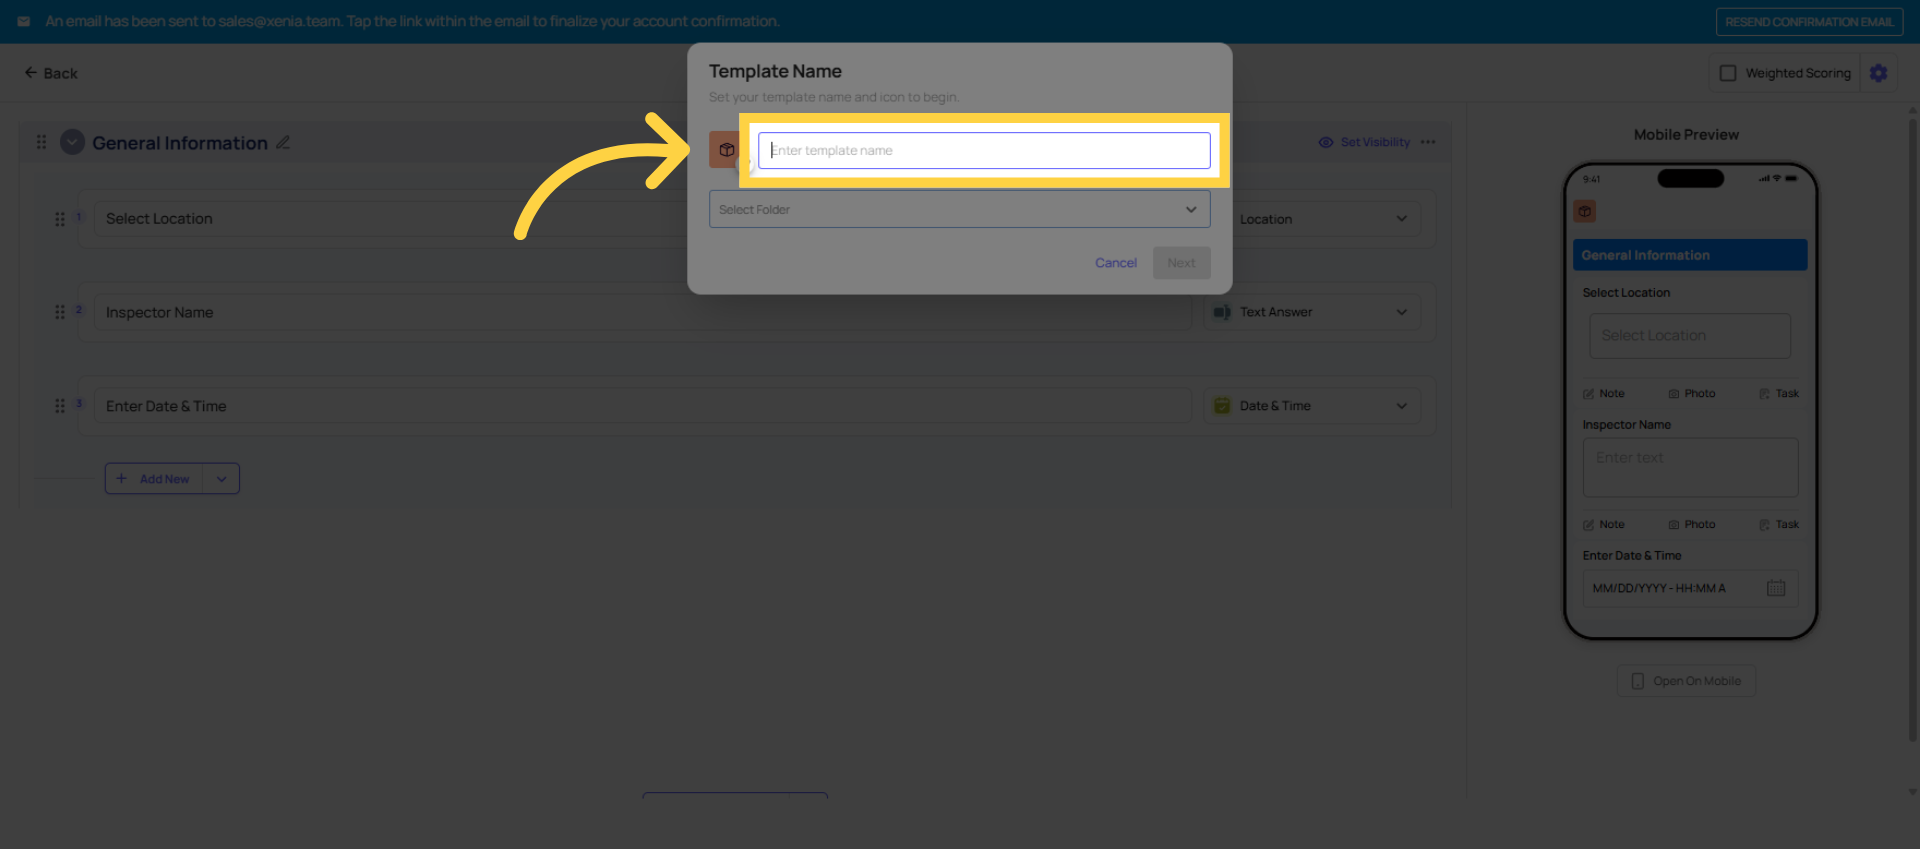
7. Enter Template Name Field
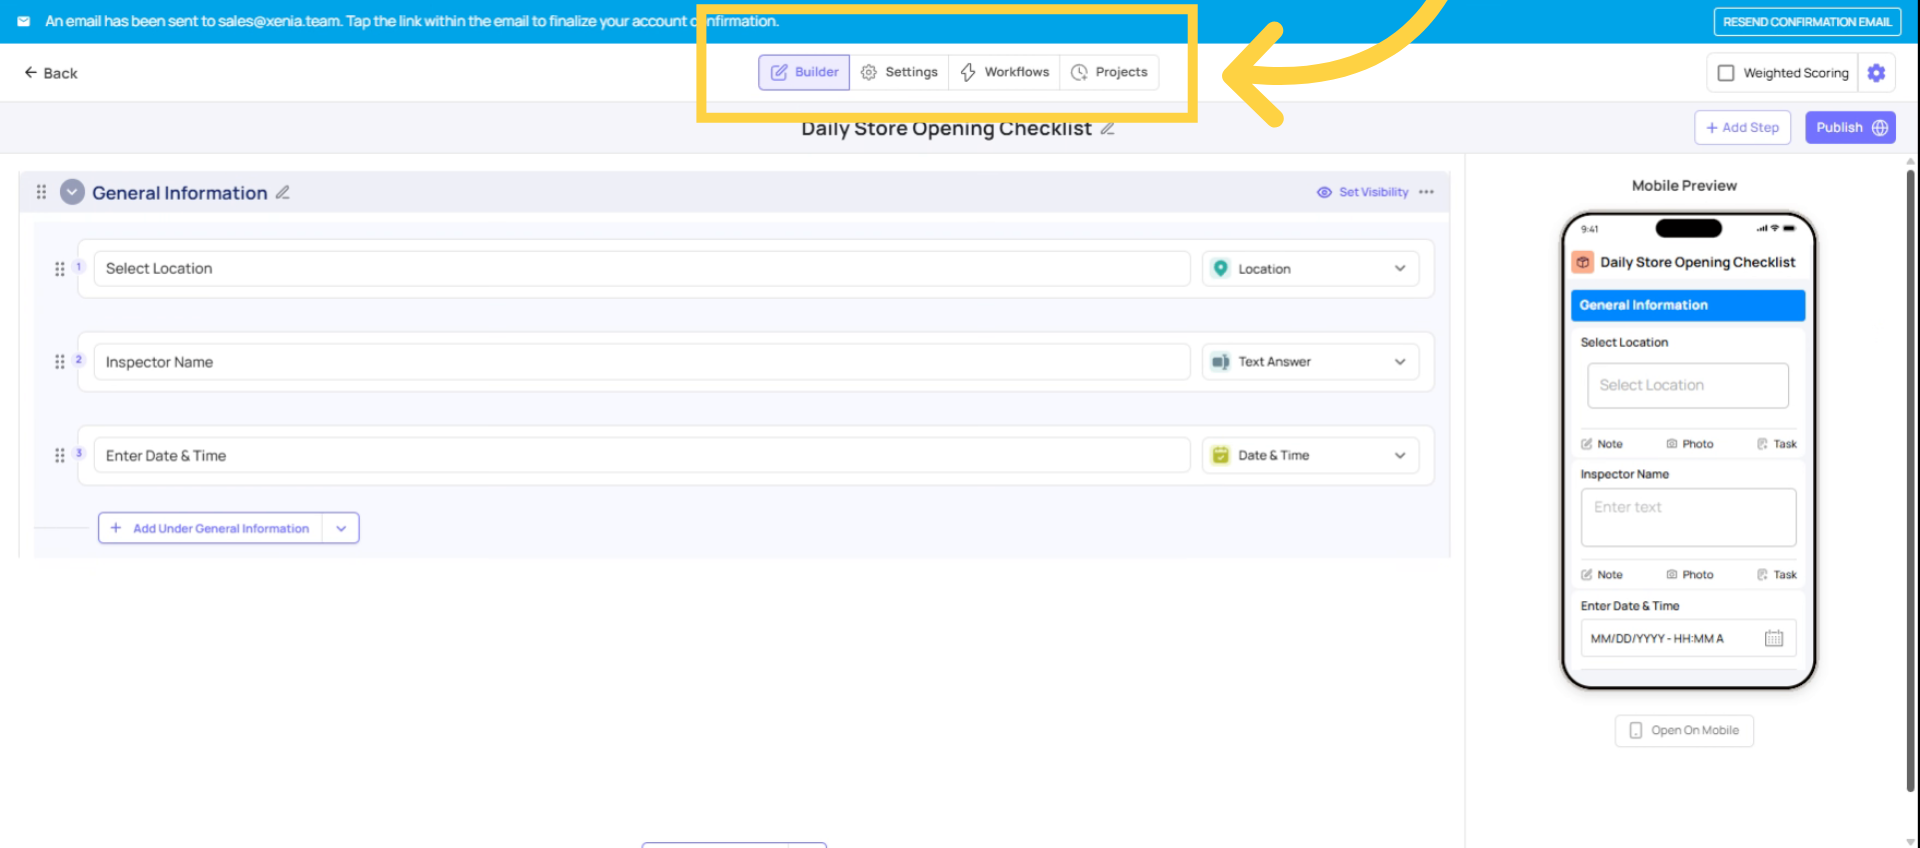
8. Template Builder Tabs and Publishing
The Template Builder — Three Tabs
When you open a template for editing, there are three tabs:
- Build — where you add/edit all your steps and sections
- Settings — where you configure access controls, submission mode, email notifications, and scoring
- Publish — where you publish the template to make it live for your team
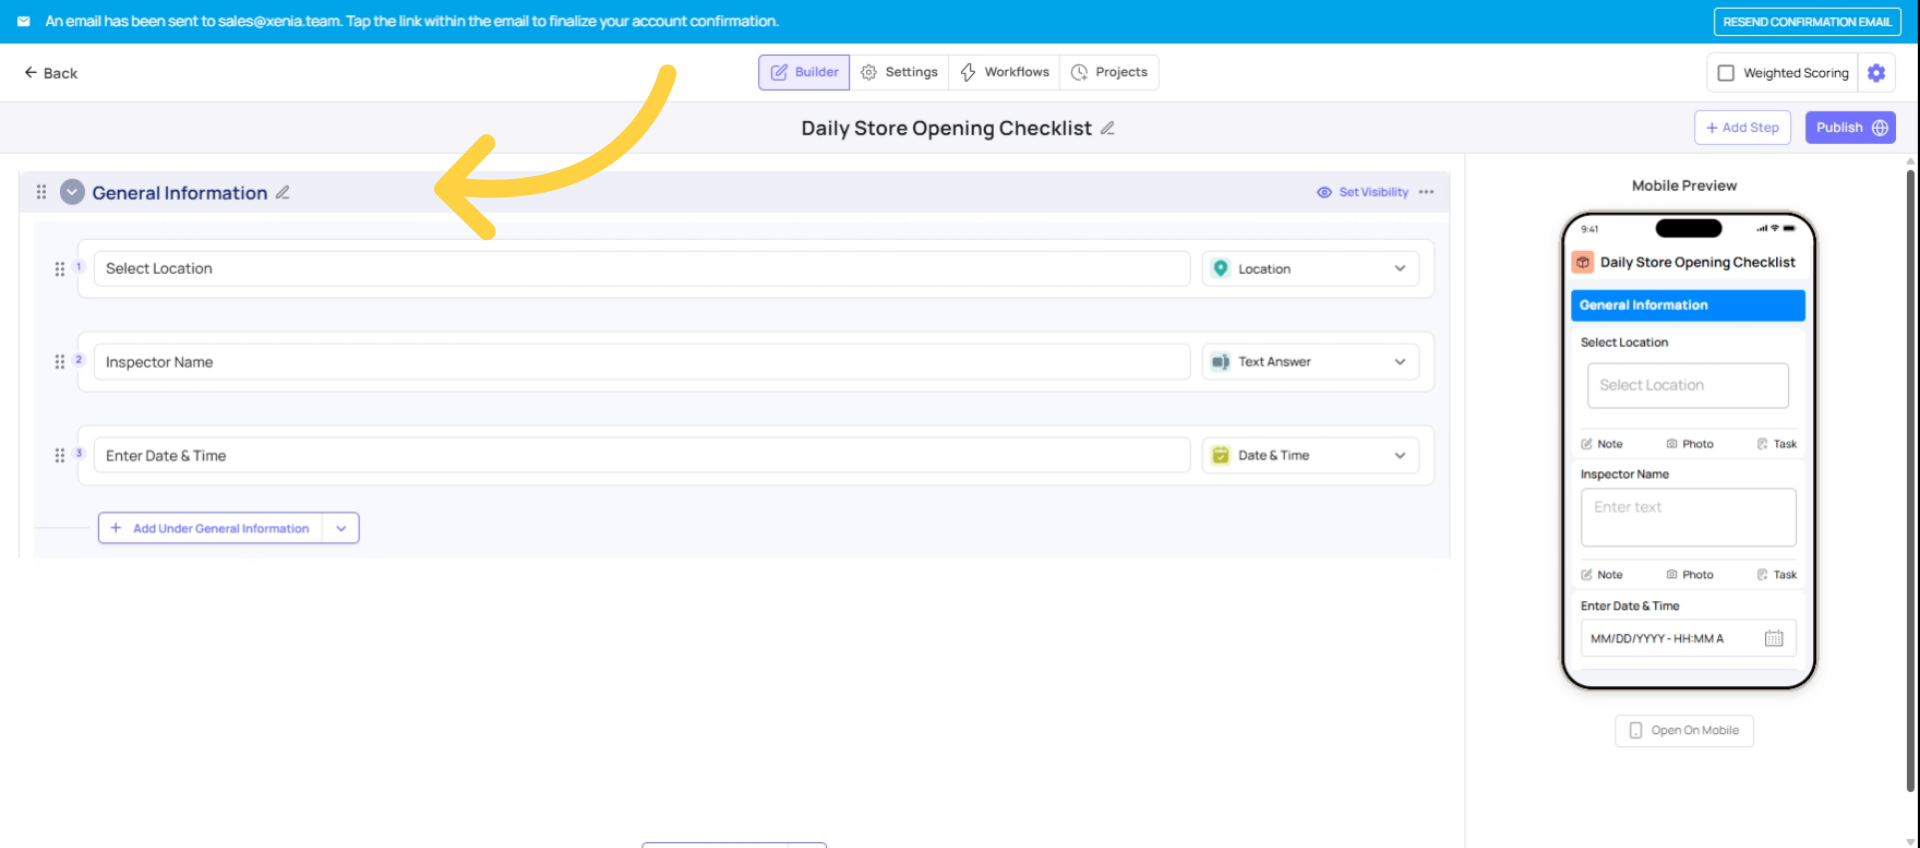
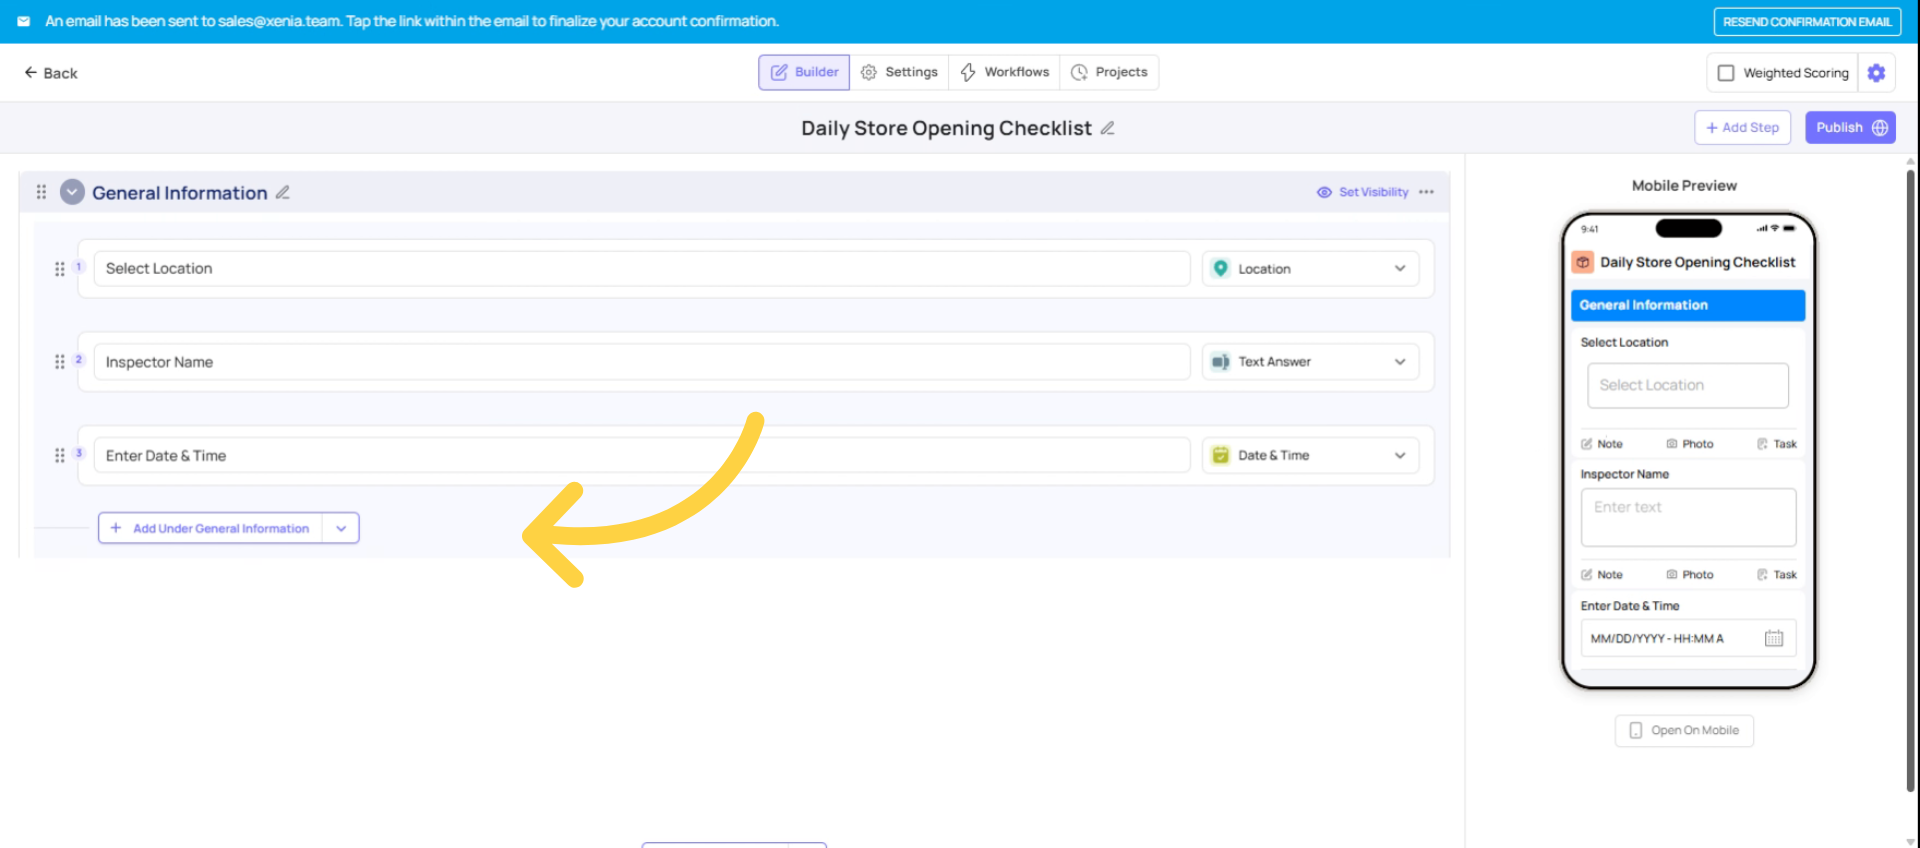
9. General Information Section Details
10. Add and Name New Section
Add Your First Section
- Sections group related steps together — great for long checklists
- Click Add Section and name it (e.g., "Front of House", "Kitchen", "Safety Checks")
- You can add multiple sections and reorder them by dragging
- Steps added inside a section belong to that section
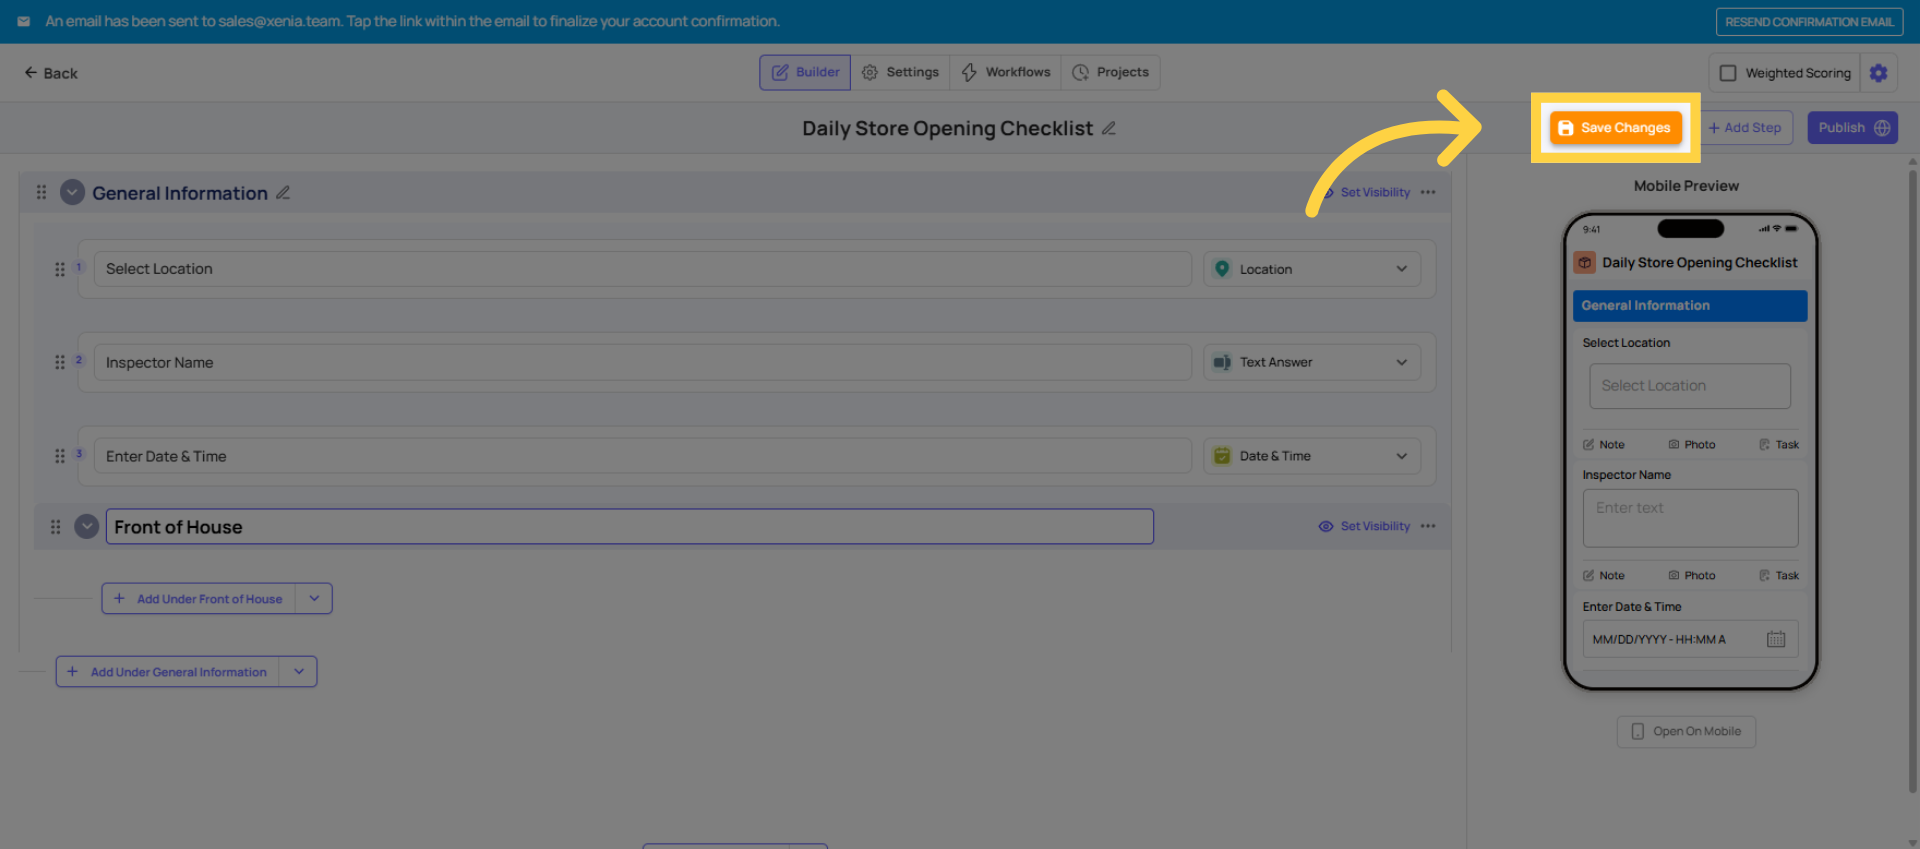
11. Click Save Changes
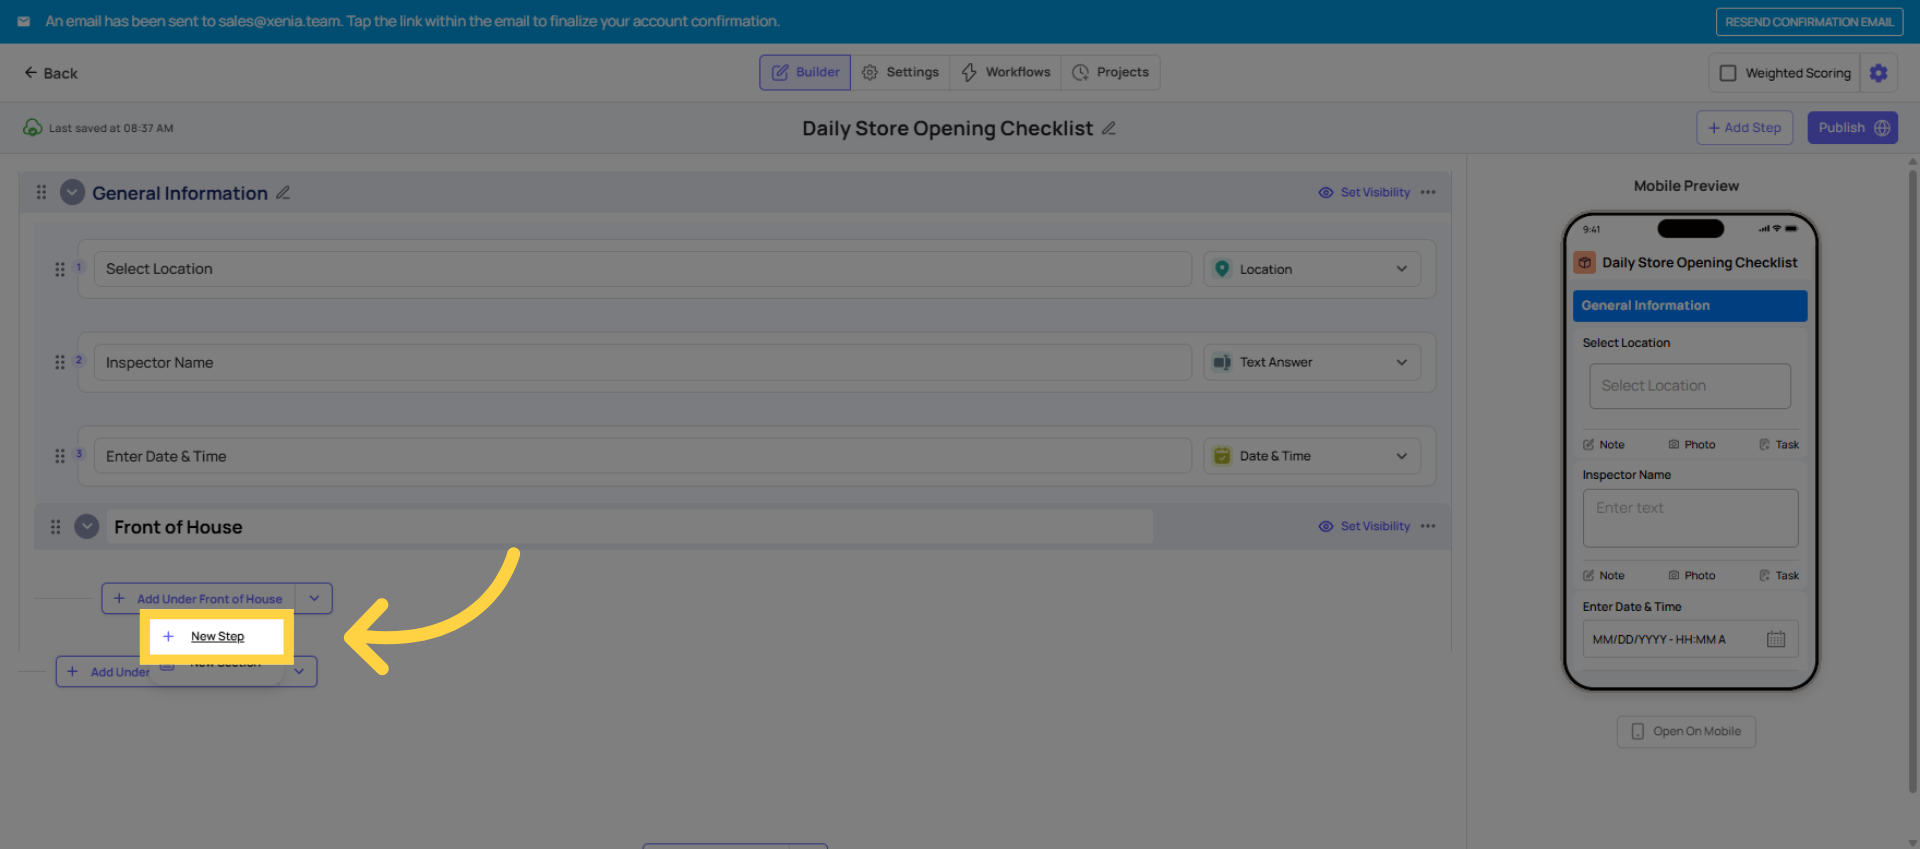
12. Click New Step Button
13. Overview of Step Types
| Step Type | Use When… |
| Procedure | Simple to-do item — no response needed, just mark done |
| Yes / No (Multiple Choice) | Binary check — "Is the floor clean?" Yes/No displayed as bright green/red |
| Multiple Choice | Multiple options — customize choices (e.g., Good / Fair / Poor) |
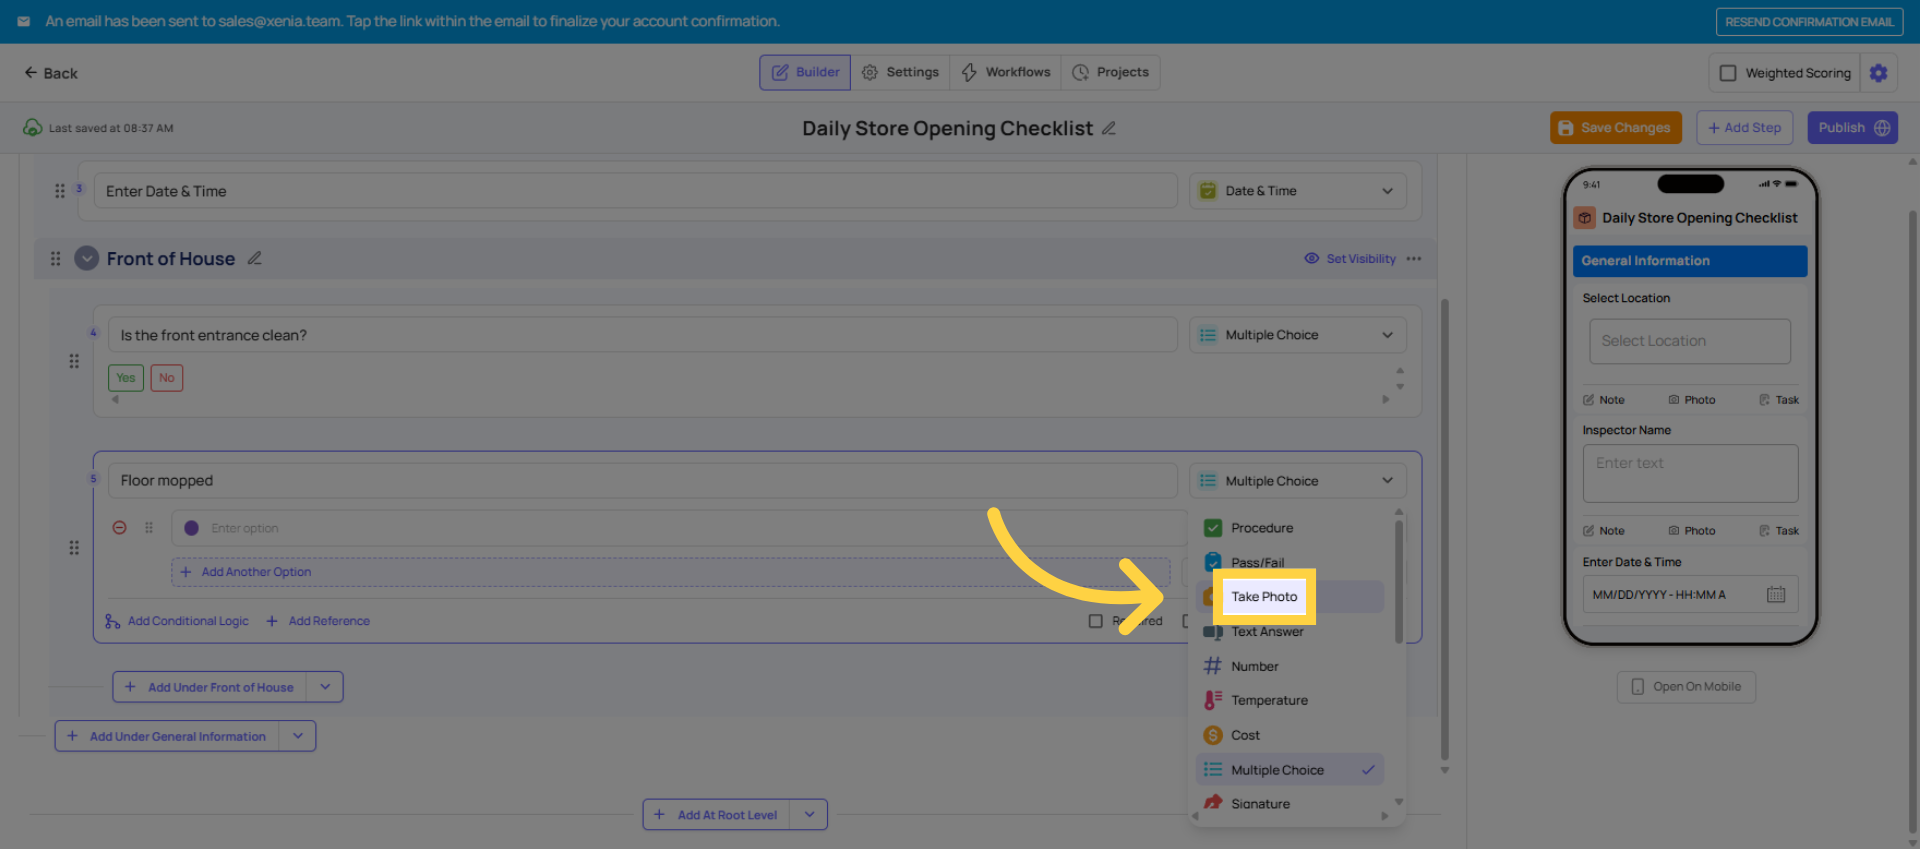
| Take Photo | Force a photo to be taken on the spot — cannot use old camera roll photos |
| Text Field | Written response — notes, readings, free text |
| Number Answer | Numeric input — useful for counts, readings |
| Temperature | Temperature logging in °F, °C, or K |
| Signature | Digital sign-off — great for manager verification |
| Date / Time | Timestamp capture |
| Geostamp | Confirms the user is physically at the location when submitting |
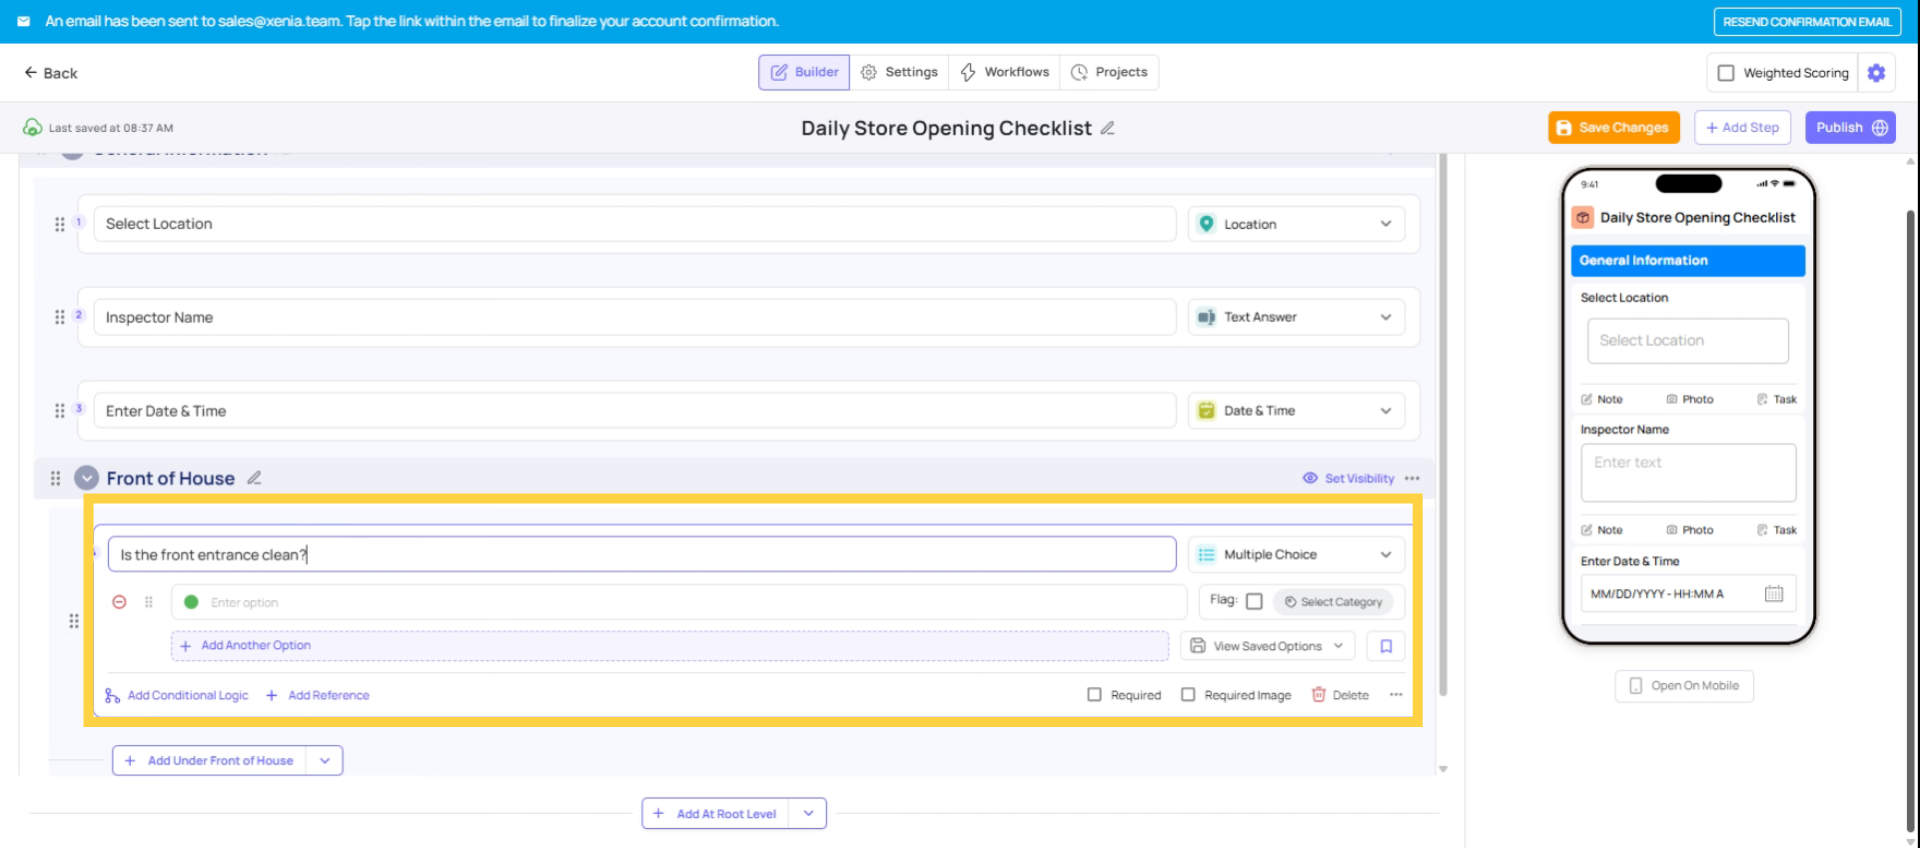
For a simple daily checklist, Yes/No multiple choice steps are the most common starting point — they're fast for employees to complete and clear to read (bright green yes, bright red no).
14. Yes/No Step Visual Preview
15. Select Take Photo Step
16. Advice on Required Steps
Make Steps Required
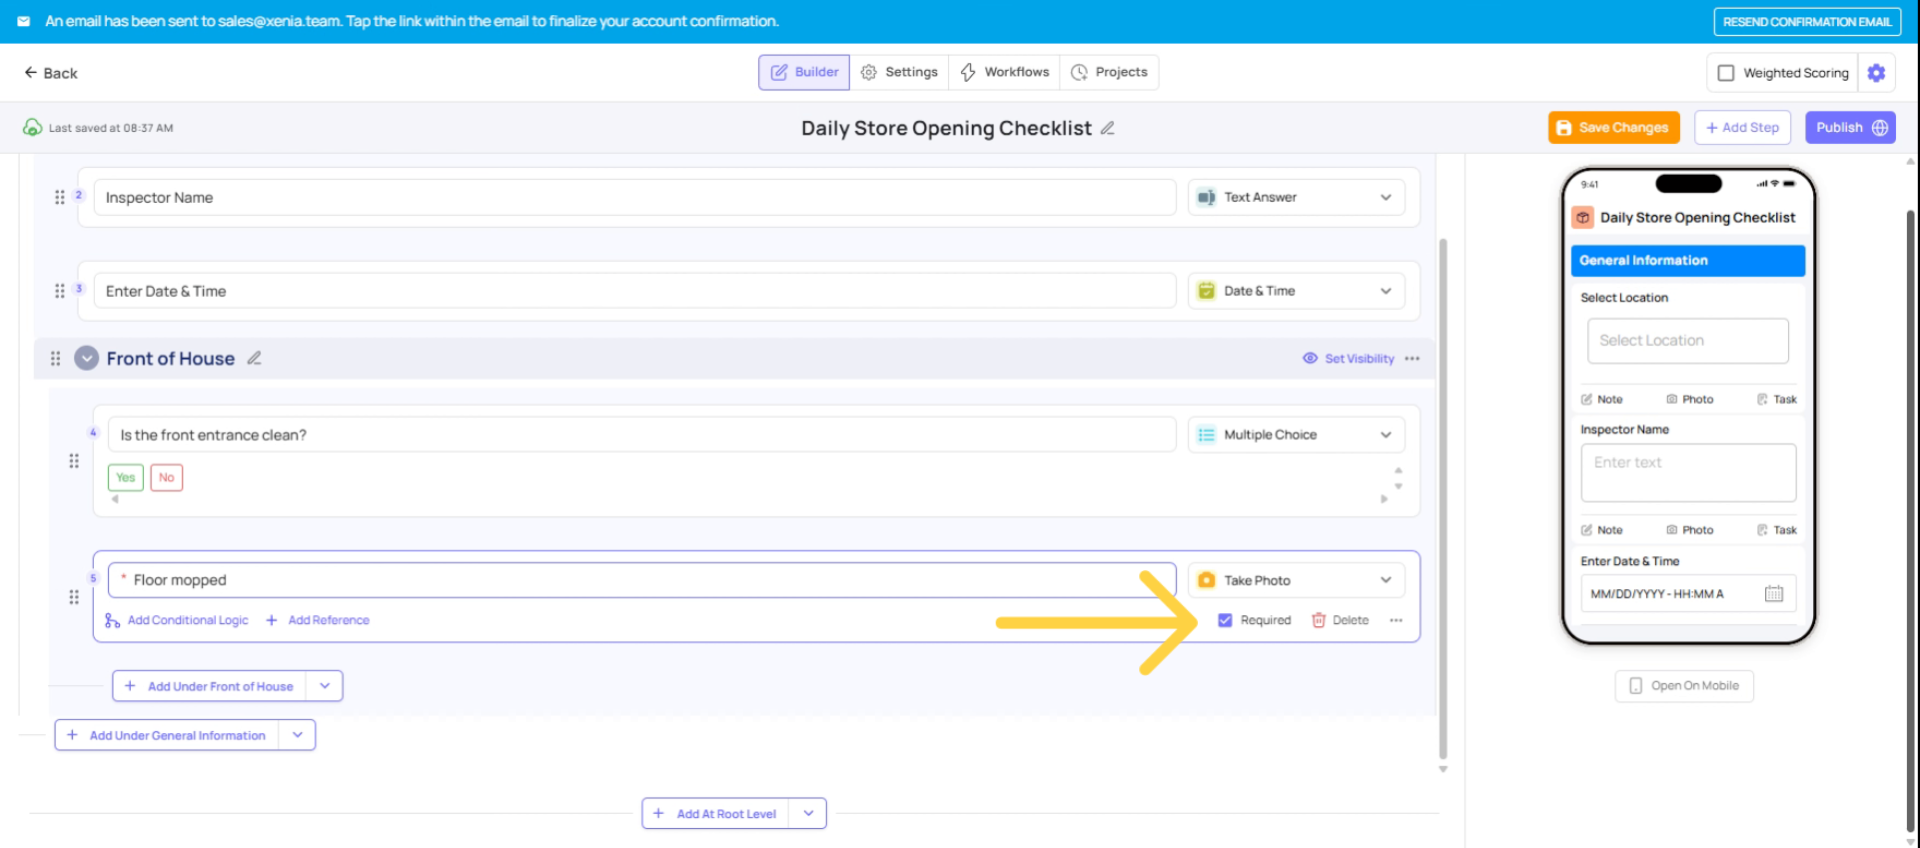
- Toggle Required on any step to force employees to respond before they can submit
- If a required step is skipped, Xenia will block submission and alert the employee
- Use required sparingly — only on truly critical items, otherwise it slows people down
17. Click Add Conditional Logic
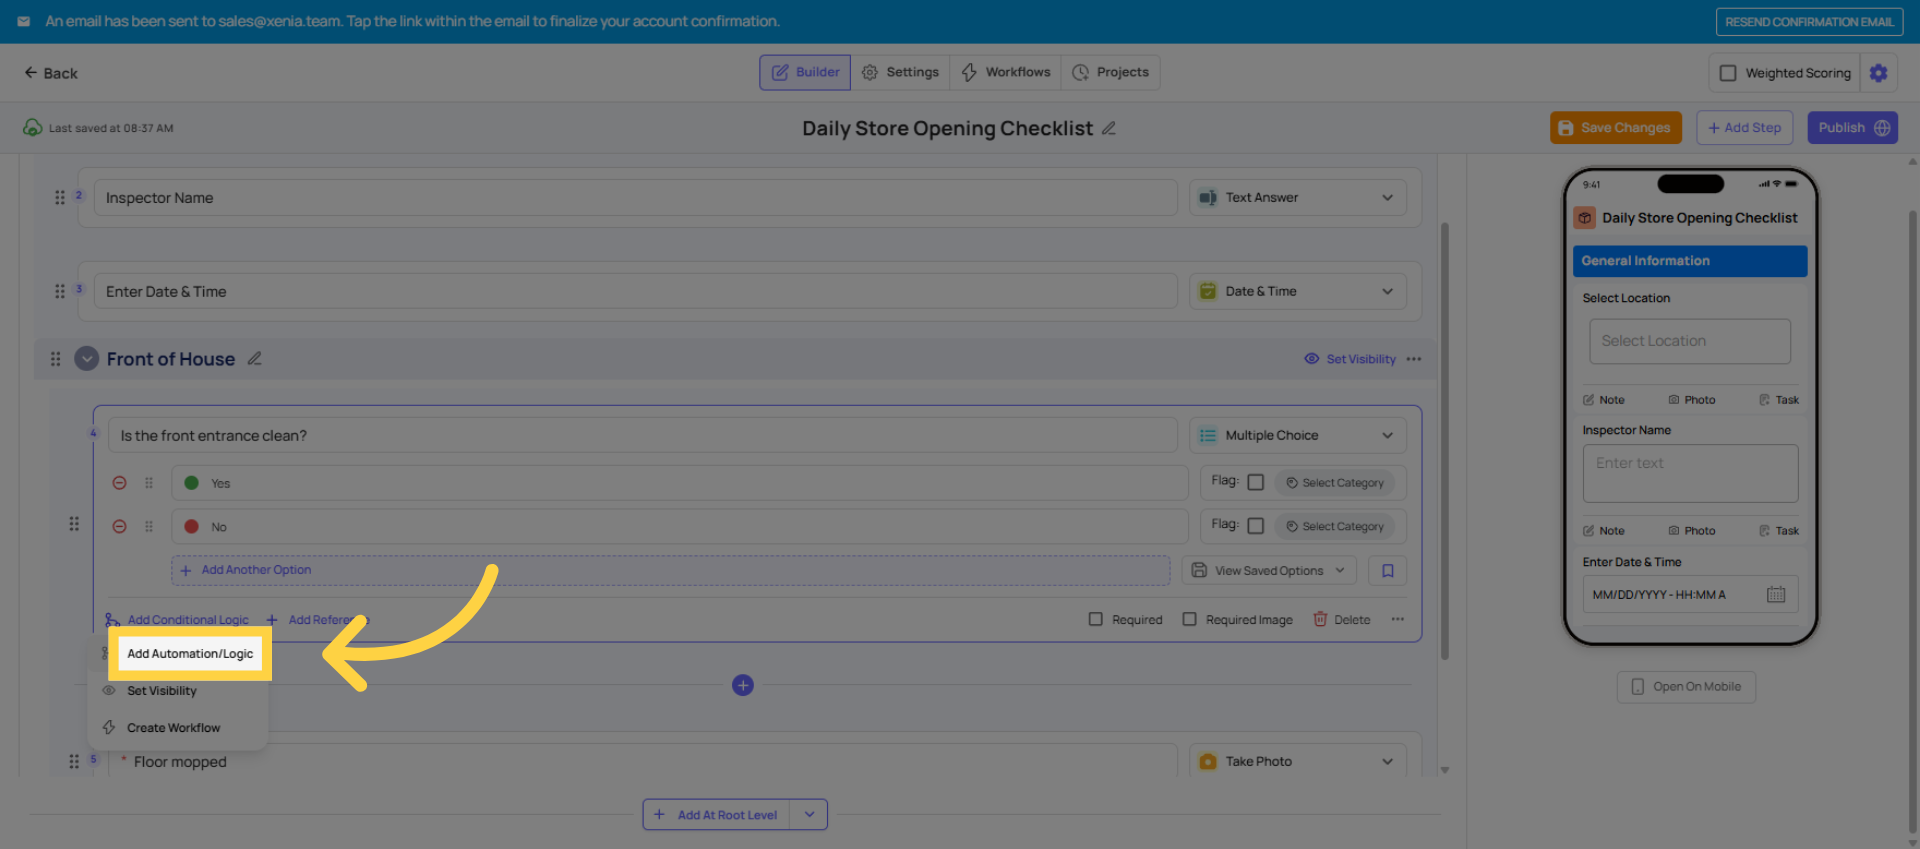
You can require a photo based on a specific answer using conditional logic:
- Click on any Yes/No or Multiple Choice step
- Click Add Automation (or Conditional Logic)
- Set condition: e.g., "If answer is No → Require image capture"
- Now if an employee answers No, a camera popup appears and they must take a real-time photo — they cannot use old images from their camera roll
This is one of Xenia's most used features for accountability (e.g., "Is the bathroom clean? No → Take a photo of the issue").

18. Click Add Automation/Logic
19. Set Conditional Logic Effects
20. Click Settings Tab

21. Submission Mode Options
- Submission Mode:
- Project-based — template can only be completed when assigned via a project (use for scheduled recurring tasks)
- Ad hoc — available for employees to complete anytime (use for incident reports, vendor issues, one-off forms)
- Both — can be used either way
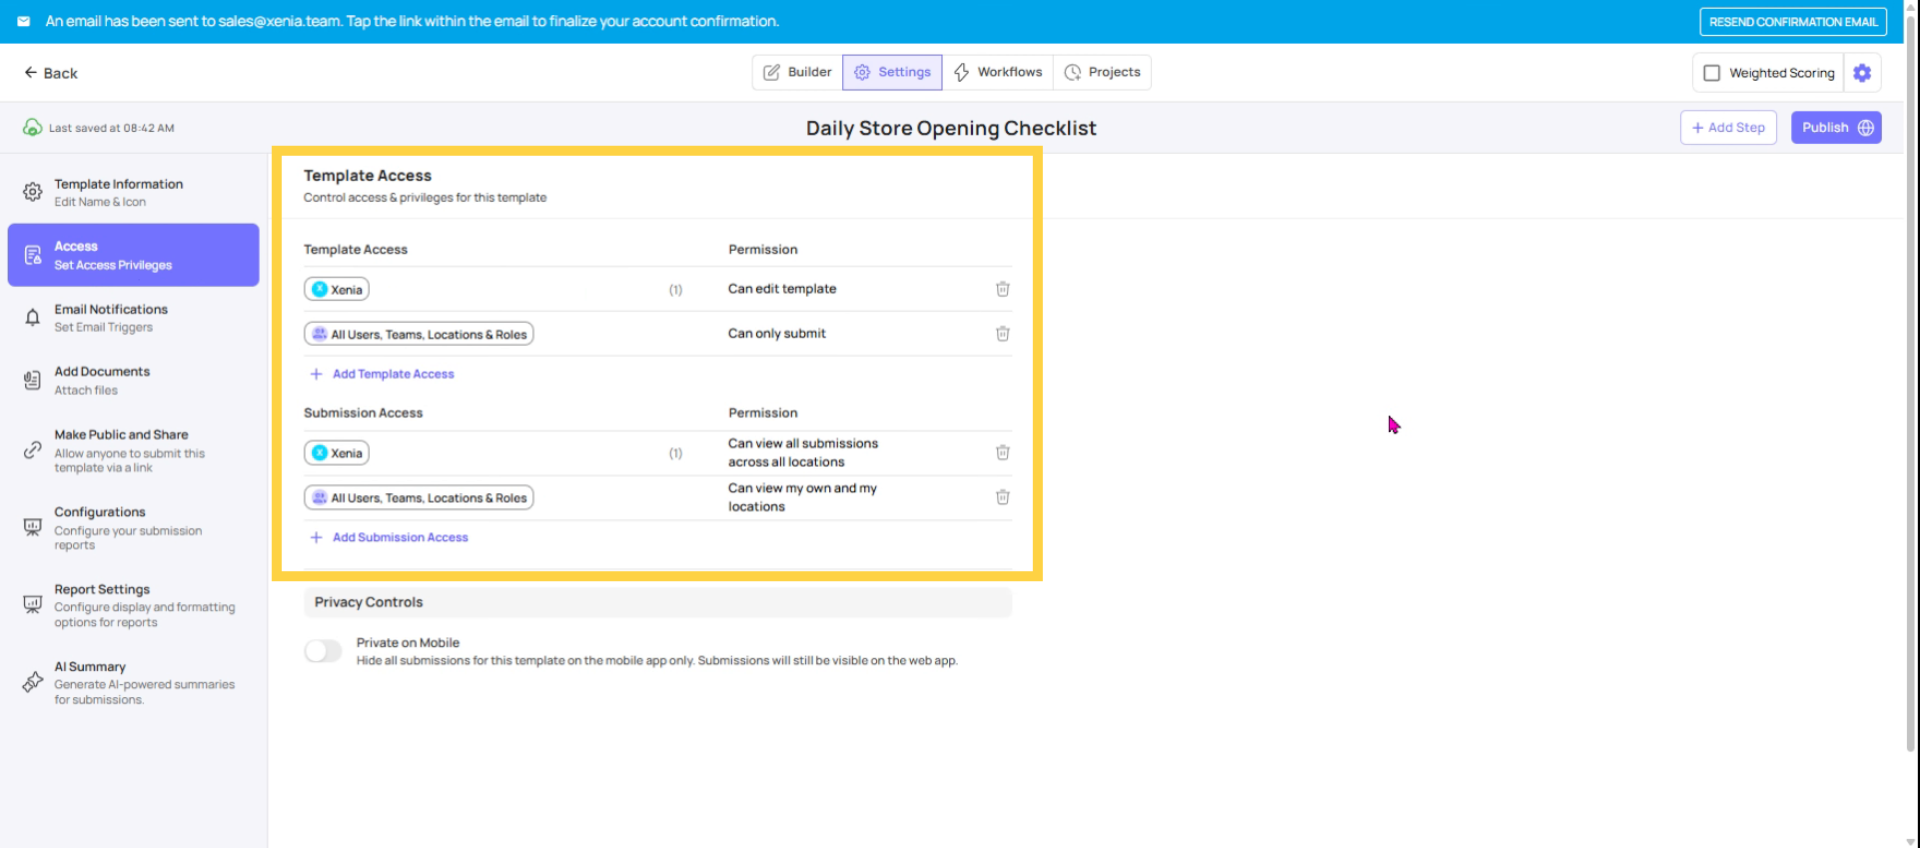
22. Click Access Set Access Privileges
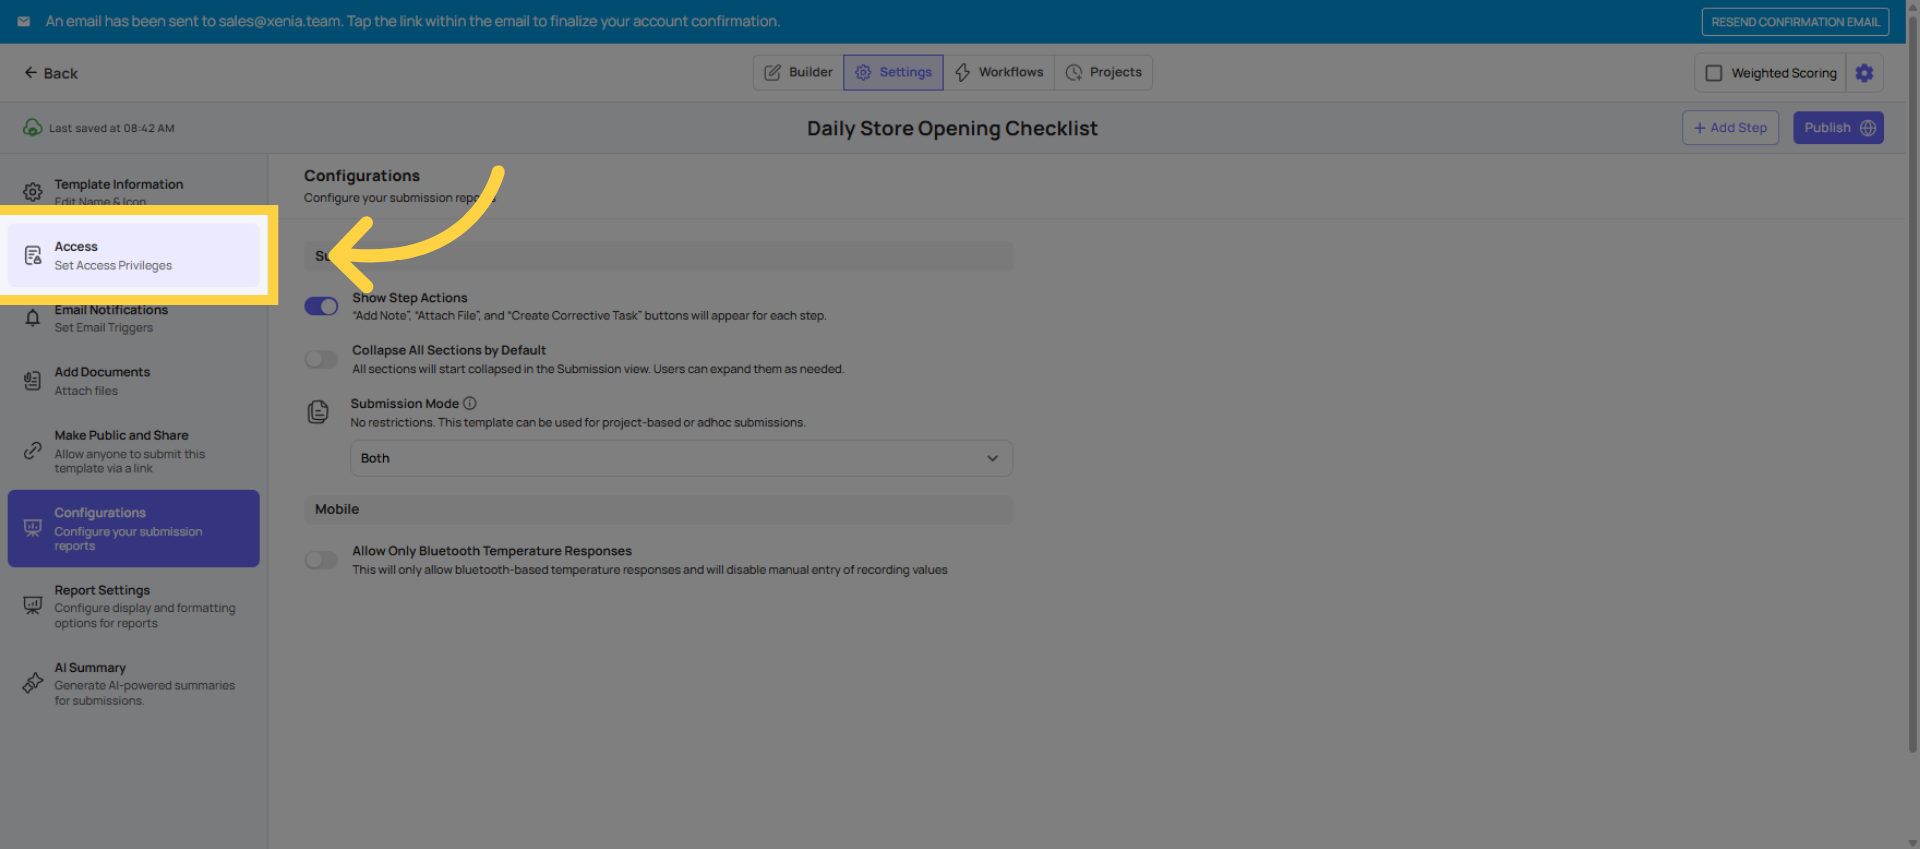
23. Configure Access Controls
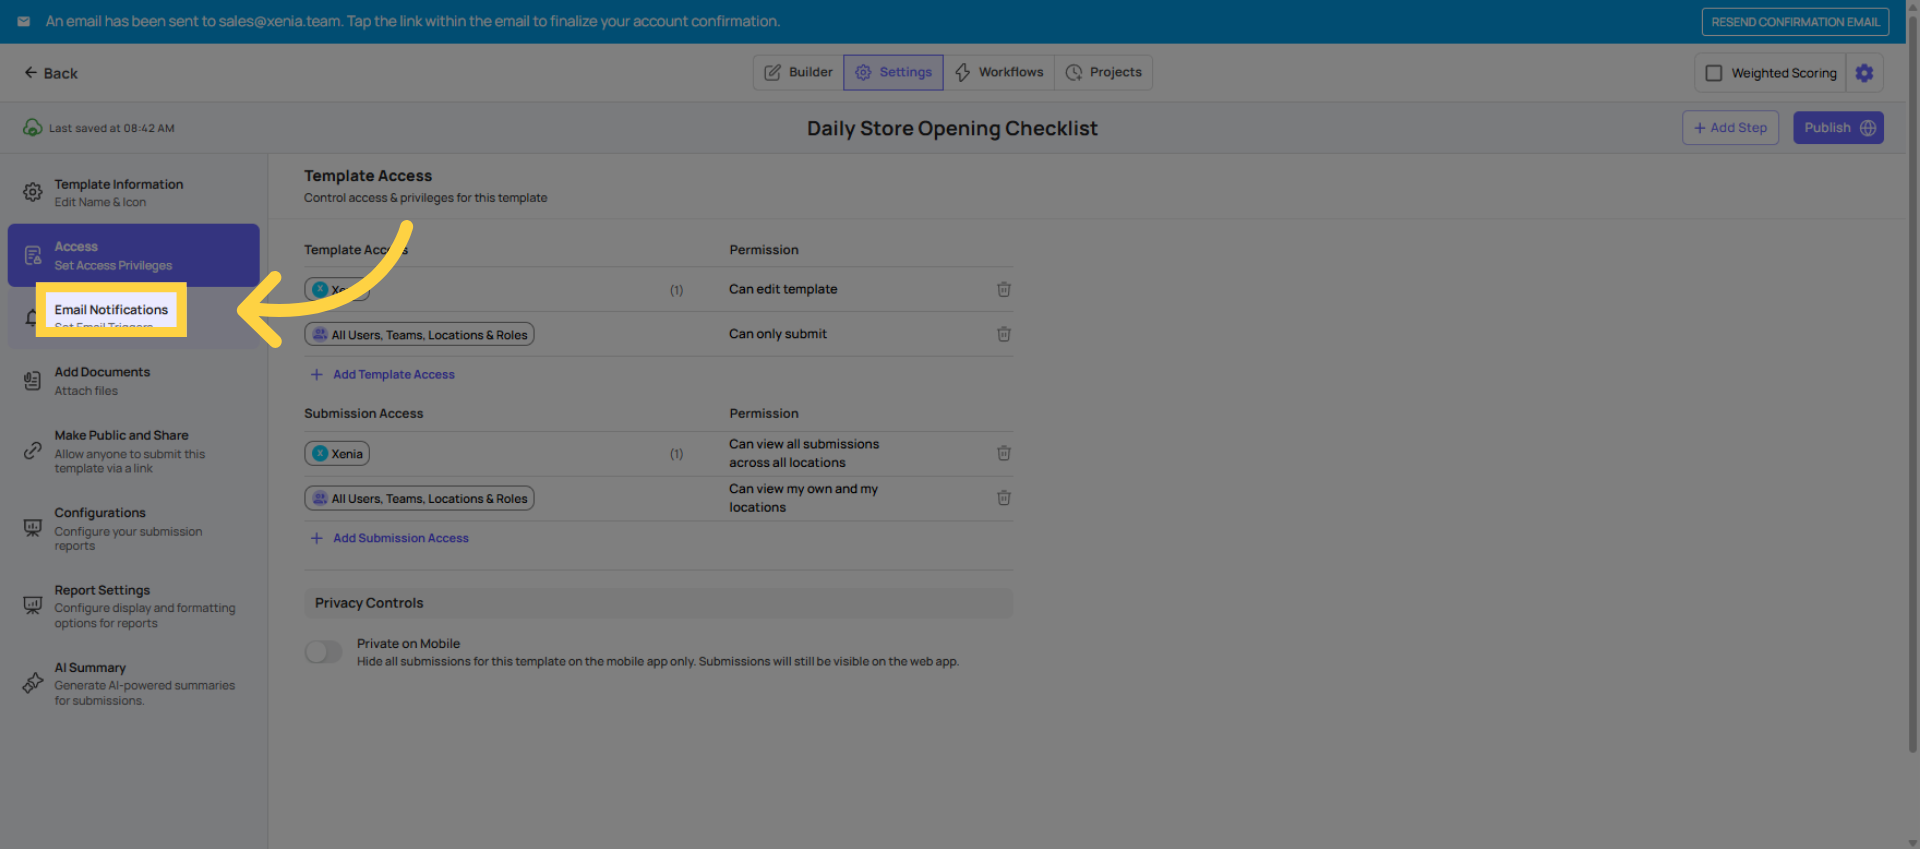
24. Click Email Notifications
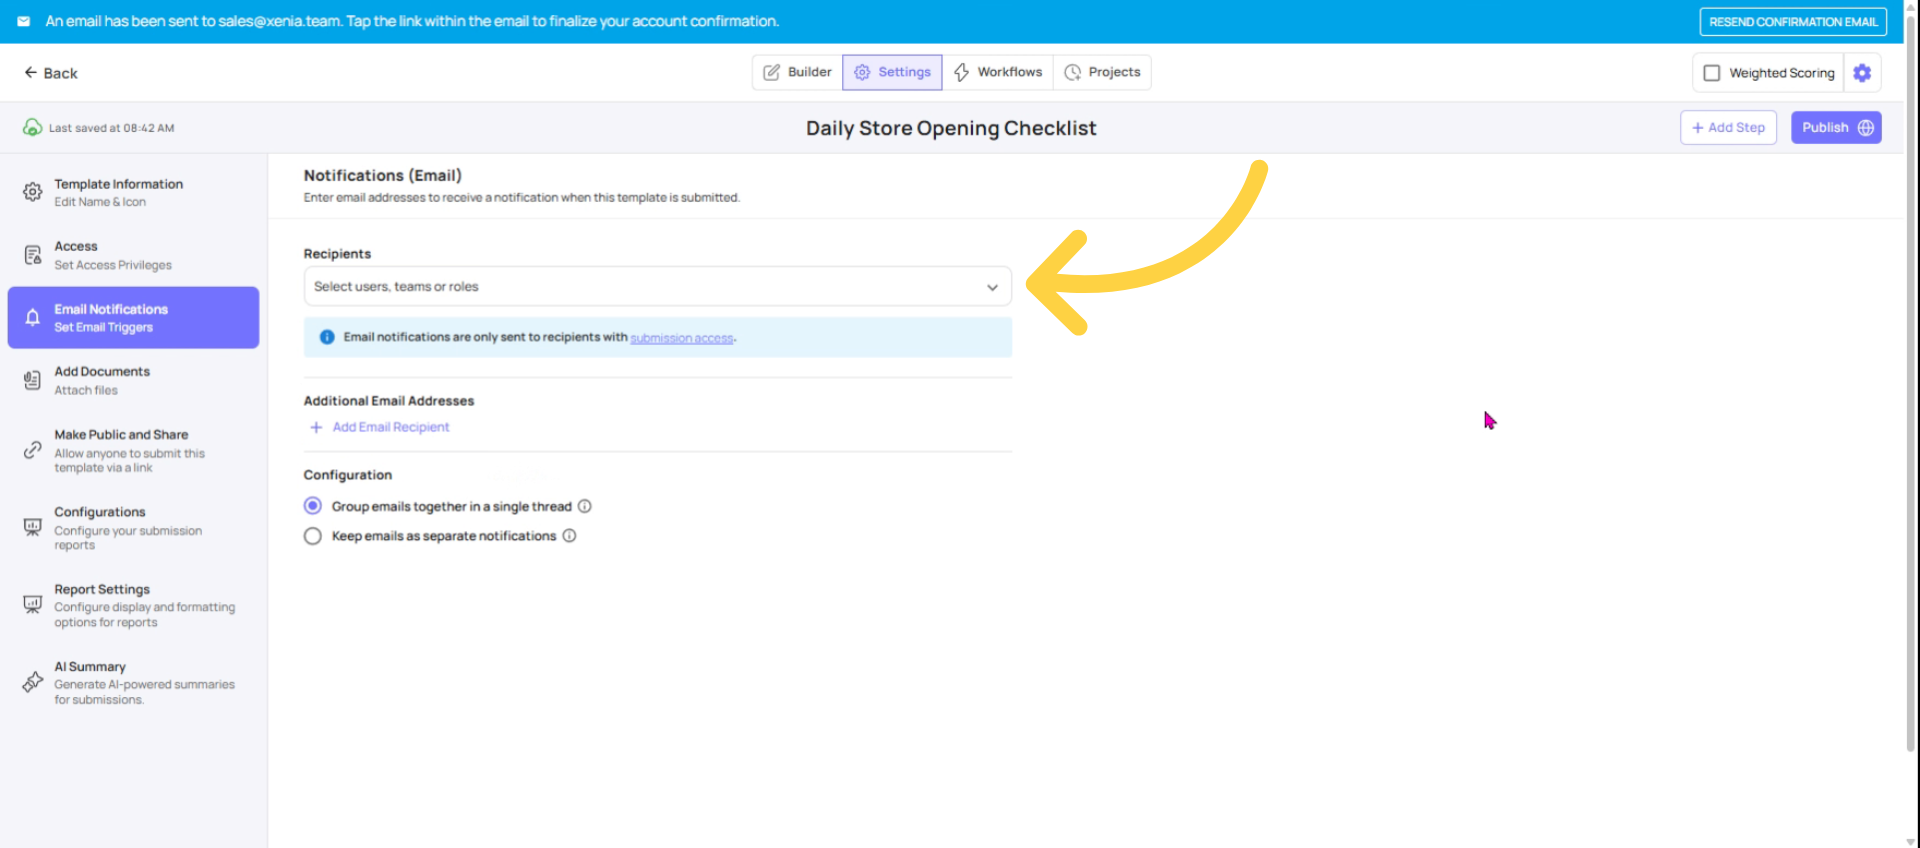
25. Configure Email Notifications
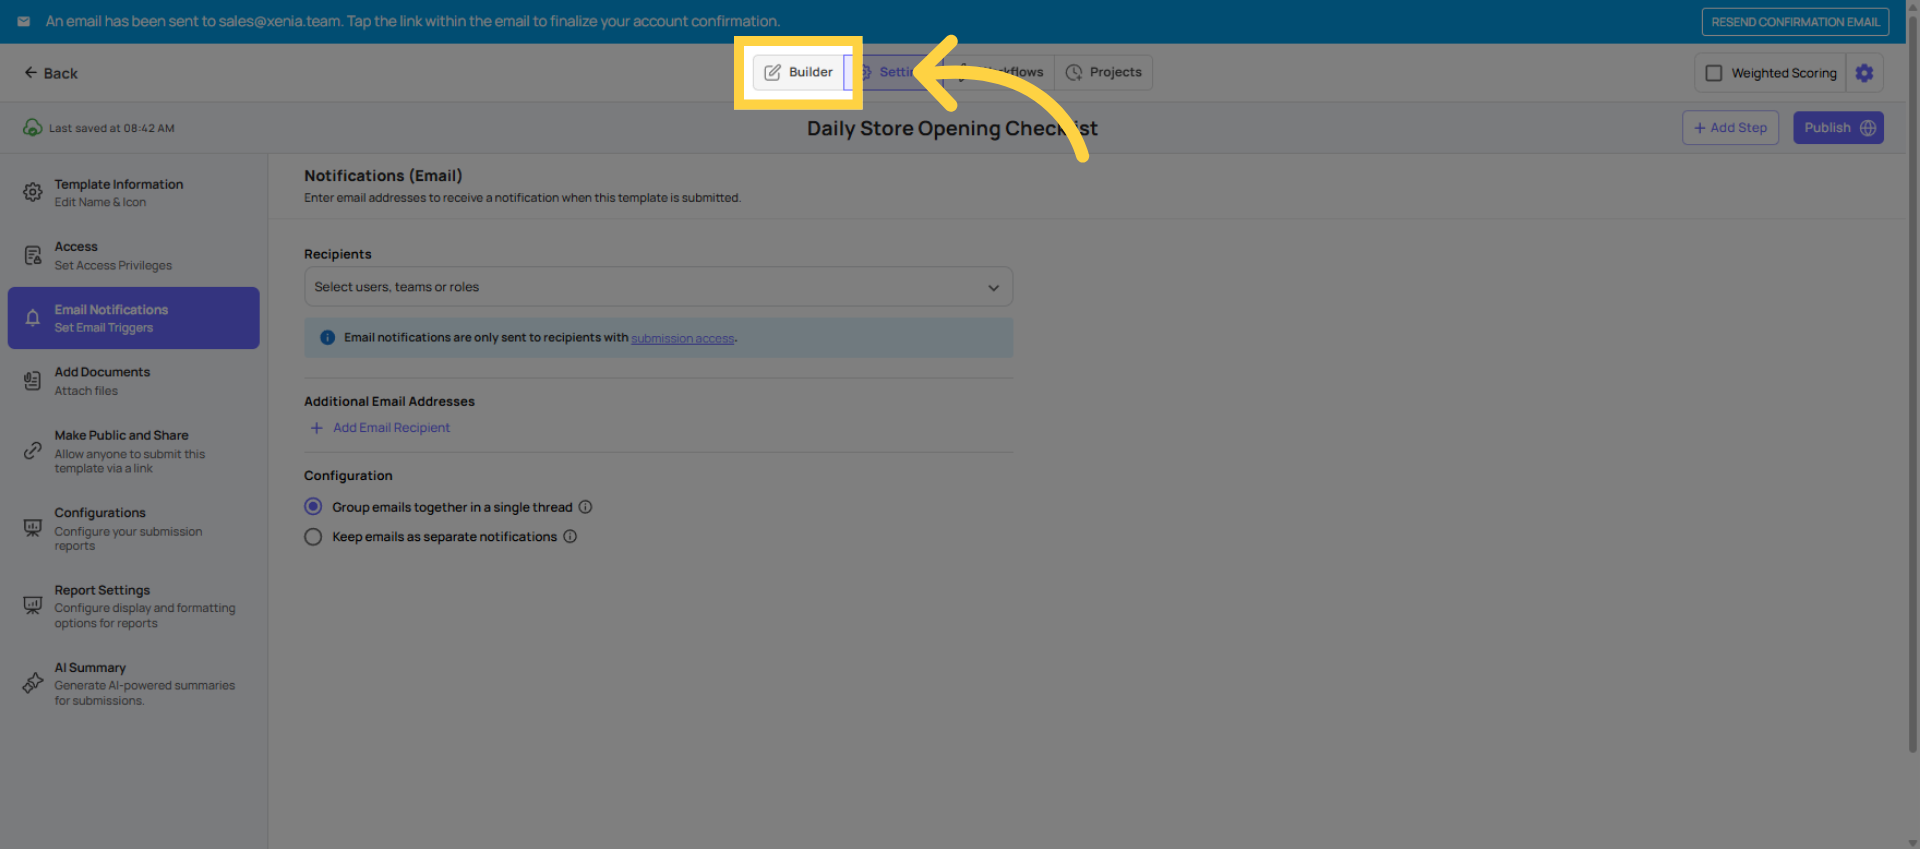
26. Return to Builder Tab
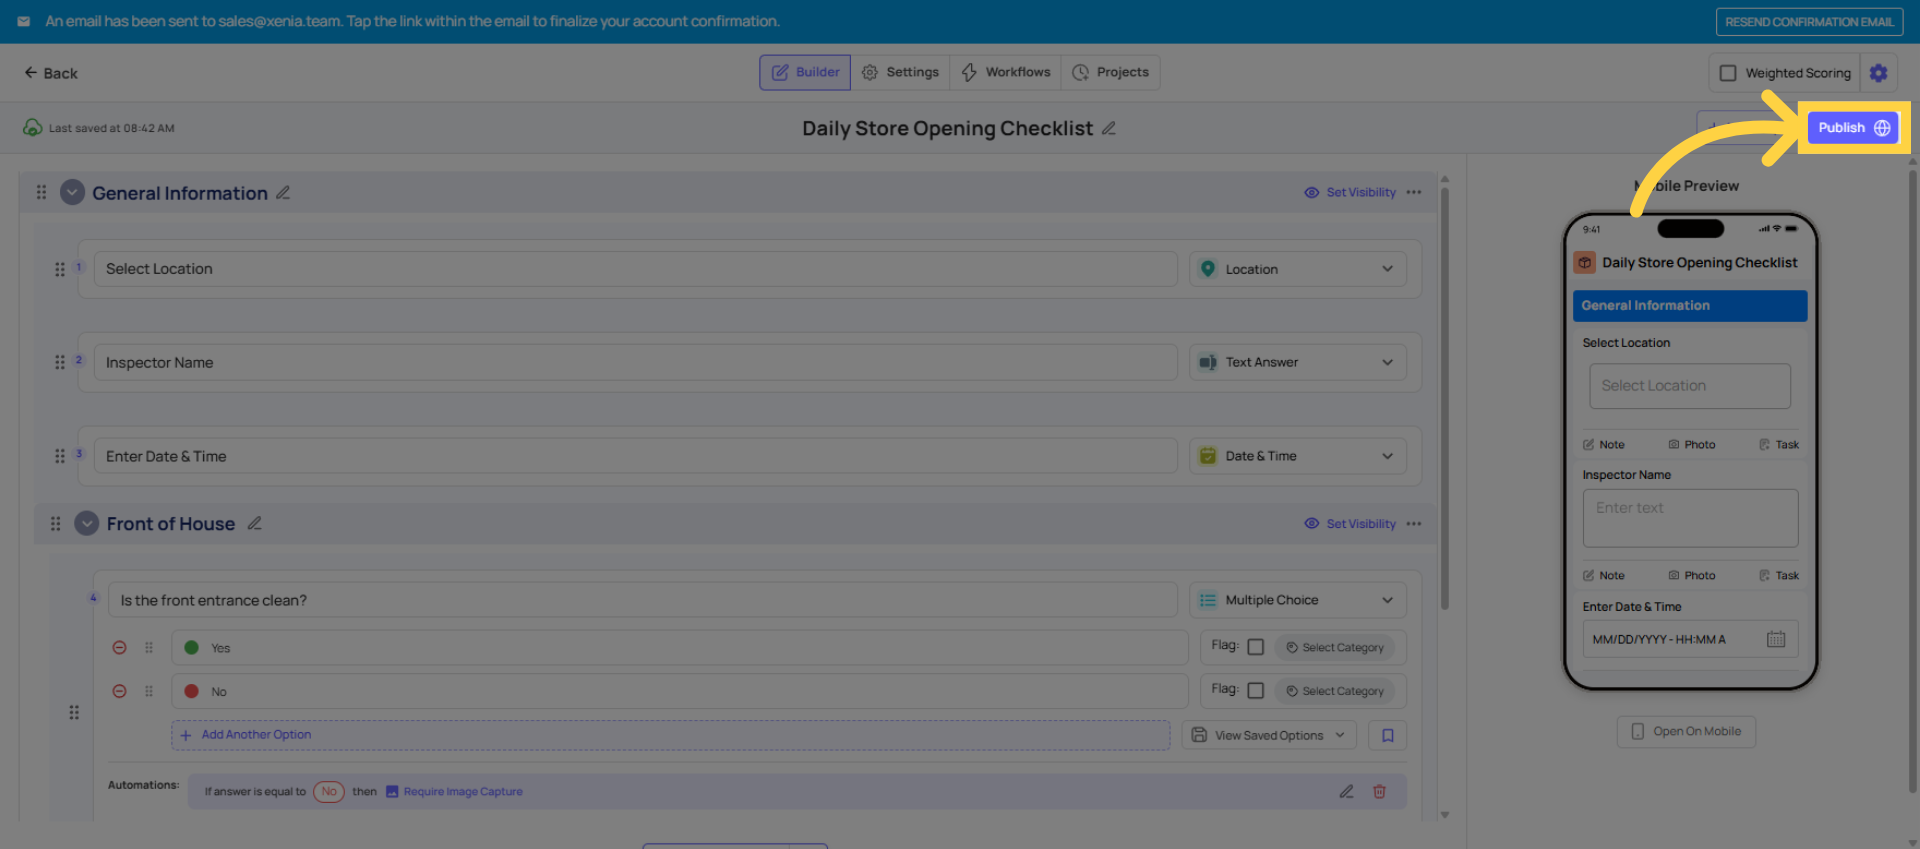
27. Click Publish Button
Organizing Your Templates
- Use folders inside the Templates section to keep checklists organized by type (Daily Ops, Safety, HR, Audits, etc.)
- You can duplicate any template using the three-dot menu — useful for creating location-specific variations
Need Help?
For assistance please reach out to us at support@xenia.team
Comments
0 comments
Please sign in to leave a comment.