This article explains how to plan and build your location hierarchy in Xenia. You will learn how to set up and manage your hierarchy to control access, reporting, and checklist deployment effectively.
1. Understand Location Hierarchy
What Is a Location Hierarchy and Why Does It Matter?
The hierarchy is the backbone of Xenia — it controls three things:
User access — who sees which location's data
Task & project deployment — where checklists get assigned
Reporting — how data rolls up (by store, district, region, brand)
Getting this right before inviting users saves significant rework later
It controls what your users can see, where your checklists get deployed, and how your reporting rolls up. Before you touch anything in the system, spend five minutes thinking through two questions.
Plan Your Hierarchy First — Before You Build
Think through two questions:
What does your physical location structure look like? (stores, sites, branches)
What does your management structure look like? (do you have district managers, area managers, regional directors?)
Common hierarchy examples by org size:
Org Type
Recommended Hierarchy
1–5 locations
Just Sites (no grouping needed)
6–25 locations
District → Site
25–100+ locations
Region → District → Site
Multi-brand operator
Brand → Region → District → Site
Rule of thumb: Match your hierarchy to your management layers, not just your physical locations. If you have district managers, you need a District level.
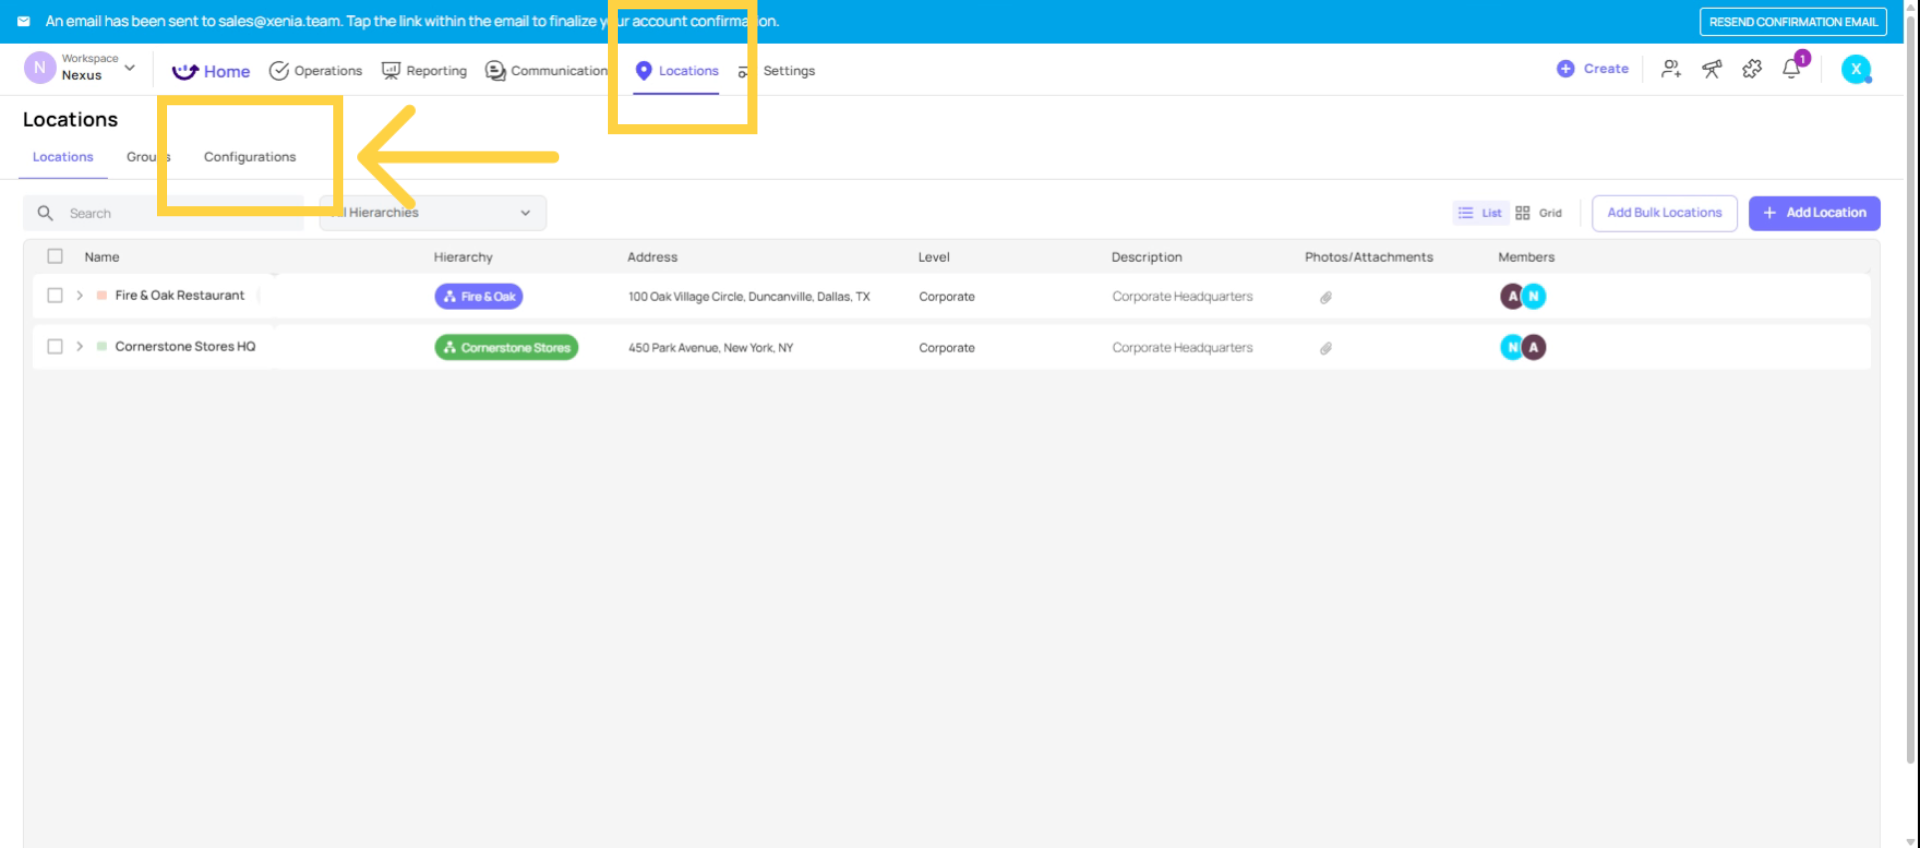
2. Customize Hierarchy Labels
The first thing to do is customise your hierarchy labels. Go to the Locations tab and click Configurations.
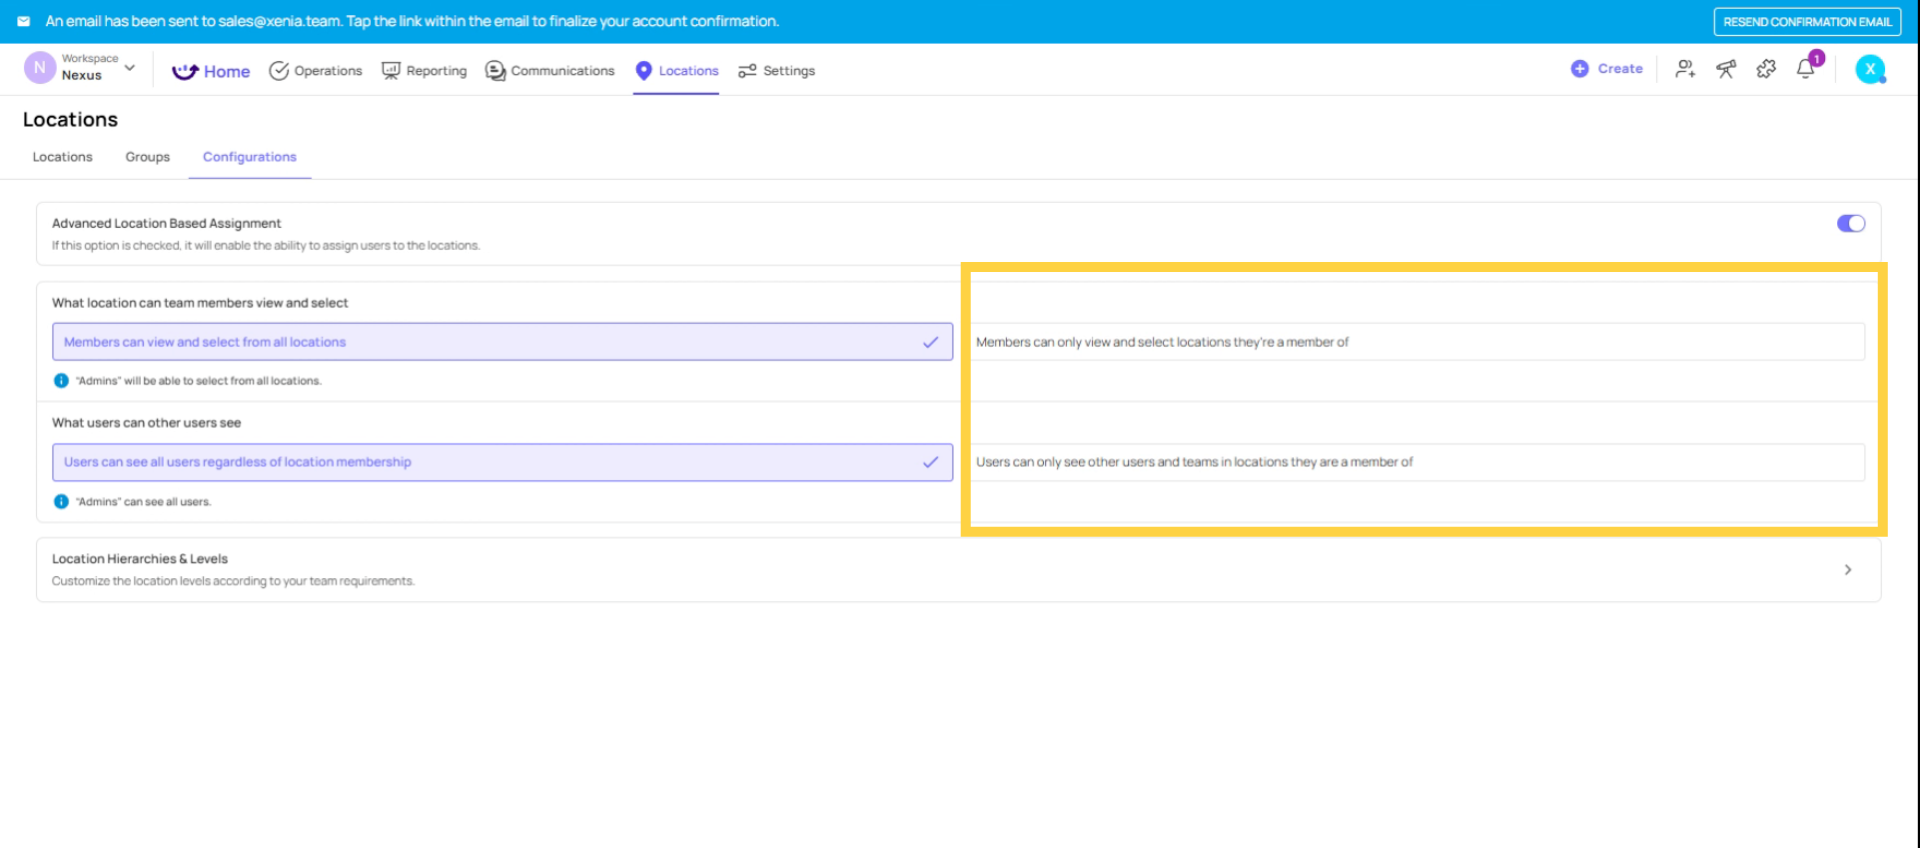
3. Set Location View Permissions
What location can team members view? You can select members can only view and select location they are a member of, and users can only see other users and teams in locations they are a member of.
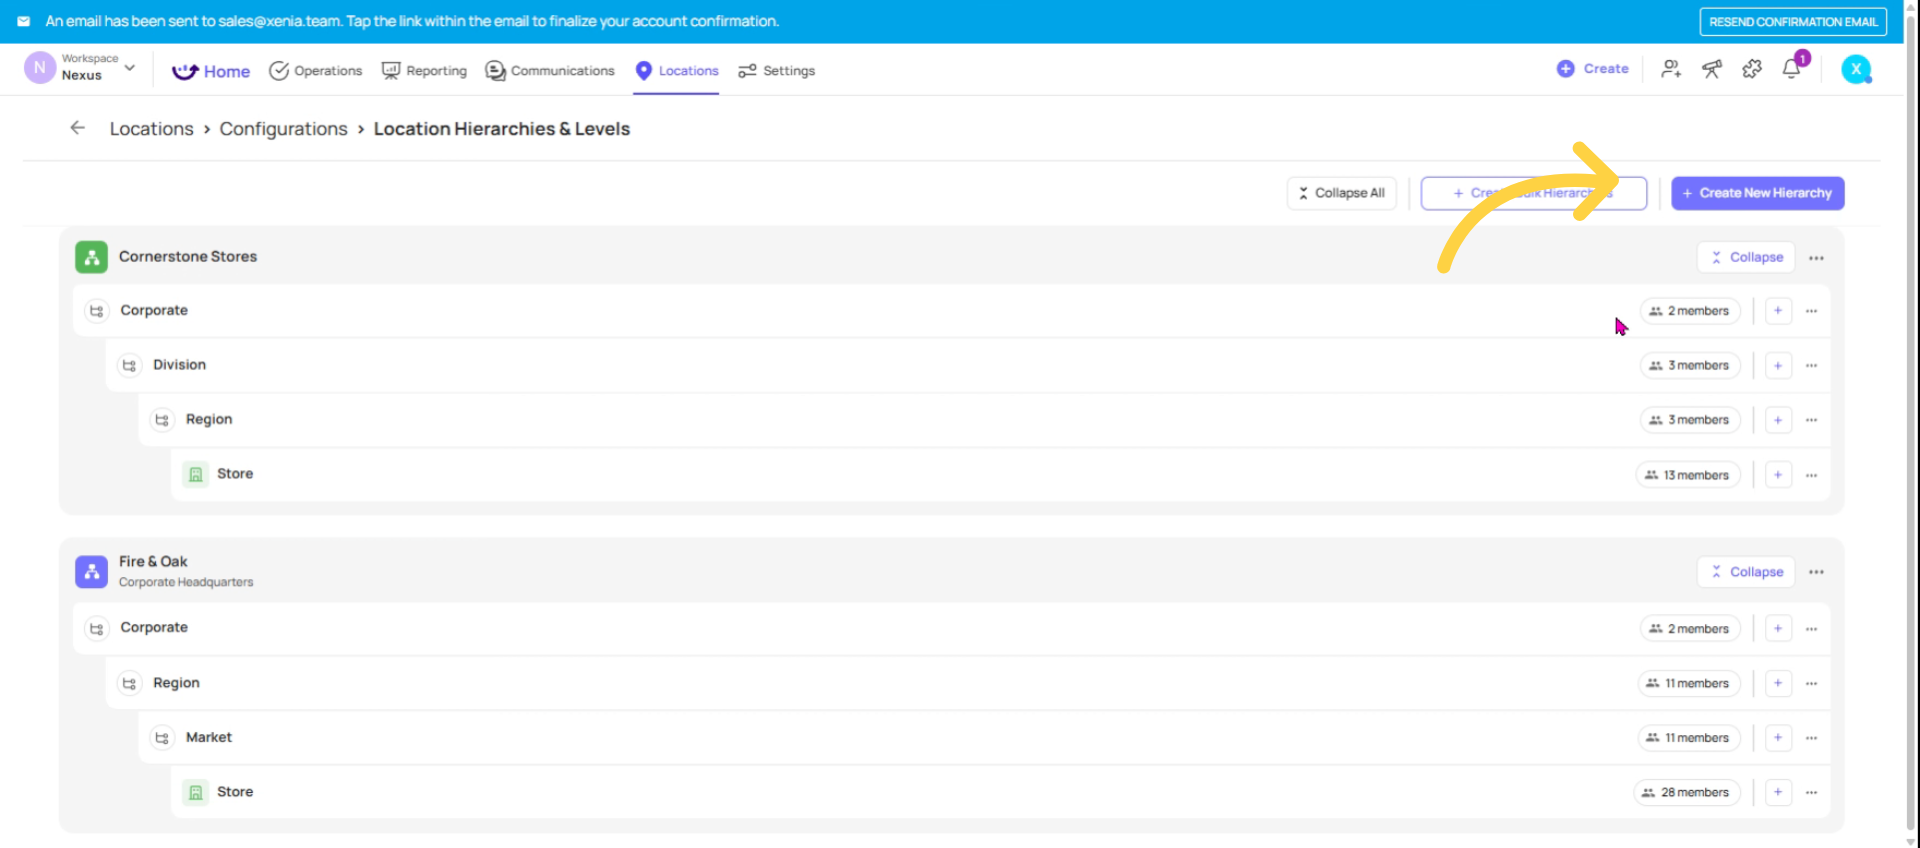
4. Access Location Hierarchies
To access the location hierarchies, click on "location hierarchies and levels."
5. Rename Hierarchy Levels
Within this section, you will find the default Hierarchy Levels. These can be modified to align with your organization's specific terminology. For instance, if your company uses the term "territory" instead of "district," you can make the necessary adjustments here. Furthermore, any unnecessary levels, such as a "brand" level, can be removed as required.
6. Create New Location Hierarchy
To add to an existing hierarchy or create a new one, click "Create New Hierarchy".
7. View Hierarchy Details
Hierarchy Details encompass the Hierarchy Name, Description, Hierarchy Color (for ease of visual distinction when viewing or filtering), and Location Hierarchy Levels. Sites represent the physical locations where tasks are executed, and templates are submitted.
8. Avoid Restructuring Hierarchy
Within this section, all configured hierarchies will be displayed. Please note: once the hierarchy is established and users and projects are integrated, alterations should be avoided. Modifications made here will propagate throughout the system; therefore, it is essential to ensure accuracy before onboarding users.
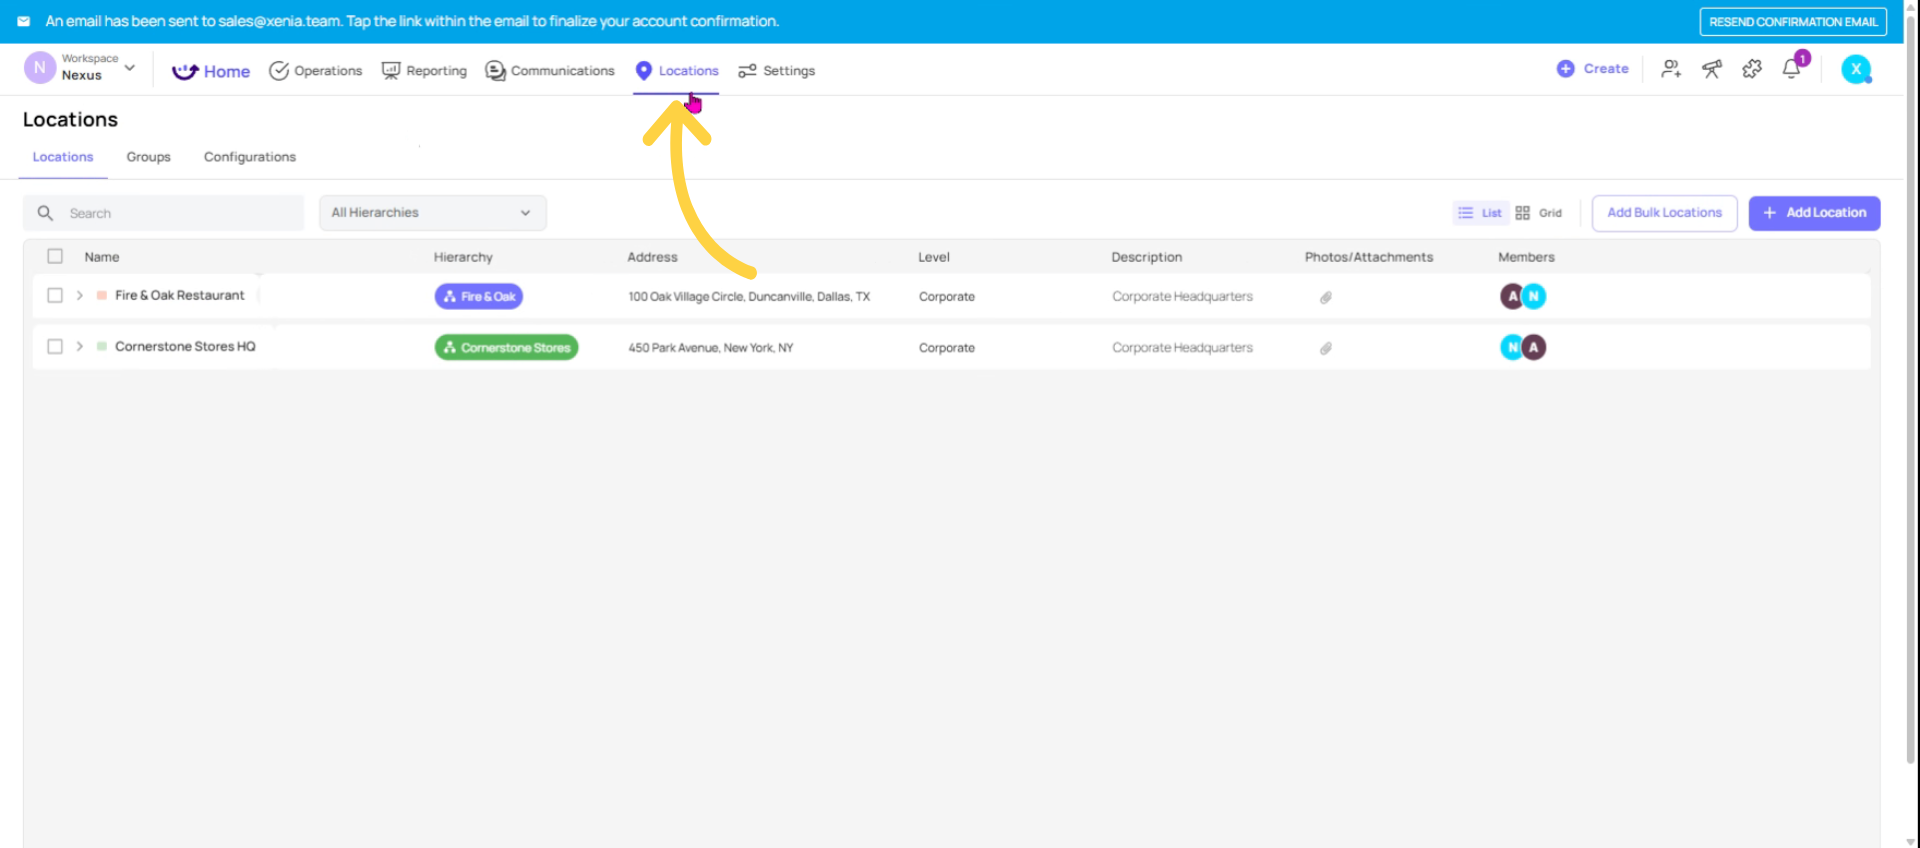
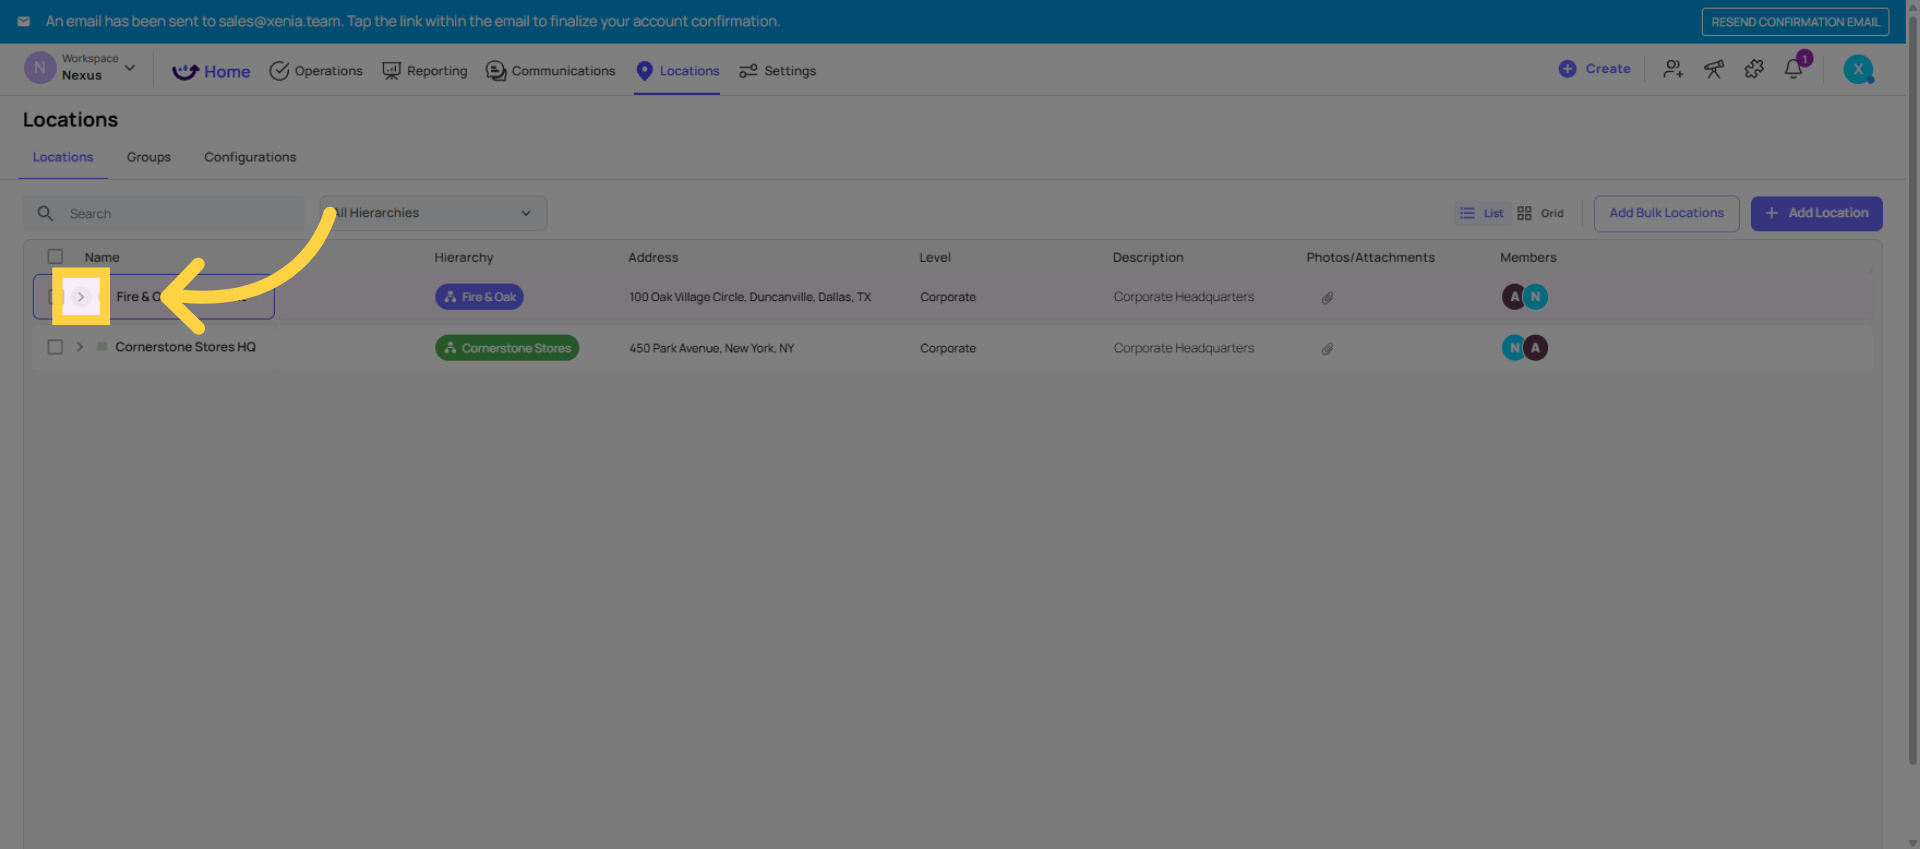
9. Add New Locations
Next, proceed to add your physical locations. Navigate back to the "Locations" tab.
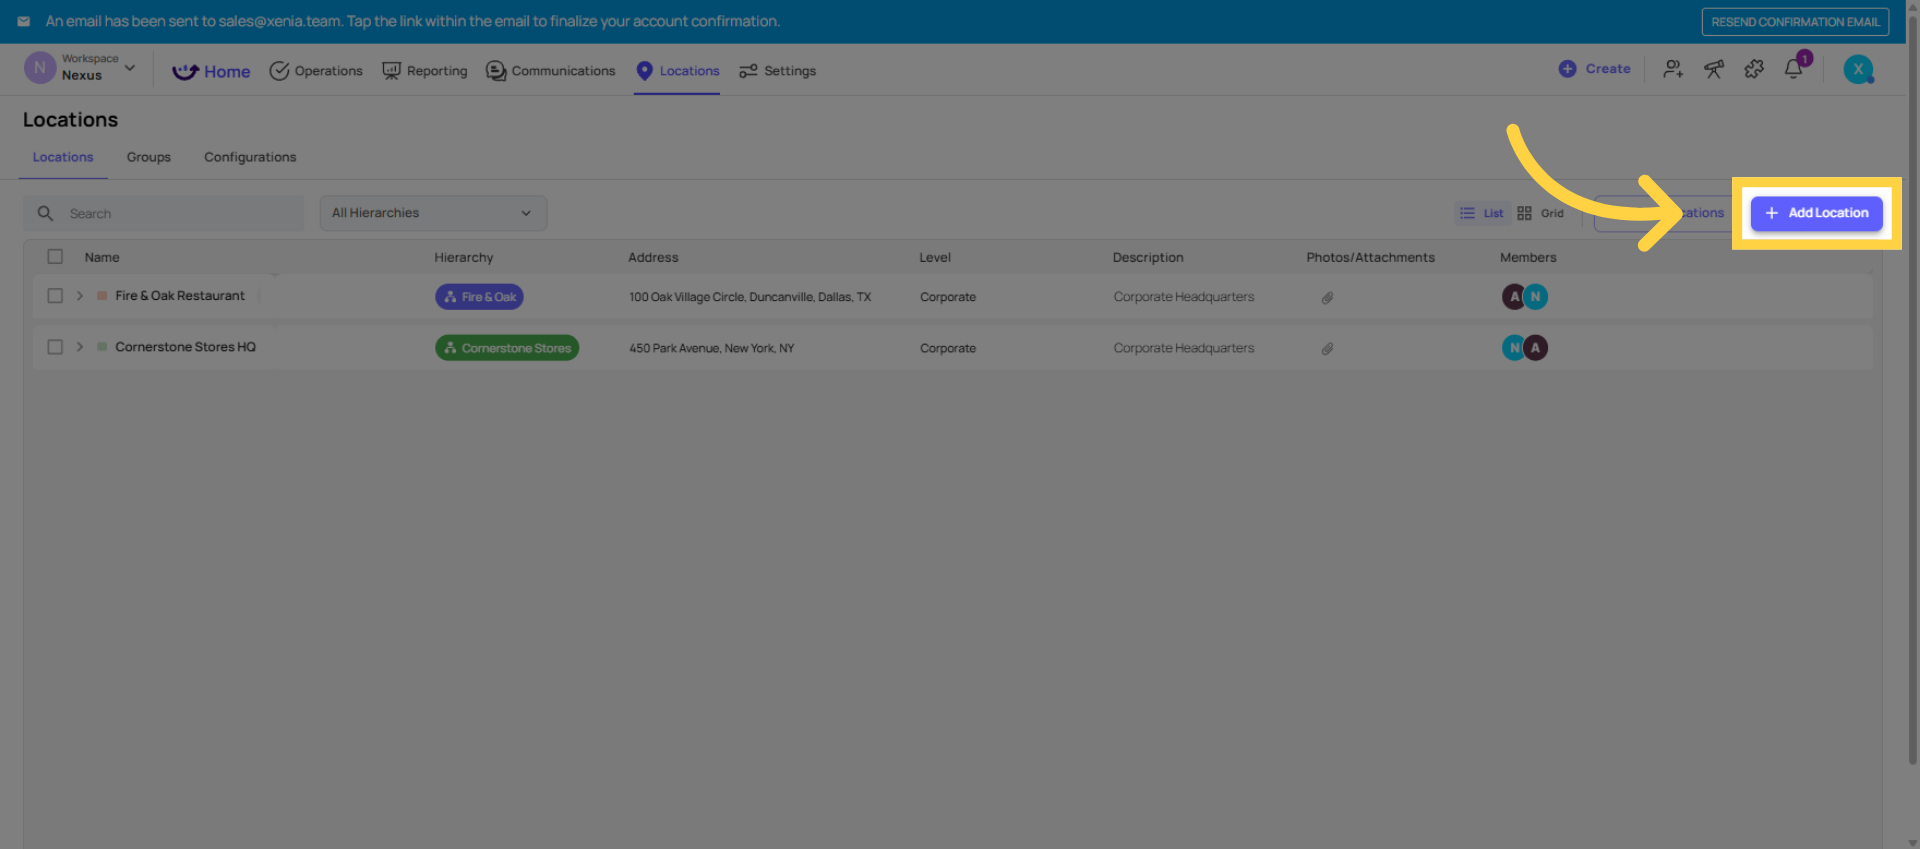
10. Click Add Location Button
Click the Add Location button to start adding a new location.
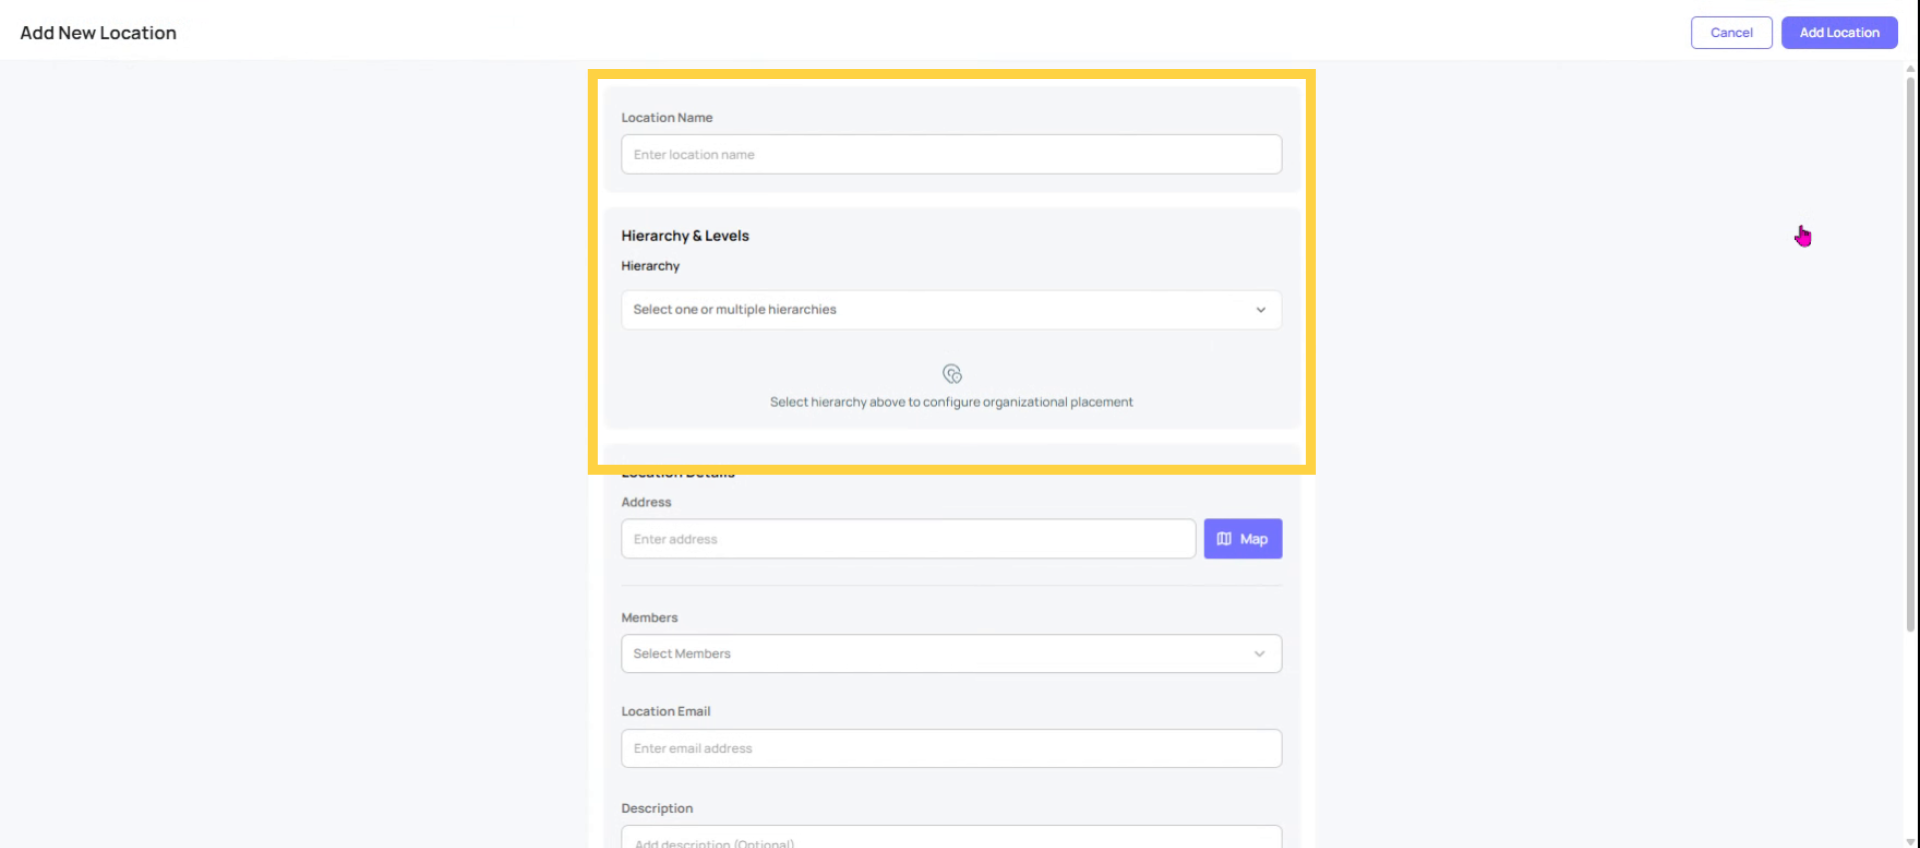
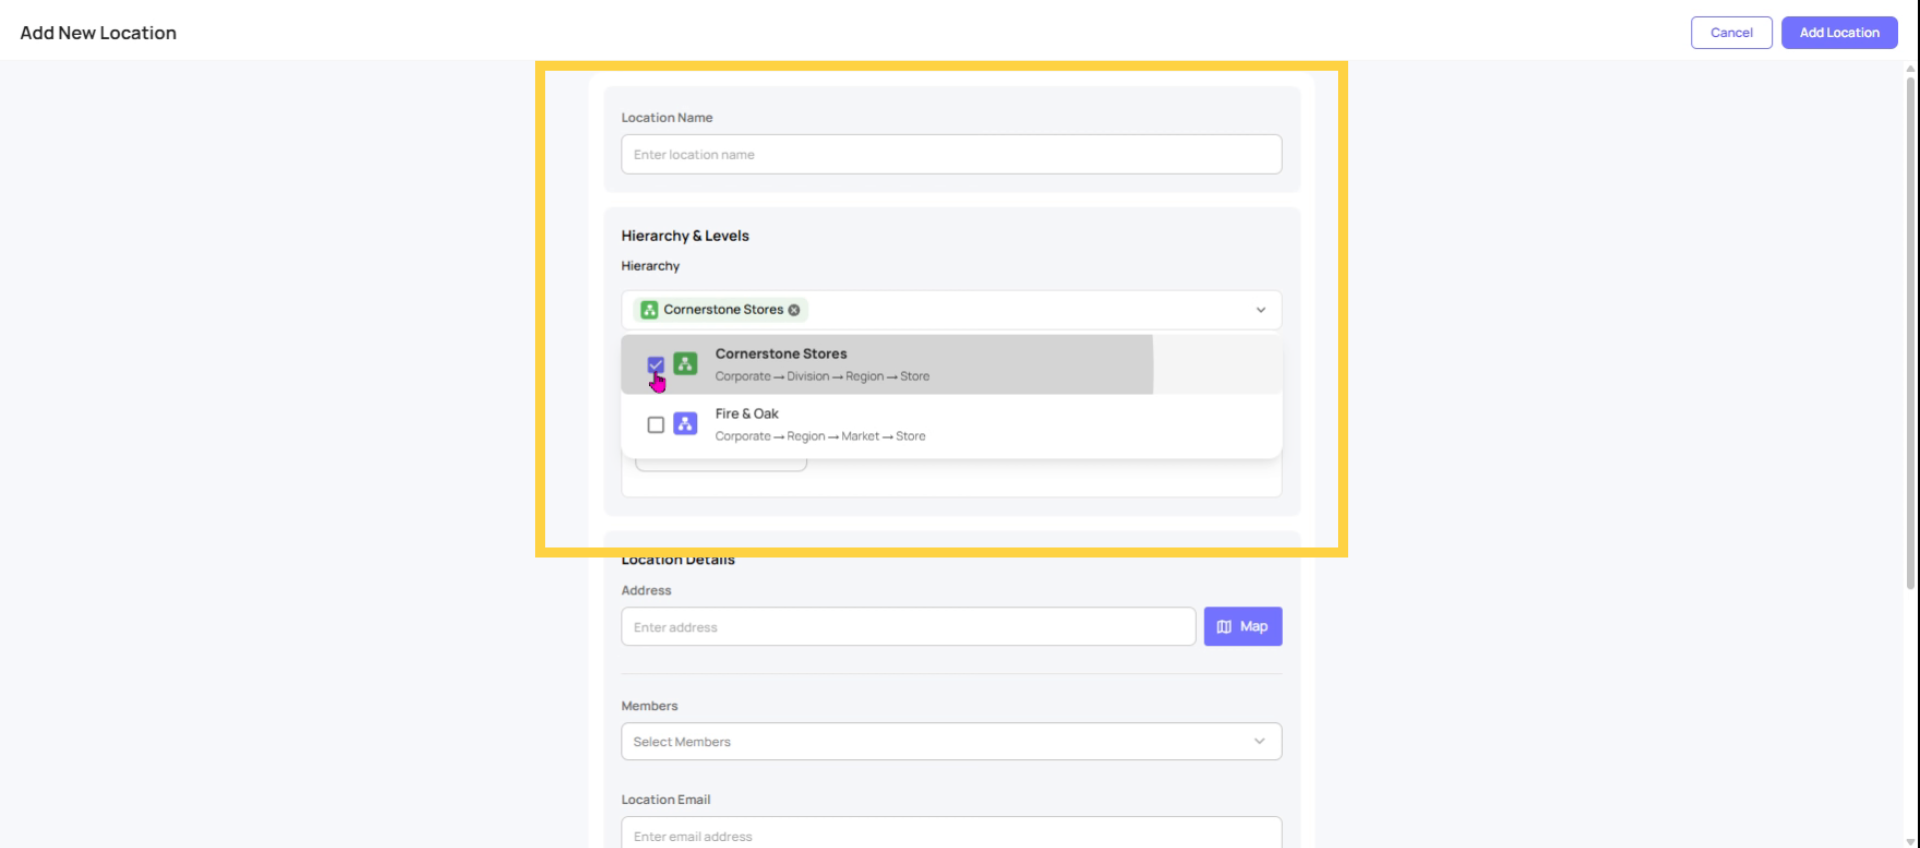
11. Select Location Level And Name
Determine the appropriate level for this location. Assign a name to the location, and then select the relevant hierarchy and level, which may be a region, district, or site. If adding a region initially.
12. Assign Location To Hierarchy Level
In this section, you will designate the appropriate hierarchy level for the location, whether it be a corporate division, region, or store. You can then associate it with the specific location.
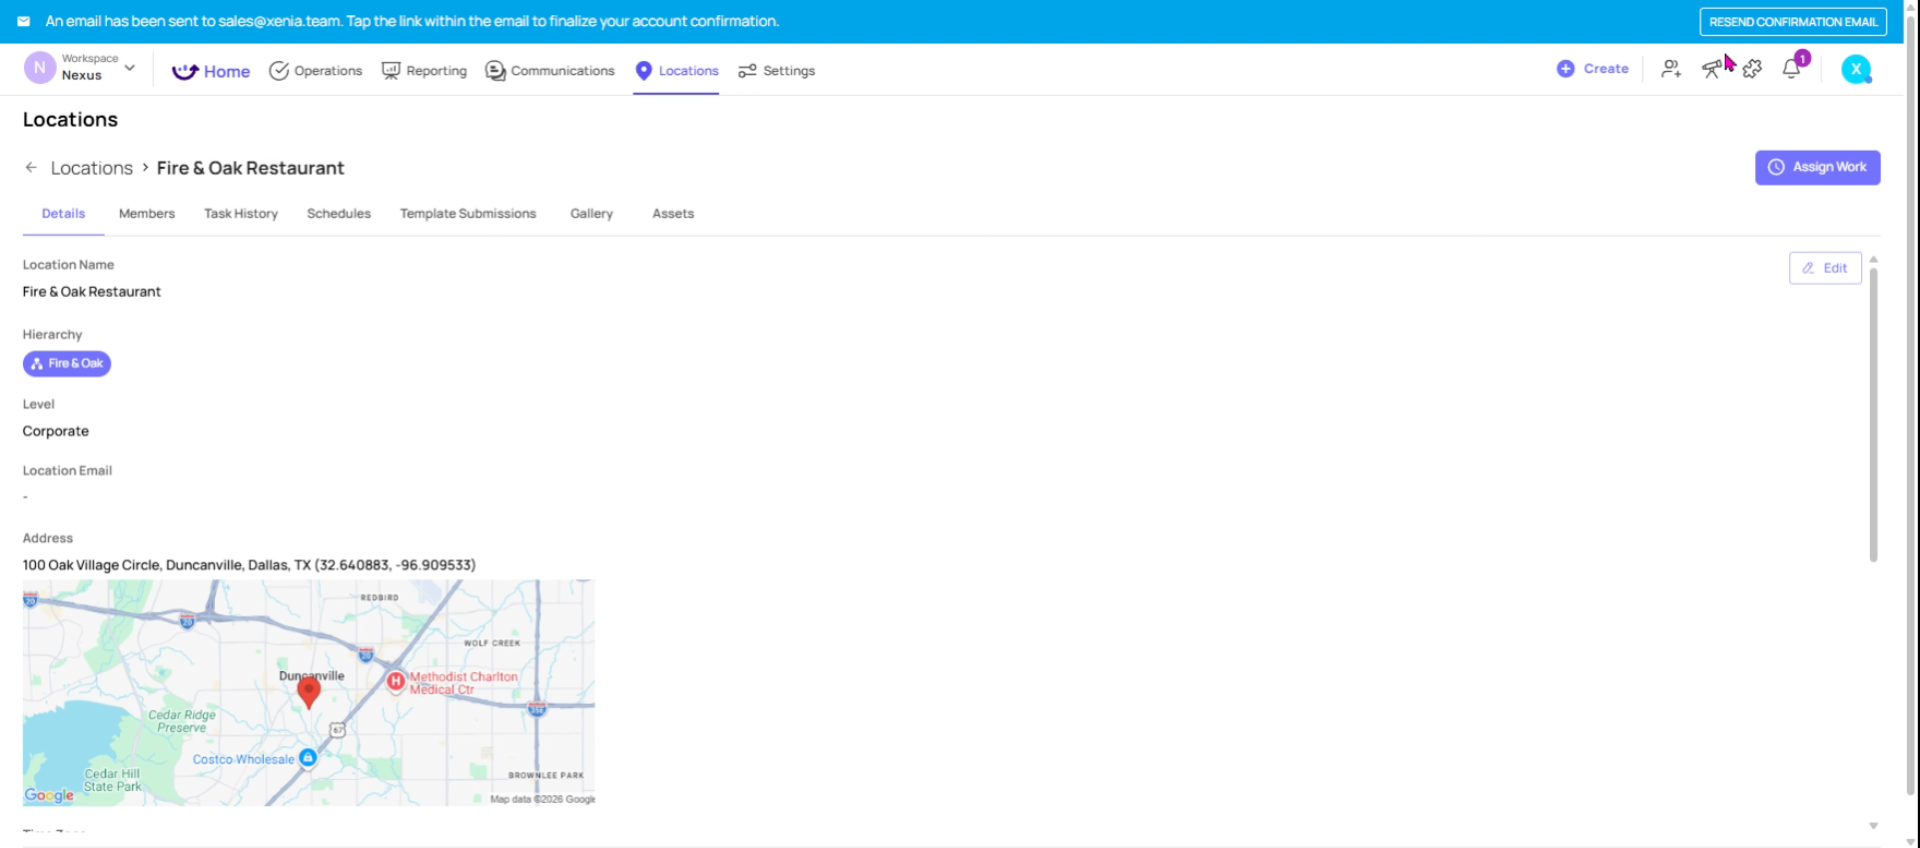
13. Add Address For Time Zone
For site locations, ensure that the address is entered. This is necessary because Xenia utilizes the address to determine the correct time zone.
14. Add Members And Details To Location
In addition to selecting members for a location, you can also input details such as the location name, email address, or a description, and then click the "Add Location" button.
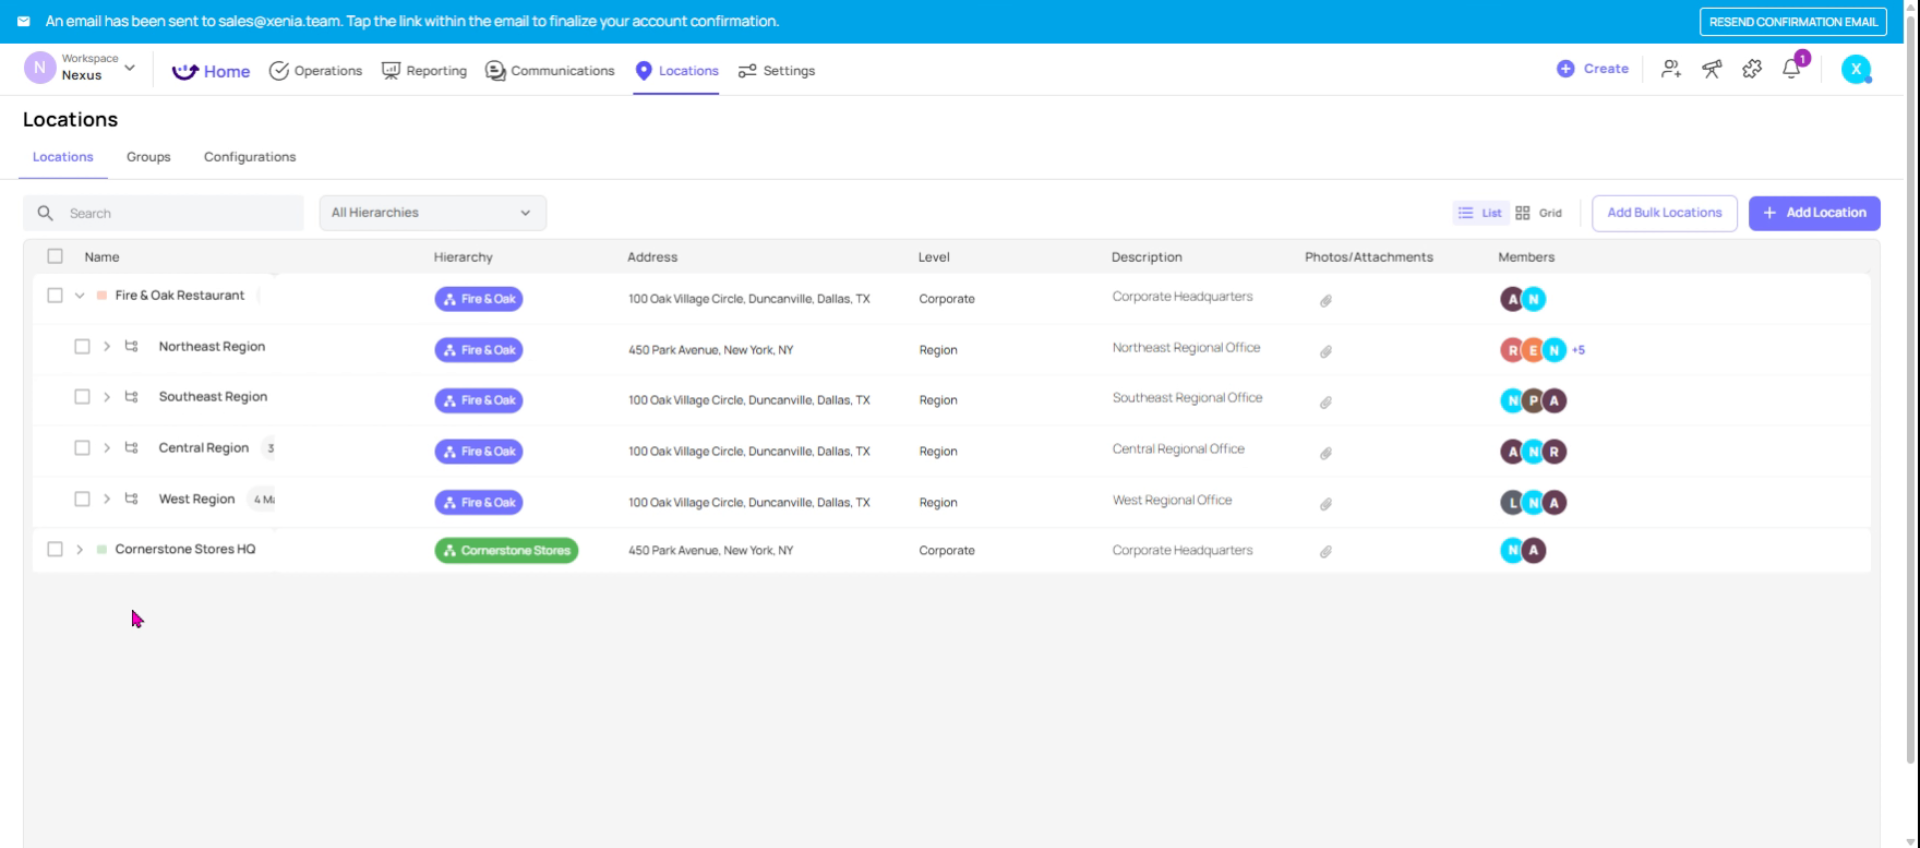
15. Click To Expand Locations
Once you've added everything, you can expand the arrows in your Locations tab to review the full tree.
16. Verify Site Nesting
Make sure every site is nested correctly under the right district and region if something is in the wrong place.
17. Integrate Hierarchy With Xenia Features
With the location hierarchy established, all other Xenia features integrate seamlessly. When onboarding users, they will be assigned to specific locations within this hierarchy. When deploying checklists via the project feature, you will select the applicable location. Furthermore, when generating reports, data will aggregate through this hierarchy, enabling performance comparisons by store, district, or region. This constitutes the location hierarchy. Proper configuration of this hierarchy significantly streamlines the overall management of Xenia.
This article has guided you through planning, creating, and managing your location hierarchy in Xenia. With a properly configured hierarchy, you can control user access, deploy checklists accurately, and generate meaningful reports by location. For more information, explore related articles on user management and checklist deployment in the Xenia knowledge base.
Need Help?
For assistance please reach out to us at support@xenia.team

Comments
0 comments
Please sign in to leave a comment.