For Admins: Setting Up Your Workspace (overview/landing page)
Ayesha
This article helps administrators set up their Xenia workspace for frontline teams. You'll learn how to configure locations, roles, user invitations, and deploy checklists to get your team started efficiently.
1. Welcome to Xenia Overview
Welcome to Xenia. If you are an admin setting up your workspace for the first time, you're in the right place. This video gives you a quick overview of everything you will be configuring and points you to the right guides for each step.
Xenia is a workforce operations platform built for frontline teams. There are two sides to Xenia, the desktop app, which is where you as an admin or manager will do most of your configuration and oversight, and the mobile app, which is what your front-line staff uses to complete tasks and checklists on the floor.
2. Admin Setup Responsibilities Overview
As an admin, your job is to build the foundation that your team will operate on. That means four things: setting up your locations, creating roles and permissions for your different job types, inviting your users, and deploying your first checklist or project so your team knows what to do on day one.
The 5-Step Admin Setup Path
Set up your Location Hierarchy
Create Roles & Set Permissions
Invite Users (individually or via CSV)
Deploy Your First Checklist via Projects
Verify Frontline Access (mobile app)
5. Before You Begin — What to Have Ready
List of your locations (names, addresses, hierarchy)
List of roles/job titles in your org
Email addresses for users you'll invite
Your existing checklists/forms (for templates)
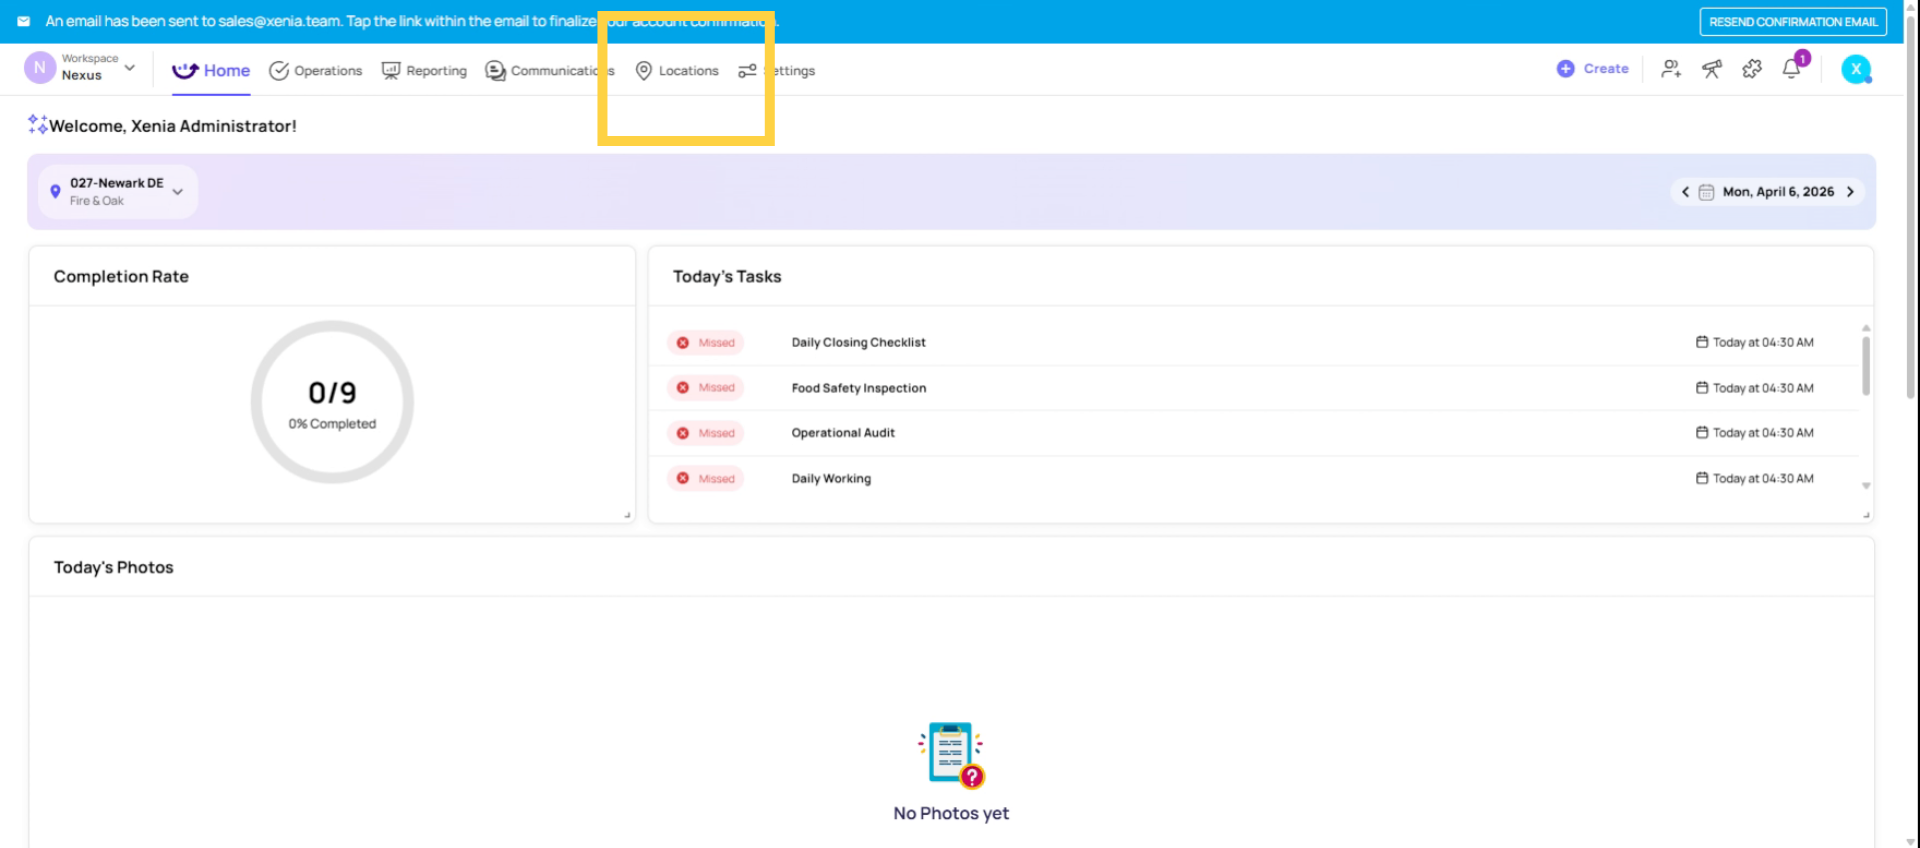
3. Set Up Location Hierarchy
Here's the order we recommend. Step one, locations. Set up your location hierarchy. This is where you will add all your stores, districts, or sites. Step two.
Click the add location to begin setting up your locations within the Xenia platform. This is the first step in configuring your workspace hierarchy.
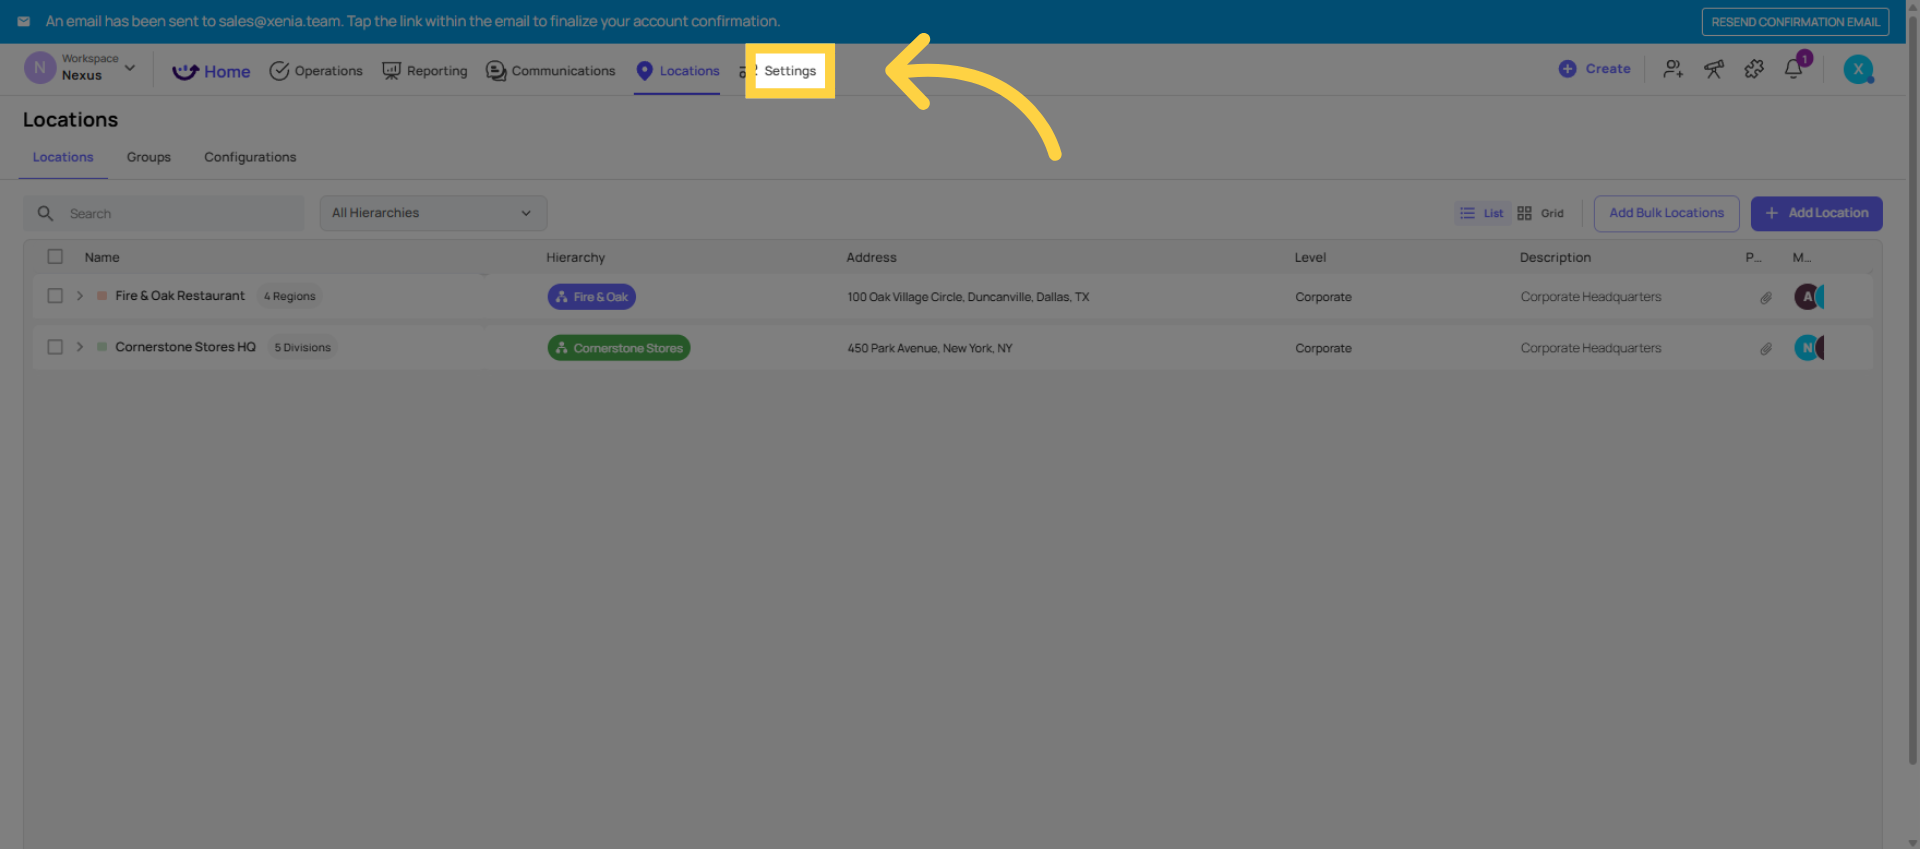
4. Open Settings Menu
Click the Settings button to access configuration options for your workspace and manage various administrative settings.
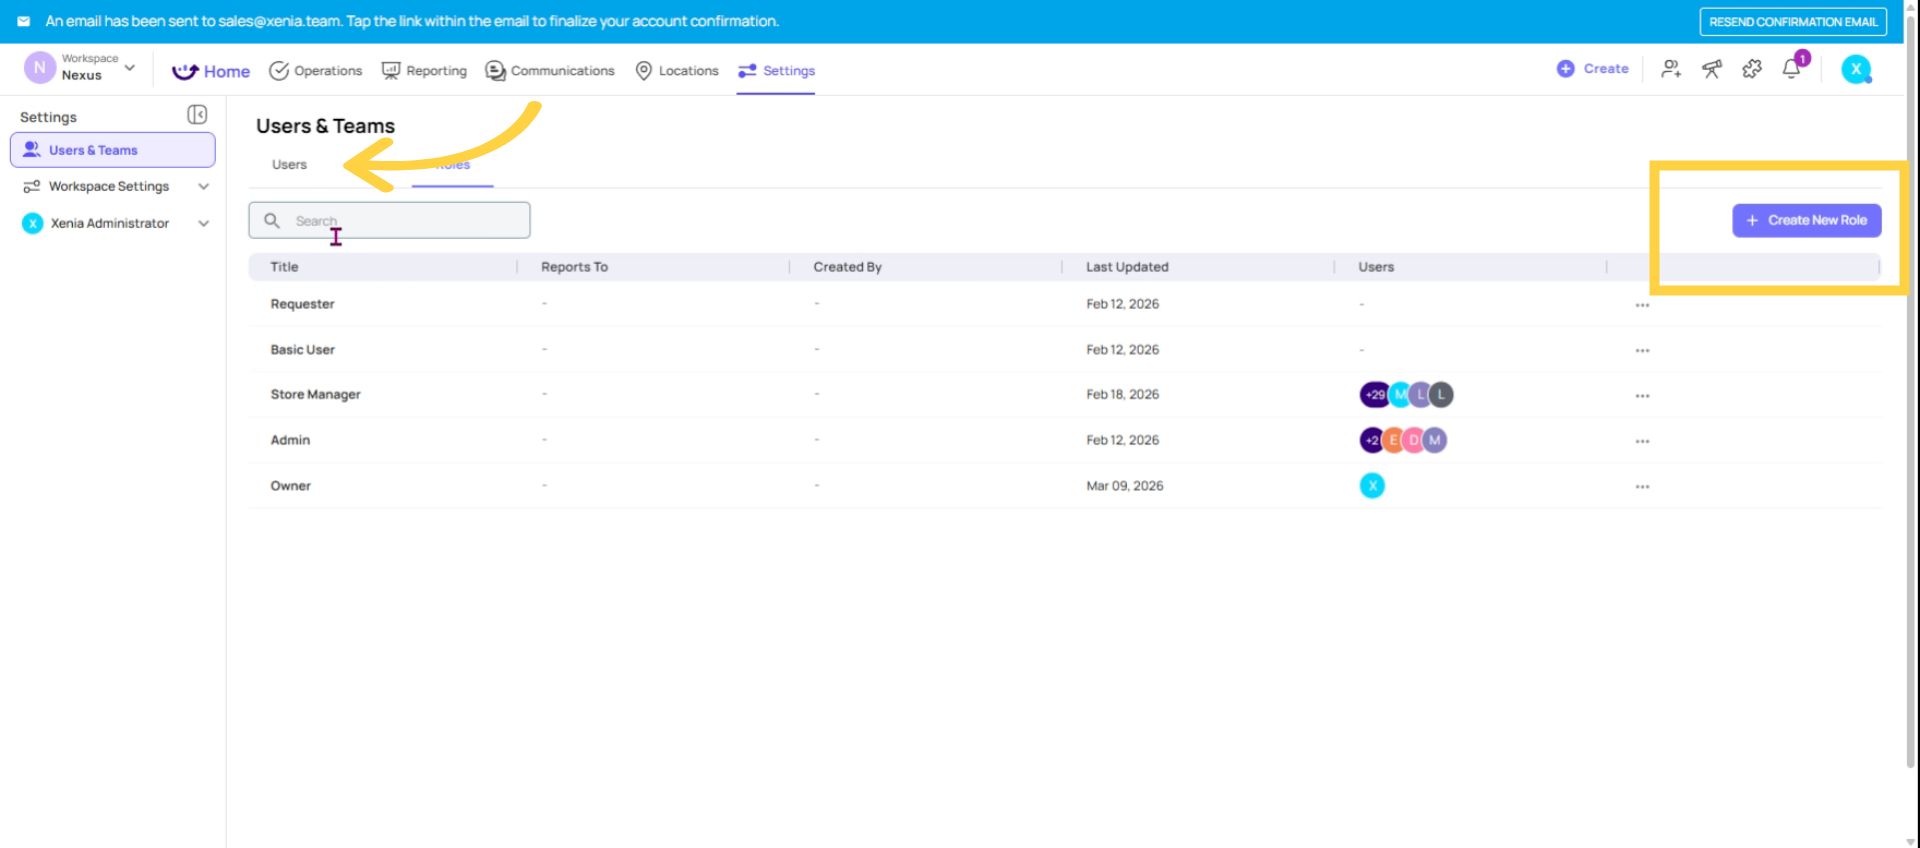
5. Create Roles and Permissions
Create your roles and configure their permissions. This controls what each type of user can see and do.
6. Invite Users to Workspace
You can invite users to your workspace individually or in bulk using a CSV file.
7. Build and Deploy Checklists
To build and deploy your first checklist, start by clicking "Add New Template" and selecting the template that best fits your needs. Then, deploy the checklist using the Projects feature.
8. Prepare Setup Information
In the end, have a few things ready. Have a list of your locations with their addresses. Addresses matter because Xenia uses them for times on logic. Have a list of the roles or job titles in your organization. Have the email addresses of the people you want to invite. And if you have existing paper checklists or forms, have those on hand too.
You will use them to build your first templates. Each of these steps has its own dedicated guide and video in the help center.
This article guided you through setting up your Xenia workspace, including locations, roles, user invitations, and checklist deployment. For more detailed instructions, refer to the dedicated guides and videos in the Xenia Help Center.
Need Help?
For assistance please reach out to us at support@xenia.team
 Click the add location to begin setting up your locations within the Xenia platform. This is the first step in configuring your workspace hierarchy.
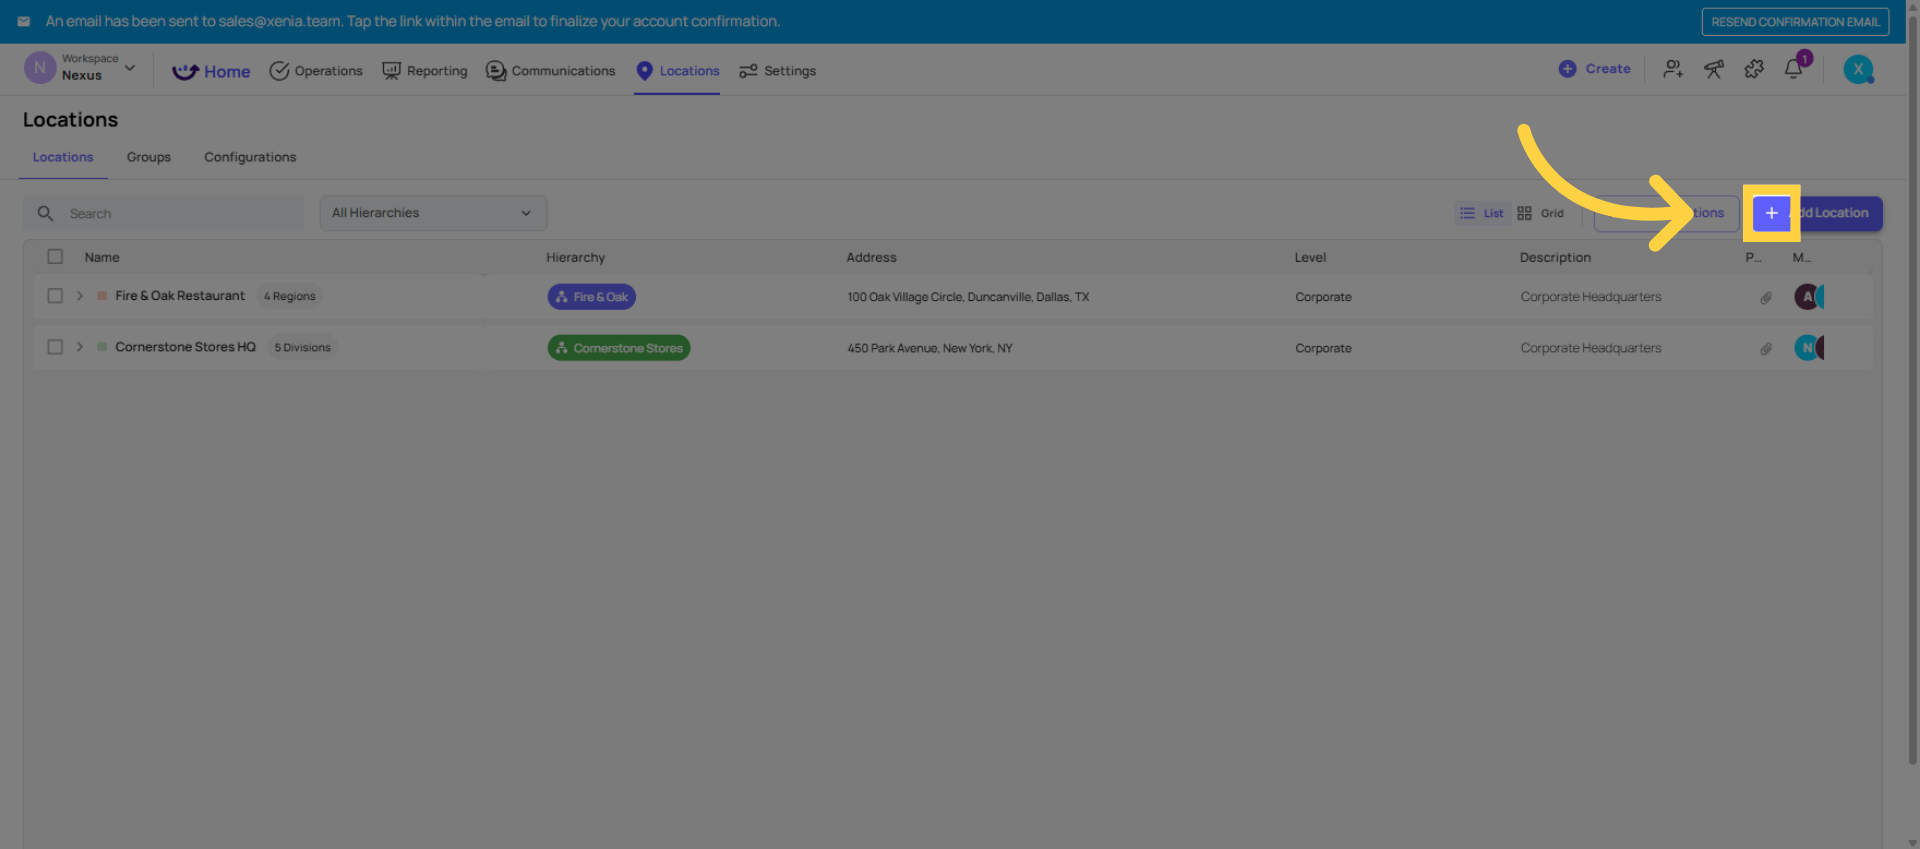
Comments
0 comments
Please sign in to leave a comment.