This article explains how to use the announcements feature in Xenia to communicate important information effectively. You'll learn how to create, customize, and manage announcements to keep your team informed.
1. Introduction To Announcements
In this article, I'm going to show you how you can use announcements as a feature. Announcements in Xenia allow you to send real-time, ad hoc notifications to your team across one or multiple locations. Whether it's a price change, a safety alert, a policy update, or an urgent heads-up — Announcements ensure the right people are informed instantly, directly on their mobile devices.
2. Access Communications Tab
“In Xenia, first go to the Communications tab in your workspace. Now you’ll see it says ‘Get started with announcements. You can click ‘Create your first announcement’ from here.”
3. Navigate To Announcement Creation
Once you do that, it will guide you to this specific page.
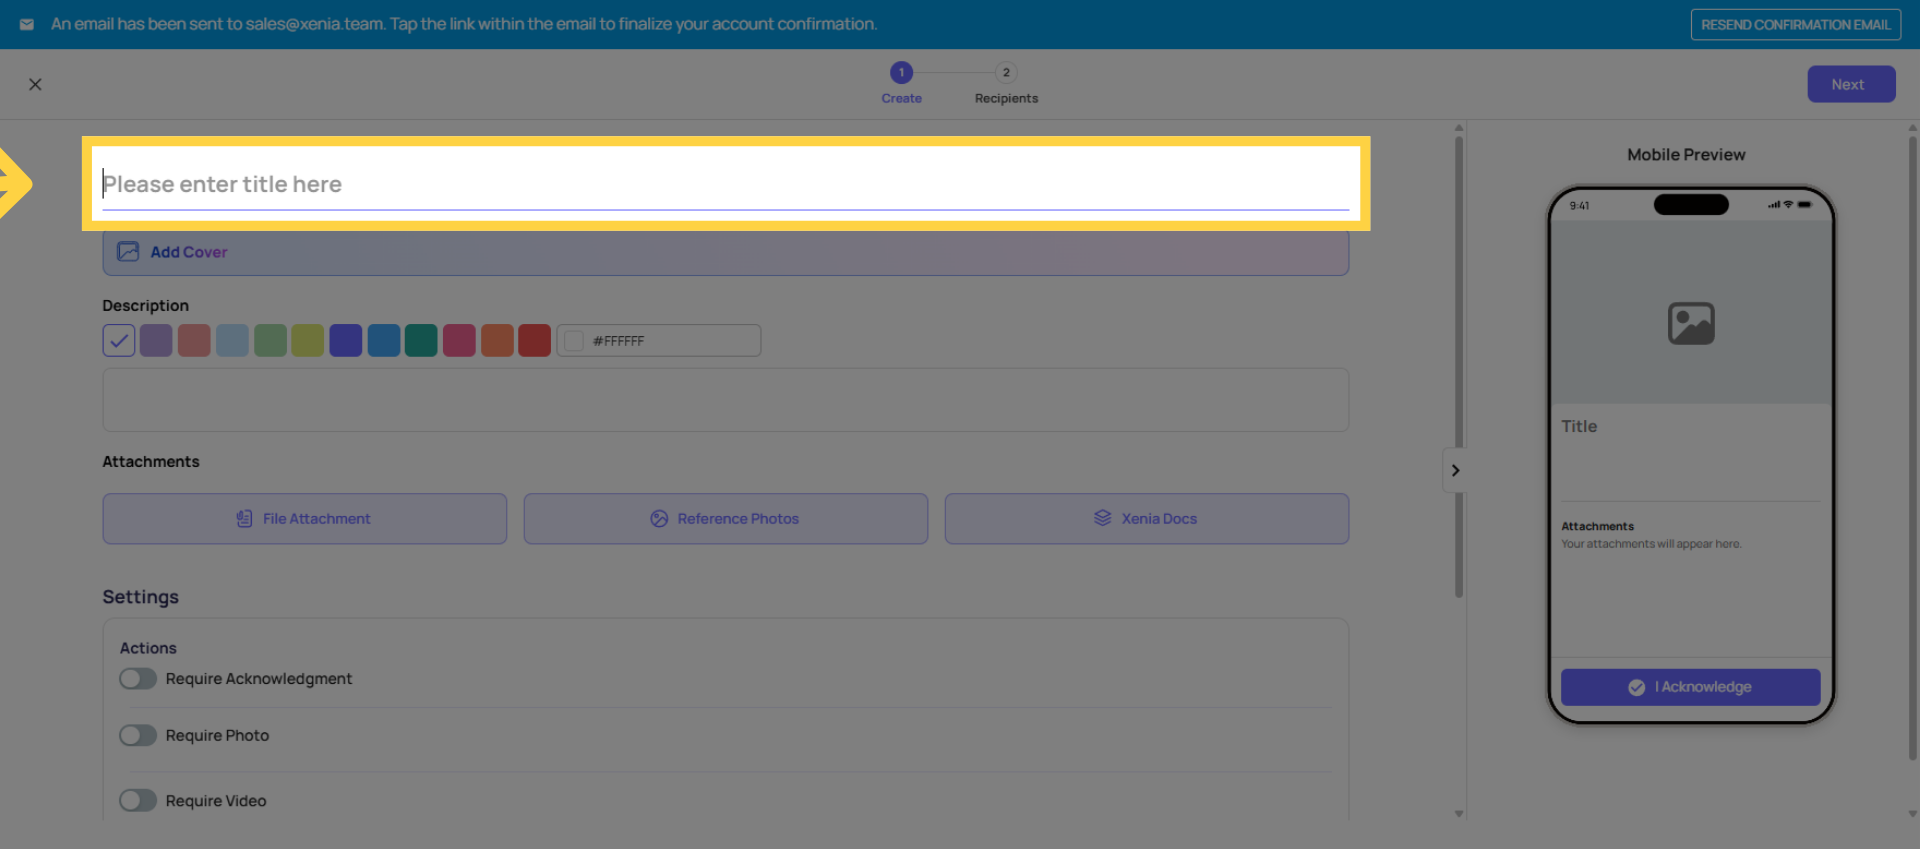
4. Enter Announcement Title
Click the title field labeled "enter title here" to name your announcement.
5. Add Cover Picture And Colors
You can also add a cover image from your folders. Additionally, you can choose a color for your announcement or description—simply select any color you like from here
6. Customize Announcement Text
You can further customise your text. For example, if it’s an important announcement, you can make the text bold, italic, underlined, or even strike-through—whatever formatting you need.
7. Adjust Font Size And Style
You can also set a specific text size and choose the style—like heading, paragraph, or custom—so your announcement appears exactly how you want. You can experiment with different sizes and formatting to get the perfect look
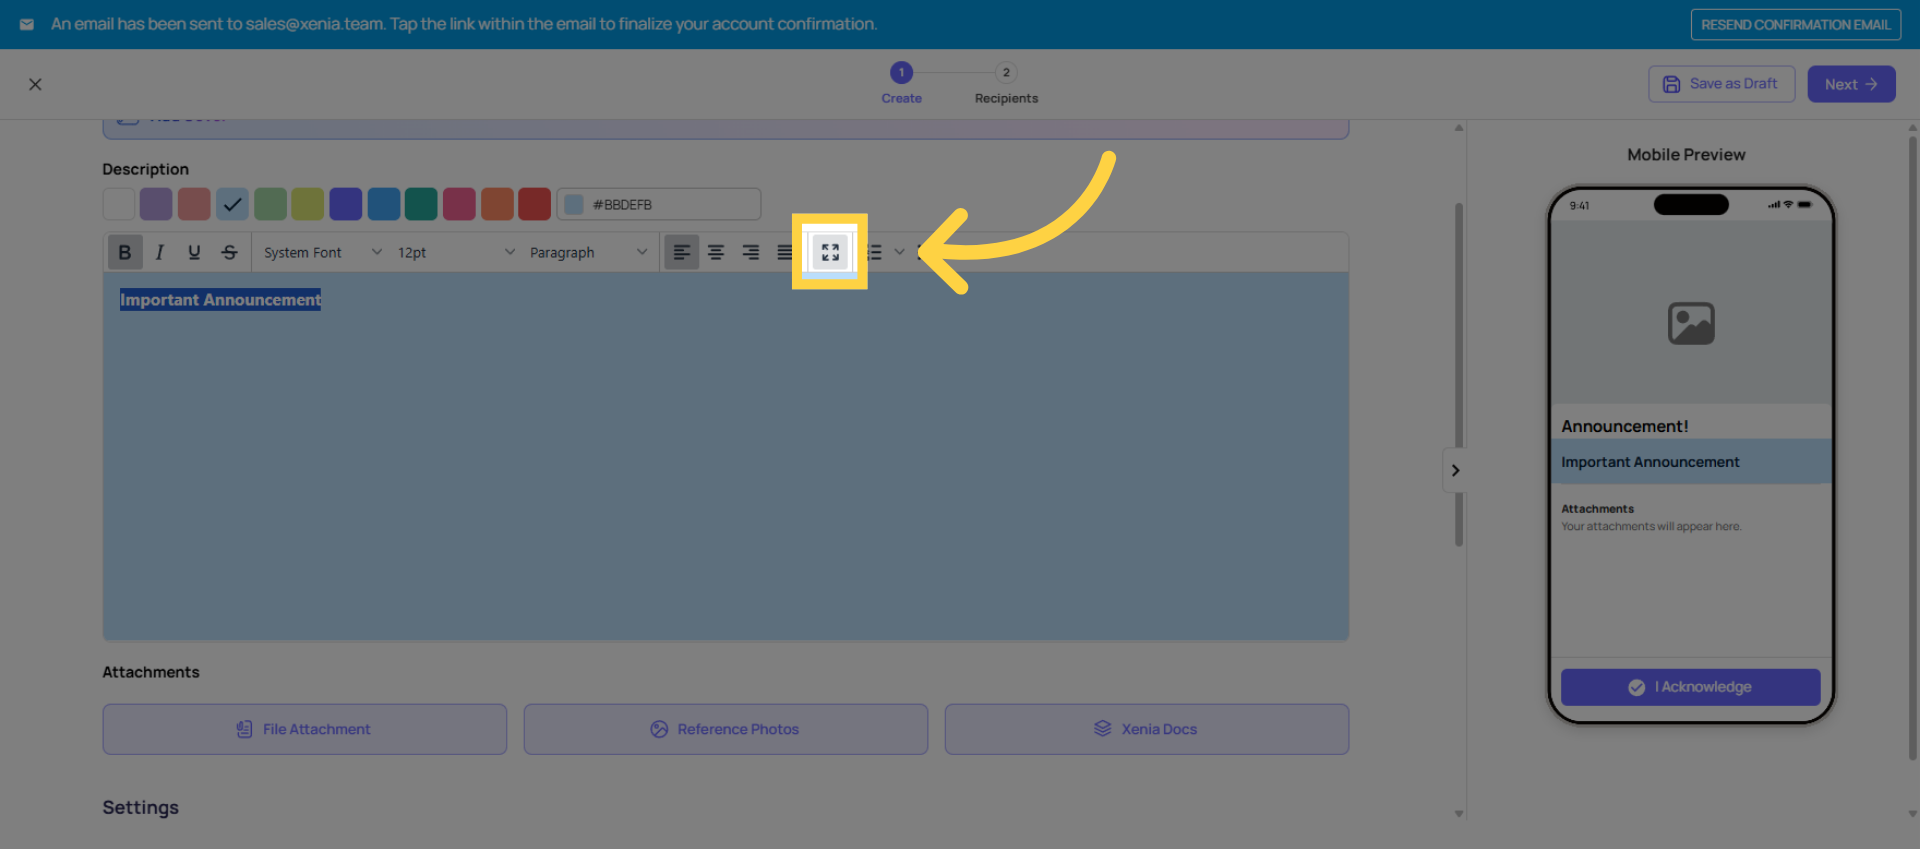
8. Enter Fullscreen Mode
Click the full-screen button to expand the announcement editor for easier formatting.
9. Attach Files And Templates
This means your announcement isn’t just text—it can be a full resource hub. You can attach files, reference photos, or even link to pre-built Xenia documentation. Users can then access everything they need directly from the announcement, making it both informative and actionable.
10. Set Acknowledgement Requirements
These settings let you make your announcement interactive and trackable. By requiring acknowledgement, signature, or media like photos or videos, you ensure that users not only see the announcement but actively confirm it. You can even control how many photos or videos they submit, giving you granular oversight on compliance or engagement.
11. Pin Announcement For Priority
Also, for more visibility and priority purposes, you can pin this announcement as well.
12. Schedule Announcement Duration
The active duration setting lets you control exactly how long the announcement stays visible to users. You can choose from preset durations like 1 day, 7 days, 14 days, 30 days, or set a custom timeframe.
13. Select Announcement Recipients
Next, you pick who will receive the announcement. You can target it very specifically by:Users, Teams, Locations and Roles. In your example, assigning it to the Store Manager role automatically pulls all users tied to that role across the selected locations. Here, you have 2 locations under that role, which brings up 33 users to receive the announcement. This ensures the right people see it without cluttering others’ dashboards.
14. Publish Announcement
Once everything is set up, you can publish the announcement. This makes it live and sends it to all the selected recipients you configured earlier.
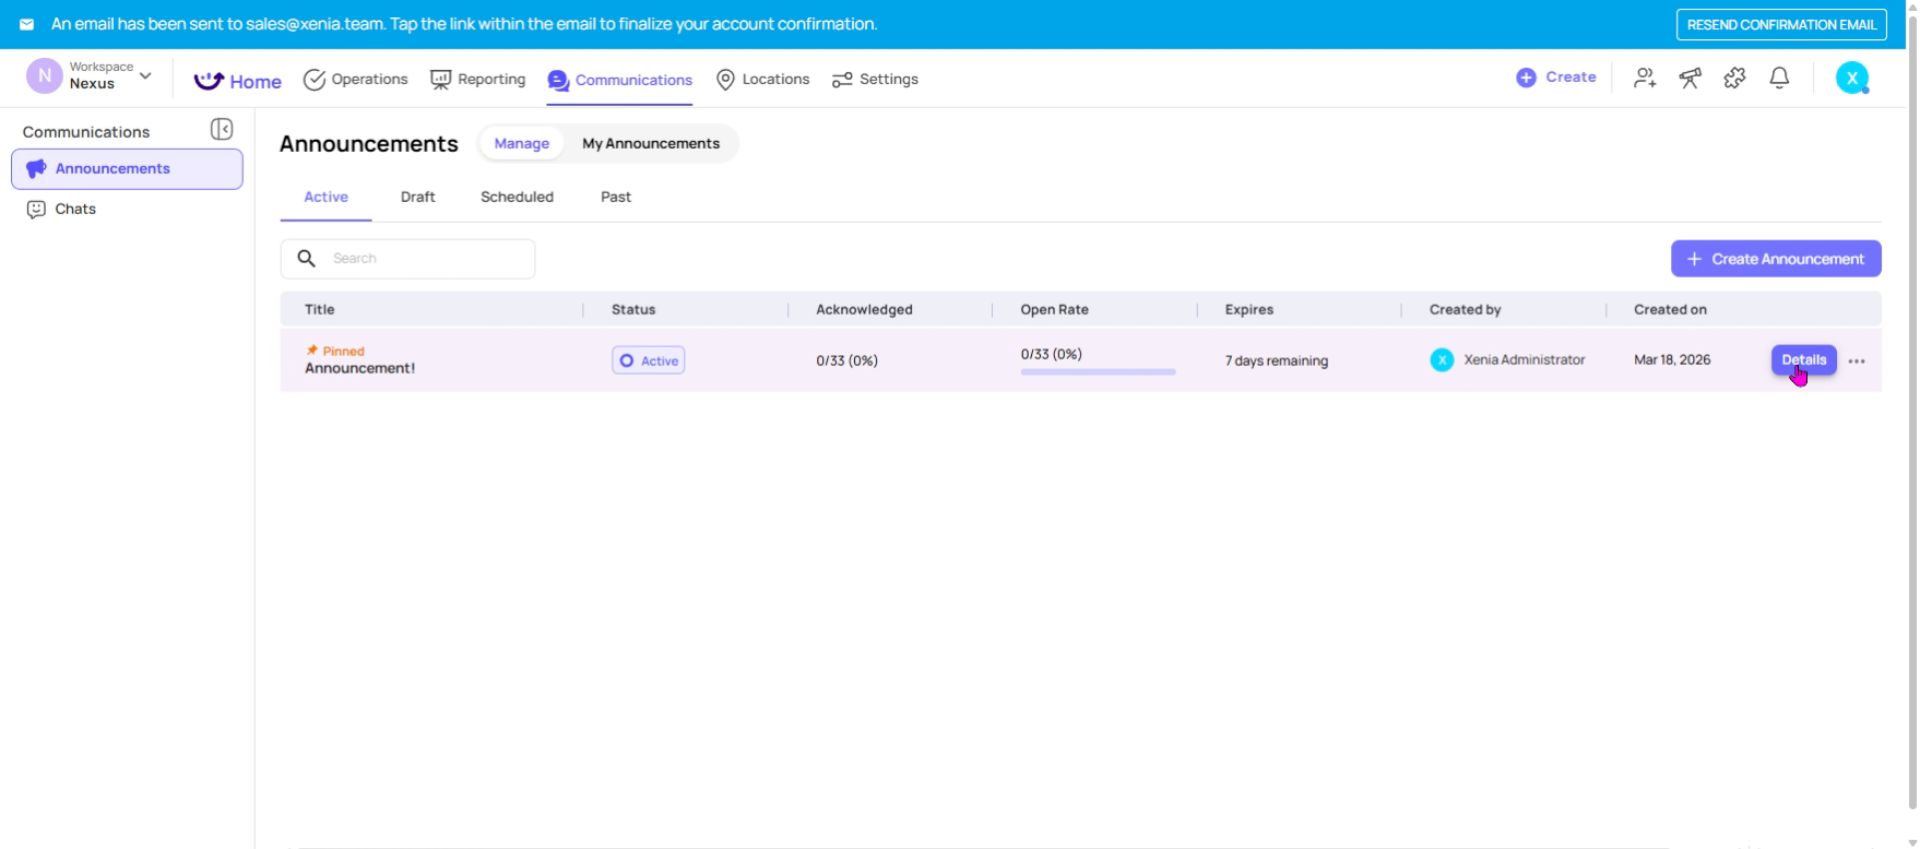
15. Manage Announcement Status
After publishing, your announcement will appear in the Manage section. Here, you can see that it’s pinned at the top for visibility.
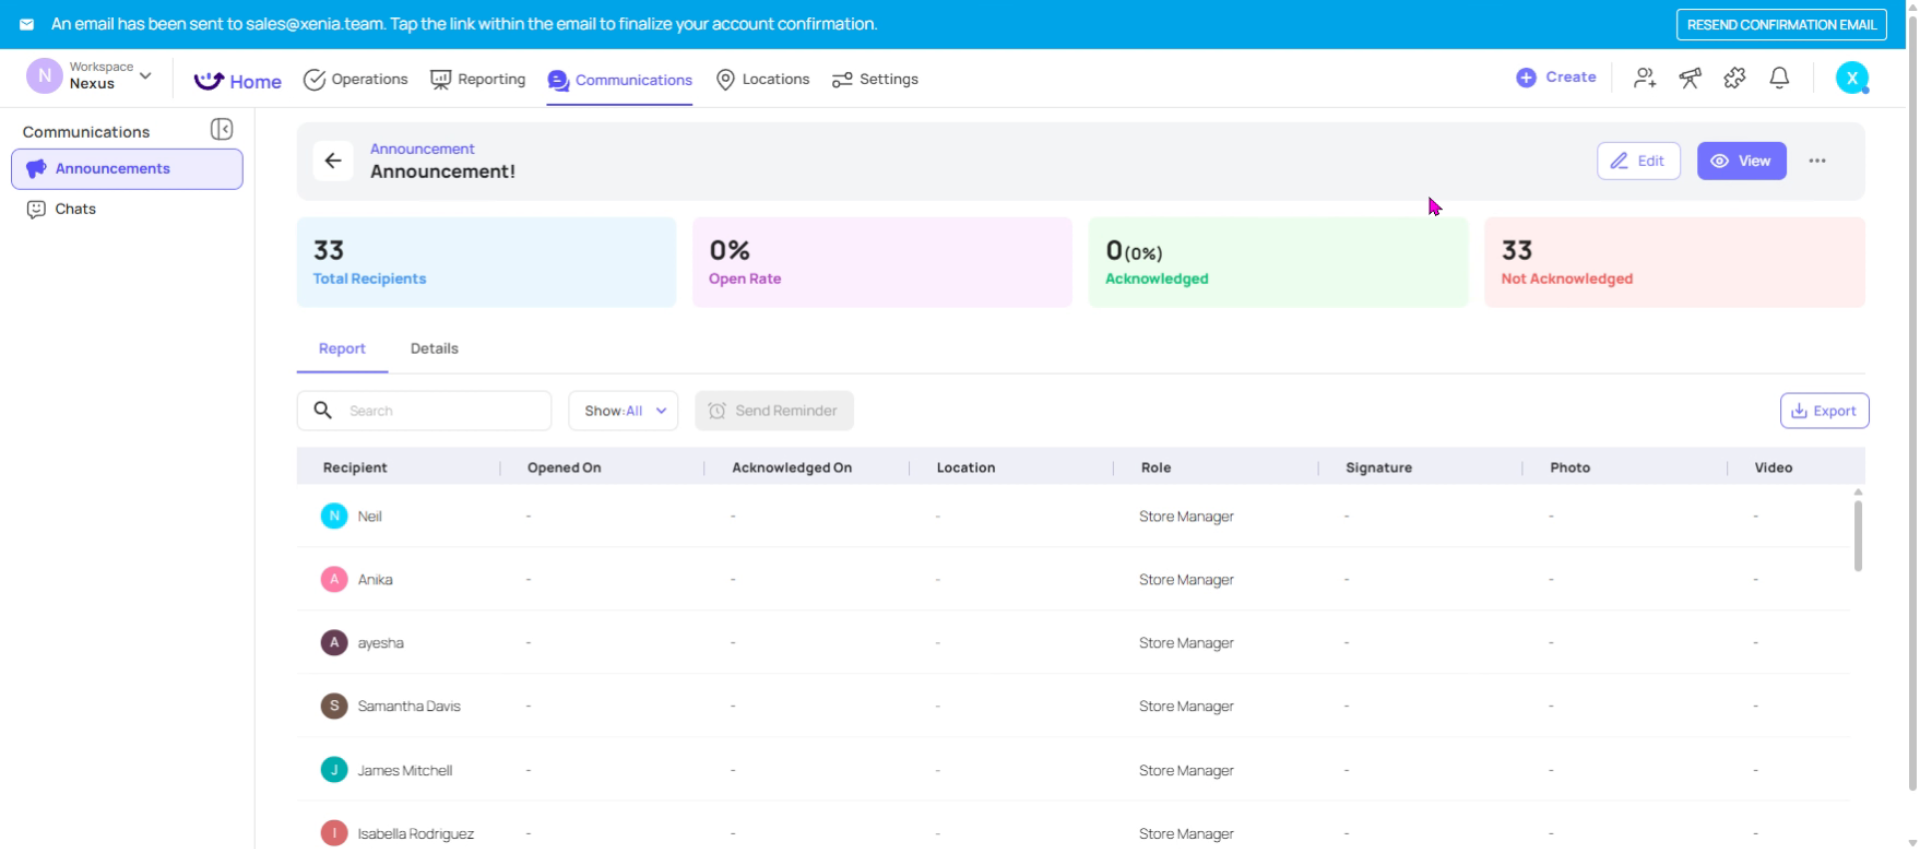
16. Check Acknowledgement And Reports
By clicking into the announcement, you can access the details and reporting: See who has acknowledged the announcement and who hasn’t. Check the open rate to understand engagement. Send reminders to users who haven’t acknowledged it yet. Export the data if you need a record or want to share it outside Xenia.
17. Edit Or Remove Announcement
Now you can view your announcement here, edit it, remove it, or delete it.
This article has guided you through creating, customizing, publishing, and managing announcements in Xenia. For more information, explore related articles on communication features and user management in the Xenia knowledge base.
Need Help?
Need Help?
- If you run into any issues or have questions about bulk locations, reach out to the Xenia support team at support@xenia.team or your Implementation Specialist for assistance.
Comments
0 comments
Please sign in to leave a comment.