Template Access — Controlling Who Can Submit or Edit a Checklist
Last updated: October 19, 2026
This article explains how to manage access controls for checklists in Xenia. You will learn how to configure template-level permissions to control who can view and edit specific checklists.
Understand Template Access
What Is Template Access?
Every template in Xenia has its own independent access settings that layer on top of the workspace-wide role permissions. While role permissions determine whether a user can access the Templates module at all, template-level access settings determine whether they can see and interact with this specific checklist.
Template Access is found inside each individual template: Operations → Templates → [Template Name] → Settings → Access → Template Access section
Navigate to Template
Select a template, and then click on the "View" option.
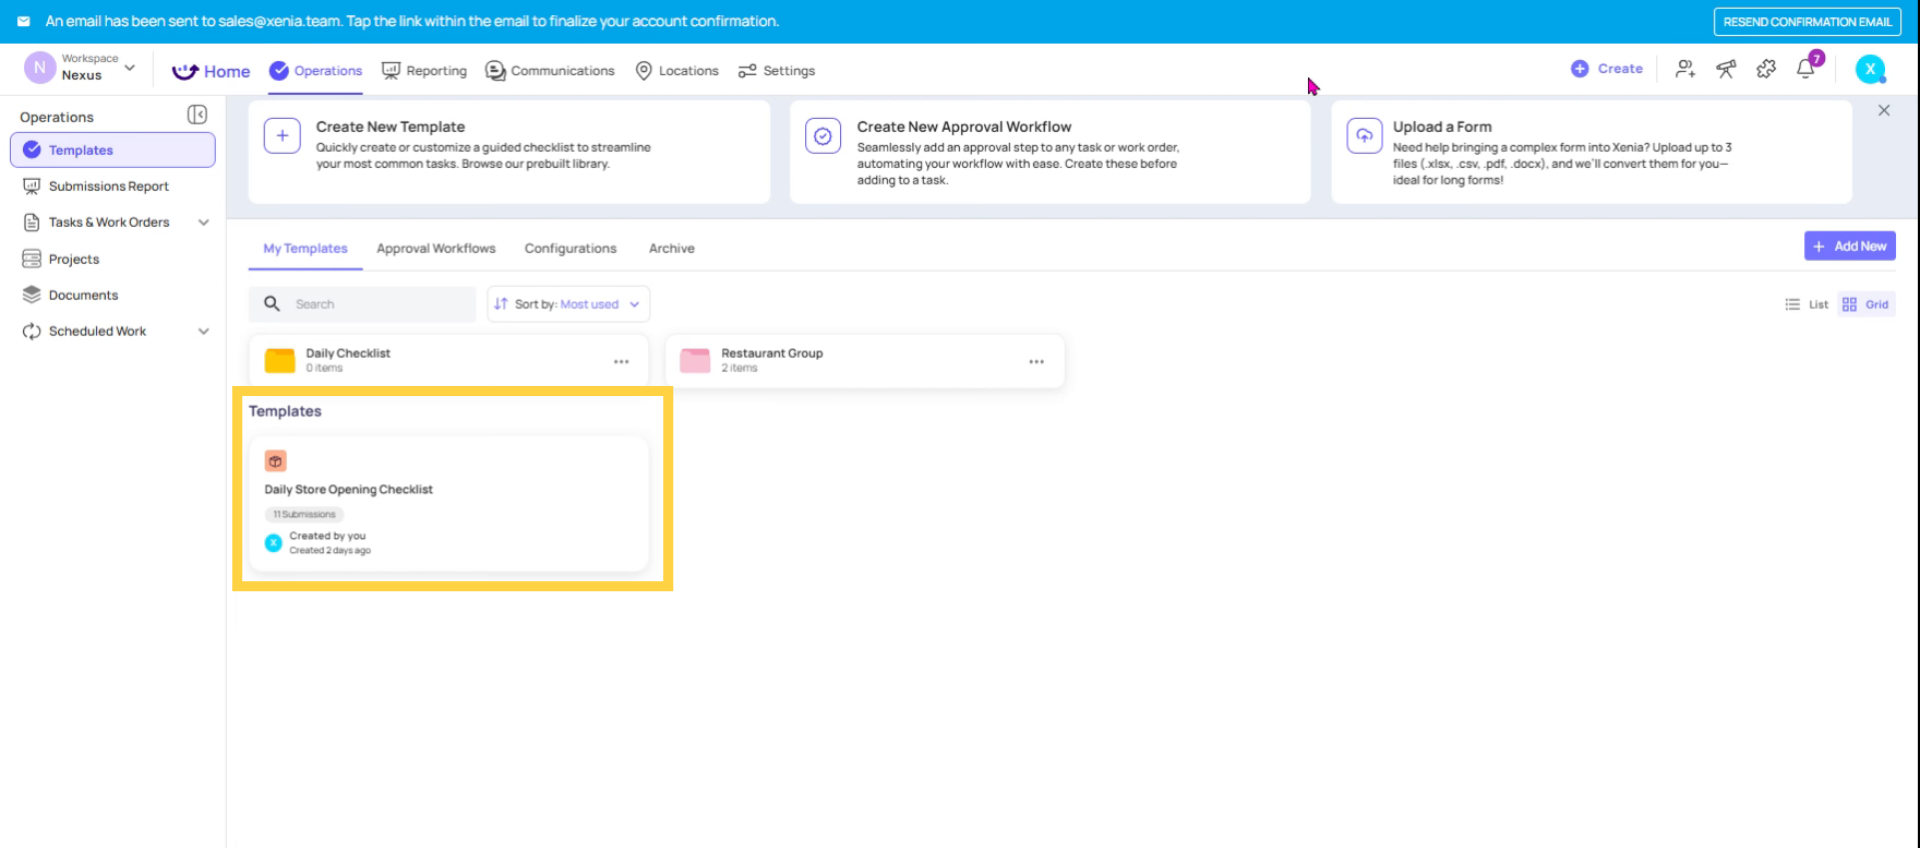
Select the "Edit" option.
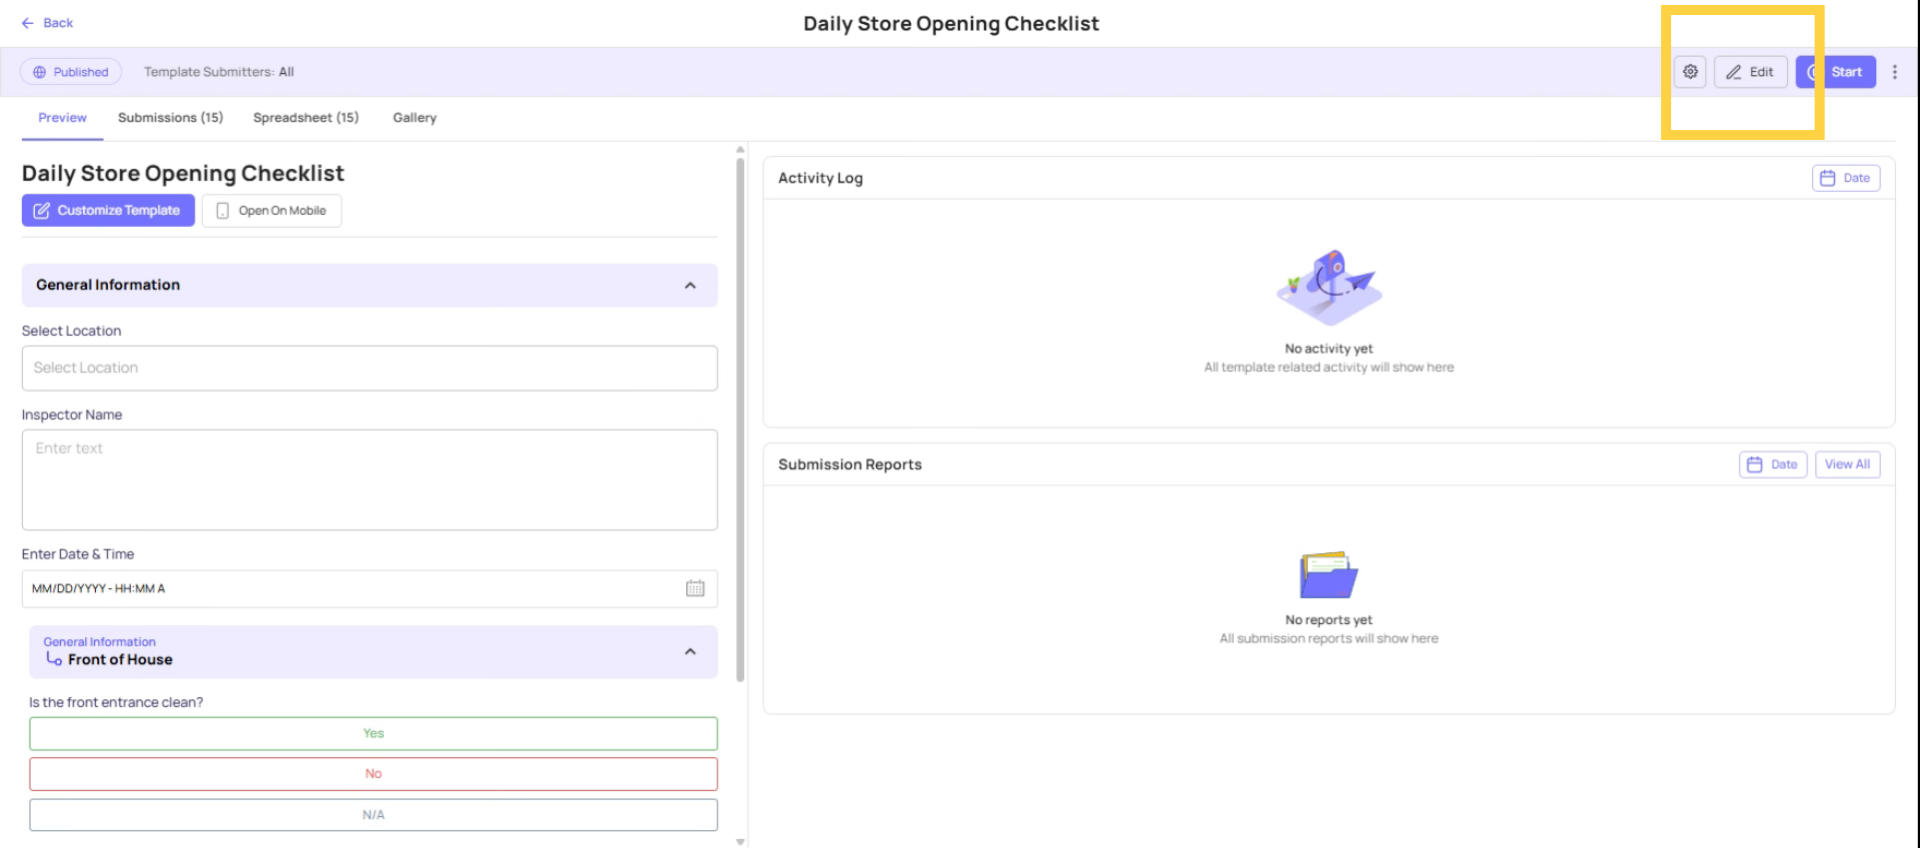
Open Template Settings Menu
Click the Settings button to access template configuration options.
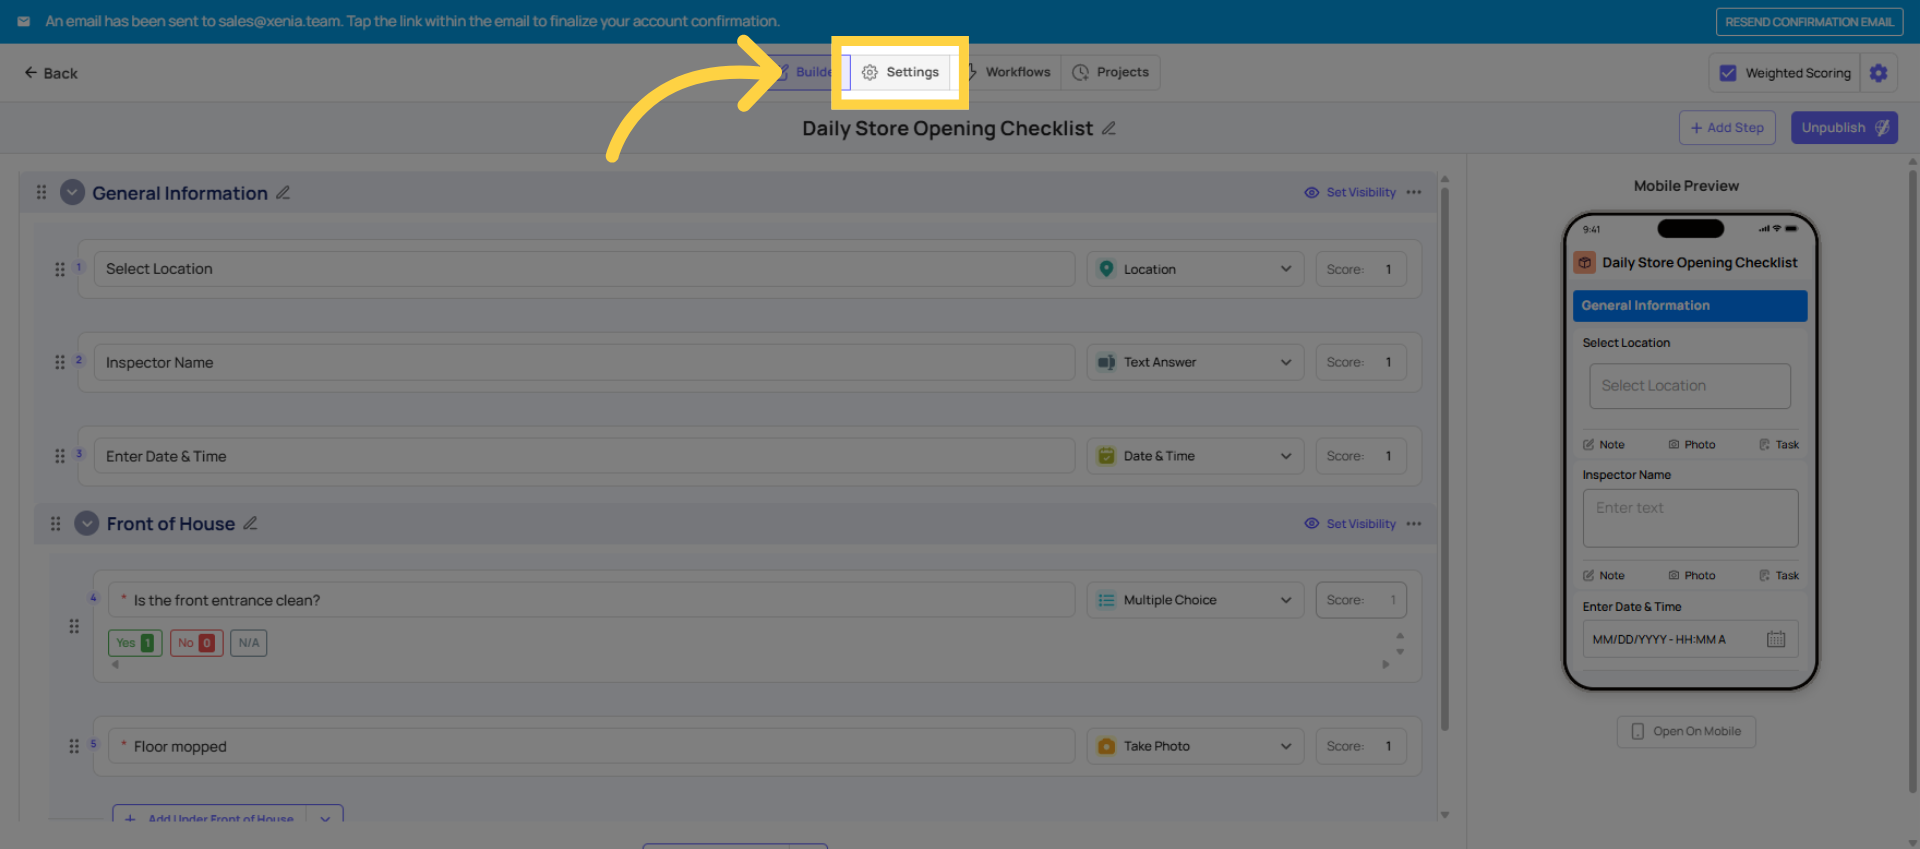
Template Access Controls
Next, select "Access".
Select "Can Edit" Template Permissions
Click the Can edit template option to manage who can modify the checklist structure and settings.
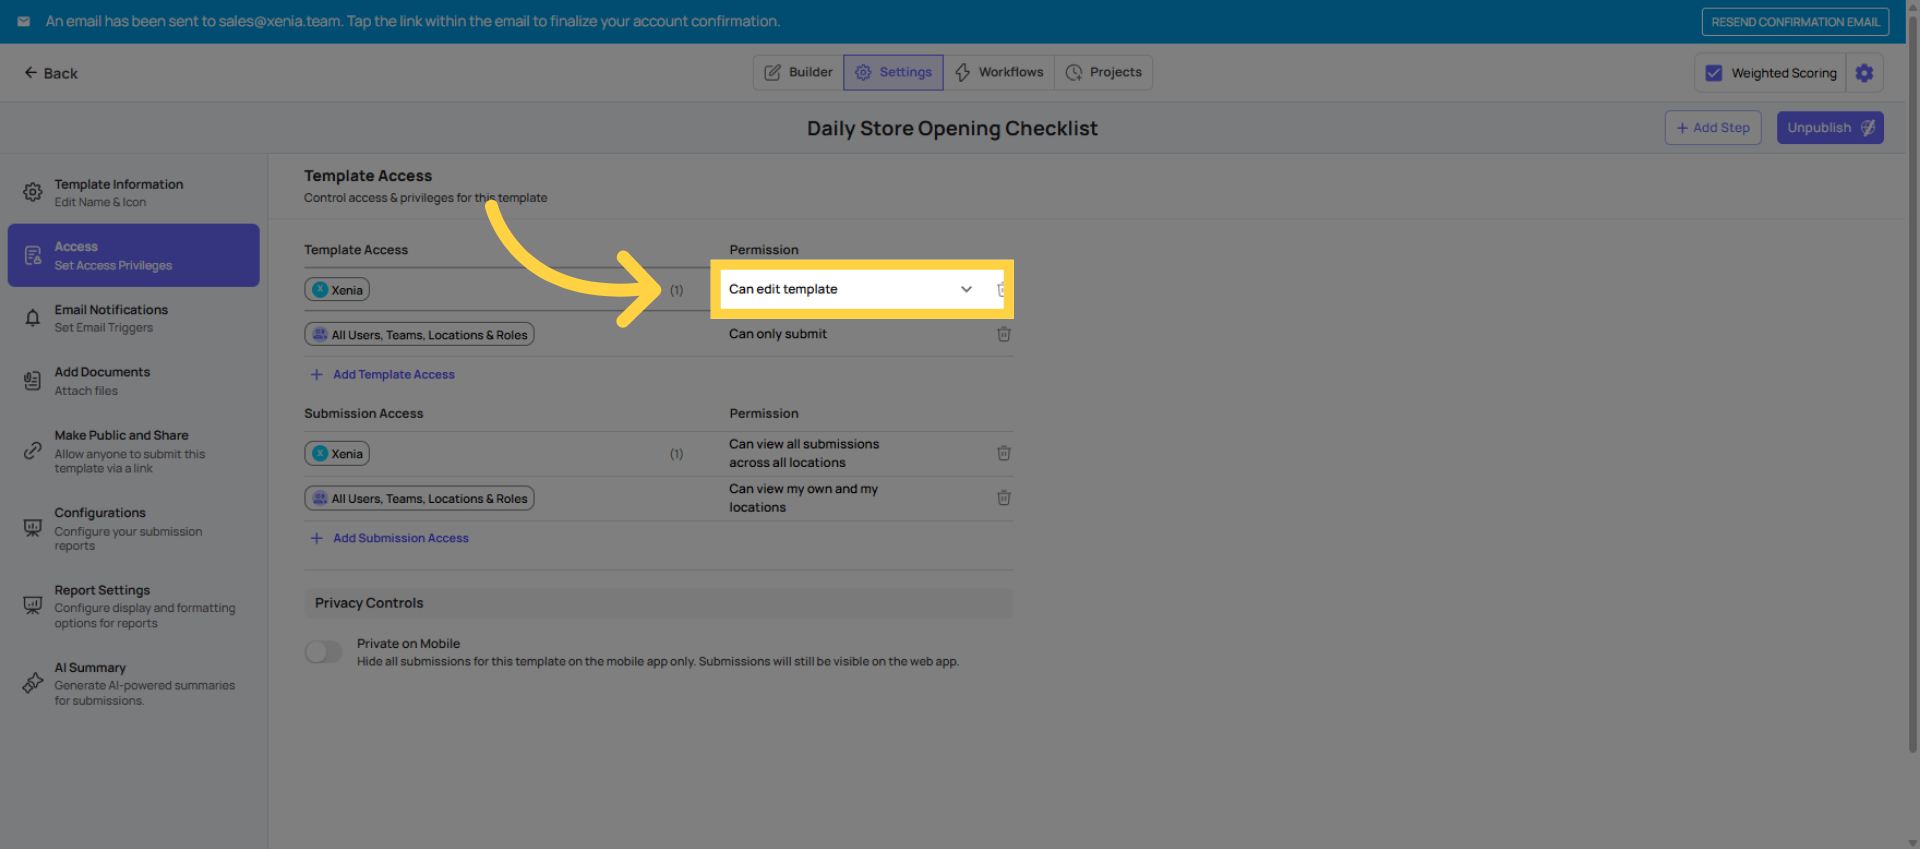
Can Edit Permission
The "Can Edit" Setting — Who Can Modify the Checklist
The "Can Edit" list determines which roles or specific users can open the template builder and make structural changes to the checklist.
This is the template's own editing gate, separate from the "Manage Templates" role permission. Both need to be true for a user to edit a template:
The role must have "Manage Templates" permission turned ON (role-level gate)
The user/role must be listed in this template's "Can Edit" section (template-level gate)
Common configuration: Most templates should have "Can Edit" restricted to Admin only, or to one designated operations manager who owns the template. You do not want every manager with Manage Templates permission being able to edit every checklist in the workspace.
The admin bypass: Admin and Owner roles with the "Access All — Unrestricted Access" permission can edit any template regardless of the Can Edit list. This is the safety net — if someone locks a template so tightly that no one can access it, an admin can always get in and fix it.

Role Permission Requirement
How Template Access and Role Permissions Work Together
There is a two-gate check every time a user interacts with a template:
Gate 1 (Role Level): Does the user's role have "Access Operations Templates" turned ON? → No → User cannot see any templates at all
Gate 2 (Template Level): Is the user's role listed in this template's "Can Submit" or "Can Edit"? → No → This specific template is invisible to this user
Both gates must be open. The role permission is the building door. The template access setting is the individual room door.
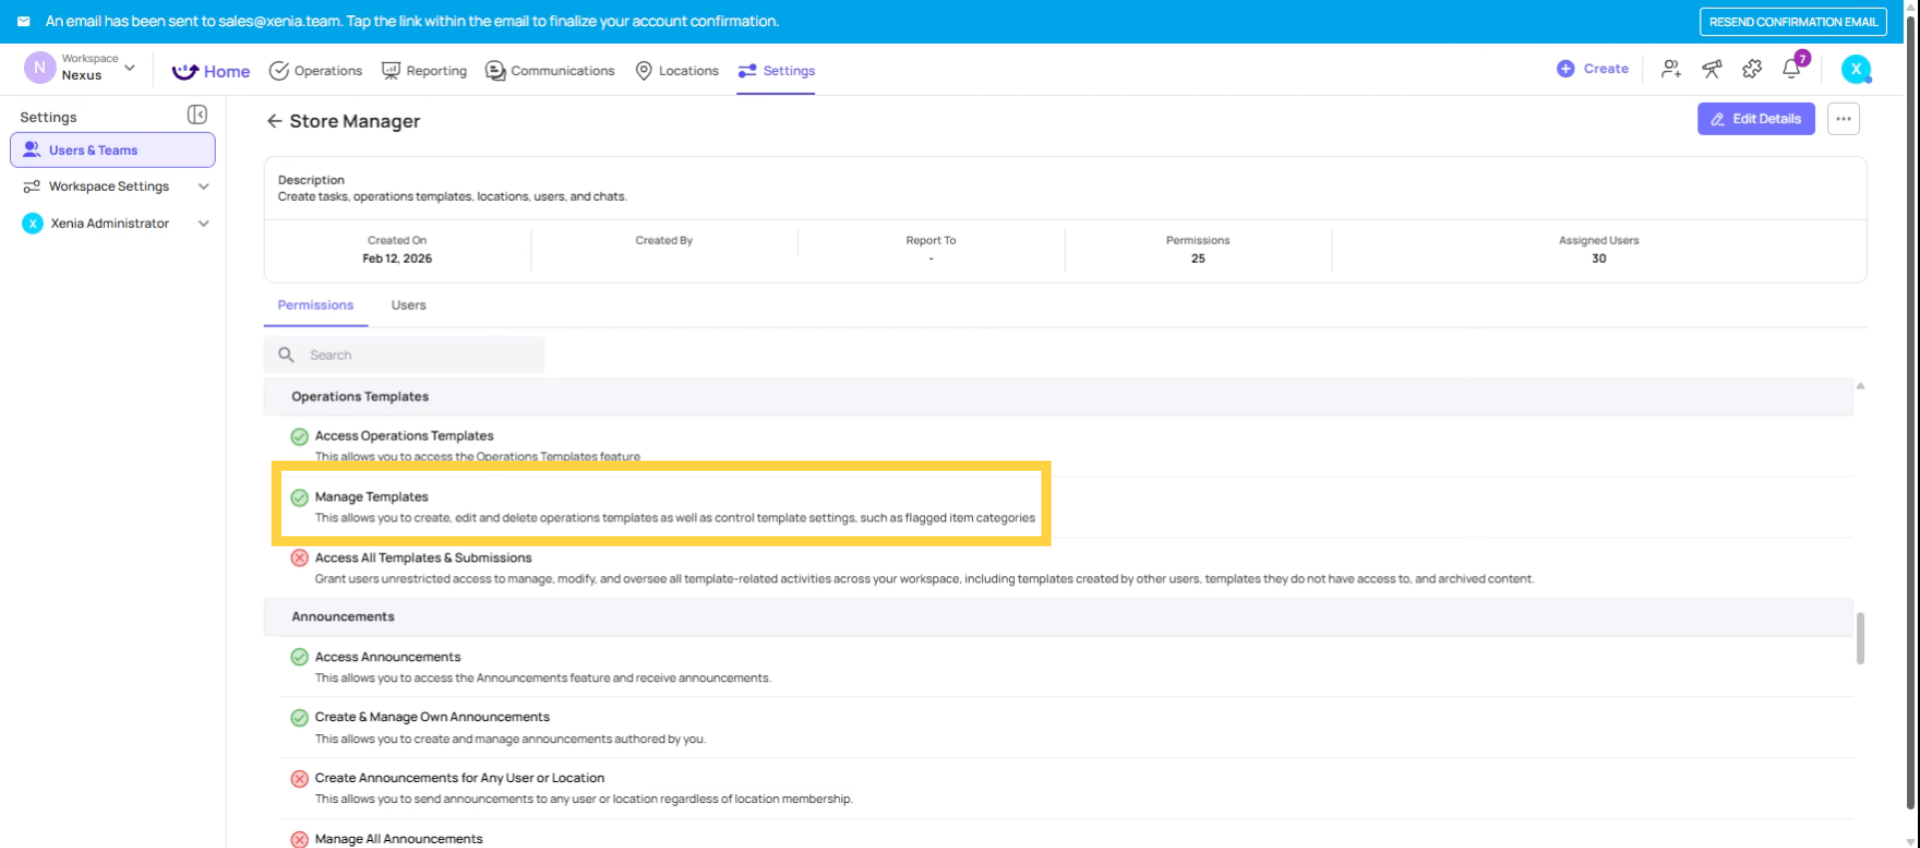
Can Only Submit Permission
Click the Can only submit option to manage who can complete the checklist submissions.
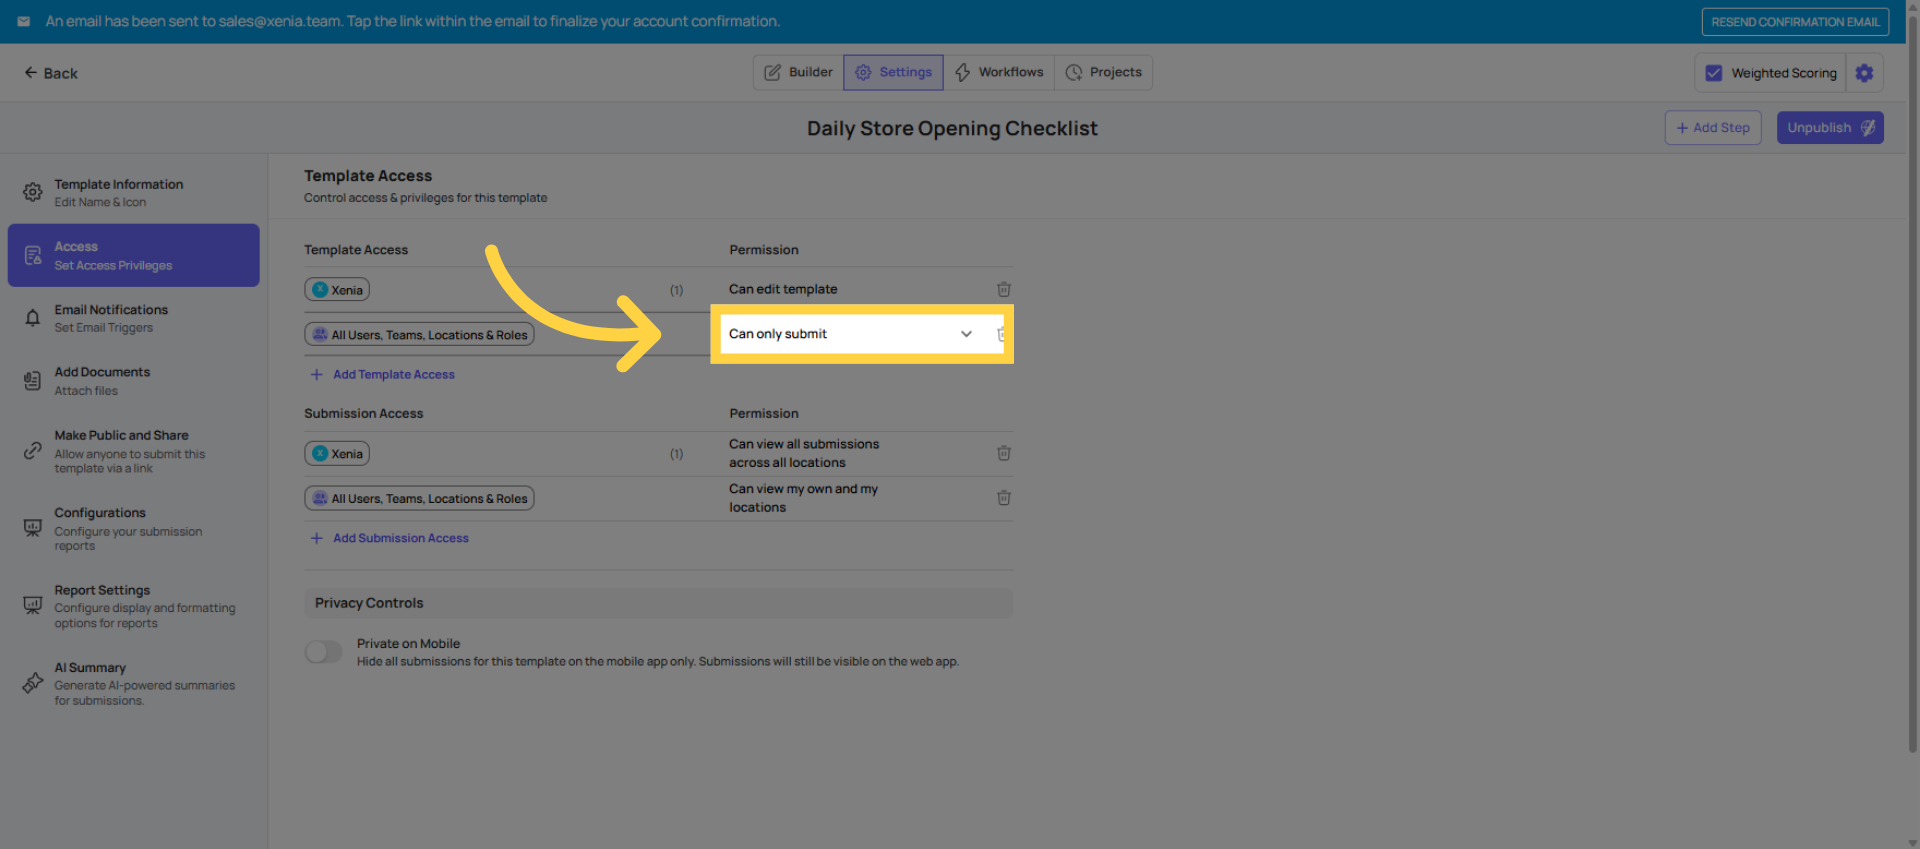
Can Submit Function
The "Can Submit" Setting — Who Sees the Template
The "Can Submit" list determines which roles (or specific users) can see and complete this checklist.
Default behavior: By default, most templates are set to allow all users (in teams, locations, and roles) to submit. This is fine for general-purpose checklists like a daily opening checklist that everyone should use.
When to restrict: For sensitive or specialized templates, you should restrict Can Submit to specific roles:
Performance Notice forms: Only HR Manager and Admin should see this — not store employees
Disciplinary counseling forms: HR-only
Manager walkthrough audits: Only managers and above, not frontline crew
Food safety audit forms: Only auditors, QA managers, and above
The critical rule: If a user's role is not listed in Can Submit, they won't see this template at all — it won't appear in their template list on their device. It's completely invisible to them.
The visibility rule: Whoever can Submit AND whoever can Edit can see the template. Both groups have template visibility. Only those in Can Submit can complete it. Only those in Can Edit can change the checklist structure.

Operational Checklist Settings
Here's a simple way to think about this. For a daily operational checklist, opening, closing, temperature logs, set can submit to include all the roles that use that checklist, and leave can edit as admin only. For sensitive forms, performance notices, incident reports, audit forms, restrict can submit to the specific roles that should see it.
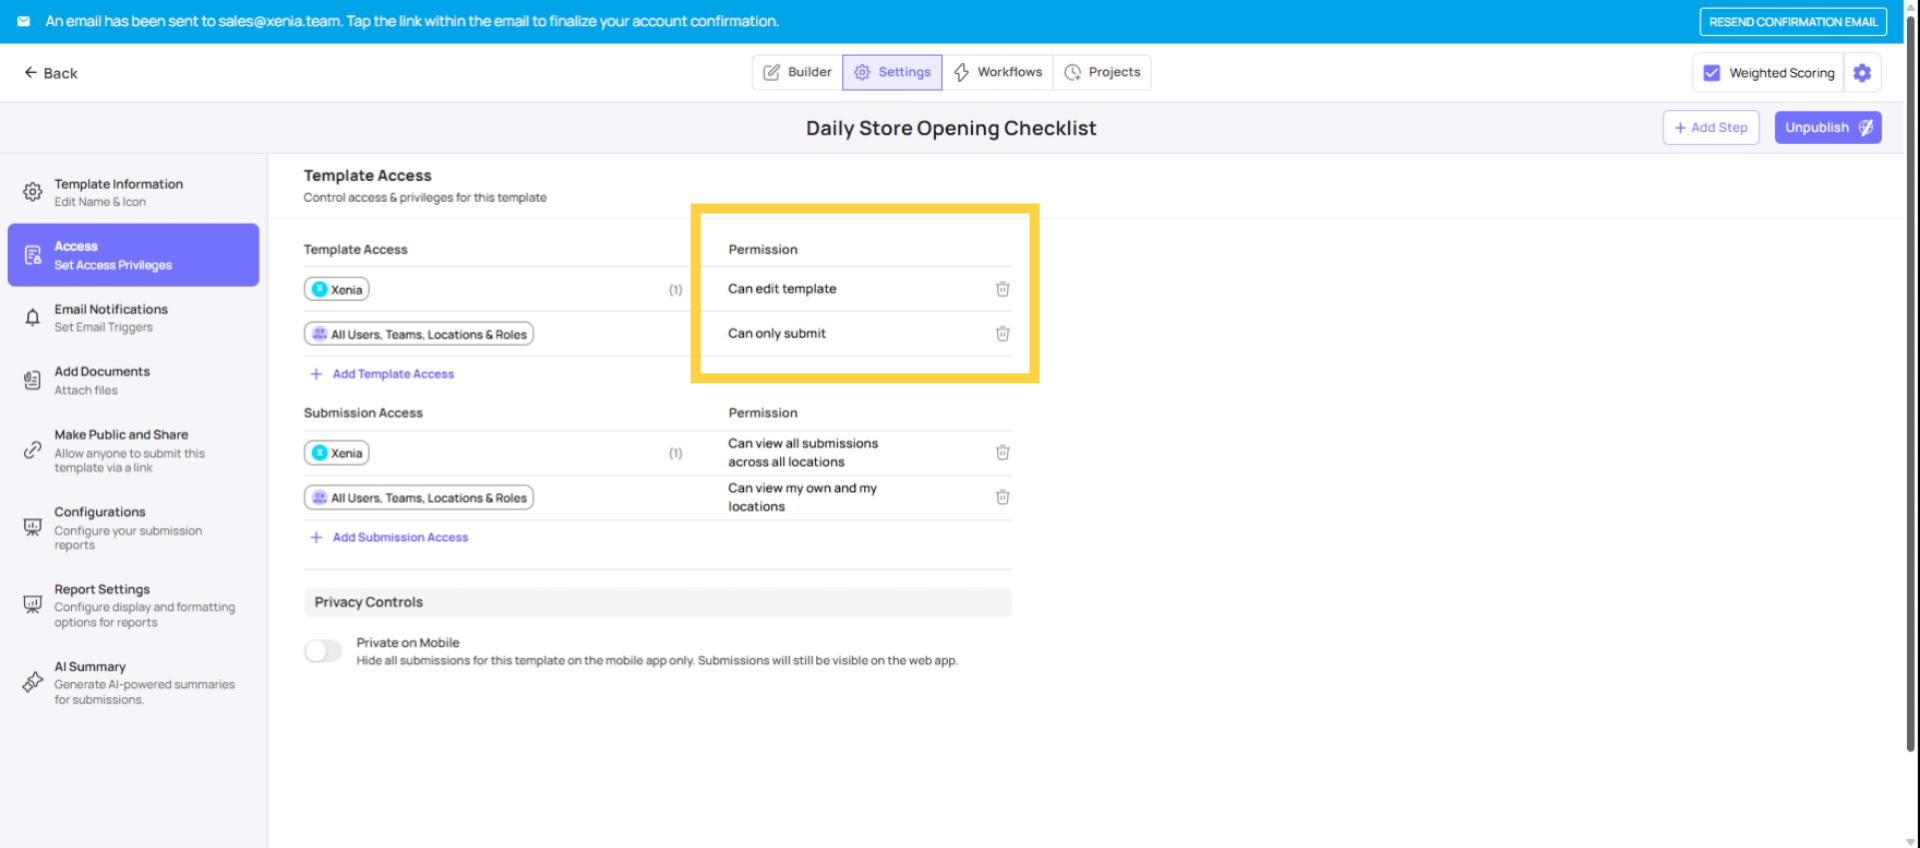
Common Configuration Scenarios
Template Type | Can Submit | Can Edit | Notes |
Daily Opening Checklist | All store roles | Admin only | General — available to everyone at the store |
Manager Walkthrough | Store Manager, DM roles | Admin only | Restricted from frontline crew |
Food Safety Audit | Auditor, QA Manager | Admin only | Only specialized roles |
Performance Notice | HR Manager, Admin | Admin only | Completely hidden from store-level roles |
Vendor Issue Report | All roles | Admin only | General — anyone can submit an issue |
Temperature Log | Cook, Kitchen Manager, Store Manager | Admin only | Task-specific roles only |
This article explains how to configure template-level access controls in Xenia to manage checklist visibility and editing permissions. By using these settings, you can protect sensitive forms and ensure users only see checklists relevant to their roles. For more information, see related articles on role permissions and checklist management.
Need Help?
Reach out to our support team at support@xenia.team