How to Upload Locations in Bulk using a CSV File
Last updated: October 19, 2026
This article explains how to bulk upload and manage locations using a sample CSV file. This method is useful when you need to add or update multiple locations at once instead of entering them manually.
When to Use Bulk Locations Upload
Use the bulk locations list when you want to:
Add multiple new locations at the same time
Update existing location details in bulk
Save time and reduce manual data entry errors
Step 1: Download the Sample CSV
Go to Locations in your workspace.
Navigate to Locations.
Click Add Bulk Locations.

Download the Sample CSV file provided.
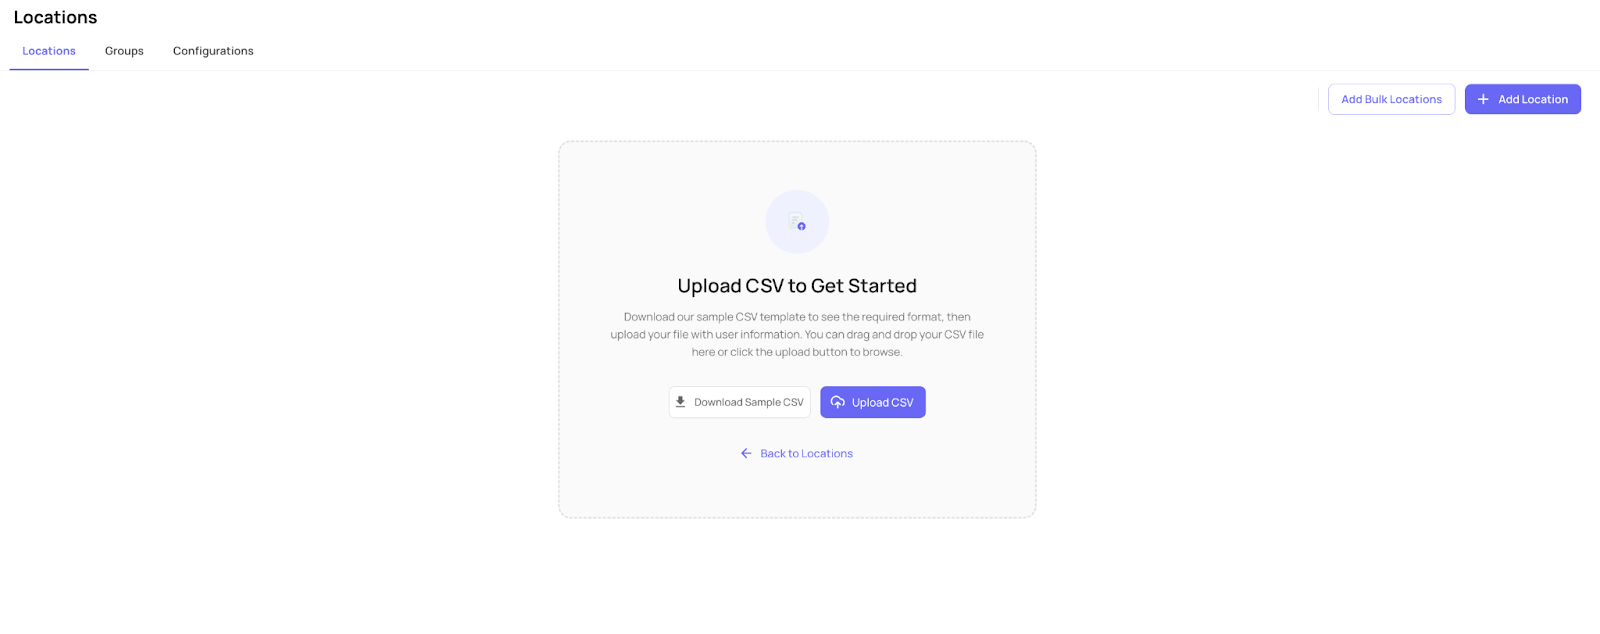
This sample CSV shows the correct format and required fields.
Step 2: Fill Out the CSV File
Open the sample CSV and enter your location details.
Common fields include:
Location Code
Location Name
Hierarchy Name
Parent Location
Level Name
Description
Phone
Enable QR Code
Address
Latitude
Longitude
⚠️ Important tips:
Do not change the column headers.
Make sure each location has a unique code.
Avoid extra spaces or special characters.
Step 3: Upload the Completed CSV
Return to the Locations section in your workspace.
Click Add Bulk Locations again.
Upload the completed CSV file.
Step 4: Review and Confirm
The system will validate your file.
Fix any errors shown (missing fields, duplicate codes, or incorrect formats).
Once validation passes, confirm the upload.
Step 5: Verify Your Locations
After the upload is complete:
Check the Locations list to ensure all entries appear correctly.
Edit any location individually if minor adjustments are needed.
Common Errors and How to Fix Them
Duplicate Location Code: Ensure each location has a unique code.
Missing Required Fields: Fill in all mandatory columns.
Watch Video for Configuration:
Need Help?
If you run into any issues or have questions about bulk locations, reach out to the Xenia support team at support@xenia.team or your Implementation Specialist for assistance.